This is a sponsored post written by me on behalf of Food Lion. All opinions are 100% mine.
Well y’all it’s finally happened… we’ve gone over the deep end with pets. We have a million of them and now that Mom is breeding dachshund’s (not full time… think 3 to 4 litters a year TOPS!) we have dogs everywhere.
Cats everywhere… fish everywhere!
Think about it, we currently have (between my Mom, brother and I) two adult dachshund’s, two puppy dachshund’s, one yorkie (my Little Bitt!), my two cats (Lily and Jasper!), my 55 gallon fish tank with angelfish, my 20 gallon tank with dwarf gourami, my brother’s 55 gallon tank with his african cichlids, his 30 gallon tank with a bichir and knife fish and his 20 gallon tank that is currently open for quarantine.
SO. MANY. ANIMALS!
It’s like a zoo… and since we’ll be bringing home or keeping 3 new dachshunds sometime this year (the two pups we have now will be sold (sad!) since they’re boys) we’ll have even more puppies.
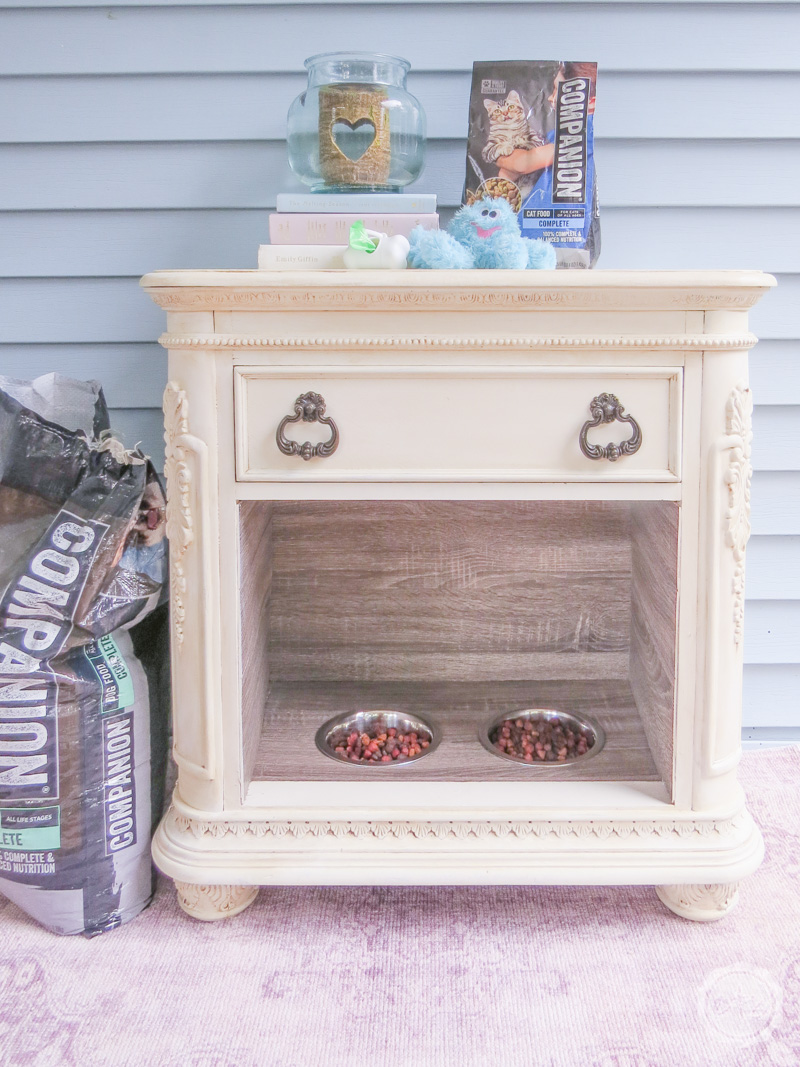
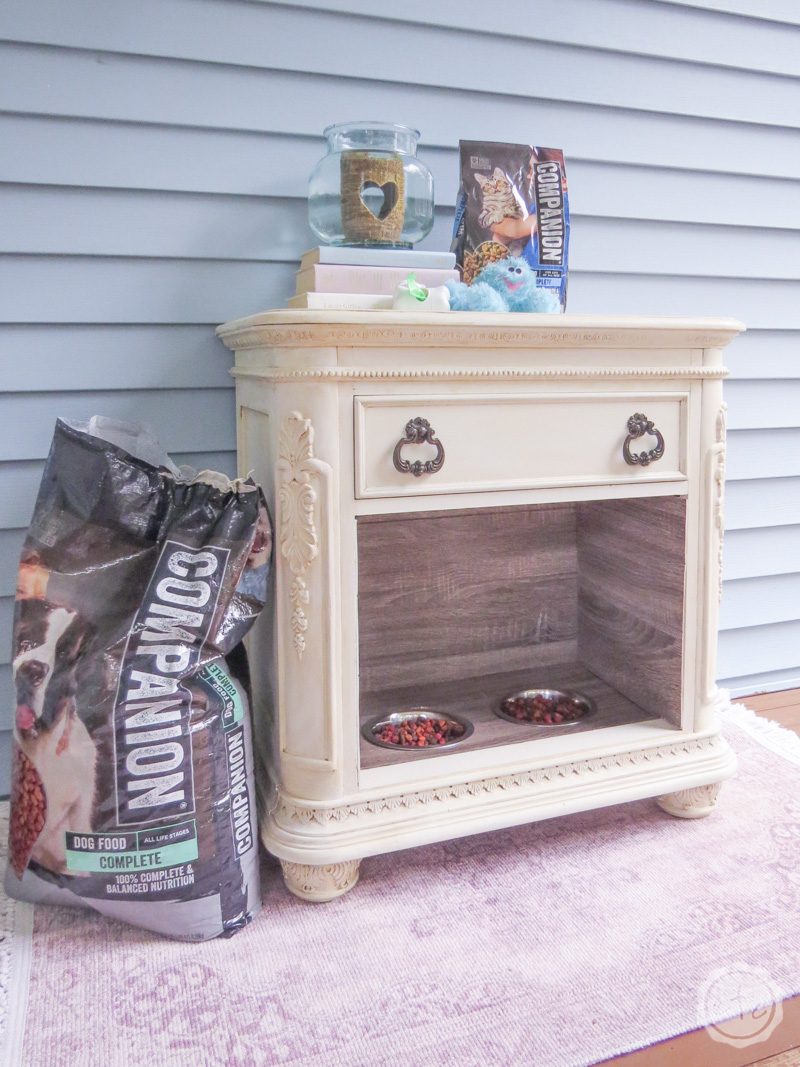
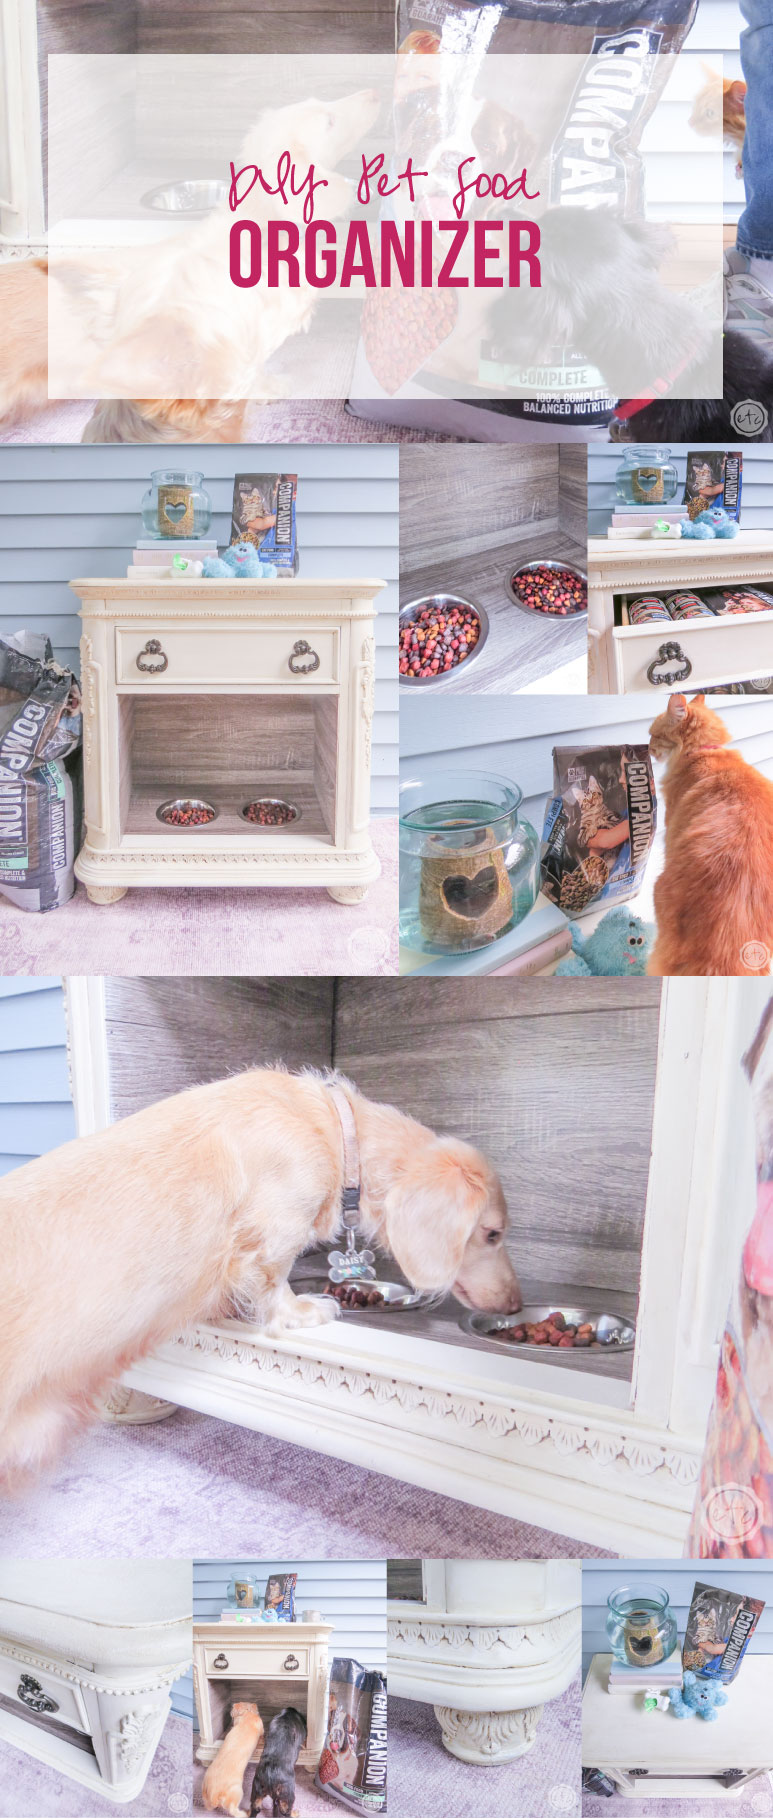
SO I decided to bust out handyman skills and whip up a little DIY Pet Food Organizer to corral all the food in one place in our kitchen. Somewhere with spots for bowls of food (since Mom wants to free feed the adult dogs) and storage for treats, canned food and toys.
Do you see where I’m going with this?
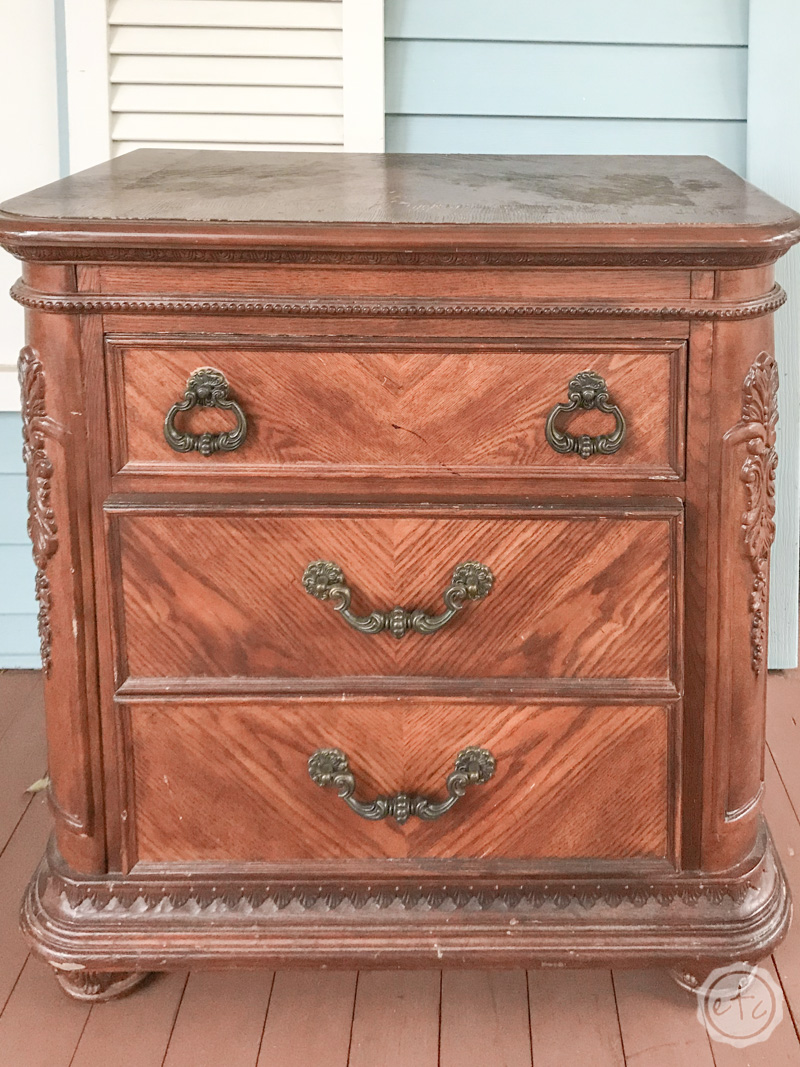
An old nightstand is the perfect solution since it’s low enough that the dogs can eat out of their bowls but not big enough to take up too much room in the kitchen. Plus the top drawer will provide storage. If you have enough space in your kitchen a dresser would give you even more storage, but for our little hot dogs this was the perfect amount of space.
Let’s get started!
Supplies:
1 Nightstand/Dresser/Desk/Filing Cabinet…
Metal Dog Bowls
Linen White Chalk Paint by Rust-Oleum
Dark Wax
Dremel Saw Max
Paneling/Plywood in a Coordinating Shade (Mine is Antique Hickory)
Finishing Nails
Step 1: Get Rid of the Drawers!
Okay the first step is to take out the drawers we won’t be using. Since I want to sink dog bowls into the bottom of this baby we’ll need a nice hollow box for the dogs to be able to step in and eat. (If this doesn’t make sense yet… trust me. It will).
SO the first step is easy. Get rid of the drawers we’re not using and alllllll the stuff that goes with them!
A hammer made taking that middle “shelf” out pretty easy and a screwdriver removed the track for the bottom drawer.
Easy peezy lemon squeezy!
We’ll have to reconstruct the interior in just a minute but first let’s go ahead and paint this baby! It will be much easier to paint before we add the interior walls (that way you don’t have to worry about getting paint on anything that doesn’t need to be painted!).
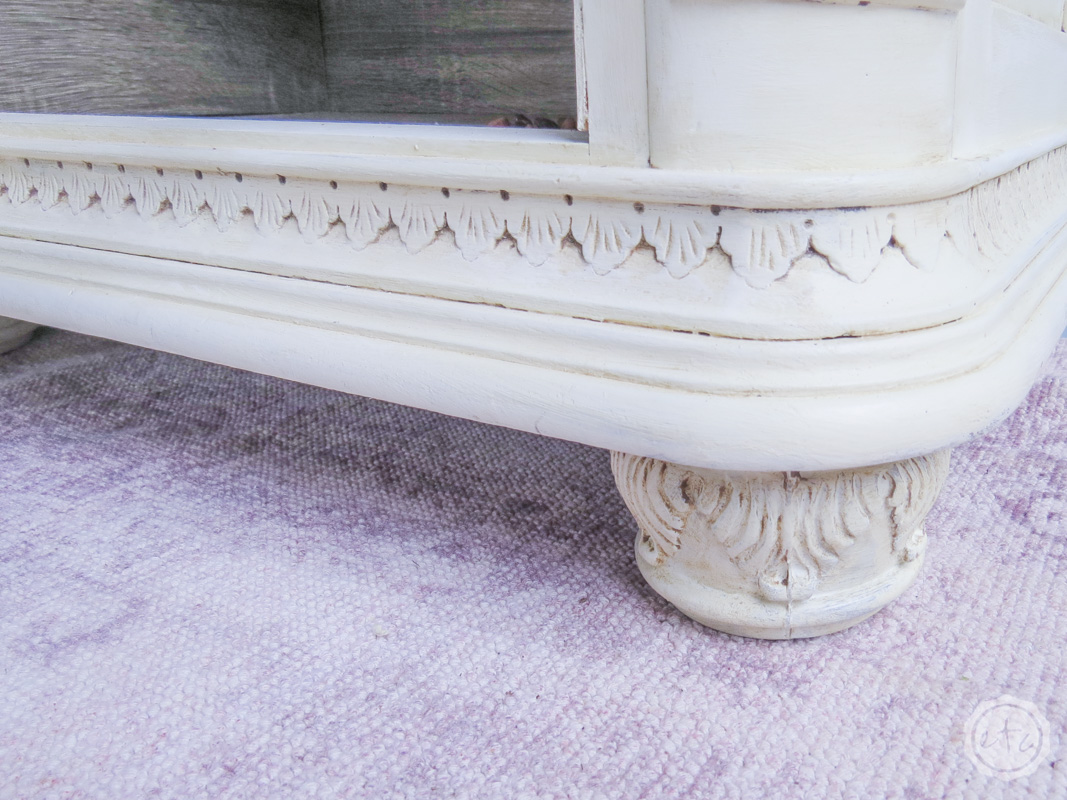
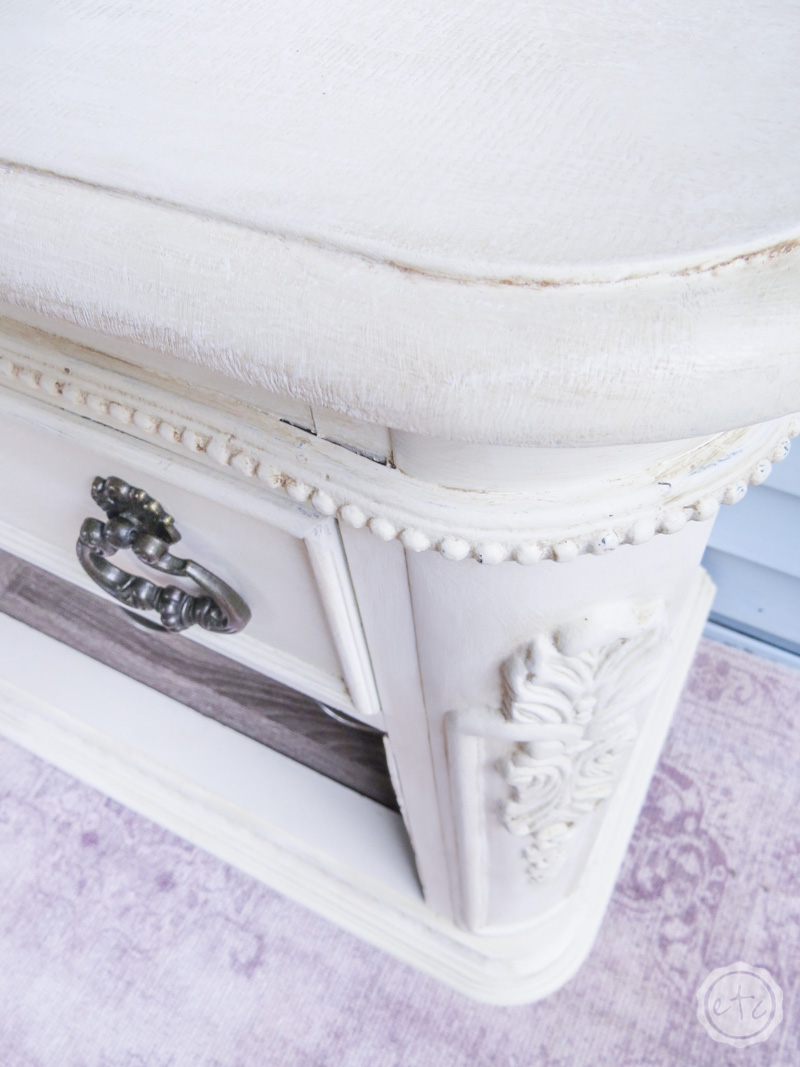
I decided to paint my dog organizer with linen white chalk paint and follow it up with a bit of dark wax so that allllll those little details would pop.
Step 2: Cut “Interior Walls”
Alright now it’s time to pretty up the interior! I decided that the easiest way to make the inside work was to add a box or interior walls to cover up all the inside yuckiness (or the interior workings that the drawers use to cover).
I bought a sheet of plywood planking at my local hardware store in antique hickory that looks beautiful with the distressed white finish. In order to create interior walls we needed to cut four pieces from our plywood sheet: one for the floor, one for the back and two for either side.
Which gave us 3 measurements to cut… luckily with my little Dremel Saw-Max the plywood cuts like butter. We even were able to cut the small notches in the front of the side panels so that these little babies would fit perfectly.
Now that our interior is cut we’ll go ahead and do the cuts for our dog bowls…
Step 3: Cut Spaces for the Bowls!
Ready freddy?! It’s time for the fun stuff… cutting holes for the bowls. Which rhymes but not on purpose so stay with me y’all. Go ahead and measure the spaces for your bowls on the bottom bit of plywood. I went ahead and flipped mine over so that I could draw the guides on the back.
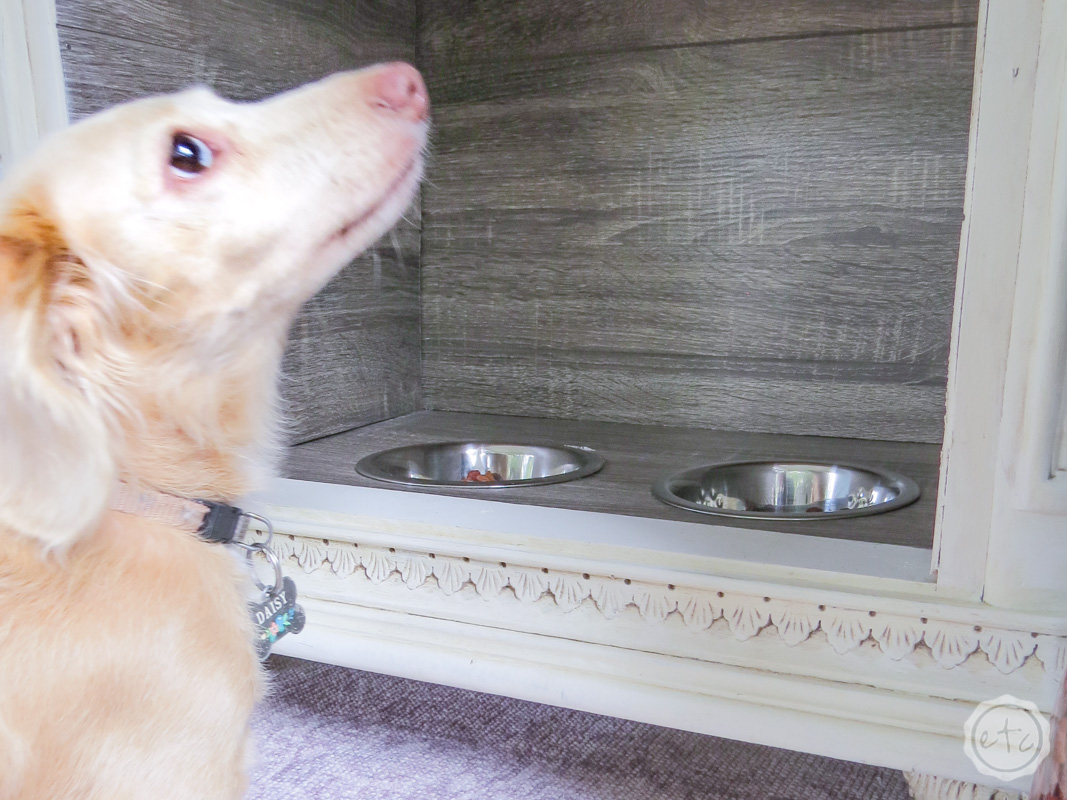
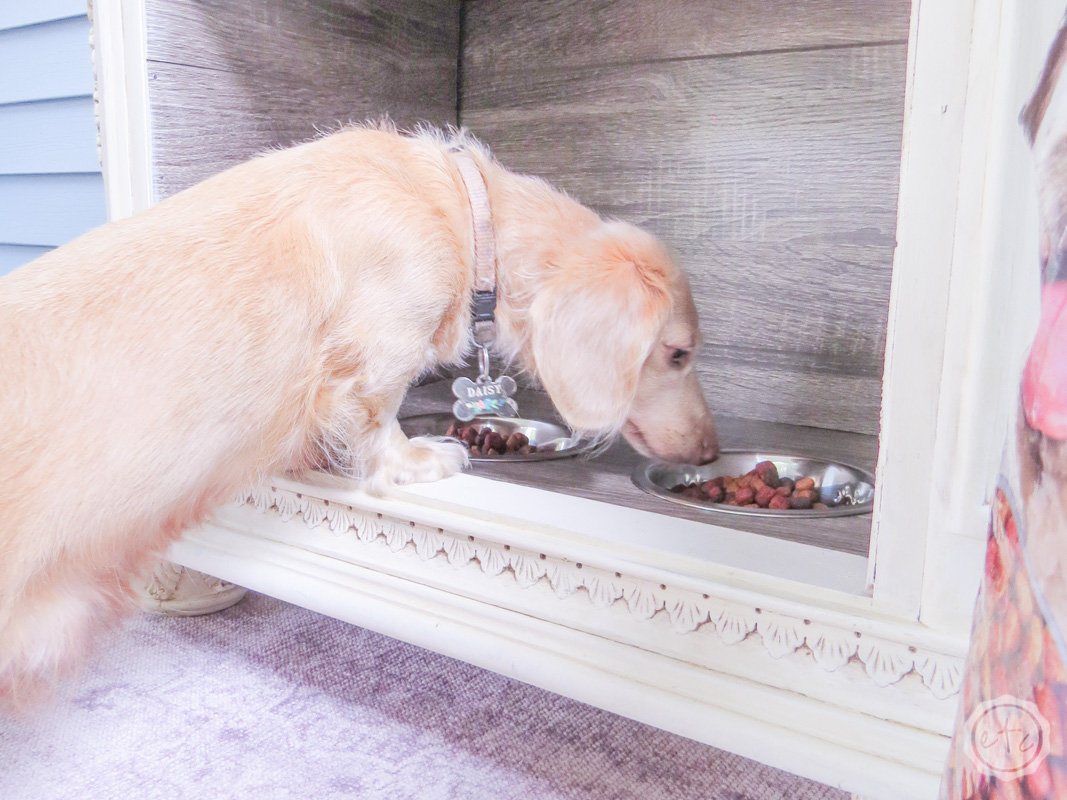
When you’re drawing your guides I have a couple of tips: if your dogs are small (like mine) make sure to place the bowls at a place where the dogs can easily eat. Instead of placing the bowls in the middle of the interior we scooched them forward enough that the dogs could reach them if they stood on the edge of the box.
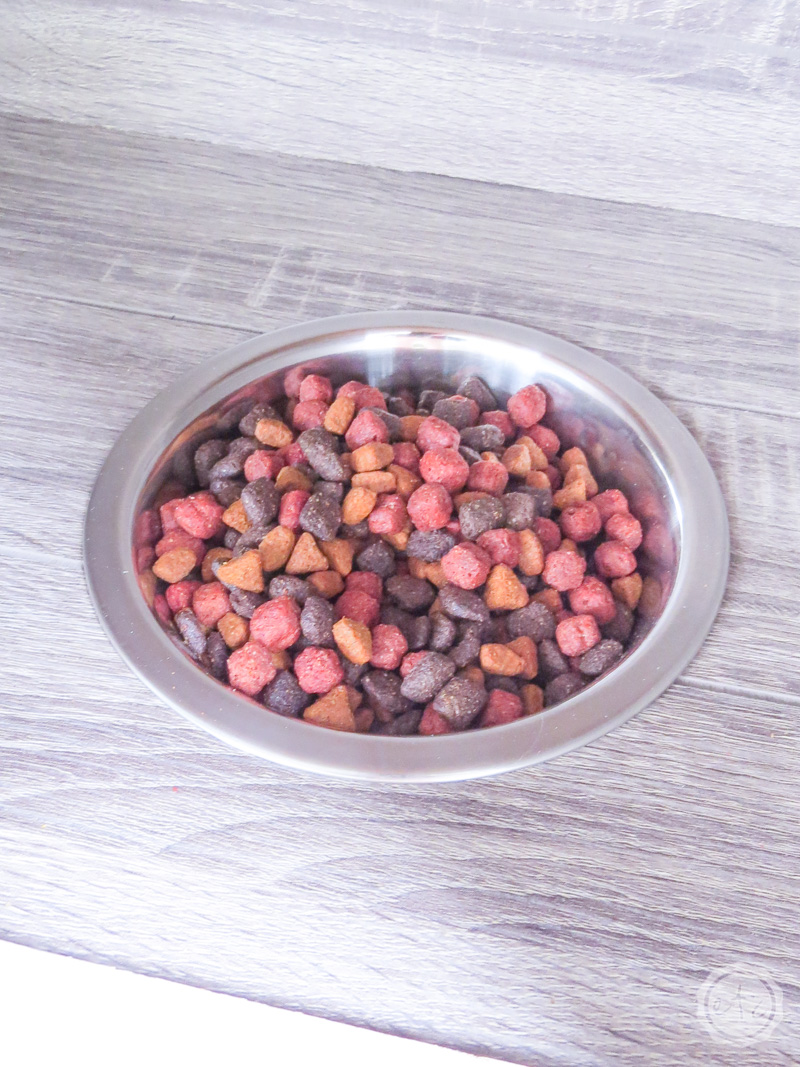
After that make sure that when you’re drawing the guides you don’t cut the holes the same size as the edge of your bowl. Go ahead and draw around the outside lip of your dog bowl and then cut your hole about an inch in… you’ll want the lip of your dog bowl to cover the edges and not fall through!
Now you’re ready to cut! Since we already had our little Dremel Saw-Max out we went ahead and used it… it means that the cuts aren’t perfectly circular but since they’ll be covered by the lip of the dog bowl that isn’t a big deal. Make sure to cut the top piece of paneling first and then go ahead and cut through the bottom of your nightstand second… that way you can make sure your holes are the right size with the paneling.
After all you can cut a second piece of paneling if need be but it would be difficult to replace the entire bottom of the nightstand!
Step 4: Nail in the “Interior Walls” with Finishing Nails
We are getting so close now! Since the plywood walls are cut to size and our dog bowls are ready to go it’s time to nail them into place.
A few finishing nails will hold each wall in place… just make sure you take stock of where the supports are behind each of the walls so you can add each finishing nail into a supporting piece of wood and not into thin air. I decided to cut my plywood panels flush with the front of the nightstand so that I could nail the finishing nails directly into the front supports.
It gives the sides a finished look and makes them sturdy. Plus the finishing nails are small enough that you can place four or five of them down the side so that the plywood doesn’t buckle and truly sits flush with the front.
Then I did a tiny bit of touch up paint on the edges of the plywood so that they blend in with the front of our nightstand turned pet food organizer and volia! The interior is finished!
Step 5: Add FOOD!
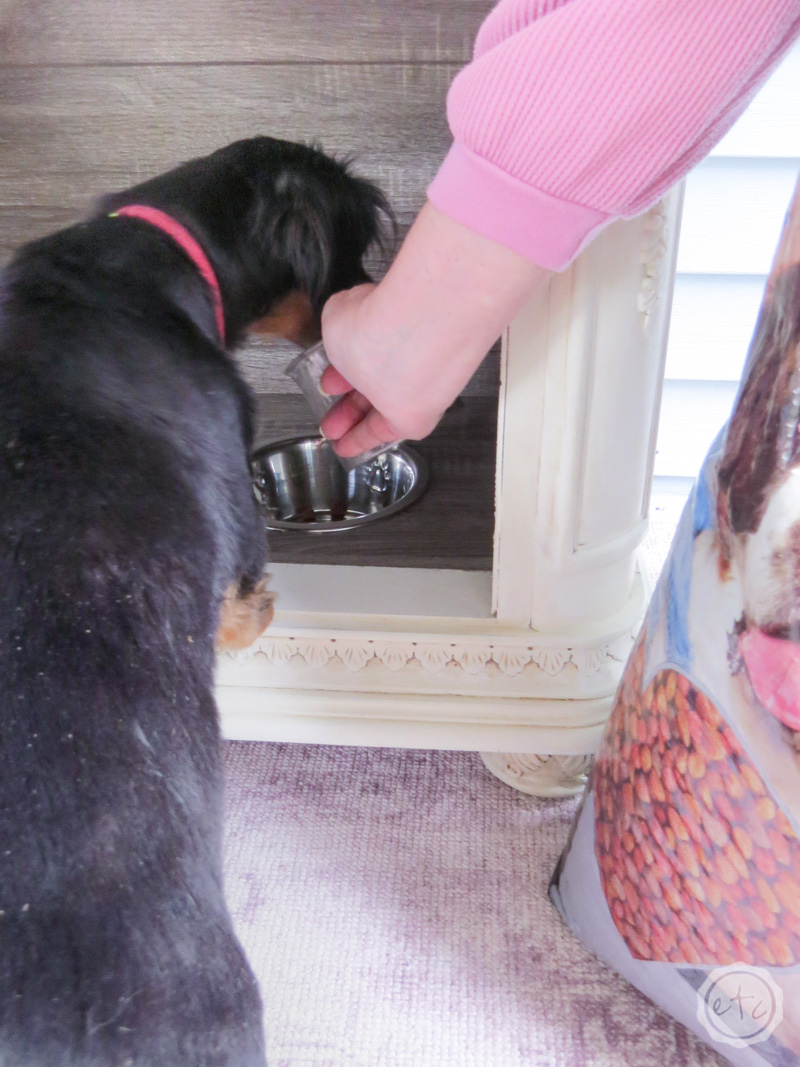
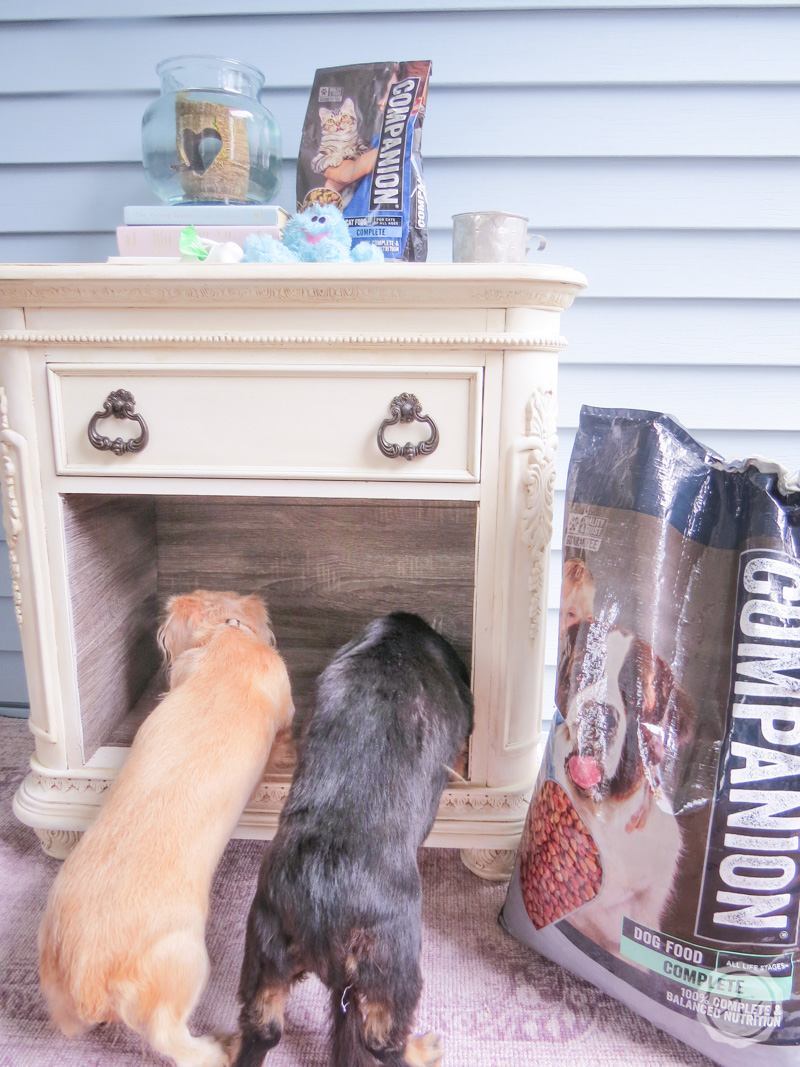
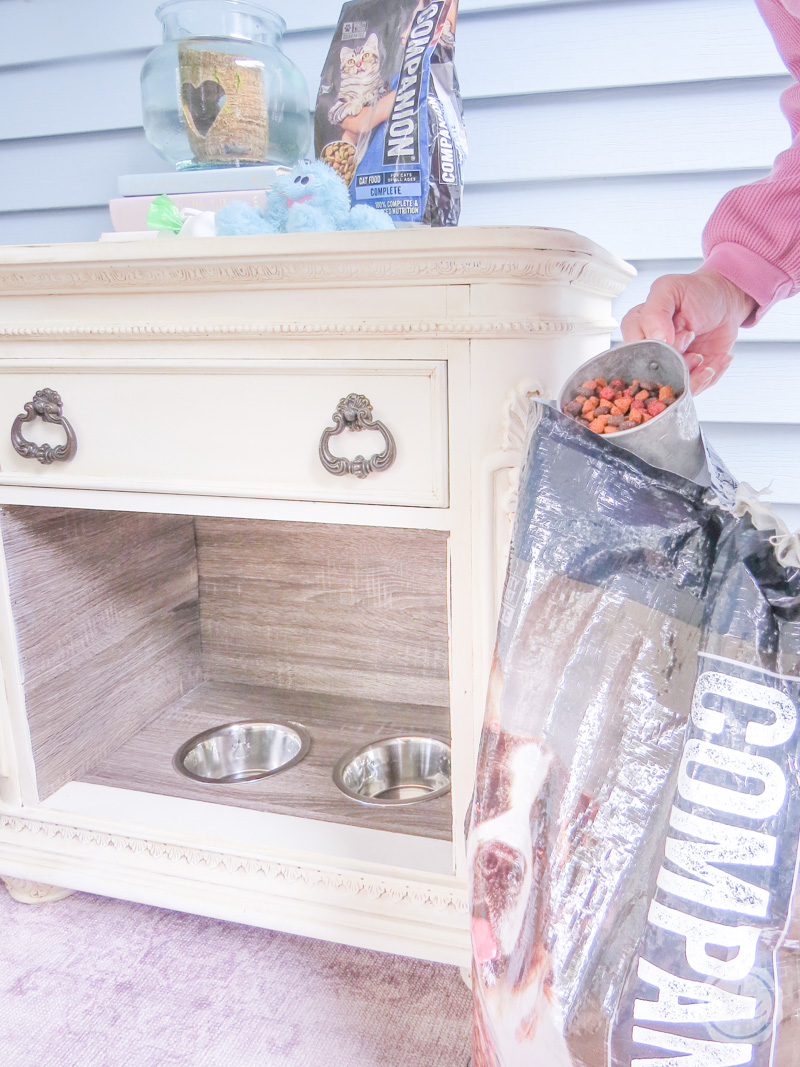
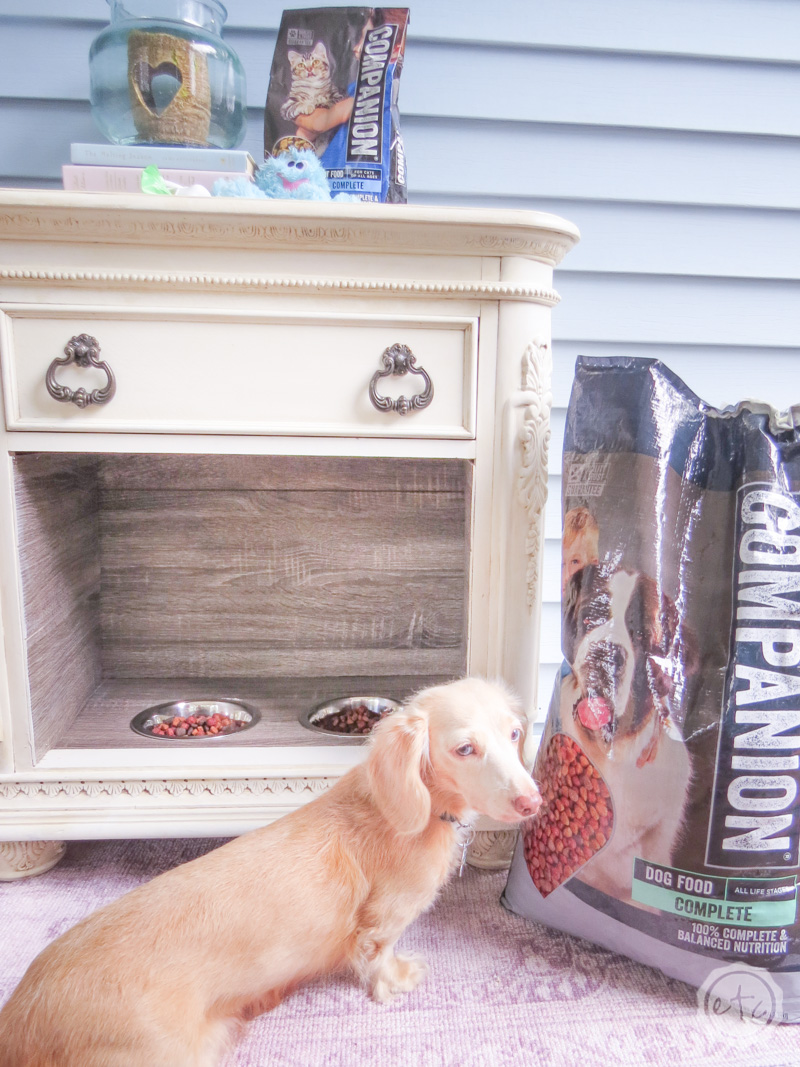
Now’s the fun part… it’s time to add the dog food bowls and then the dog food. We are always running out of dog food around here with our small herd of pups so we buy the big bag y’all… that way we don’t have to run to Food Lion for a new bag of food every five seconds.. Just look at those sweet puppy dog eyes… they’re obviously starving.
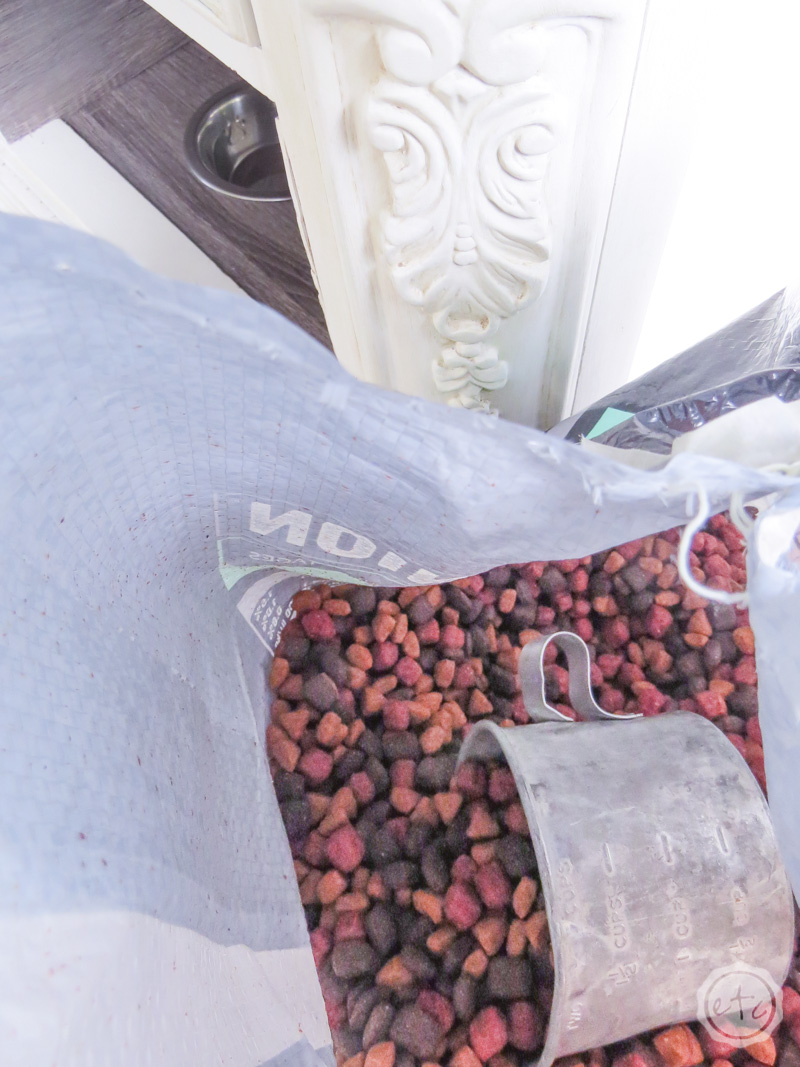
I mean they hear the string on that big bag of Companion dog food ( learn more ) and all 3 of them came running… even Lily (my oldest cat) thought she was getting a treat! Or maybe she just thinks she’s a dog… jury’s still out on that one.
For More Information about Food Lion’s Private Brand labels click here
Step 6: Organize the Space
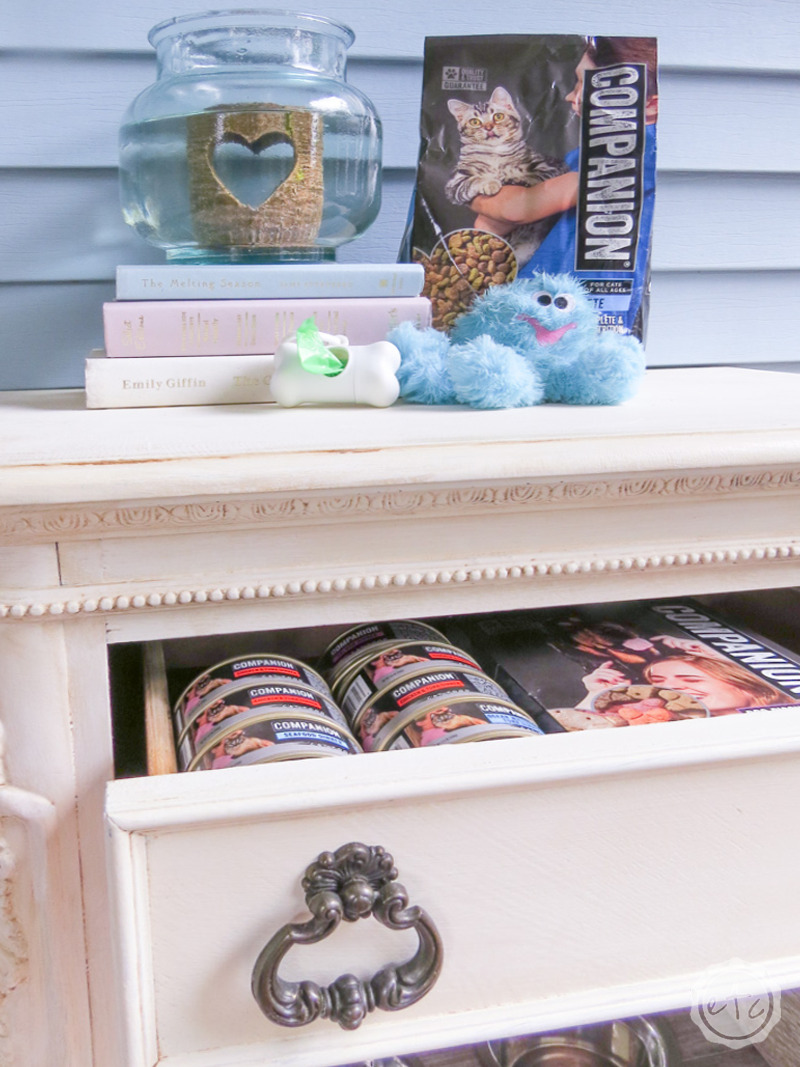
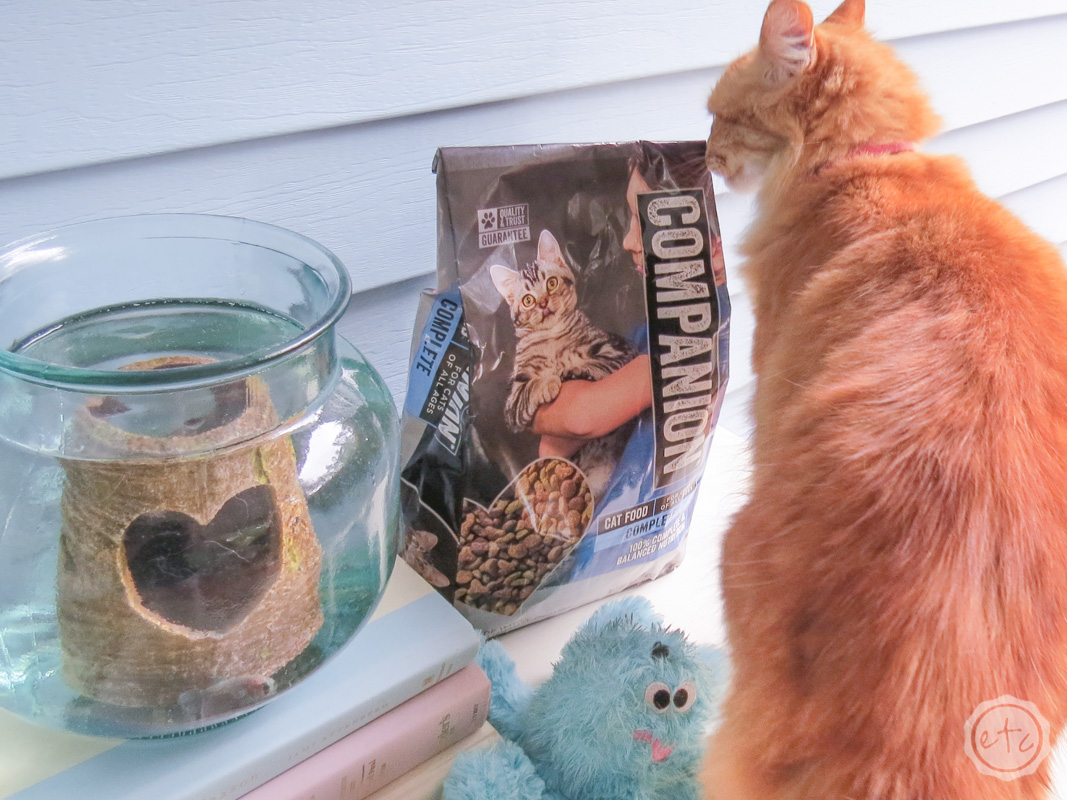
Don’t worry we didn’t leave Lily out in the cold! Since she’ll just eat the dog food if we don’t put out cat food for her, I decided to use the drawer for storage and leave the cat food on top.
The drawer is the perfect place to organize all the things we need but that the animals will get into if left out in the open… things like canned food (they love this stuff but have no thumbs… that doesn’t seem to deter them from trying to gnaw through the can with their teeth so we have to keep it locked away), dog food treats and even the little tennis balls that Bitty loves to play fetch with… but the puppies love to chew!
Of course, since the cat food’s on top of the little stand Lily thinks she should eat up top. It’s easy enough to keep a few small bowls in the drawer for things like wet food. I’m not sure about letting Lily eat up top all the time though… since our small Betta bowl is currently up there and she seems to think that the Betta is food.
I swear she’s going to eat that fish one day… so I try to keep the two of them separated!
Step 7: Enjoy!
Now that all the t’s are crossed and the i’s are dotted it’s time for the little animals to enjoy! We decided to pick a piece that required the dogs to step inside to eat… that way the puppies won’t be able to get inside to eat.
It works just fine for adult dachshunds and yorkies though! It would even work for medium sized dogs like Aussies or Goldens.
I absolutely love their little tails wagging as they eat!
This little pet organizer turned out soooo cute! I absolutely love all of the little details… just look at all the carvings!
The dark wax really brought out all of the details.
I absolutely love how this little piece fits into the kitchen as a piece of furniture and not just another plastic tote. It should be fairly sturdy for years to come… even with all of the puppies we currently have running around here.
Get Your FREE PDF Paint Color Swatches!

Ready to paint?
Here's a snapshot of our FAVORITE 10 Neutral Paint Colors... and their coordinating colors.


