
This is a sponsored post on behalf of Craftey.com all thoughts and opinions are my own!

I have a really fun post for y’all today! With back-to-school rapidly approaching I can almost hear all of the Mama’s organizational wheels turning as they try to ready their homes, their kiddos, the back to school shopping lists… I literally had a Mama stop me when I was grocery shopping yesterday to ask if I thought “composition notebook no spiral” meant just a composition notebook or could her daughter pick out a patterned notebook with no spiral.
I have no idea but I say live on the edge… get the notebook with the pony!
Since I’m all about planners and organization I decided to whip out the vinyl and put together a little DIY dry erase calendar and since I’m all about antiques I pulled one of the antique windows I have stashed in the barn for my base.
This little window would make a super cute family organizational center for the kitchen without taking up too much room and since it’s dry erase it’s super easy to mark down appointments and on the flip side… to erase them.

Step 1: Clean your Window
Since this window is an antique (and has been sitting in a barn) it definitely needed a good cleaning. I started by sweeping all the loose cobwebs off and then hit alllll the surfaces with a little bit of cleaner.
Nothing fancy, just a good old fashioned multi-purpose cleaner, a few paper towels and some elbow grease! It really makes a huge difference though… just take a look at the before and after.

Need help picking your perfect machine? I’ve got you covered!

Of course, since this is an antique window we don’t want to scrub away allllll of the patina… just the dirt. All the crackling, peeling, glorious age that’s showing through the layers is fine to stay exactly where it is!
Just as a little disclaimer if you’re working with rreeaaaaallllllyyyyy old windows make sure you don’t have lead paint before you start scrubbing the paint. I’ve already tested these so I know I’m good to go but if you’re even a little bit unsure grab a lead testing paint kit and give it the old college try.
Better safe then sorry!
Once you’re done scrubbing you should be left with a little something like this…


It’s clean but not perfect… my mom asked why I didn’t clean all the little bits of paint off the glass and I’m like “that completely defeats the point of using an old window mom, duh!”
If I wanted a window free of character I would have grabbed a new one!
Now the fun part starts… adding our vinyl to make this little window a functional organization station! Or a DIY Dry Erase Calendar… whatever title floats your boat.
Supplies for your DIY Dry Erase Calendar
- Antique Window
- Picture Hanging Kit
- Multi-Purpose Cleaner
- Cricut Explore Air 2
- Fine-Point Cutting Blade
- Standard Cutting Mat (that’s the green one!)
- Cricut Cut Files (FREE at the bottom of this post)
- Vinyl (3 Colors)
- Weeding Tool
- Transfer Tape

Okay first things first… it’s time to pick your vinyl colors! I decided to make my little dry erase board bright and cheerful and picked a few pinks and a seafoamy/minty green for the leaves on my little flowers.
The nice part about the cricut design studio is it tells you exactly how many mats to prepare and separates the colors of your design for you. So for my days of the week and flowers I knew I needed 4 mats: 2 hot pink, one soft pink and one seafoamy/mint green.


Step 2: Cut Your Vinyl
I also like how it tells you exactly how much vinyl you’ll need… since the vinyl I picked up from craftey.com comes on rolls it’s super easy to measure out exactly what you need and place it on the perfect spot on your mat.
Which makes my little heart happy since I’m not wasting a bunch of vinyl or trying to store sheets of vinyl with weird cut-outs missing from previous projects. Does that bother anyone else?
Anywho… go ahead and measure out your vinyl and prepare all of your mats… then you’re all set to cut your vinyl! (Psst… if you’re looking to make this project I’ve included the cut files as a freebie at the bottom of this post!)


Step 3: Apply your Vinyl
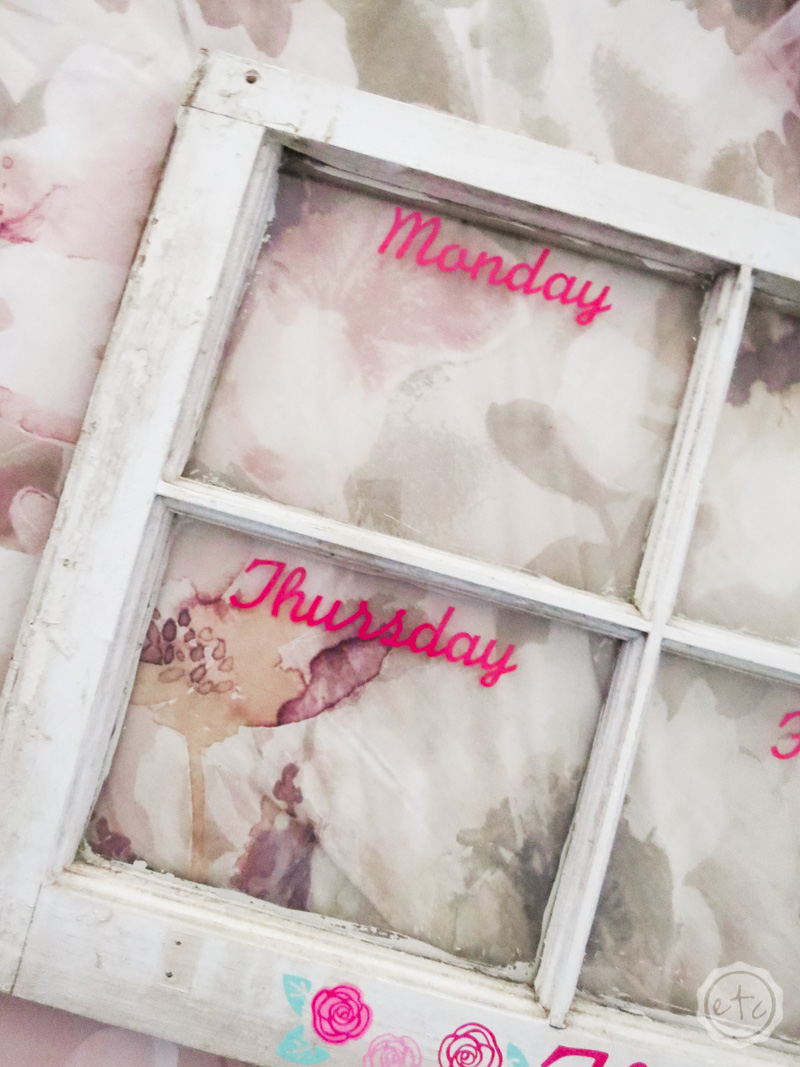
Now it’s the fun part… time to apply your viny!! Since my window has 6 panes of glass I decided on one pane for each day of the week with Sat & Sun sharing a pane.
You can stop there but I decided to add a fun little header at the bottom along with a few decorative flowers. They add a little pop which is sweet and colorful all at the same time!
Since we’re adding the vinyl directly onto the glass the entire process was smooth as butter and the vinyl went down like a dream. Unlike the heat transfer vinyl I worked with a few months ago… it was beautiful but it definitely won that round!
HTV = 1 Betsy = 0


Step 4: Attach your Picture Hanging Hardware
Now that all your pretty vinyl is in place the only thing left to do is attach your picture hanging hardware to the back! Two little screws and you’re good to go… easy peezy lemon squeezy.
Now you can hang your little dry erase board and enjoy!
I’m thinking of picking up a few multi-colored dry erase markers so that I can color code this bad boy!


I absolutely love it! It’s super easy to write on and even easier to erase… I think it adds a fun antique touch while still being fun and whimsical.
Basically I’m a sucker for anything old and chippy so this little window fits in perfectly! Don’t forget to grab your FREE Cut Files down below and let me know if you tackle this project yourself… I’d love to see how you make it your own!
P.S. If you’re looking for even more fun vinyl projects craftey.com has a community forum full of fun projects (and free cut files) to look through! Check it out and see what other projects you can whip up! Happy crafting!


I love this idea but I can’t find the link to download the file. Can you send me the link or show me where to go?
Hi Anna,
I’m so glad you liked my little dry erase calendar! You can download the cut files at the bottom of the post, simply scroll down until you see the form that says “Get Your FREE Cut Files”. Enter your email and hit “Get it Now” and they’ll speed to your inbox. Enjoy!