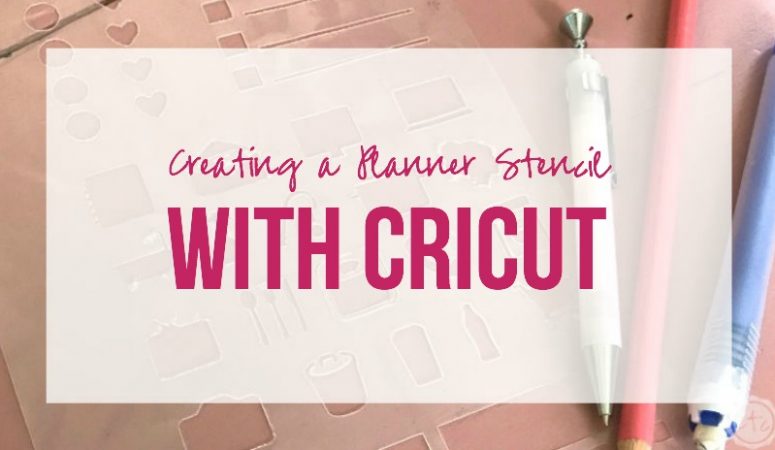
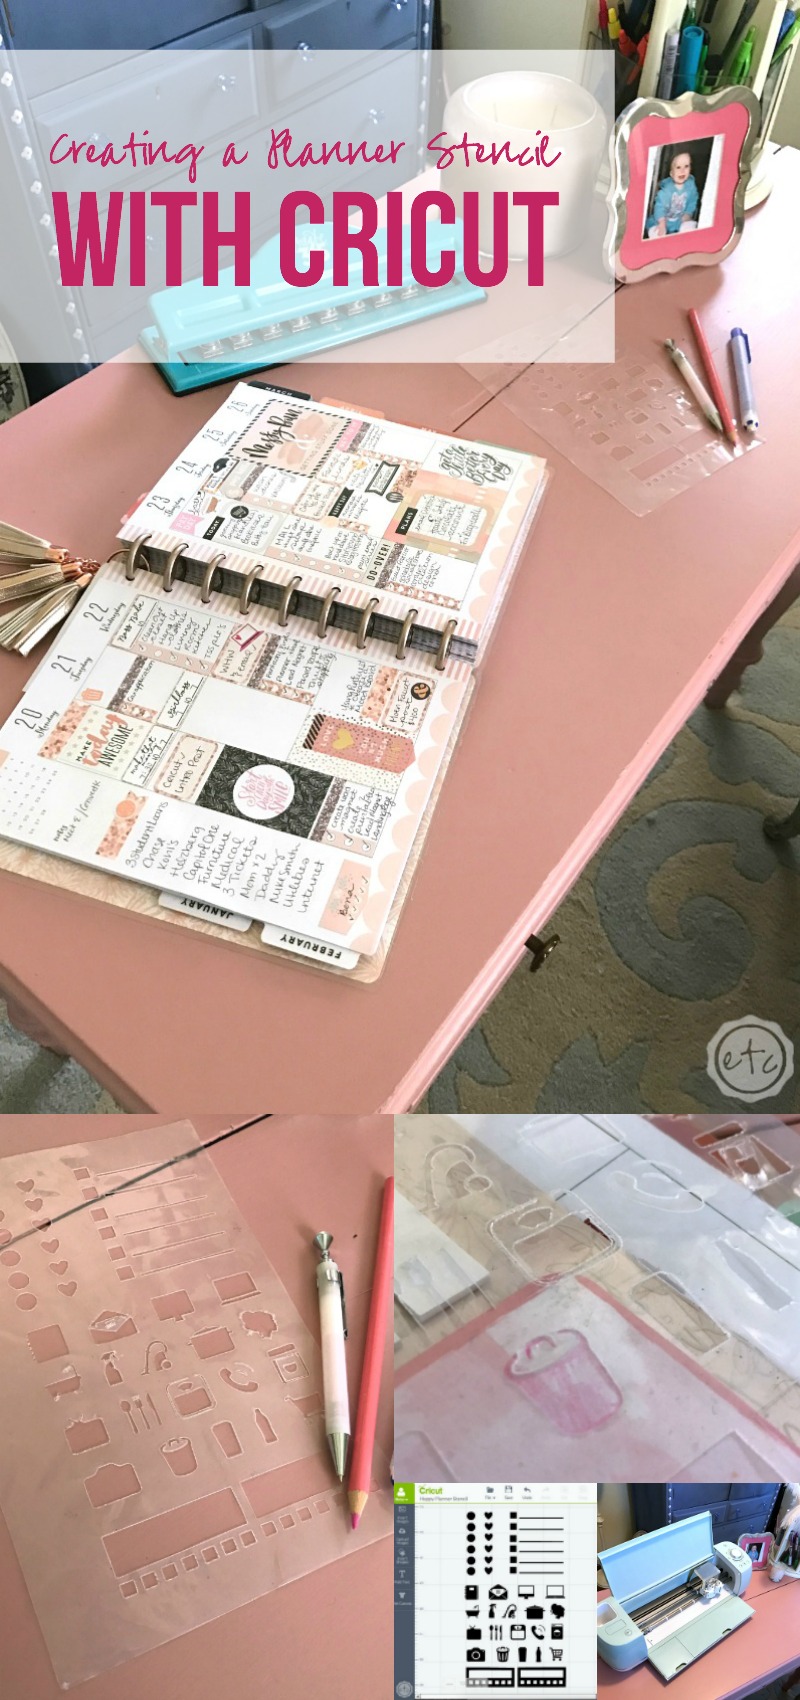
Tired of spending money on planner stickers? Don’t mind spending money but keep running out of your favorite icons? That’s what I was running into before I tried creating a planner stencil! The best part? Making a stencil with Cricut is suuuuuper easy!
Pssst…. not sure what a Cricut is? I ran though all the particulars last week… check it out!
I was so excited about this particular project that I decided to skip the sample project, bypass the Cricut access portal and go straight for designing my own planner stencil in Cricut Design Space!
The best part? I’m walking y’all through cutting your own files! Now that I’ve cut a few of these bad boys out it’s so quick and easy… I don’t even need the instructions anymore y’all! I can do it all on my own.
Eeek!
Looking for a bunch of posts on organization & planning? I’ve got you covered! Click here to see all of my organization & planning posts in one place!
Let’s get started on creating a planner stencil with Cricut Design Space!
The first step is simple… open Cricut Design Space and open the file you want to cut. If the file is already made or you’re using a Cricut file from the library it’s as simple as inserting an image or uploading a graphic. If you’re designing a file then it takes a couple minutes longer!
In order to make this stencil I simply used shapes and graphics. I moved them around using the background squares and the ruler on the sides of the screen so that each icon would be the right size and shape for my planner!
Once I had all of the files right where I wanted them I welded the images together. Basically turned all of the little images into one big image with one little click of a button! The next step?
Click GO!
Psst…. creating this little stencil may have taken me a while but you can get it completely finished right here.
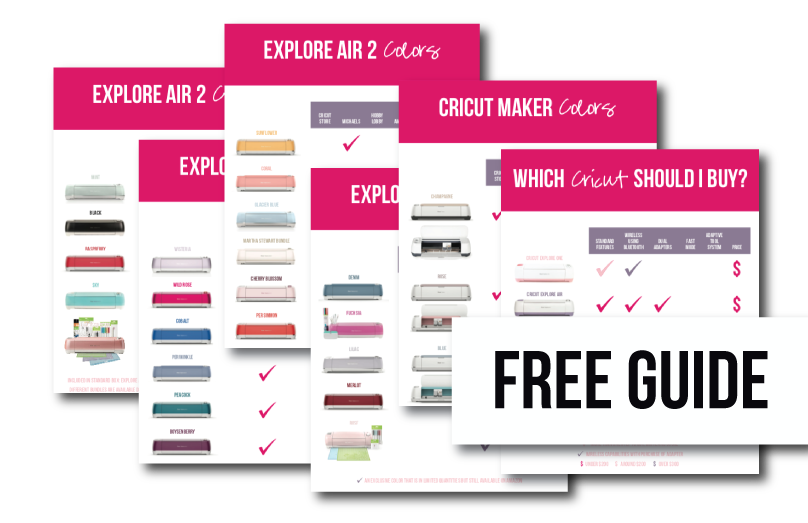
Need help picking your perfect machine? I’ve got you covered!

You’ll be able to adjust the image on the screen (right in that little black box!) so that your image cuts right where you want it to in real life. Just make sure your image on the screen lines up with your material on the cutting mat.

Now that you’re design is ready to go you’ll be able to follow along with the prompts on the screen. The first one says to load the mat by hitting the blinking arrow button on the Cricut.
If your mat is lined up properly in the Cricut’s guides the machine will load the mat and the blade will be ready to cut.
Score!


Now it’s time for the fun part… actually cutting the stencil!
Make sure your dial is set to the proper material (stencil material is fairly thick so I turned this baby all the way up to Poster Board… that seemed to do the trick!). The prompts on the screen will direct you to press the flashing Cricut button on the machine.
Once you do the cutting process will begin… it’s time to cut out a planner stencil y’all!
If you’re cutting out a vinyl decal or piece of cardstock the Cricut is actually pretty darn fast (it’s so easy I may have done a few more projects since this bad boy finished up… I think I may be addicted). Dialed all the way up to the poster board setting means this bad boy took a couple minutes to cut out.
That’s alright though… gave me a minute to decide on my next project!
Eventually the little bell sounded and the stencil was finished. I could hardly contain my excitement as I peeled this little guy off the cutting mat! The best part about creating my own planner stencil? The plastic took a moment to cut but it peeled off easy peasy! I didn’t even need to break out the Cricut tools to take all the little pieces out!
The plastic just popped right out.
Score!


I’m not sure why I waited so long to try making things with my Cricut… I think I’m going to be an addict now that I know how to use the thing! If I had known how easy this thing is I would have saved up my pennies ages ago!
As it is I lovvvve my new little planner stencil. That little messy hair girl is kind of adorable. Which icon is your fav? Are you whipping out the plastic to work on creating a planner stencil of your own?
Get Your FREE PDF Guide!

Don't forget to snag your free PDF Guide to buying your first Cricut!


[…] and busted my brand new Cricut out of the packaging! I had a blast working on my first project (a stencil for my rose gold happy planner)(yes the rose gold part is important… I am on a very important […]