• House Tour
    • Reveals
  • About
    • Smith Life
    • Disclosure and Privacy Policy
      • Terms and Conditions
      • Store Affiliates
  • Contact Me
    • Want a Button?
  • Shop
    • Floral Printable Planners
    • Paint eBooks and Packages
    • Wedding Binders & Extra Printables!
    • Planner Bundles
    • Planner Accessories
    • Home Decor Printables!
    • Cart
    • Bloglovin
    • Facebook
    • Instagram
    • Pinterest
    • Twitter
    • YouTube

Happily Ever After, Etc.

Creating Our Own Fairytale

  • Happily Ever After, Etc.
  • Home
  • Home Decor
    • My Home
    • Paint
    • Before and After
    • Tablescapes
    • Mood Boards
    • Furniture
  • DIY & Crafts
    • New to Cricut – Start Here
    • Cricut Projects
    • Resin
    • Scrapbooking
  • Organization & Planning
    • Cricut
    • Organization
    • Planner
  • Wedding
    • Cricut Wedding Projects
    • Free Wedding Binder
    • Bride Bag- The Ultimate Wedding Planner

$100 Room Makeover: Phase 2 Painted Desk Makeover

Hey y'all,

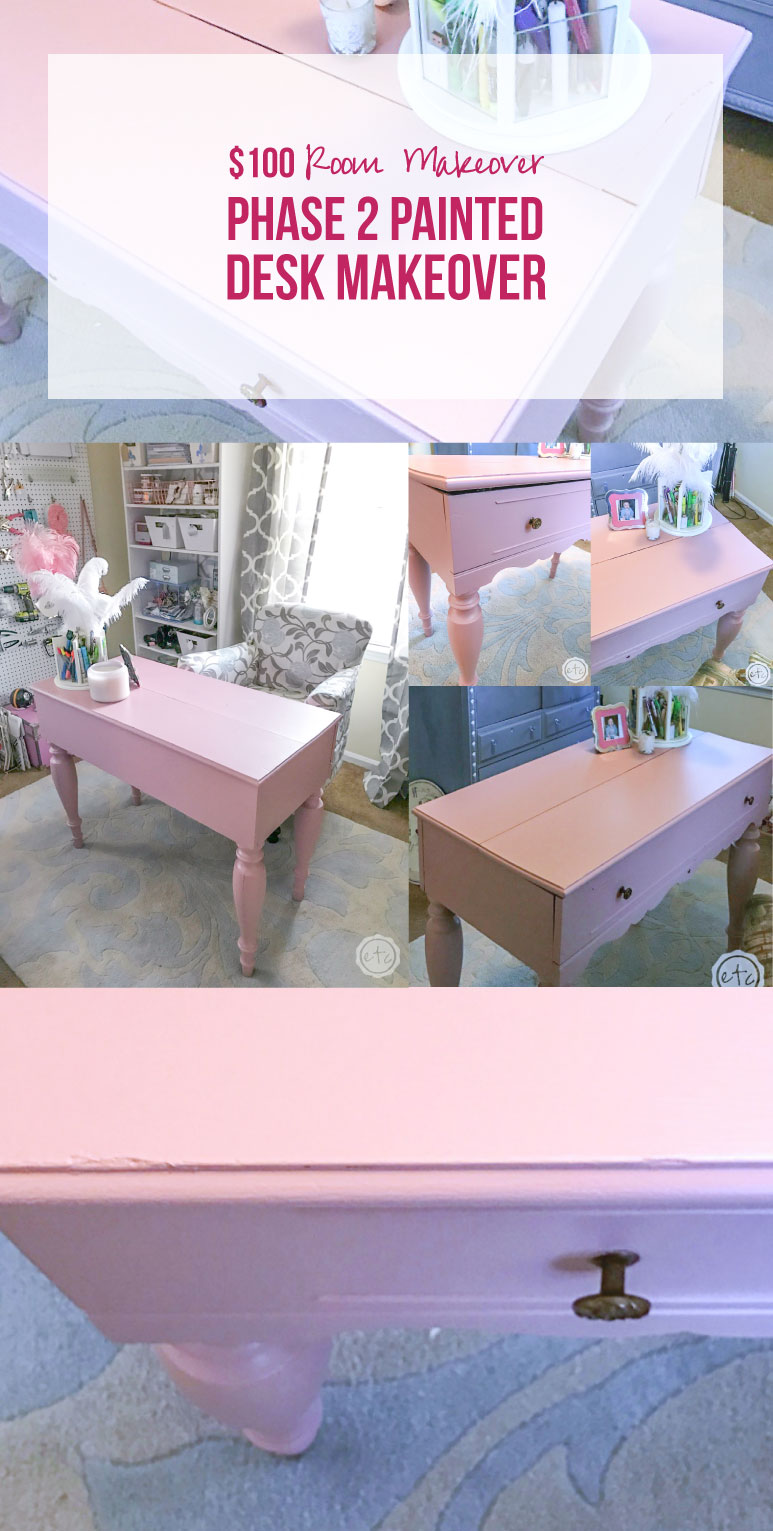
Well the craft room is definitely coming along. After organizing the entire space, building a new bookcase and adding new storage the next step is a little painted desk makeover! A coat of blush paint will add a feminine touch while giving this gorgeous old desk new life.

The best part of this little painted desk makeover is that it’s week 3 of our little room makeover… which means it’s almost over! Of course the vision board from week 1 was the perfect bit of inspiration for the entire challenge… and last week we tackled storage for the craft room.

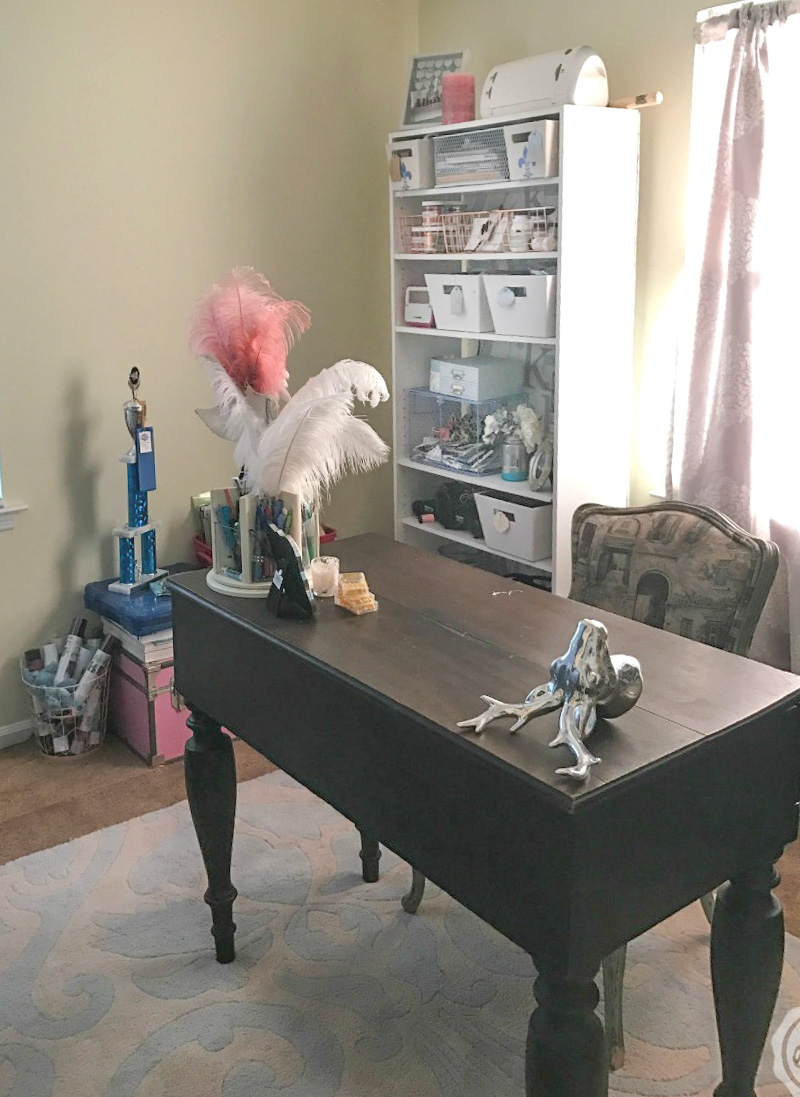
This week we’re tackling the elephant in the middle of the room. (Literally!). I mean just take a look at this photo of week one… if that’s not a horrifying before photo I don’t know what is!

Looking for a bunch of posts on painting? I’ve got you covered!
Click here to see all of my helpful paint posts in one place!

Even last week’s round of new organization did wonders to making this room a functional space… I mean you can see the carpet so that’s kind of awesome.

The desk was the next piece of the puzzle. Honestly I thought long and hard about whether or not to paint it. I actually picked it up spontaneously on a solo road trip home from Atlanta almost two years ago. I stopped to stretch my legs at a random antique mall (that’s a thing right?) and found this little desk all the way in the back tucked in a corner.

You can see from the photo I took to send home that it’s even more incredible on the inside than it is on the outside… all of those little cubbies are adorable and the turned legs are kind of my jam. The price tag was unbelievable so I asked for help putting it in my little car and went home. Of course, it’s an old desk so its not in perfect condition. The wood is warped in places, there’s cracks and water rings… when you’re old it’s not uncommon to have a few kinks in your armor.

I instantly saw this pretty desk covered in a coat of gorgeous blush paint to spruce her up and make her young again!

Once I got her home I was overcome with doubt… the hubster and my Mom told me painting this desk was a horrible idea and I should leave it as it was. I almost did but I just couldn’t get over the idea of a blush colored desk. So I finally bit the bullet… although I left the interior wood for now. The inside was fairly protected and in much better shape so I couldn’t bring myself to paint it just yet. I guess we’ll see as we go!

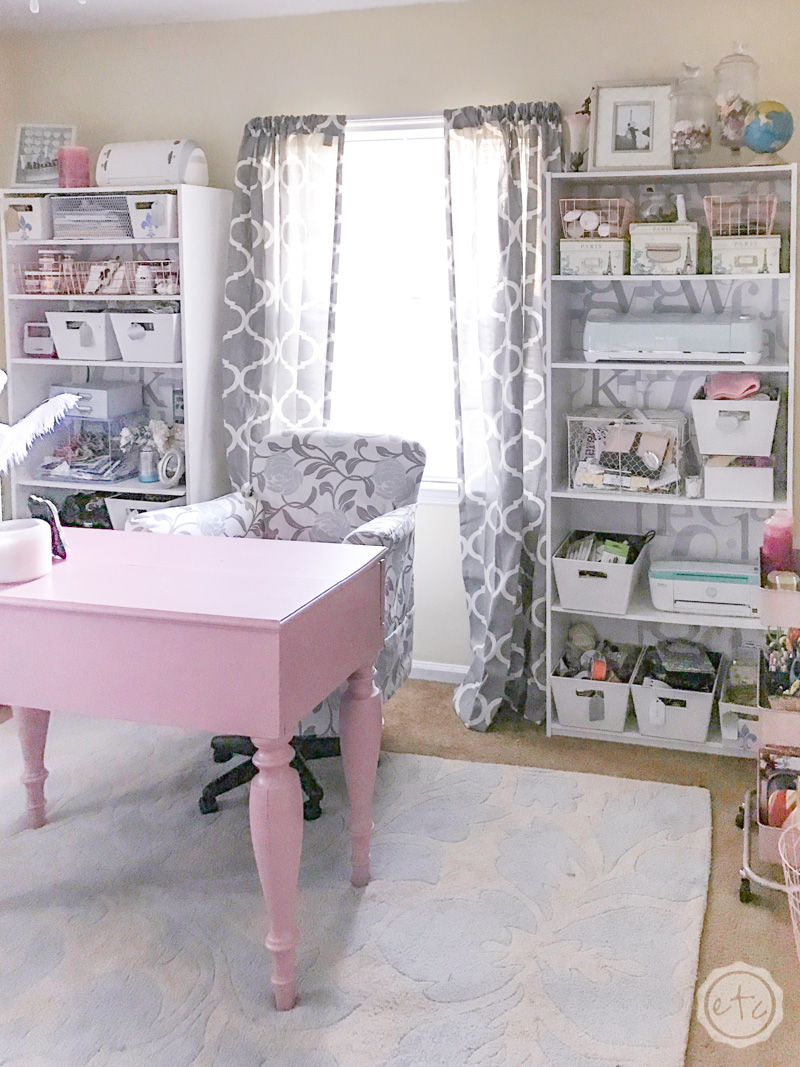
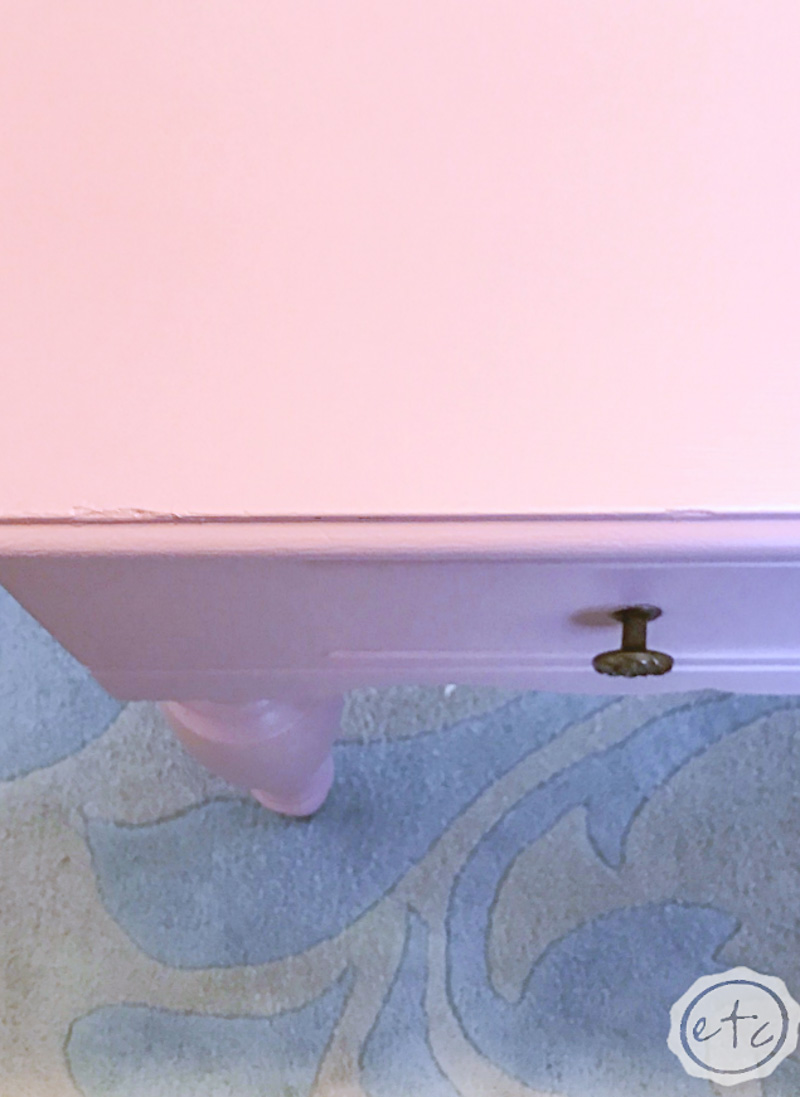
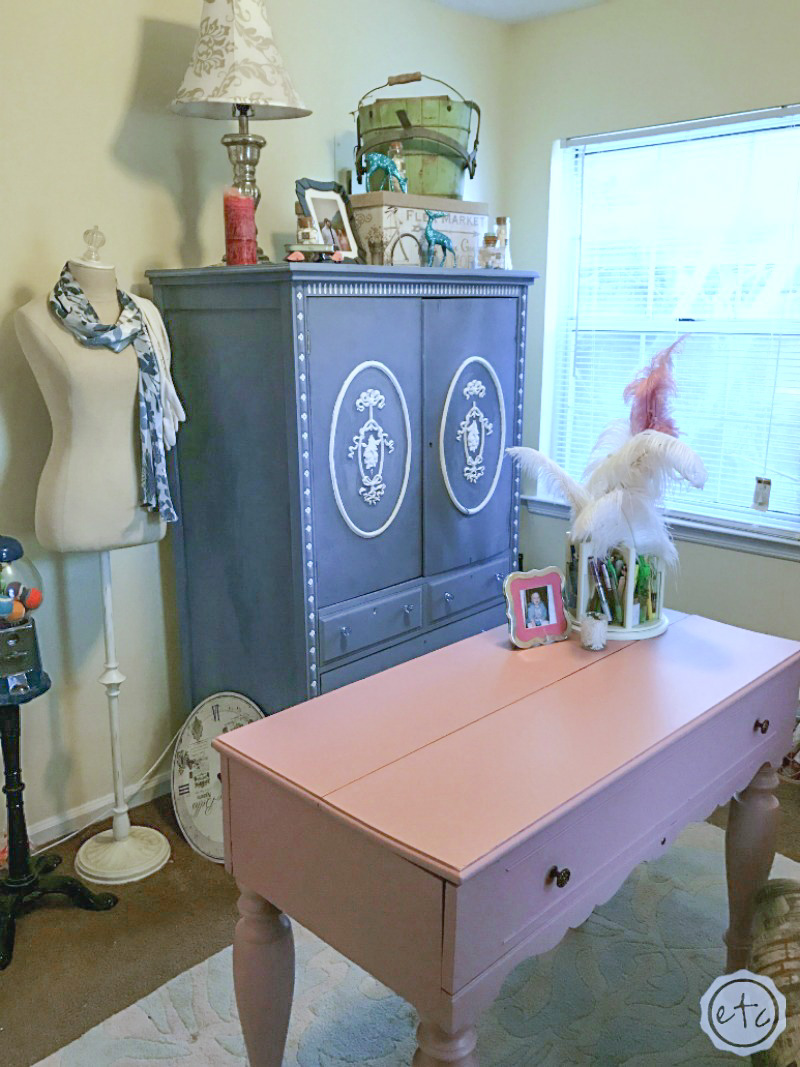
Isn’t she gorgeous!? I’m in love with the blush color! It’s called pressed flower from Sherwin Williams and I am so smitten with how the entire desk turned out!

Of course, if you’ve never attempted a painted desk makeover before you may be wondering what type of paint I used.

I broke out the enamel for this one and went with Sherwin Williams All Surface Enamel, it’s water based so it cleans up with soap and water (score!) but it dries to a hard scratch resistant finish. I do love chalk paint (like I used on the blue craft cabinet you can see in the background) but I wanted this piece to be hardy and functional since I’ll be crafting on it.

I mean there’s nothing like a million little craft projects to put a piece of furniture through the ringer!

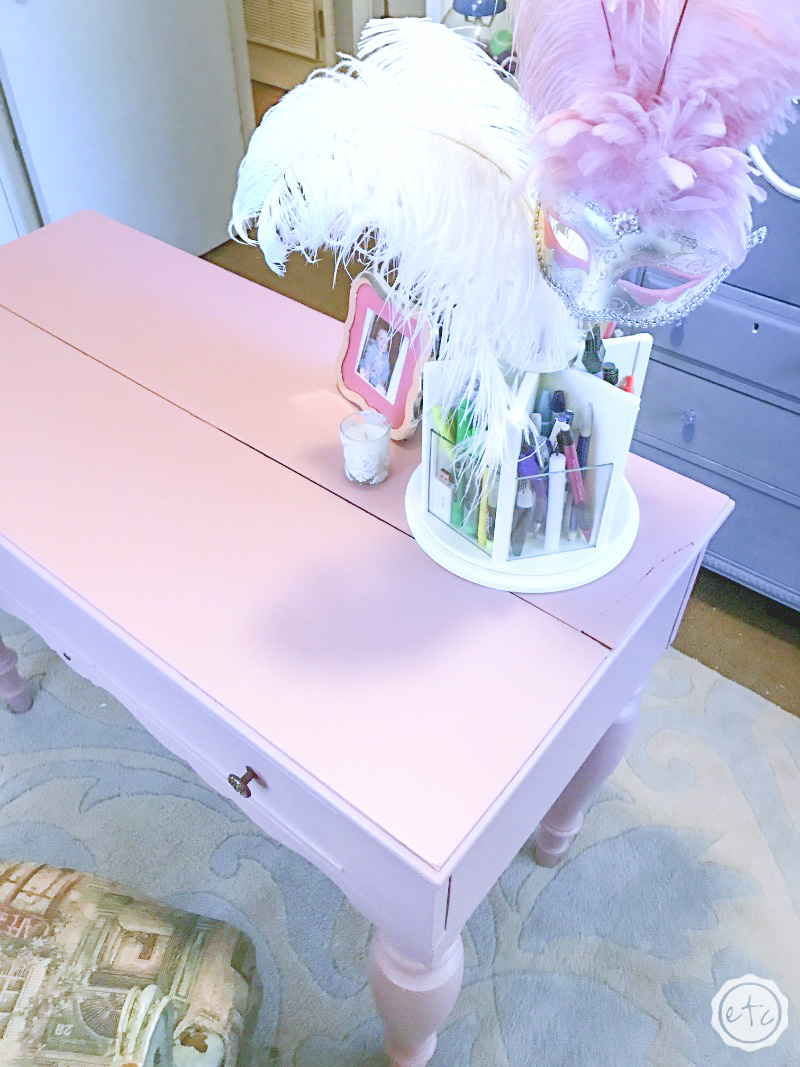
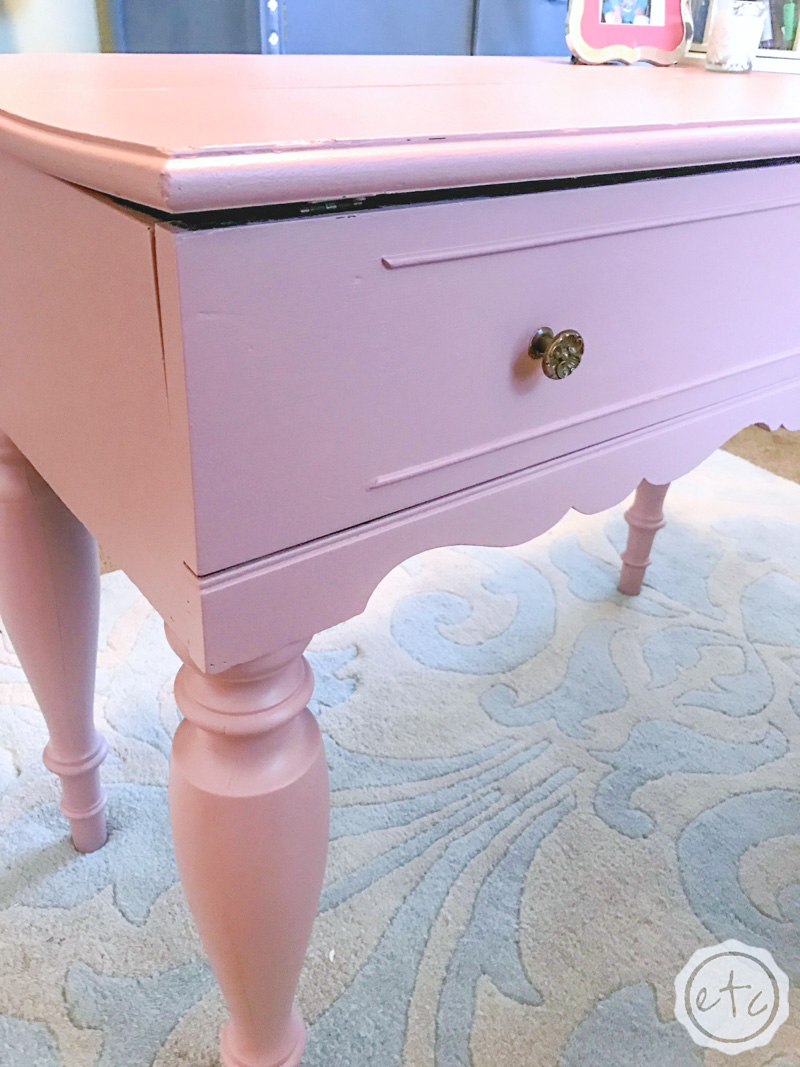
I think those turned legs might be my absolute favorite part of the desk! I love the little cubbies but unless this desk is used for writing the top will mainly be closed so you can’t see the inside! Which means the legs are the leading bit of charm!

For this painted desk makeover I spent about an hour and a half with the paint brush.

I don’t know why I always think painting will take forever… it’s really the prep work that takes a long time. Sanding, cleaning, priming… actually painting a piece doesn’t take very long at all!

Of course, whenever I’m painting a piece I go through the same couple questions: is it dull, dry and clean? Dull meaning is the surface shiny/glossy? Paint doesn’t bond properly to a glossy surface so if it was glossy sanding and priming would be in order. Since this desk is rather old it hasn’t been glossy for quite some time… so I could skip that step!

(Psst! Still looking for painting help? Check out Inside the Paint Can: Beginner Tip and Tricks for Interior Painting and find all my paint tips in one place!)

Ready to Paint?! Don’t forget the painting supplies!


If I were using a normal paint I would have primed the surface but since I was using an enamel I didn’t have to worry about bonding. So I got to skip the priming step too… score!

I cleaned the whole thing off with a damp rag to make sure any dust or loose bits of dirt were free and then waited for the whole thing to dry. Luckily this piece was fairly clean already so it didn’t take a lot of scrubbing… not like the pie safe in our kitchen! That thing took my hubby, brother and I several hours of just scrubbing to get to the second step!

Once this baby was clean and dry we had hit all three steps (clean, dull and dry!) so I moved on the best part! Painting!

I spread a plastic drop cloth under this baby and painted it right in the craft room… some people don’t like to paint in the house because then the house smells like paint. I guess that’s one perk of working in a paint store… I no longer can smell paint. It’s so normal to me that it doesn’t even register.

That kind of worries me.

But it makes painting in the house pretty easy!

I worked my way all the way around the desk, painting the legs, the sides, all the weird nooks and crannies before standing up and painting the surface of the desk. I used a brush to do the entire thing (I like an XL purdy cub brush because the short handle makes painting furniture super easy) and it went super fast! By the time I made it through the first coat the first leg of the desk was dry so I went ahead and started on the second coat.

The second coat is my favorite becasue that’s when the paint reallllllly starts to cover. No matter how neatly you put the paint on the first coat of paint is always the ugly coat. It’s streaky and you can see the wood through the paint… that’s just it’s nature. But by the second coat you can see what the real color is going to look like.

It’s like magic.

I’m so glad that the entire thing is painted… I love it so much! Do you have a piece you’ve been going back and forth on? At this point I have to say go for it… in my case it was definitely worth it!

If you haven’t seen the rest of the Craft Room Makeover find it here:

An InLinkz Link-up


If you’re following along with the $100 Room Makeover Challenge check out everyone else’s weekly progress here:

An InLinkz Link-up


Save

Save

FREE 6 Day E-Course

Looking for the perfect paint color? In several minutes a day I'll guide you from swatches to done in 6 days.

Success! Now check your email to confirm your subscription.

There was an error submitting your subscription. Please try again.

I hate spam... so I'll never send you any! Powered by ConvertKit
You made it through the entire post? That means you're one of my new favorite people! I'd love to be friends and see what else you would like to read about! Leave me a comment and then sign up for your very own FREE paint planner.... so that you can keep track of every single paint color with ease!
Welcome back! I'd love to be friends and see what else you would like to read about! Leave me a comment and then sign up for your very own FREE paint planner.... so that you can keep track of every single paint color with ease!

Show me some LOVE y'all:

  • Facebook
  • Pinterest
  • Twitter
  • Email

Related

«
»

Before and After, Furniture, Home Decor, Paint 5

Comments

  1. Erin @ Lemons, Lavender, & Laundry says

    March 31, 2017 at 11:32 am

    This entire post, I thought my eyes were deceiving me. I read the word “blush” and thought it said “bluish”. I’m scrolling though, thinking the desk is definitely NOT blue, what is wrong with my eyes. Went back and realized it said blush, whew. The desk looks gorgeous! Amazing what a couple coats of paint can do, huh?

    Reply

Trackbacks

  1. $100 Room Makeover Craft Room Reveal - Happily Ever After, Etc. says:
    March 29, 2017 at 7:55 pm

    […] second step of my little craft room reveal was to paint my desk a gorgeous blush […]

    Reply
  2. 7 Simple Furniture Projects - Happily Ever After, Etc. says:
    April 1, 2017 at 8:19 pm

    […] paint my craft room desk a gorgeous shade of blush last month I’m kind of on a furniture painting kick! I’ve always enjoyed painting […]

    Reply
  3. 10 Pink Painted Furniture Makeovers – Craftivity Designs says:
    April 28, 2017 at 5:39 am

    […] Happily Ever After | Desk in Pressed Flower […]

    Reply
  4. 11 Small Rose Gold Touches that will make a BIG Impact - Happily Ever After, Etc. says:
    April 28, 2017 at 8:54 pm

    […] out his desk with rose gold desk accessories… but I bet they’d look fabulous with my blush desk in the craft […]

    Reply

Leave a Reply Cancel reply

Your email address will not be published. Required fields are marked *

sidebar betsy I'm Betsy, Home Decor Enthusiast, Yorkie Mama, Crafter, Blogger, Picky Eater, Chief Mess Maker, Antique Hoarder and Graphic Designer. You can generally find me working on (attacking with a paintbrush) the 3 bed, 2 bath home we are currently renting! Our home might not be perfect but it is ours & if you hang out long enough you'll see that what we lack in know-how we make up for in passion!
Shop My Craft Room

Shop My Home

Featured Articles

15 Fabulous Ideas to Organize your Laundry Room
25 FREE Printables For Your Home!
What to do with EXTRA Paint with Happily Ever After Etc
10 Ways to Make Your Bed EXTRA Comfy with Happily Ever After Etc.
Ready to Pick your Perfect Paint Color? We'll help you with our 6 Day FREE E-Course

Hey y’all,

Profile

I'm Betsy, Home Decor Enthusiast, Yorkie Mama, Picky Eater, Chief Mess Maker, & Graphic Designer...

A Little Note!

Many of the links on Happily Ever After, Etc. are affiliate links. If you purchase a product after clicking an affiliate link, I receive a small percentage of the sale for referring you, at zero cost to you! How awesome is that? Purchasing through affiliate links is an easy, painless way to help out your favorite bloggers. Thank you so much for your continued love and support! Read the full disclosure here!

Instagram

The number one question people ask when they watch The number one question people ask when they watch my new home tour on YouTube? Why is there so much clutter... um excuse me I like stuff! The second question? How did you frost the doors? Don’t worry... I wrote out the whole process, check out the step by step tutorial on the blog!
With Christmas fast approaching I’m having secon With Christmas fast approaching I’m having second thoughts... about taking down my holiday decorations! I absolutely love all the blush and rose gold this year and think I might have to add more pink to my every day decor. Until then maybe it will just stay Christmas at the Smith house! Tutorials for both the “Merry Christmas” resin sign and the “Dear Santa” Cricut sign are in my profile! #pinkchristmas #pinkchristmastree #pinkchristmasdecor
Well y’all Christmas is coming up quick... which Well y’all Christmas is coming up quick... which means I need to get a move on with all that wrapping! I got a jump start this morning after whipping up a few little resin light bulbs! Check out the full tutorial over on the blog if you’d like to wrap your presents with a few resin goodies this year... and tell me in the comments below. Are you finished wrapping or (like me) are you still getting started? #pinkchristmas #pinkchristmasdecor #resinchristmas #giftwrappingideas
Ready for another fun and easy resin project? Thes Ready for another fun and easy resin project? These little Christmas trees are the perfect beginner level project so if you’ve never done resin before don’t let it intimidate you!! Grab your heat gun and jump in... I’ll walk you through it! Check out the full blog post for these little guys on the blog (link in profile!)
If you haven’t joined Michelle at @weekendcraft If you haven’t joined Michelle at @weekendcraft SVG membership then WHAT ARE YOU WAITING FOR?! I am obsessed with all the cute svg’s and y’all she is doing a live craft night every month to walk you through making one of her designs... and the first craft night is tomorrow! She’ll be making this “Merry everything and Happy always” SVG and it’s so cute! You don’t want to miss it! See you there! 

(Also who noticed the sneak peek at my new kitchen?!)

#cricutsvgfiles #christmassvg #cricutsled
Well y’all I’m getting this close to unpacked Well y’all I’m getting this close to unpacked in my new house!! And since I’m a blogger Christmas is going up! So here’s the question... do you want a 1 month house update or do you want to wait for the Christmas tour? #lulamaefarmhouse #rosegoldchristmastree #newhouse
Well it’s still a work in progress but I finally Well it’s still a work in progress but I finally have a house!! They have to put it together and do all the detailing before I get keys... but we’re in the end game now! Check out my stories for a sneak peek at the moving process... full YouTube video coming soon!
#ad how amazing did these little fall coasters tur #ad how amazing did these little fall coasters turn out?! Plus I absolutely love the matching tray! The best part? This is such a quick and easy resin project... a silicone mold, a little resin and your trusty heat gun and I promise you can make this baby!! Link in profile for the tutorial!! #fallresin #resinforbeginners #cheetahprint
Okay... is it bad if you just want to make coaster Okay... is it bad if you just want to make coasters in the same mold with the same technique but different colors?? They turn out soo differently! Just a sneak peek of my fall coasters and the blush ones I made last year!
Happy #nationaldogday to the fur babies that are ( Happy #nationaldogday to the fur babies that are (literally) behind (beside... or underneath!) all Of my projects! These sweet little cuddle muffins make everything better 😊🐶😘
GIVEAWAY CLOSED Our winner is @kamikvega Check you GIVEAWAY CLOSED
Our winner is @kamikvega Check your inbox girl, this little machine is headed your way! Thanks to everyone who participated... I can’t wait to see where we go from here!

🥳📦🥳 GIVEAWAY🥳📦🥳
If you have loved all of the Cricut projects I make here is your chance to win a Cricut Joy of your very own! If you’re ready for a little craftiness (maybe a little time to relax) then this giveaway is for you! I’m teaming up with a few of my cavities crafty bloggers so that one of you can win your very own mini crafting machine. Good Luck!!!!

TO ENTER GIVEAWAY:
1.) Follow
@creativeramblings 
@weekendcraft 
@craftylumberjacks 
@this.is.tisa 
@justcallmehomegirl 
@happilyeverafteretc
@lovebird_heartworks 
2.) Like this post
3.) Tag a friend in the comments.
.
.
.
Hurry! Giveaway ends Saturday 8/29/20 at 11:59PM PST. Winner will be notified via Direct Message. Share or tag a friend who'd love to win a Cricut. .
.
.
This contest is in no way affiliated with or sponsored by Instagram or Cricut. To enter you must have a U.S shipping address.
A little peek into the fun summery Tablescape I pu A little peek into the fun summery Tablescape I put together for a little garden party! Want to check out the full table? Wondering where to find all the pieces... click the link in my profile for all the details!
#ad Did you know you can put infusible ink onto al #ad Did you know you can put infusible ink onto aluminum? It's sooooo simple... honestly it's one of the easiest projects I've ever done. Even if you've never used your Cricut before you. can. do. this. I'll show you how every step of the way! Follow along with the full tutorial video over on YouTube! The best part? These little aluminum signs look amazing as part of a larger project! Check out how I added mine to a larger resin wave project on the last slide! @officialcricut #cricutcreated https://lnk2.io/wvMllZf
Okay so It’s no secret that I’ve been obsessed Okay so It’s no secret that I’ve been obsessed with resin for a while now but this week I’ve been playing around with resin waves! Including this tiny resin sea shell! Check out the link in my profile for the full tutorial!
After a lot of struggle, loss and frustration I am After a lot of struggle, loss and frustration I am finally dotting the i’s and crossing the t’s on my next chapter. Yesterday I went and signed the million and one papers to close on my new house! I cannot wait to share the moving (and decorating) process with all of you... next step: keys! #firsttimehomebuyer #newhouse
Load More... Follow on Instagram

Copyright © 2021 · Darling theme by Restored 316

Copyright © 2021 · Darling Theme on Genesis Framework · WordPress · Log in · Privacy Policy

loading Cancel
Post was not sent - check your email addresses!
Email check failed, please try again
Sorry, your blog cannot share posts by email.