• House Tour
    • Reveals
  • About
    • Smith Life
    • Disclosure and Privacy Policy
      • Terms and Conditions
      • Store Affiliates
  • Contact Me
    • Want a Button?
  • Shop
    • Floral Printable Planners
    • Paint eBooks and Packages
    • Wedding Binders & Extra Printables!
    • Planner Bundles
    • Planner Accessories
    • Home Decor Printables!
  • Cart
    • Bloglovin
    • Facebook
    • Instagram
    • Pinterest
    • Twitter
    • YouTube

Happily Ever After, Etc.

Creating Our Own Fairytale

  • Happily Ever After, Etc.
  • Home
  • Home Decor
    • My Home
    • Paint
    • Before and After
    • Tablescapes
    • Mood Boards
    • Furniture
  • DIY & Crafts
    • New to Cricut – Start Here
    • Cricut
    • Resin
    • Scrapbooking
  • Organization & Planning
    • Organization
    • Planner
  • Holidays
    • Christmas
    • Halloween
    • Thanksgiving
    • Easter
  • Wedding
    • Cricut Wedding Projects
    • Free Wedding Binder
    • Bride Bag- The Ultimate Wedding Planner
A Handmade Thank You Card with Happily Ever After Etc

A Handmade Thank You Card

Hey y'all

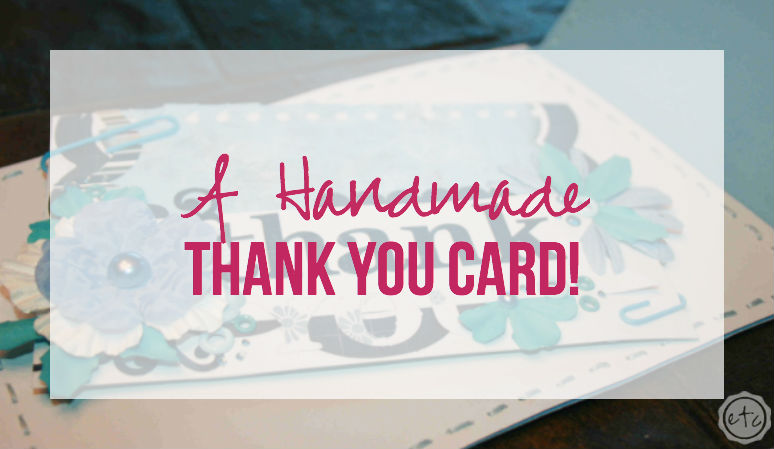
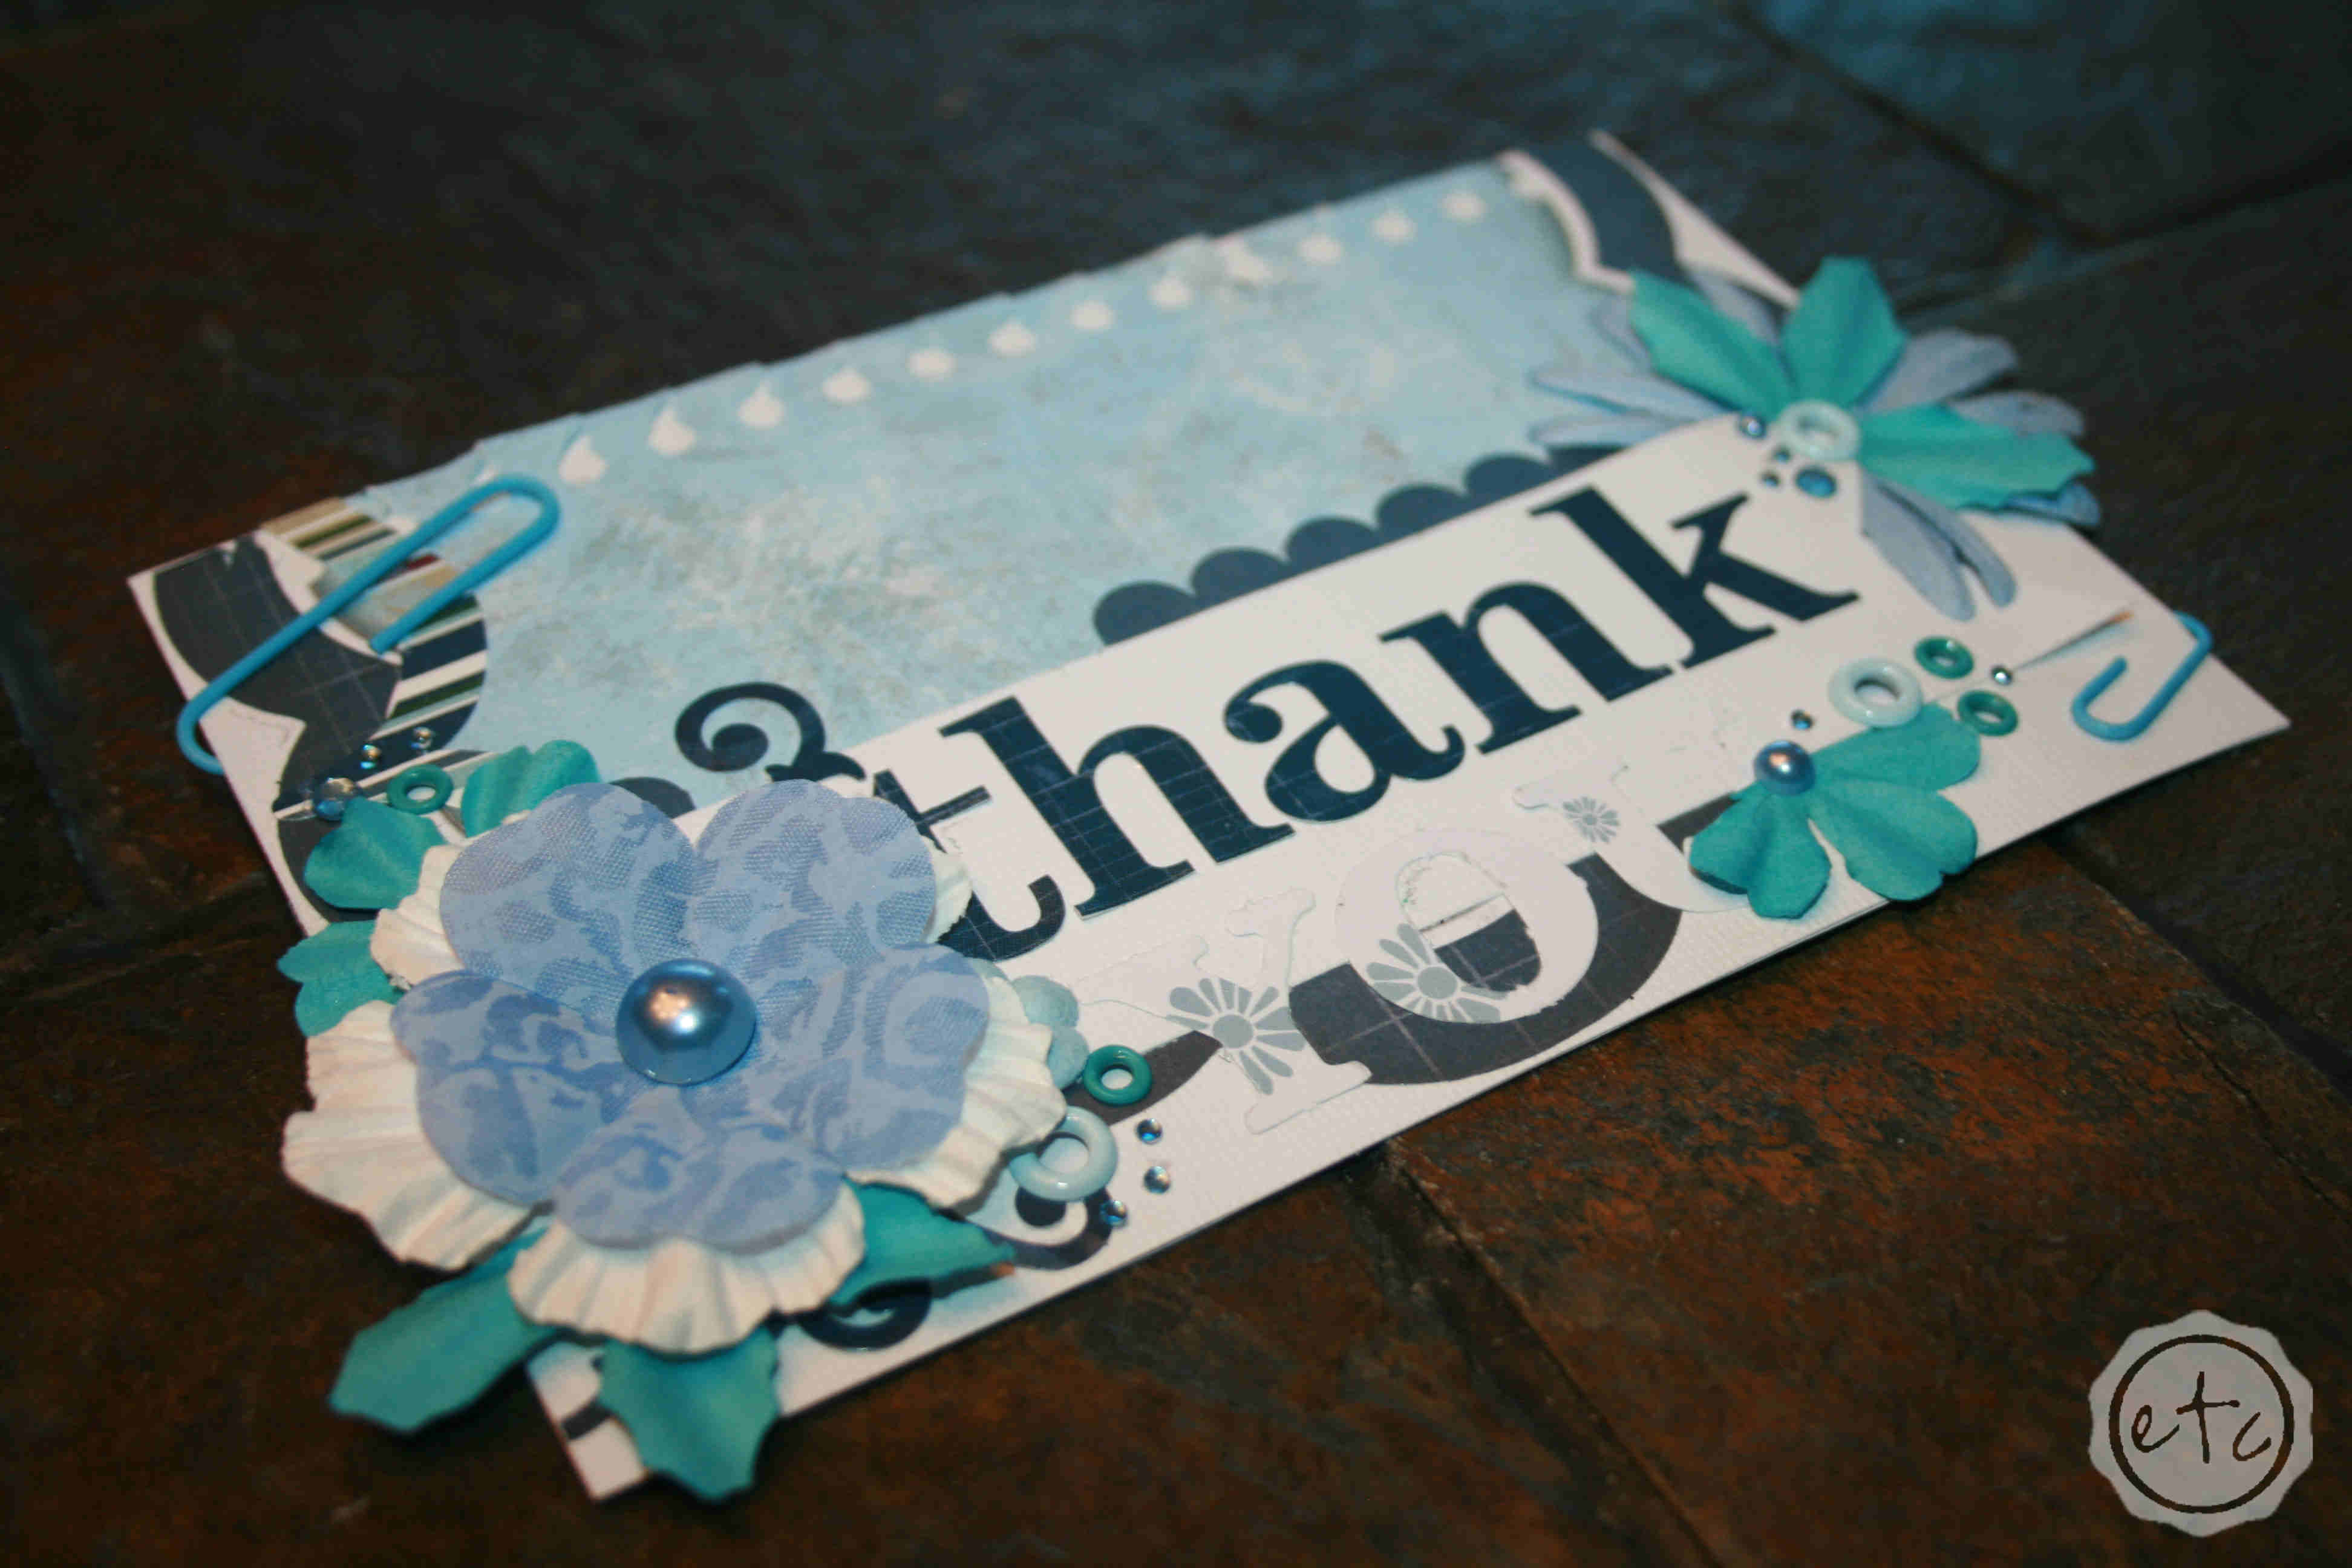
Do you know what my favorite part of scrap-booking is? The embellishments! They’re beautiful, three-dimensional and add so much interest! I suppose that after years of scrap-booking it’s not a big surprise that I’ve delved into the world of card making! Specifically this handmade thank you card!

I can’t walk you step by step through making a beautiful card of your own… because I believe any artistic effort is beautiful! Cheesy? Yes! True? Also, yes! What I can do is walk you through my creative process… OK now I sound hoity toity… let’s just get started alright?

My first step is always to gather supplies… if I know I want my project to include blue and teal colors I search through my supplies for anything that meets that criteria. Usually along the way I find one or two specific pieces that inspire what way I want to go with the entire piece.

Looking for a bunch of posts on DIY & Crafts? I’ve got you covered!
Click here to see all of my how to DIY & Craft posts in one place!

A Handmade Thank You Card | Happily Ever After, Etc.A Handmade Thank You Card | Happily Ever After, Etc.A Handmade Thank You Card | Happily Ever After, Etc.A Handmade Thank You Card | Happily Ever After, Etc.

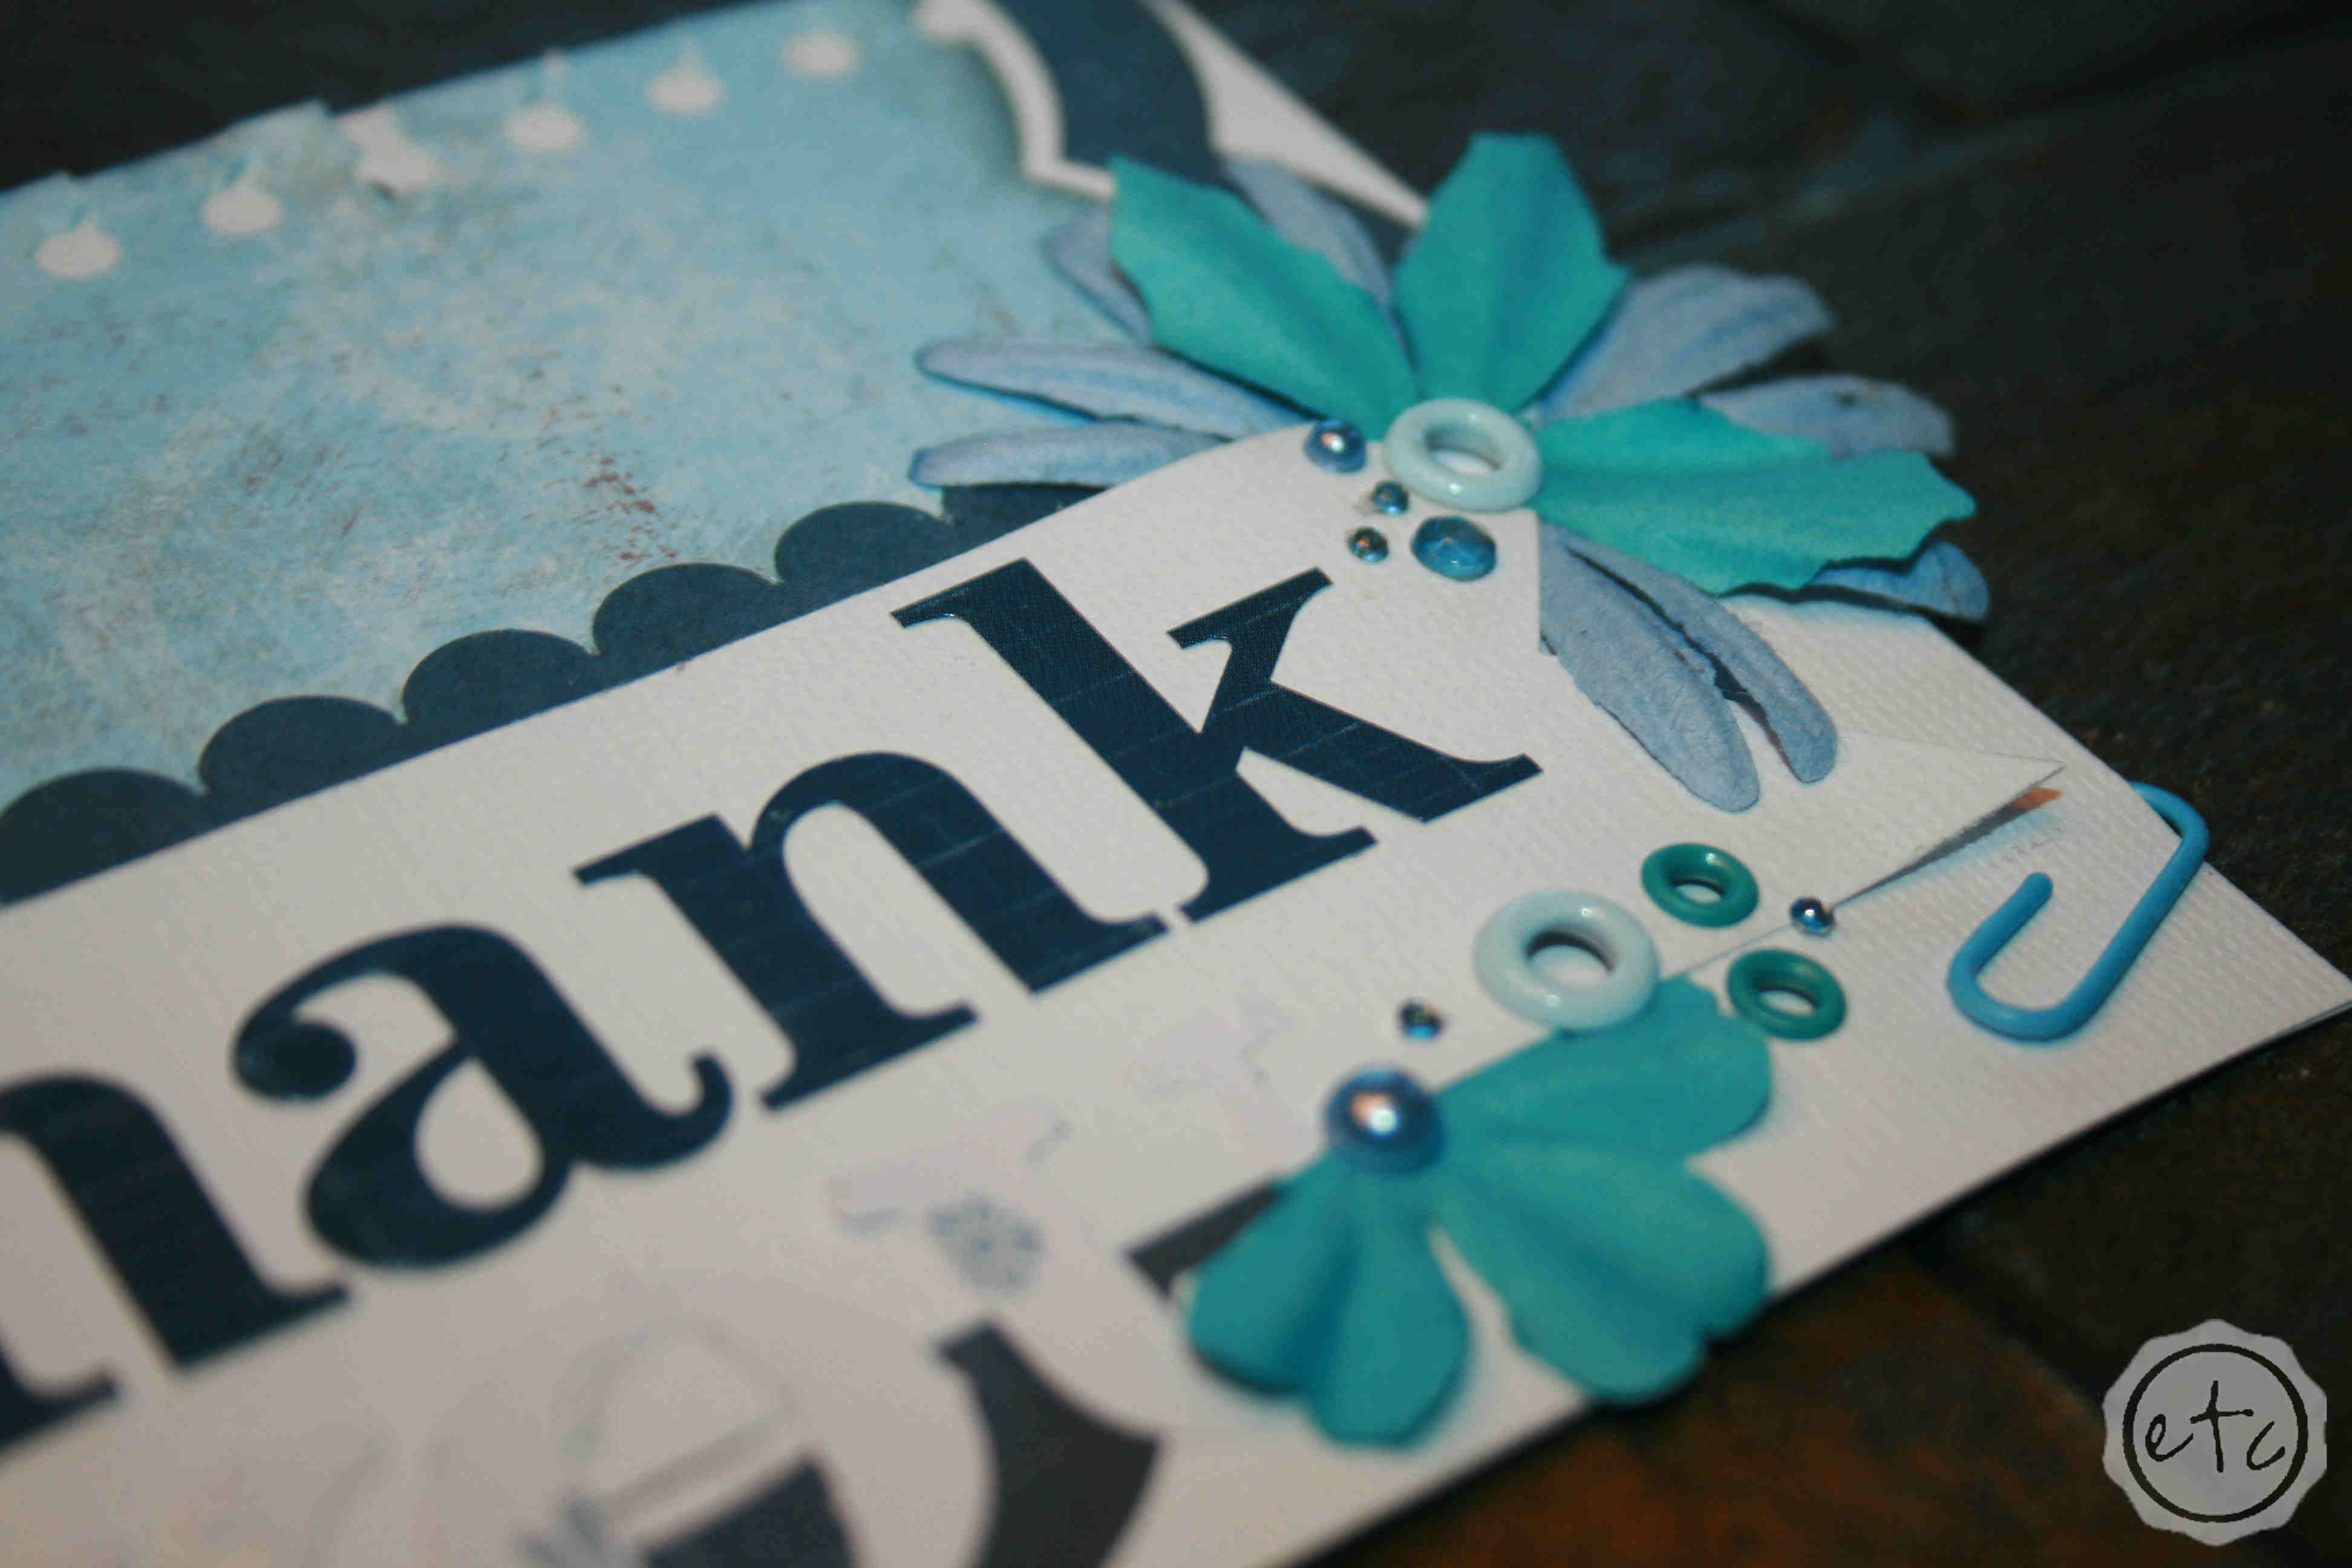
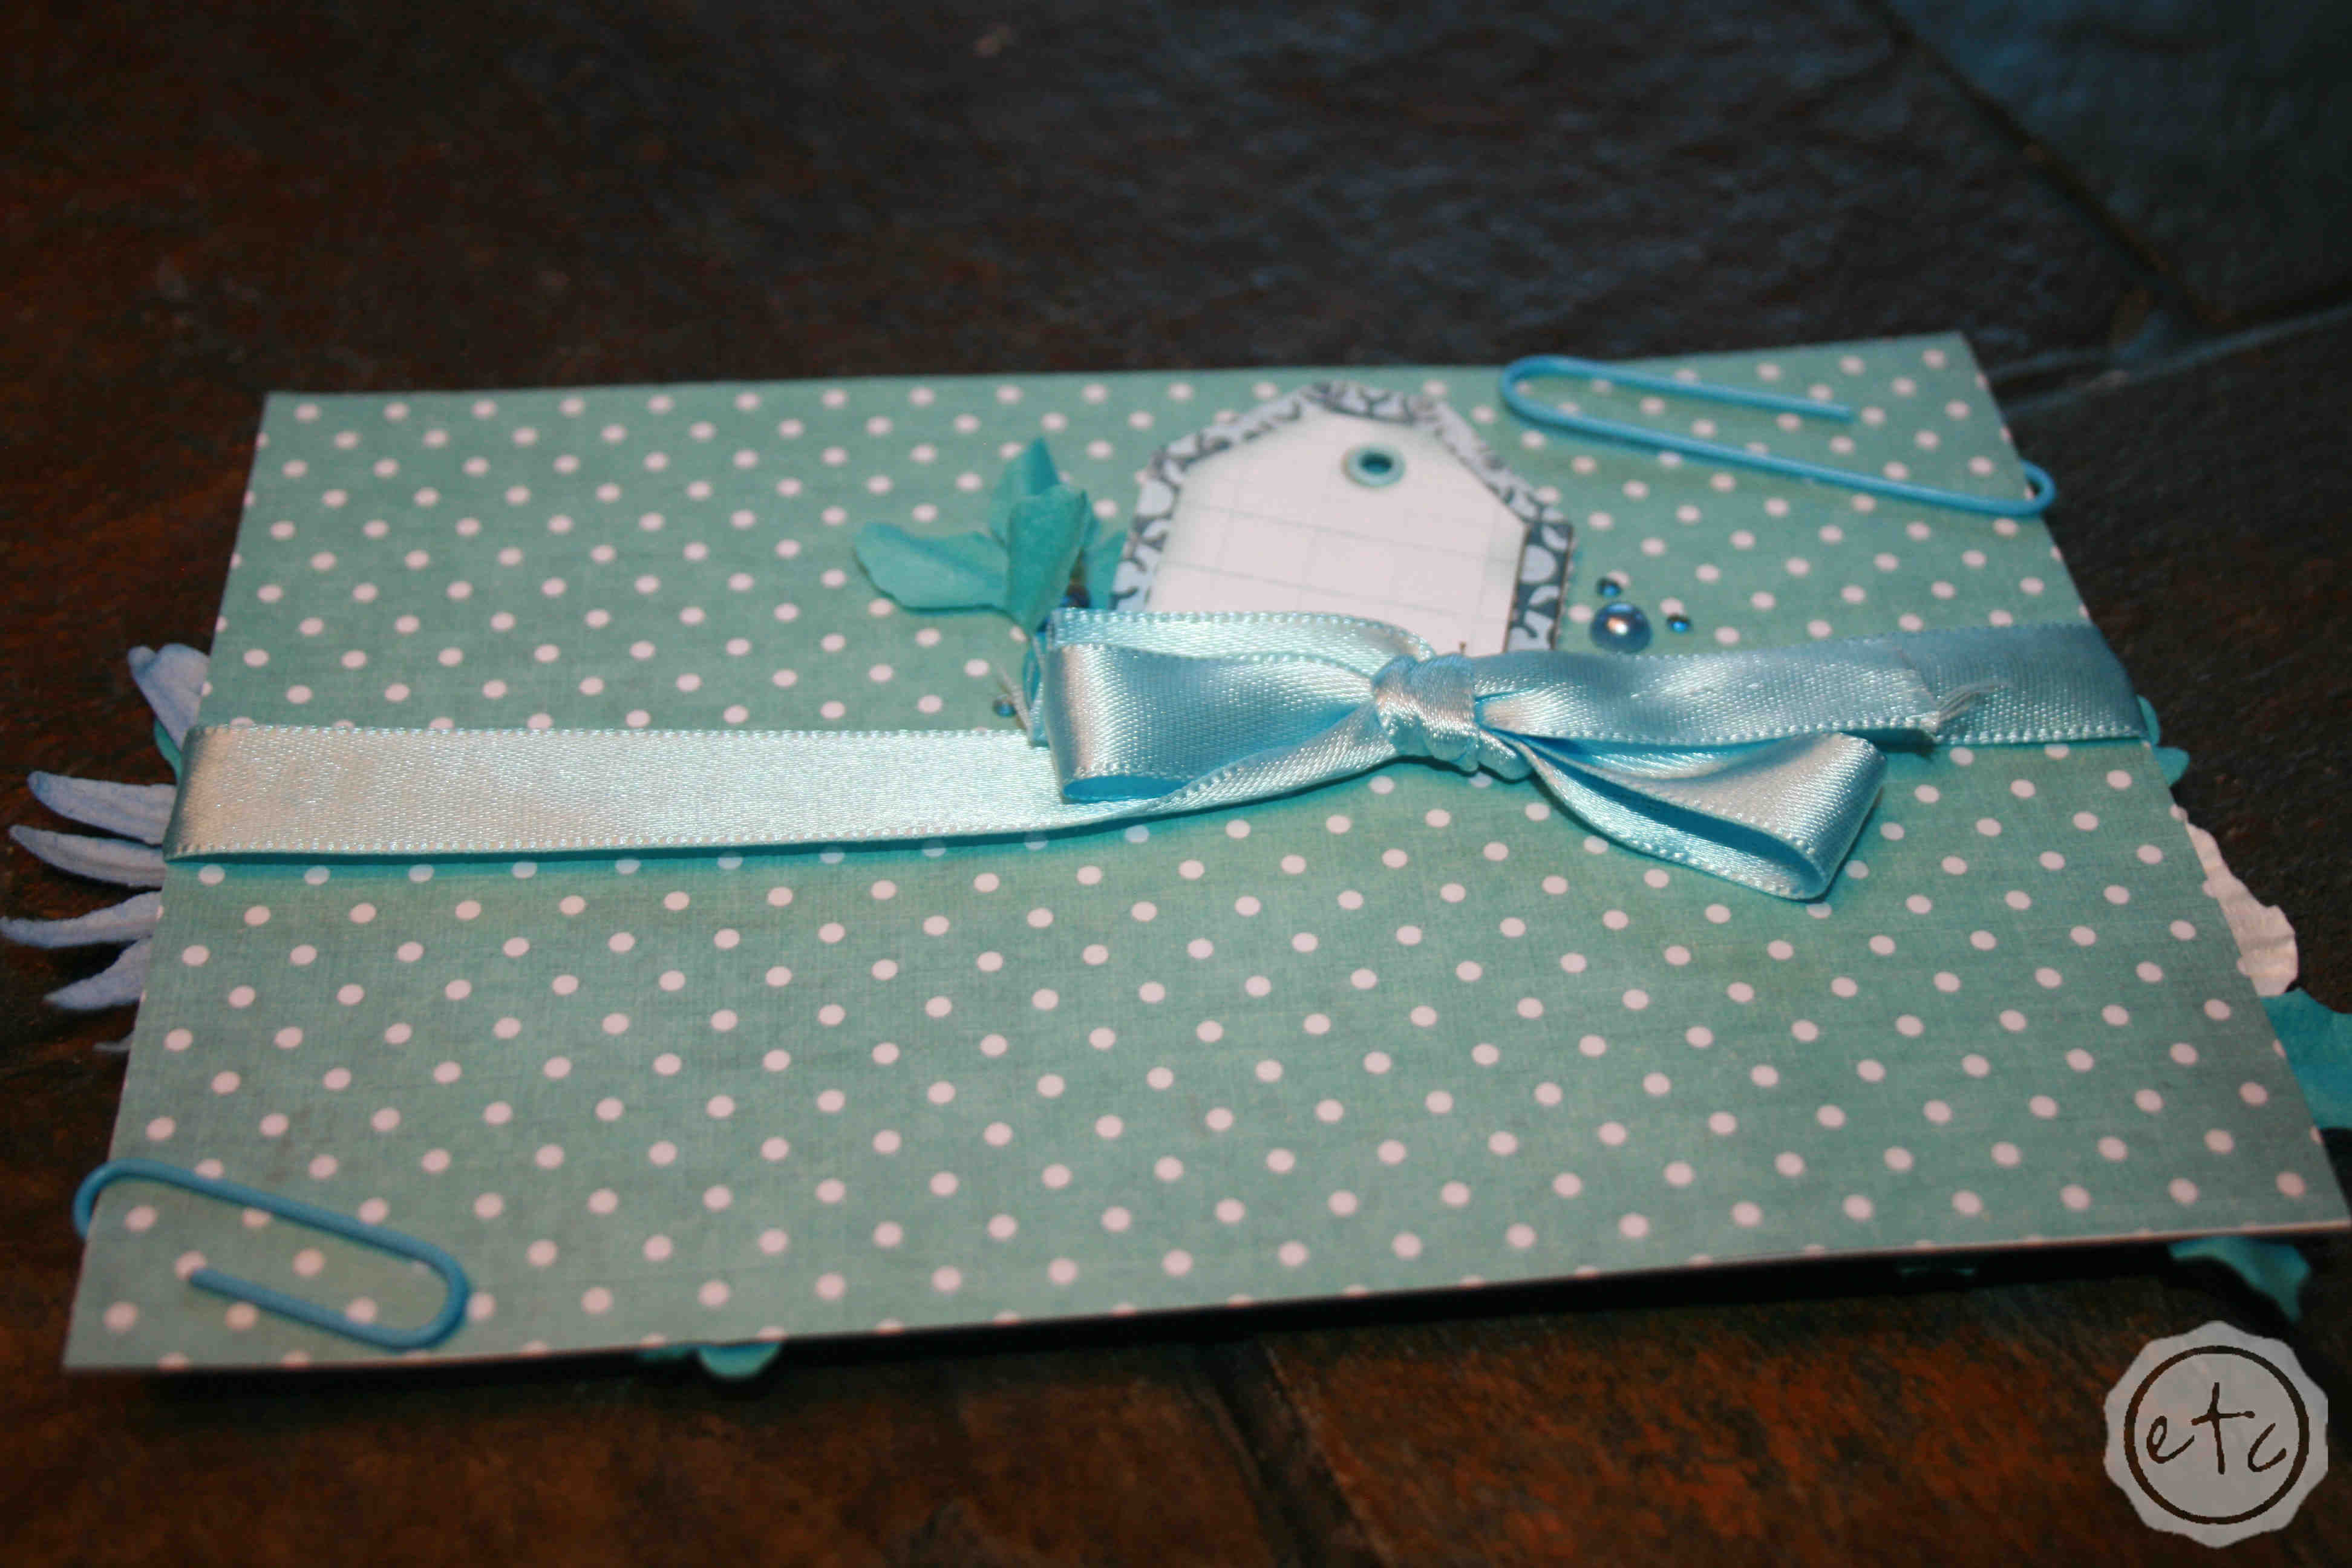
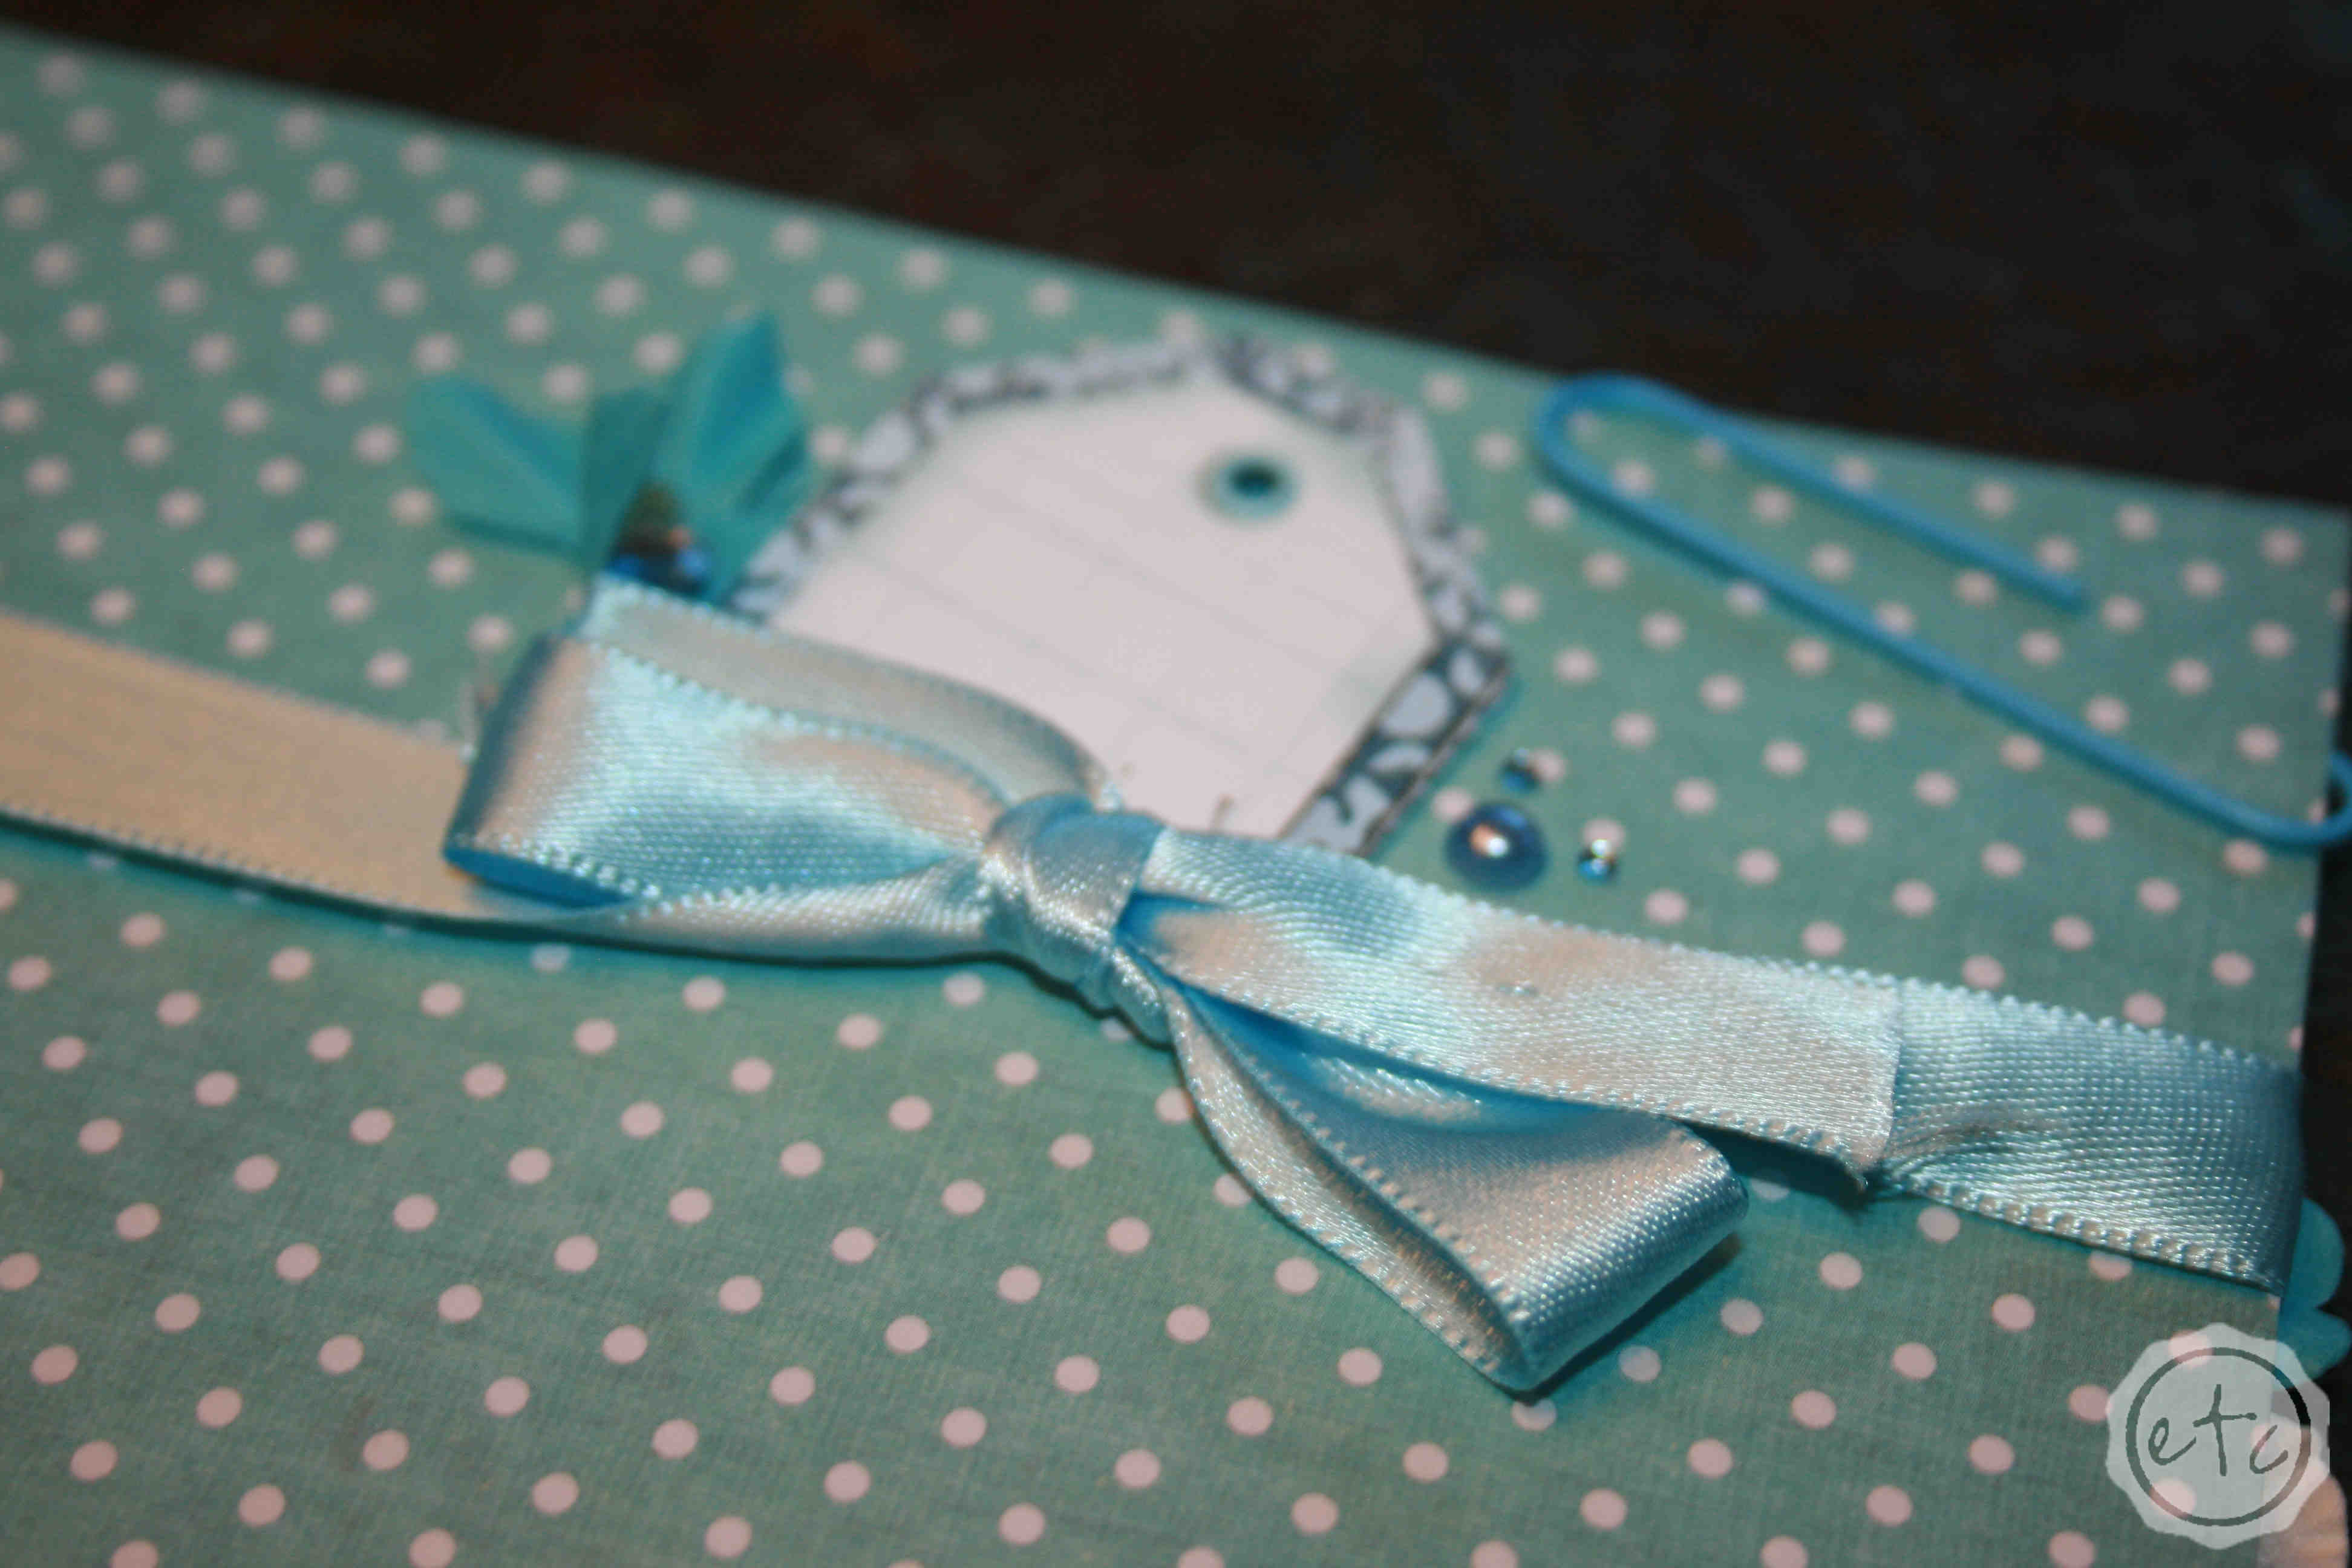
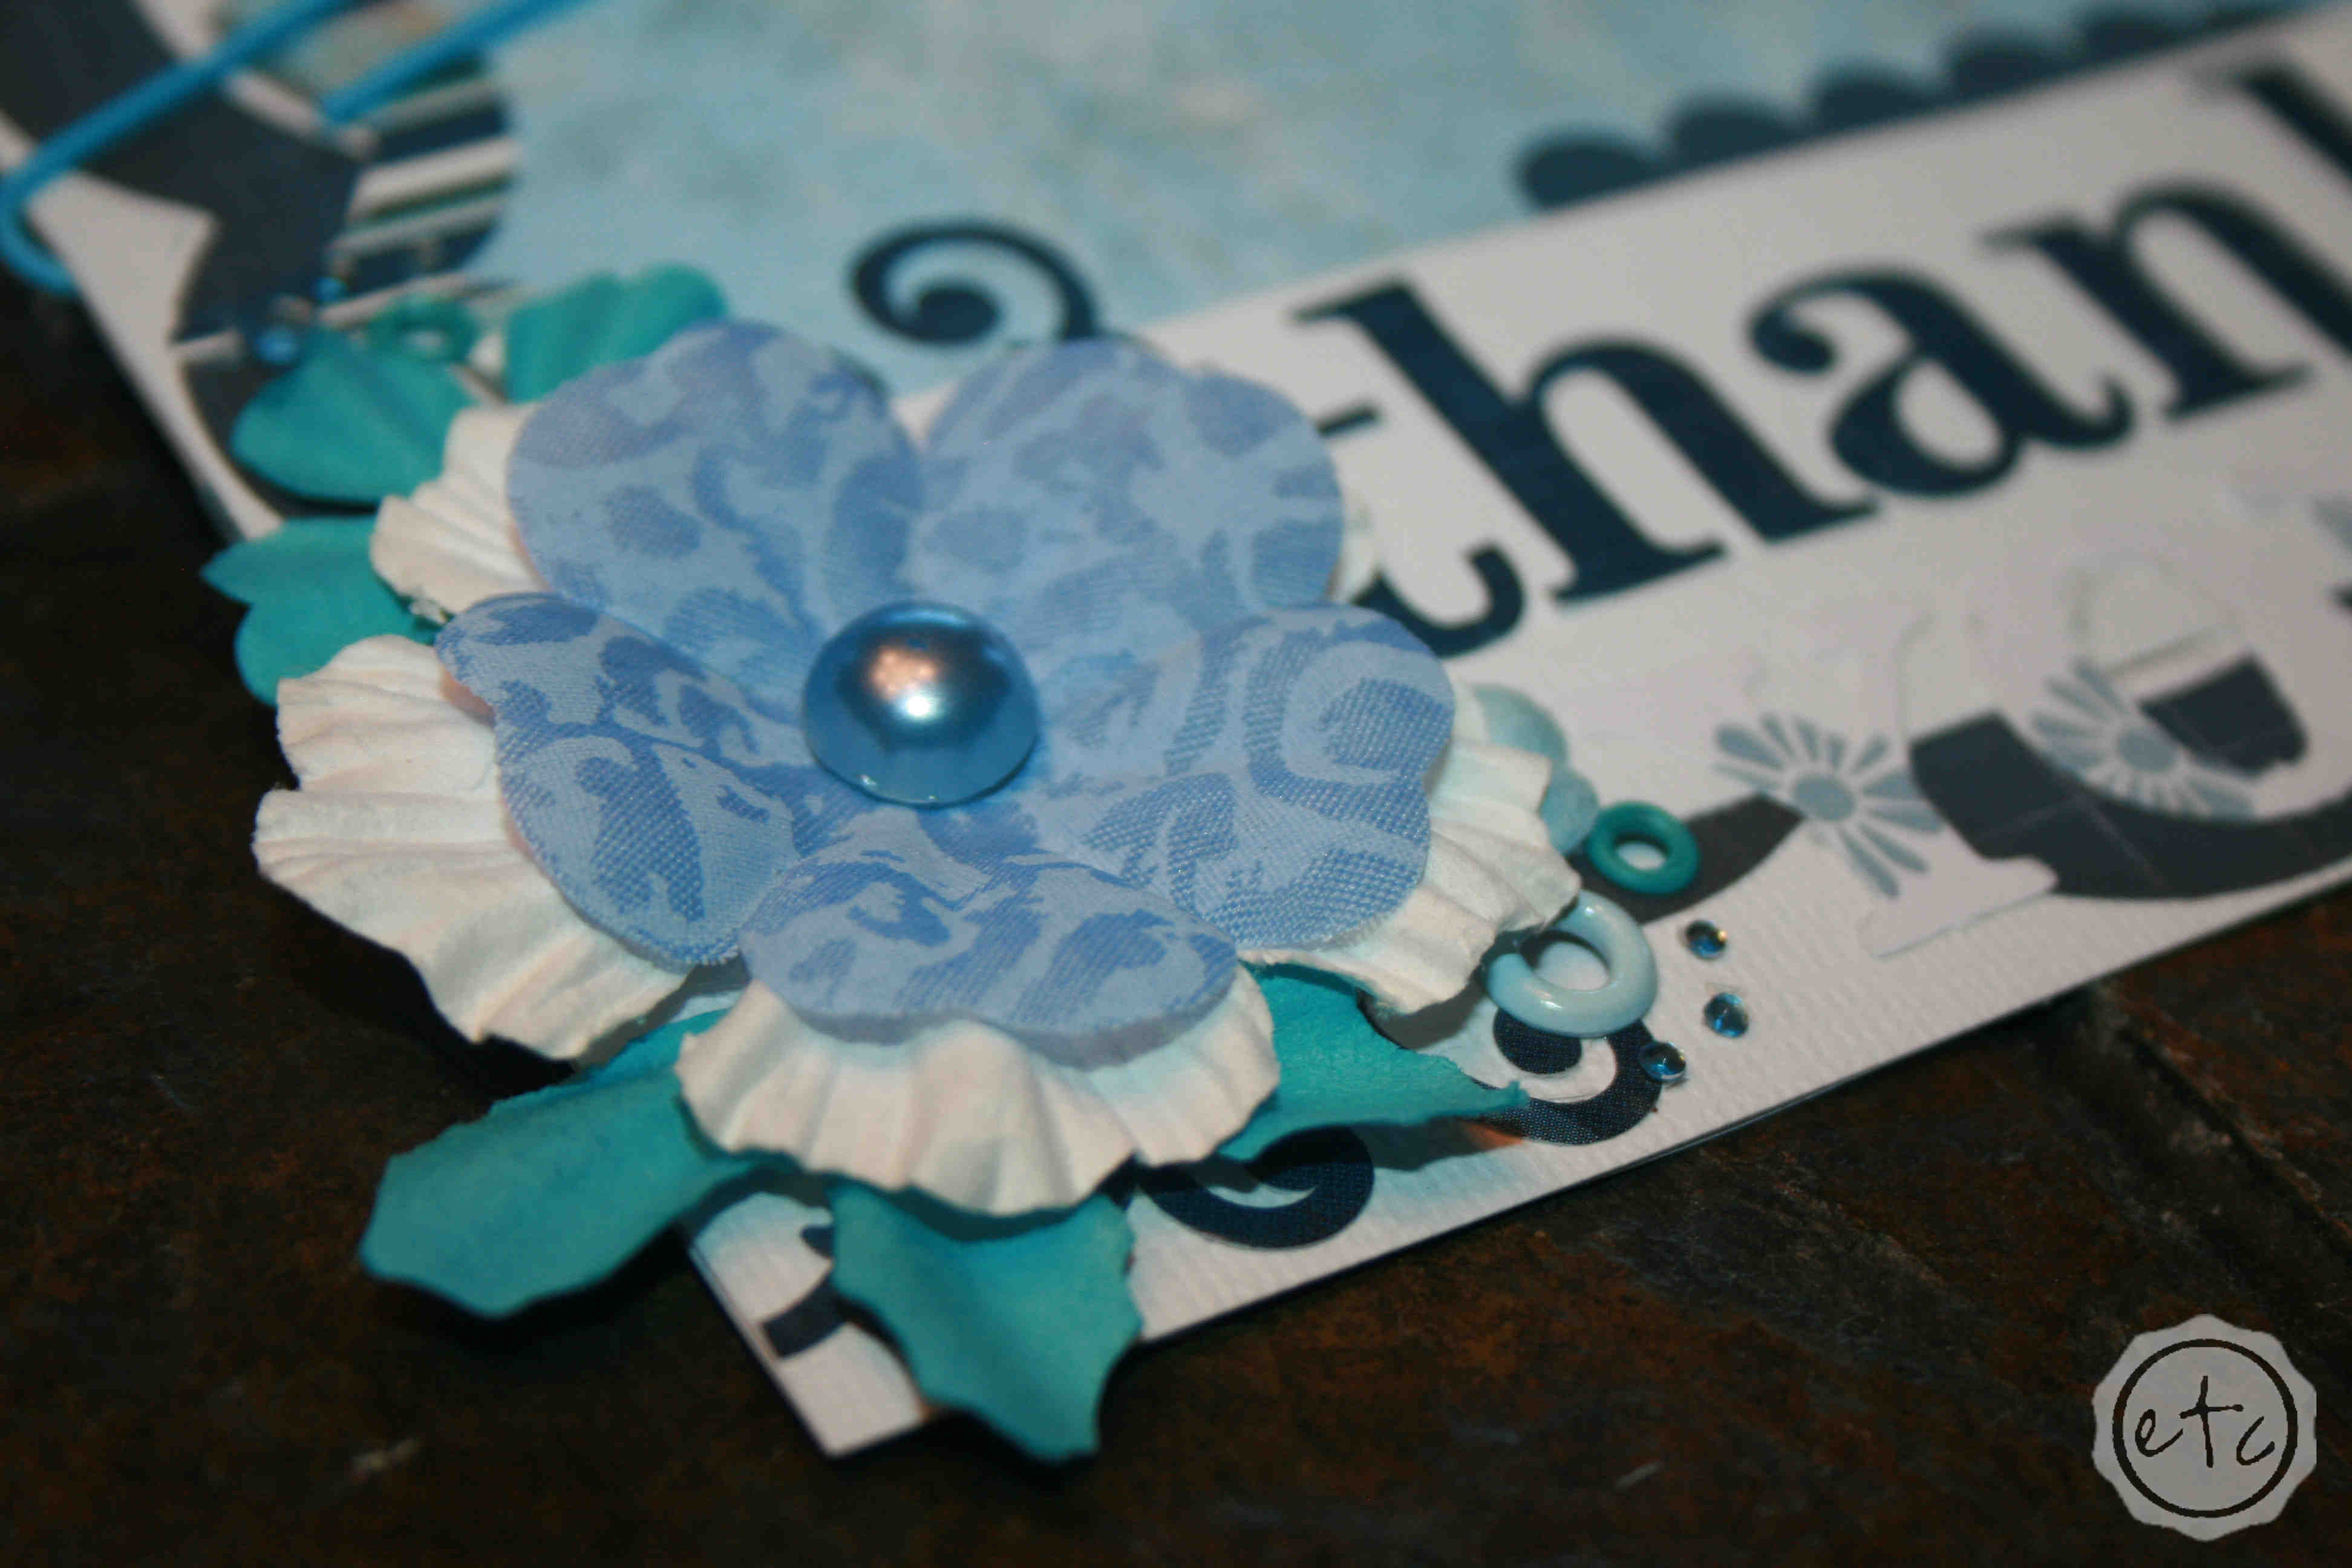
That could be a sticker, a flower, a card… whatever it is that makes the whole project POP! If it’s a metal flower I may use more metal accents to compliment the first piece. Get the picture? In this case I fell in love with this little blue and white tag… so in order to complement my tag I used plenty of blue, white and teal accents. Along with little brads like the one I used for the top of my tag!

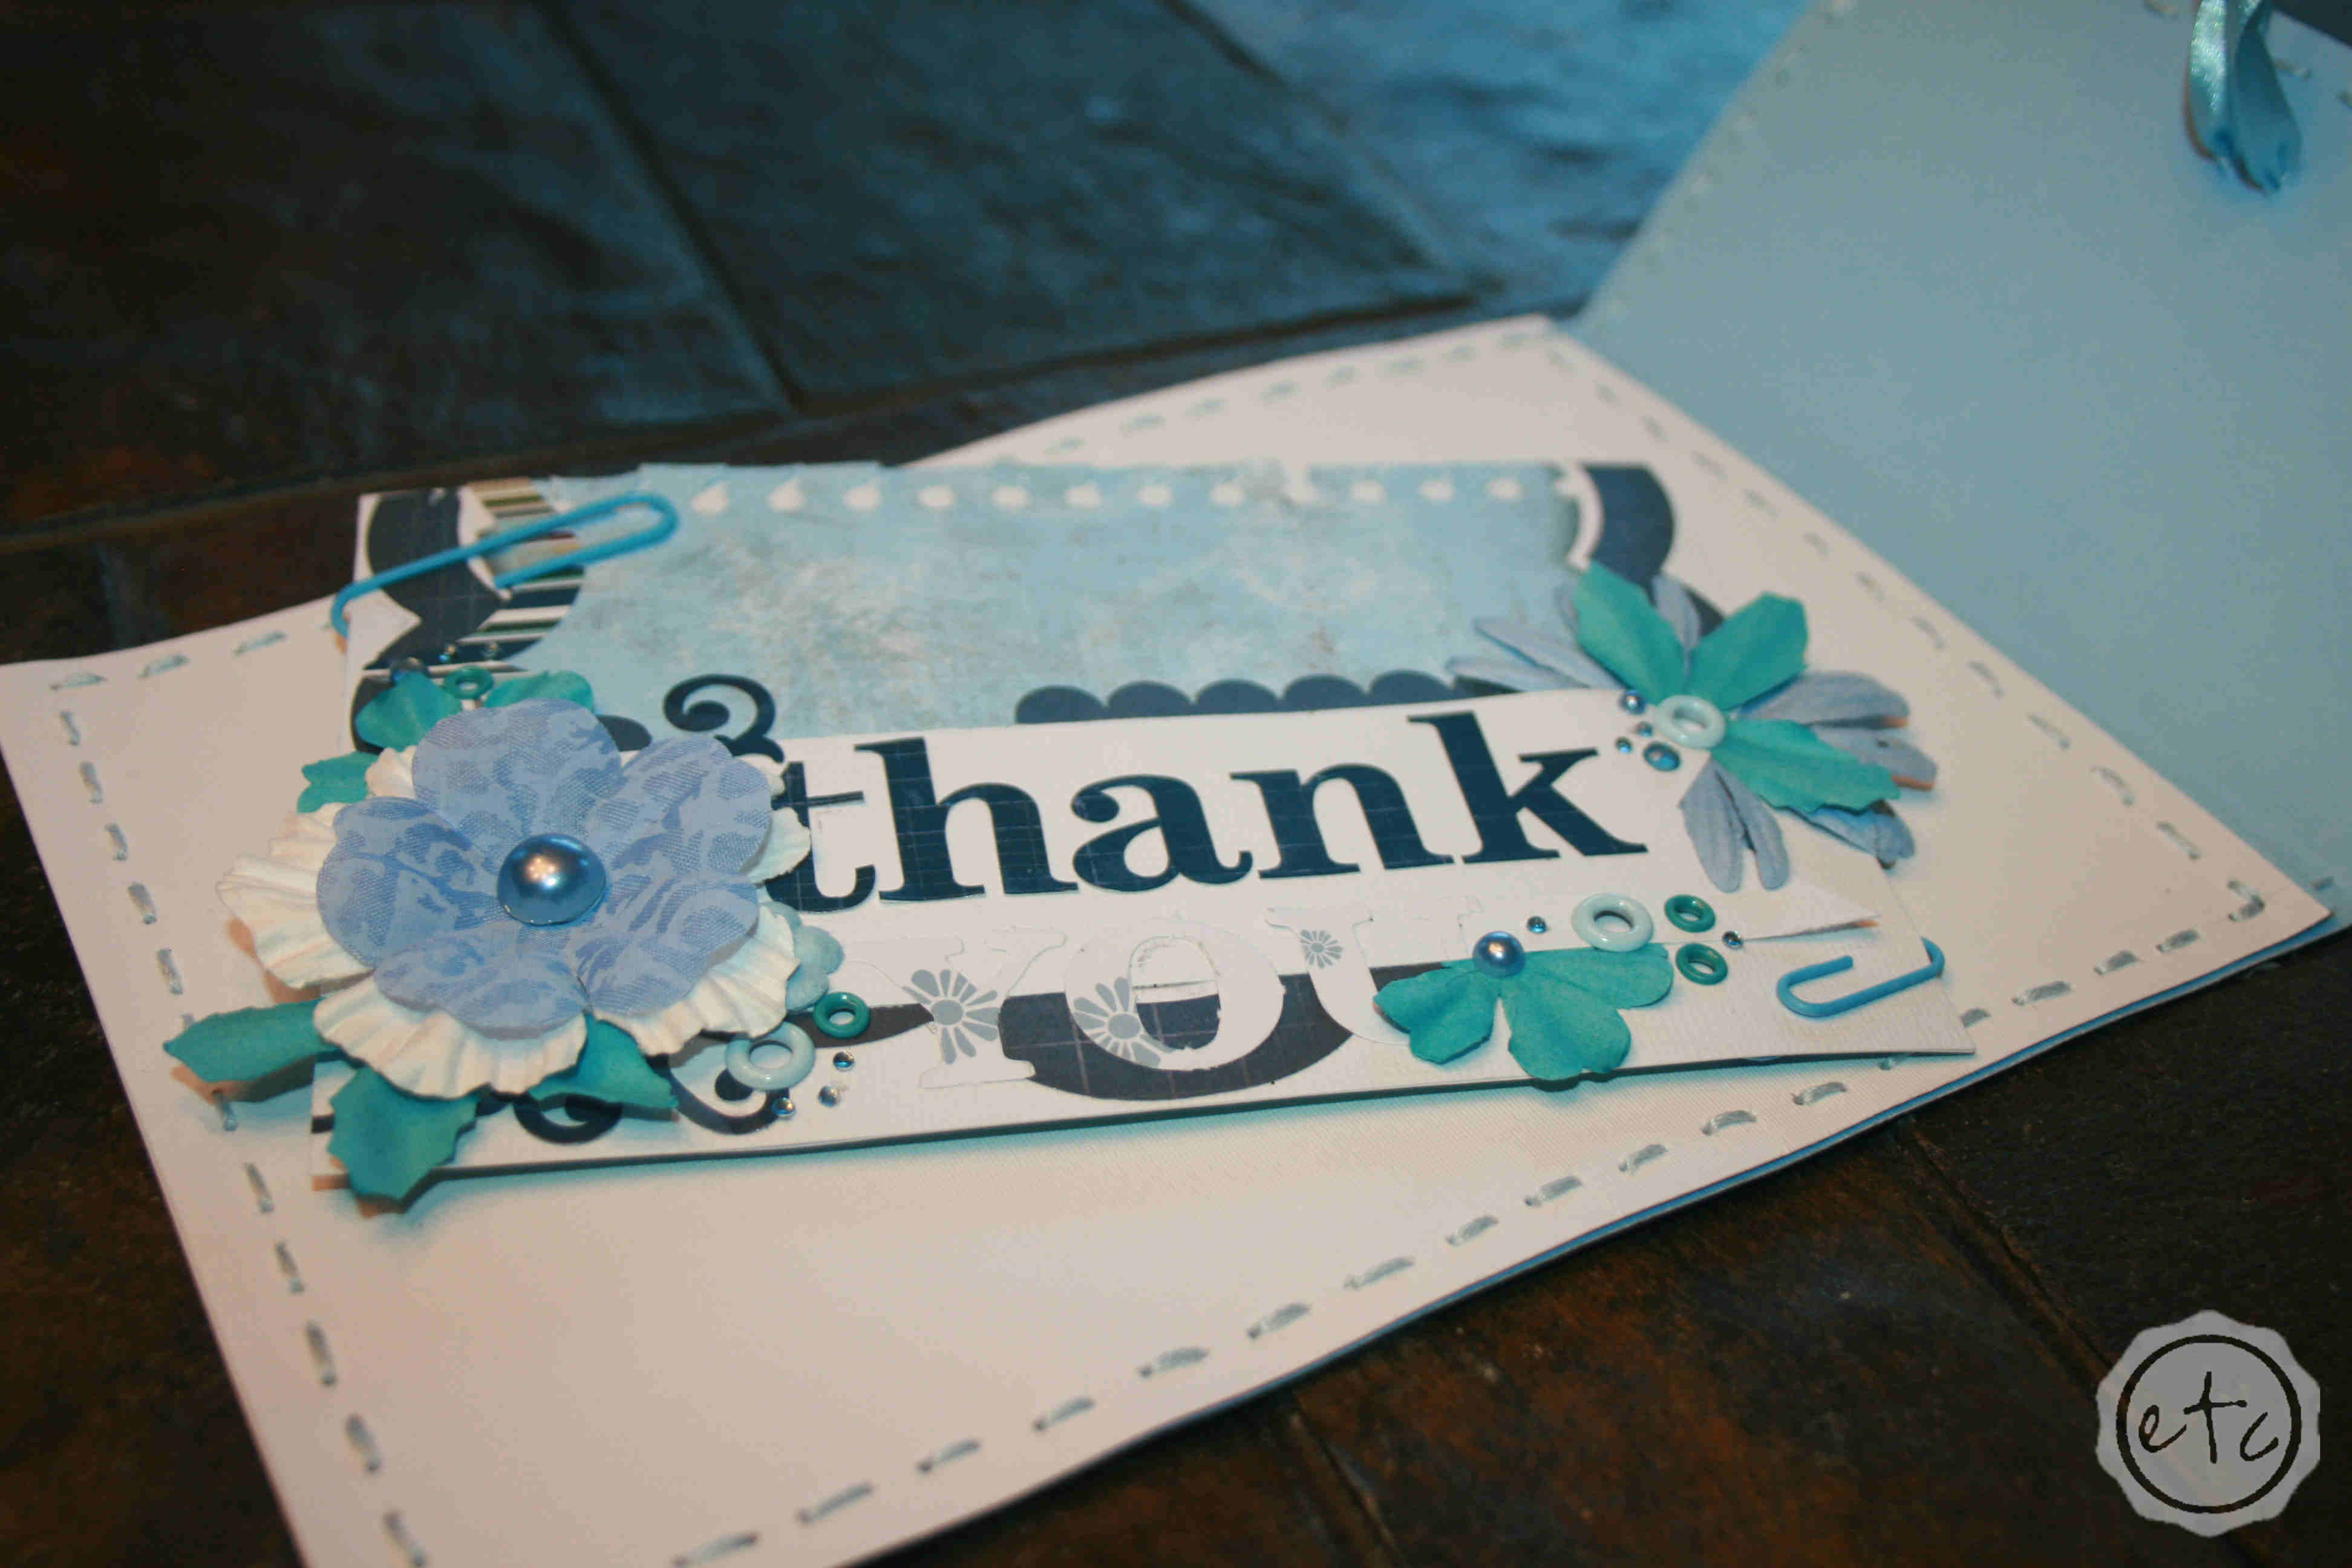
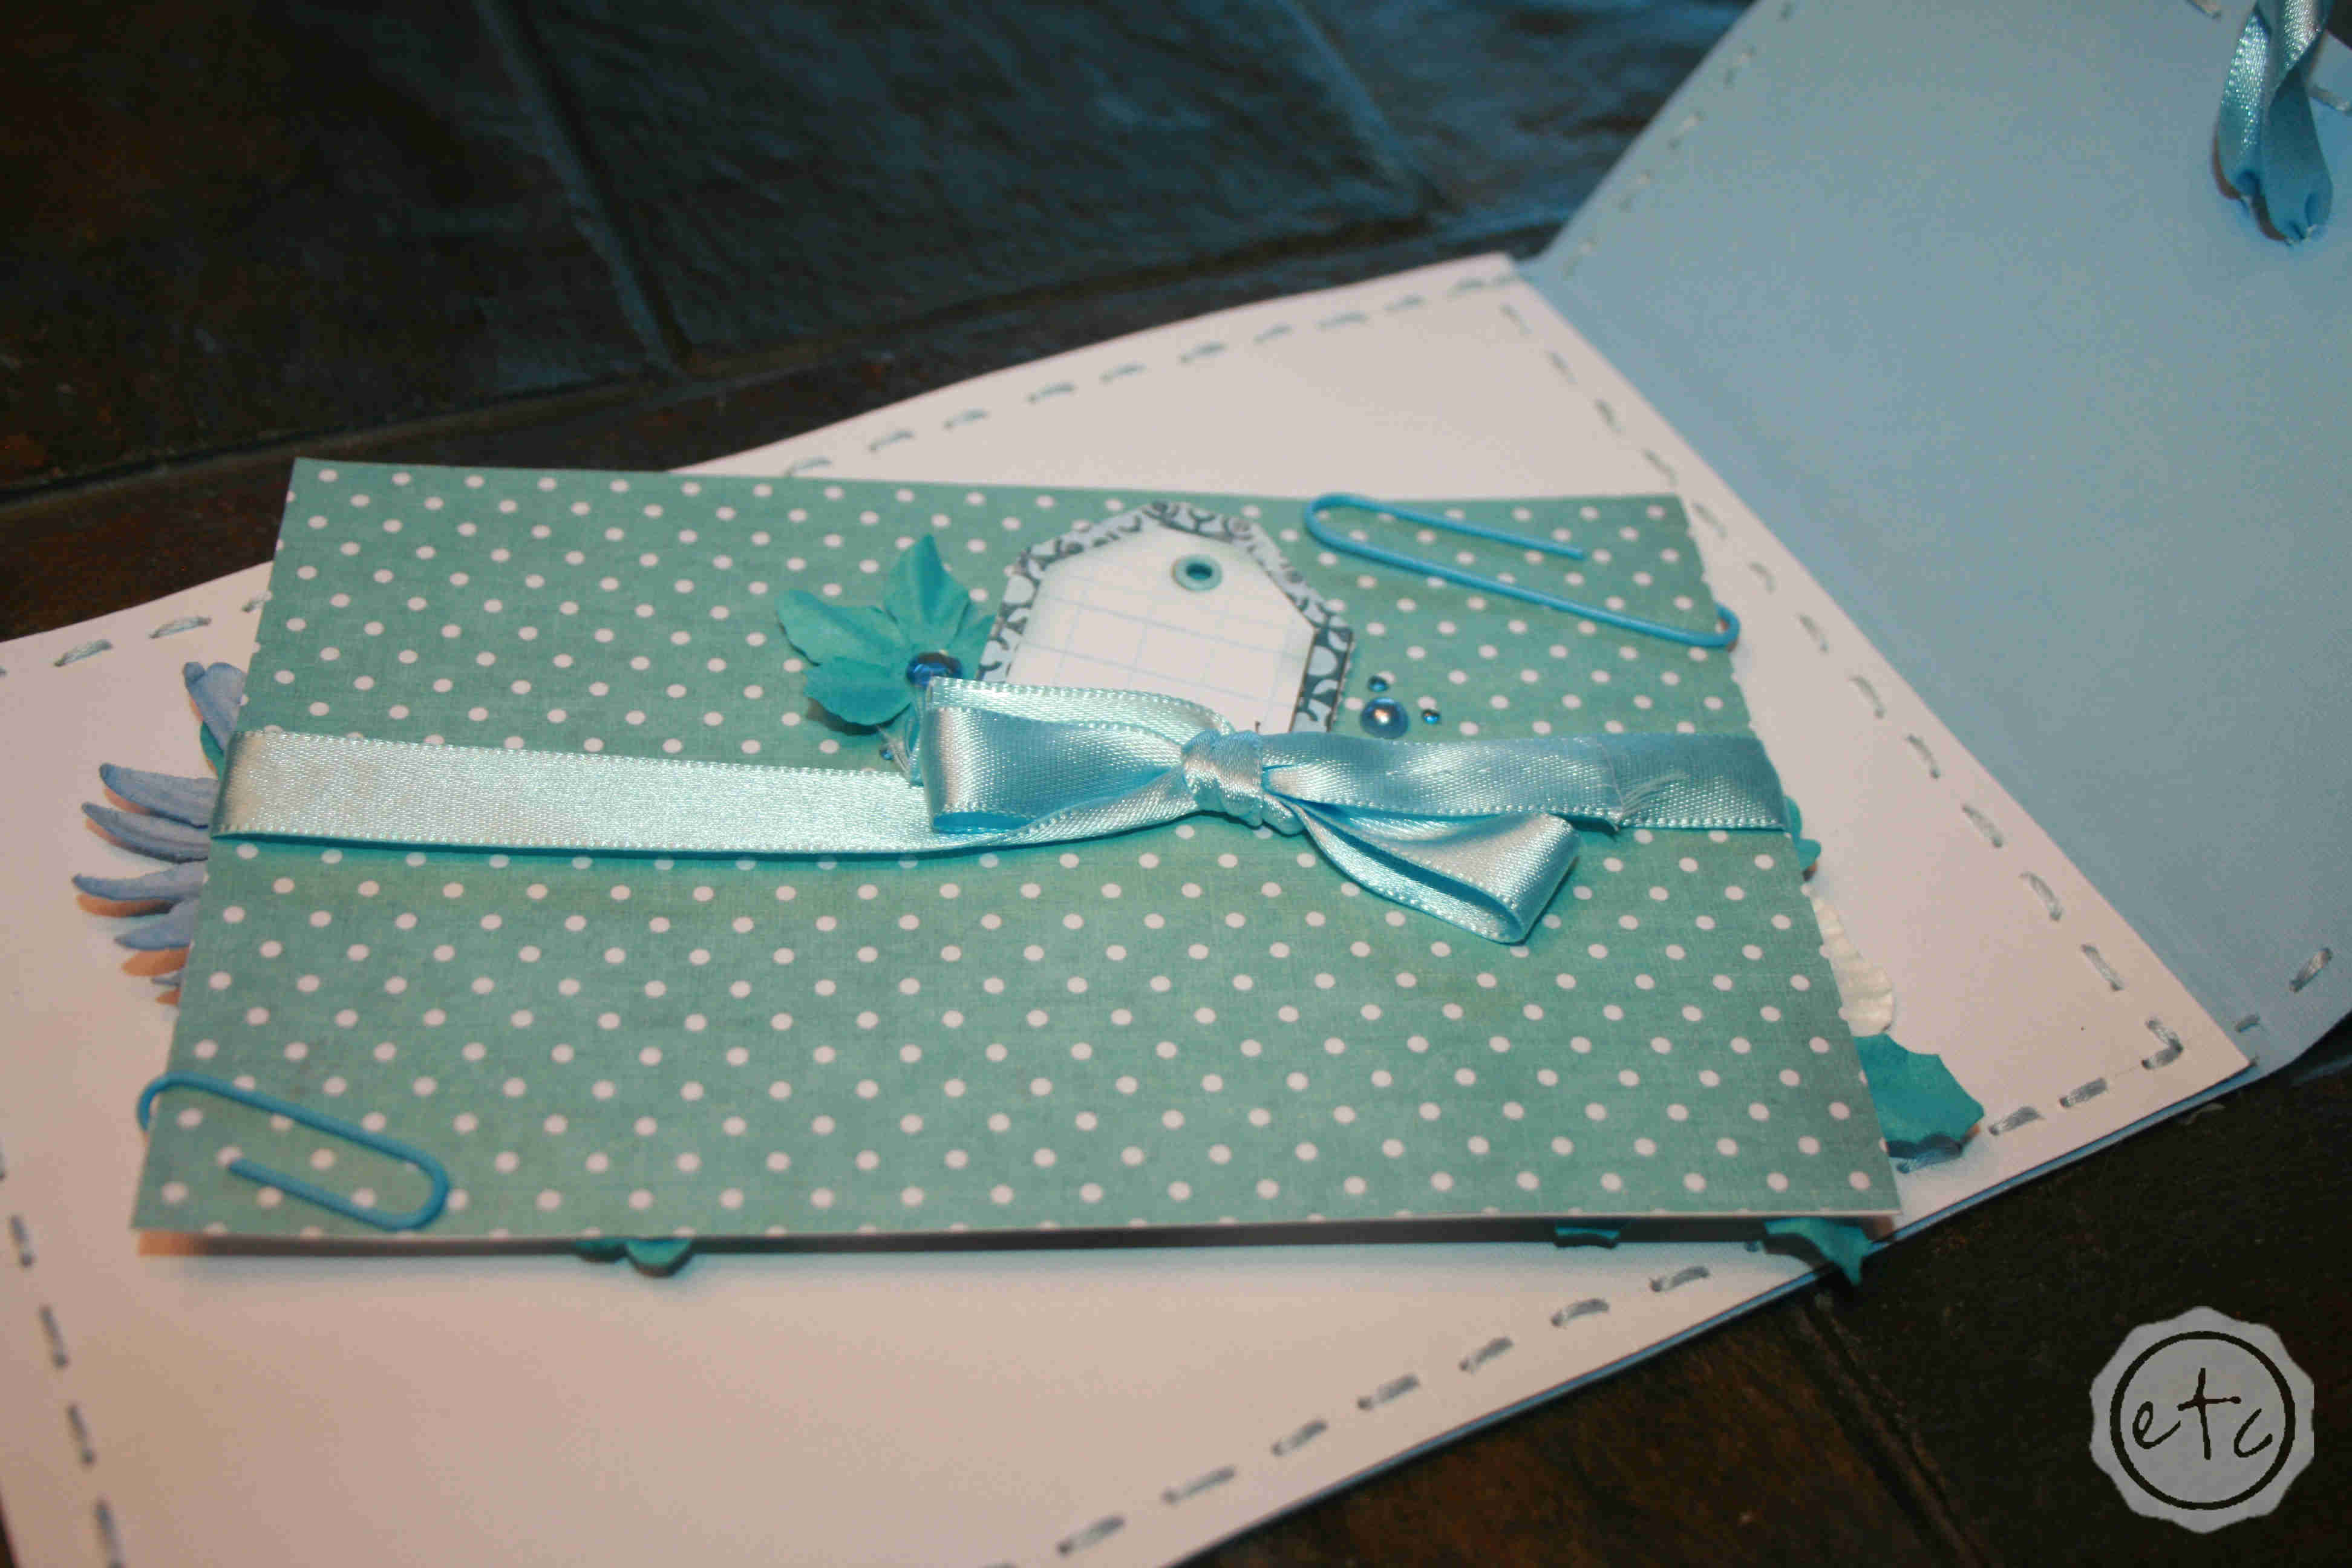
The second step is to lay out my piece. I start to assemble layers starting with the background paper and finishing with smaller embellishments. This part is so much fun… moving all of the pieces around until they make the most sense! Deciding exactly what embellishment will complete the entire piece!

A Handmade Thank You Card | Happily Ever After, Etc.A Handmade Thank You Card | Happily Ever After, Etc.A Handmade Thank You Card | Happily Ever After, Etc.

Once the entire piece is laid out I carefully start on step three: gluing down each piece! Make sure you are always working from the top piece down to the base!

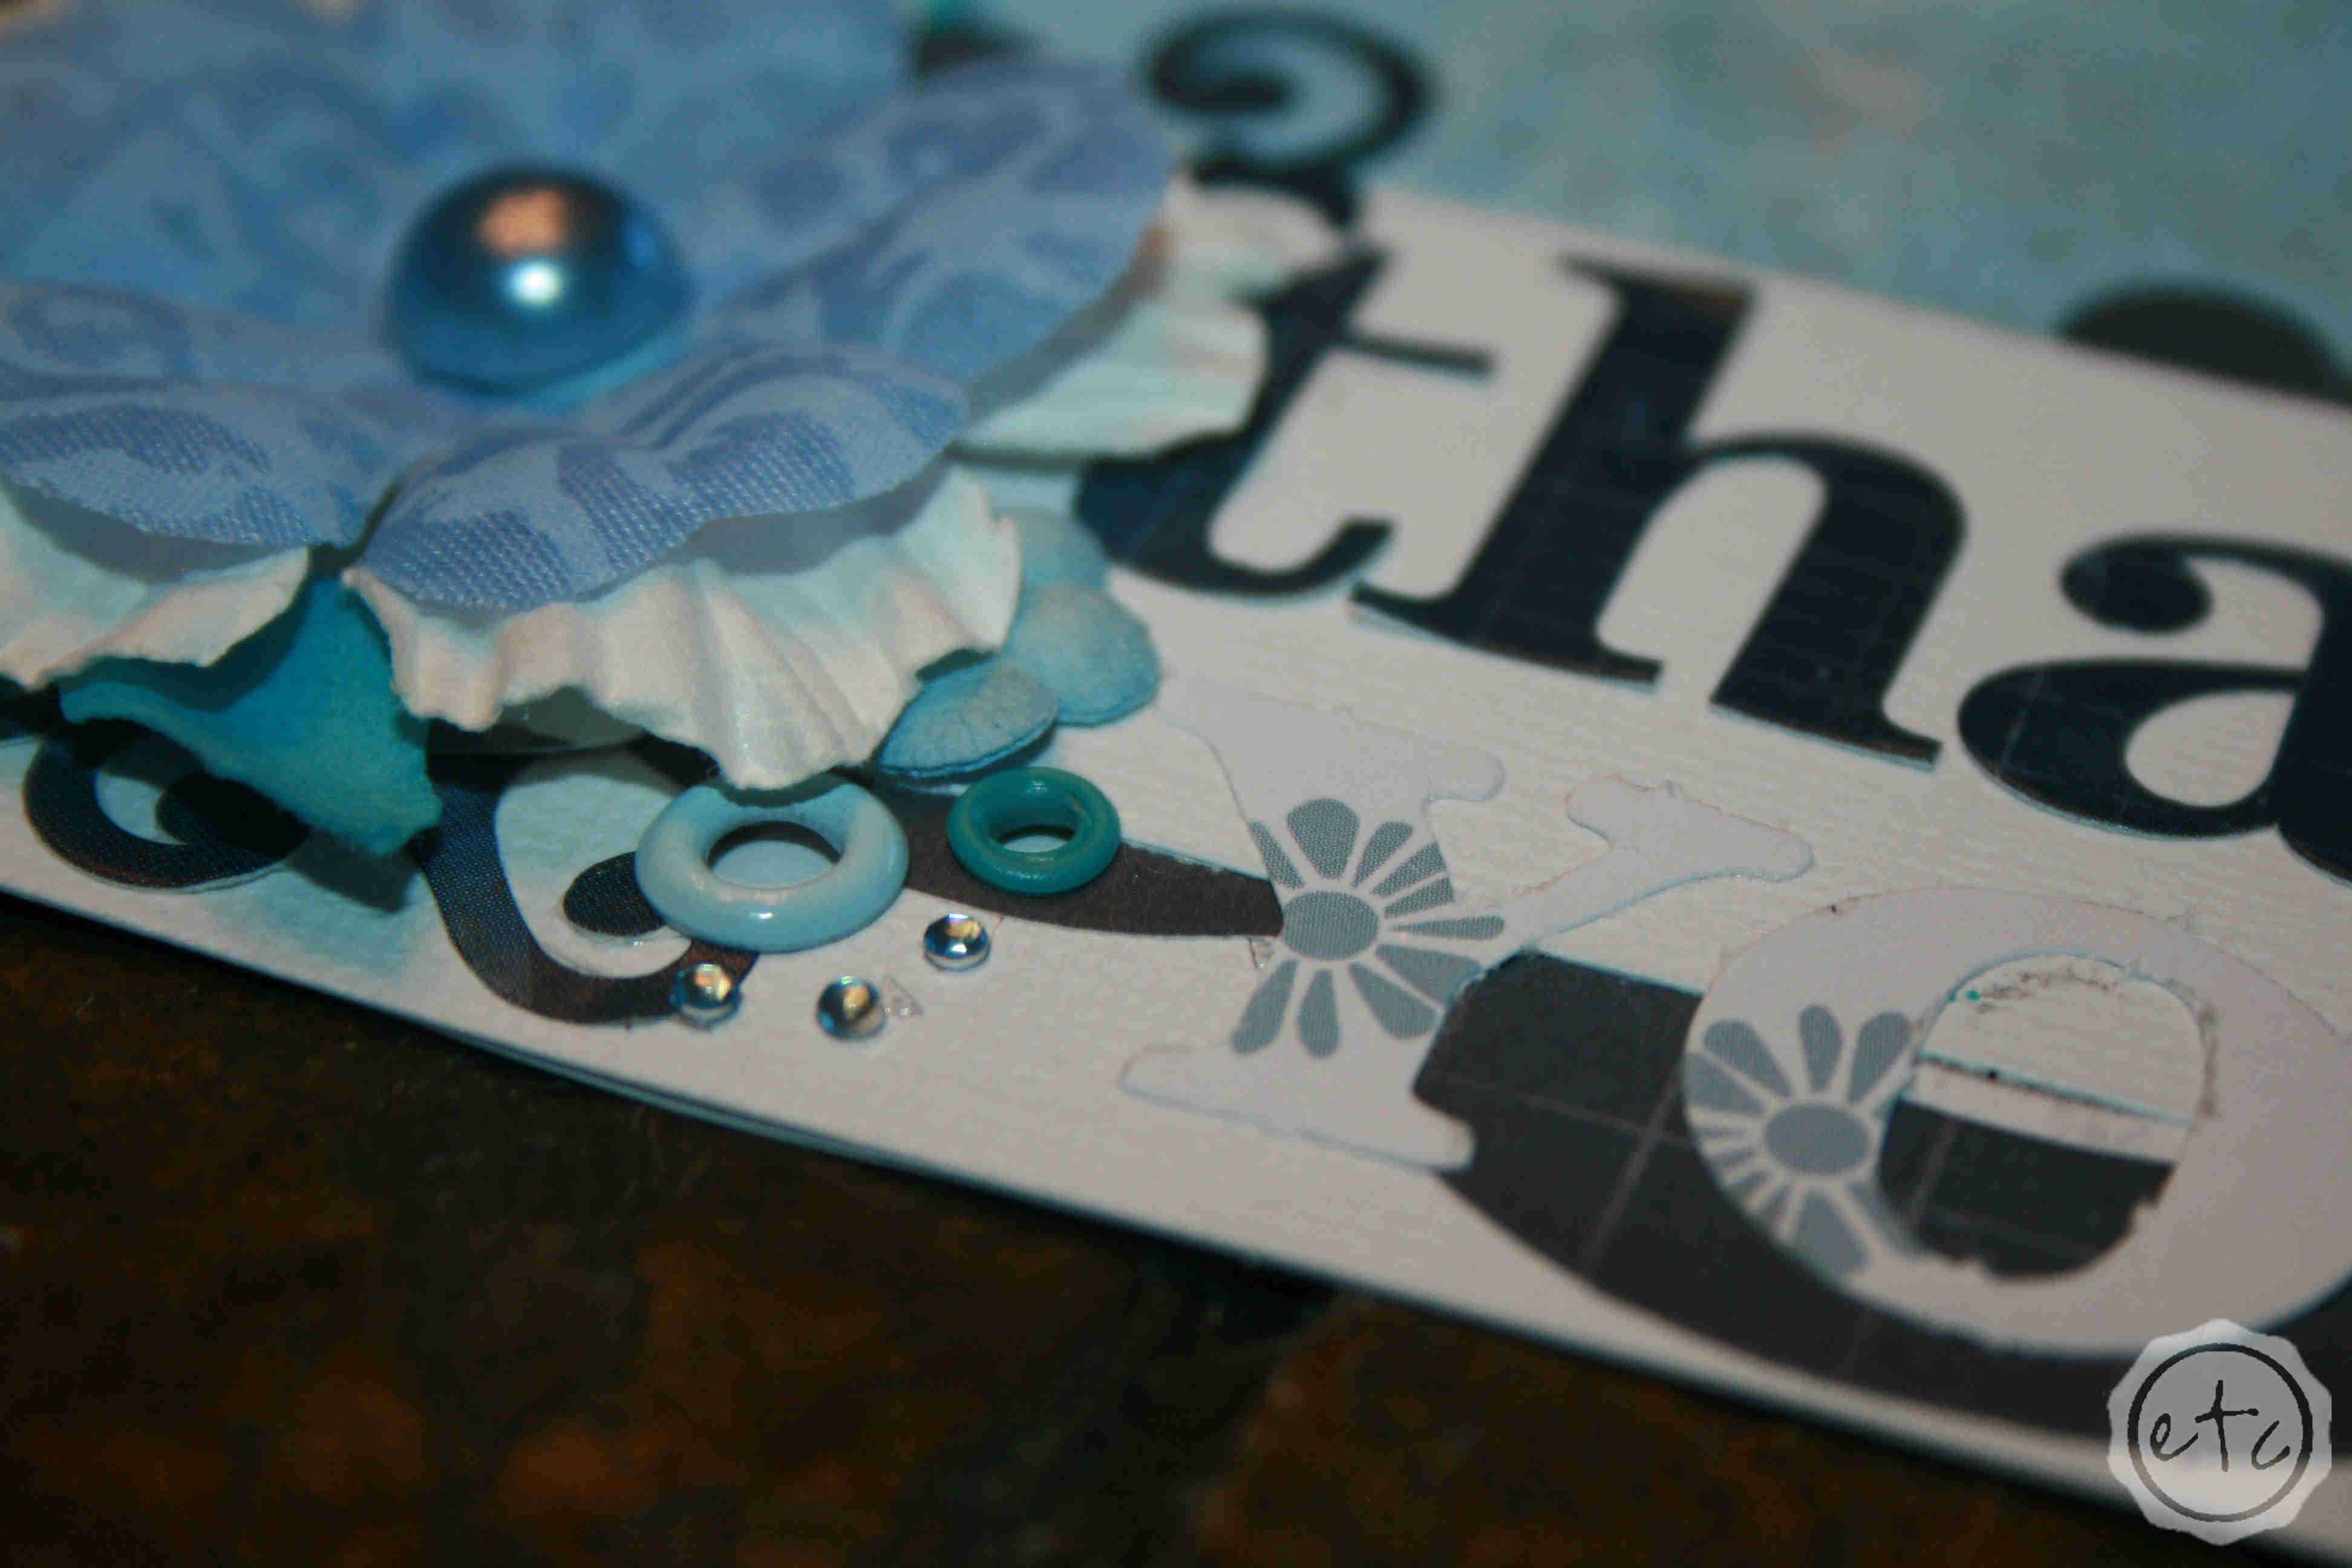
Once all of the big and medium pieces are glued together it’s time to add the final touches. The teeny tiny rhinestones and bits of glitter! It’s easy to go overboard at this point… sometimes less is more. Of course, with glitter sometimes more is more! So that can be very confusing! If you’re not sure if your piece is finished or not walk away for a bit. After a couple hours come back and take a peek… you’ll know if it’s finished or not!

A Handmade Thank You Card | Happily Ever After, Etc.A Handmade Thank You Card | Happily Ever After, Etc.A Handmade Thank You Card | Happily Ever After, Etc.

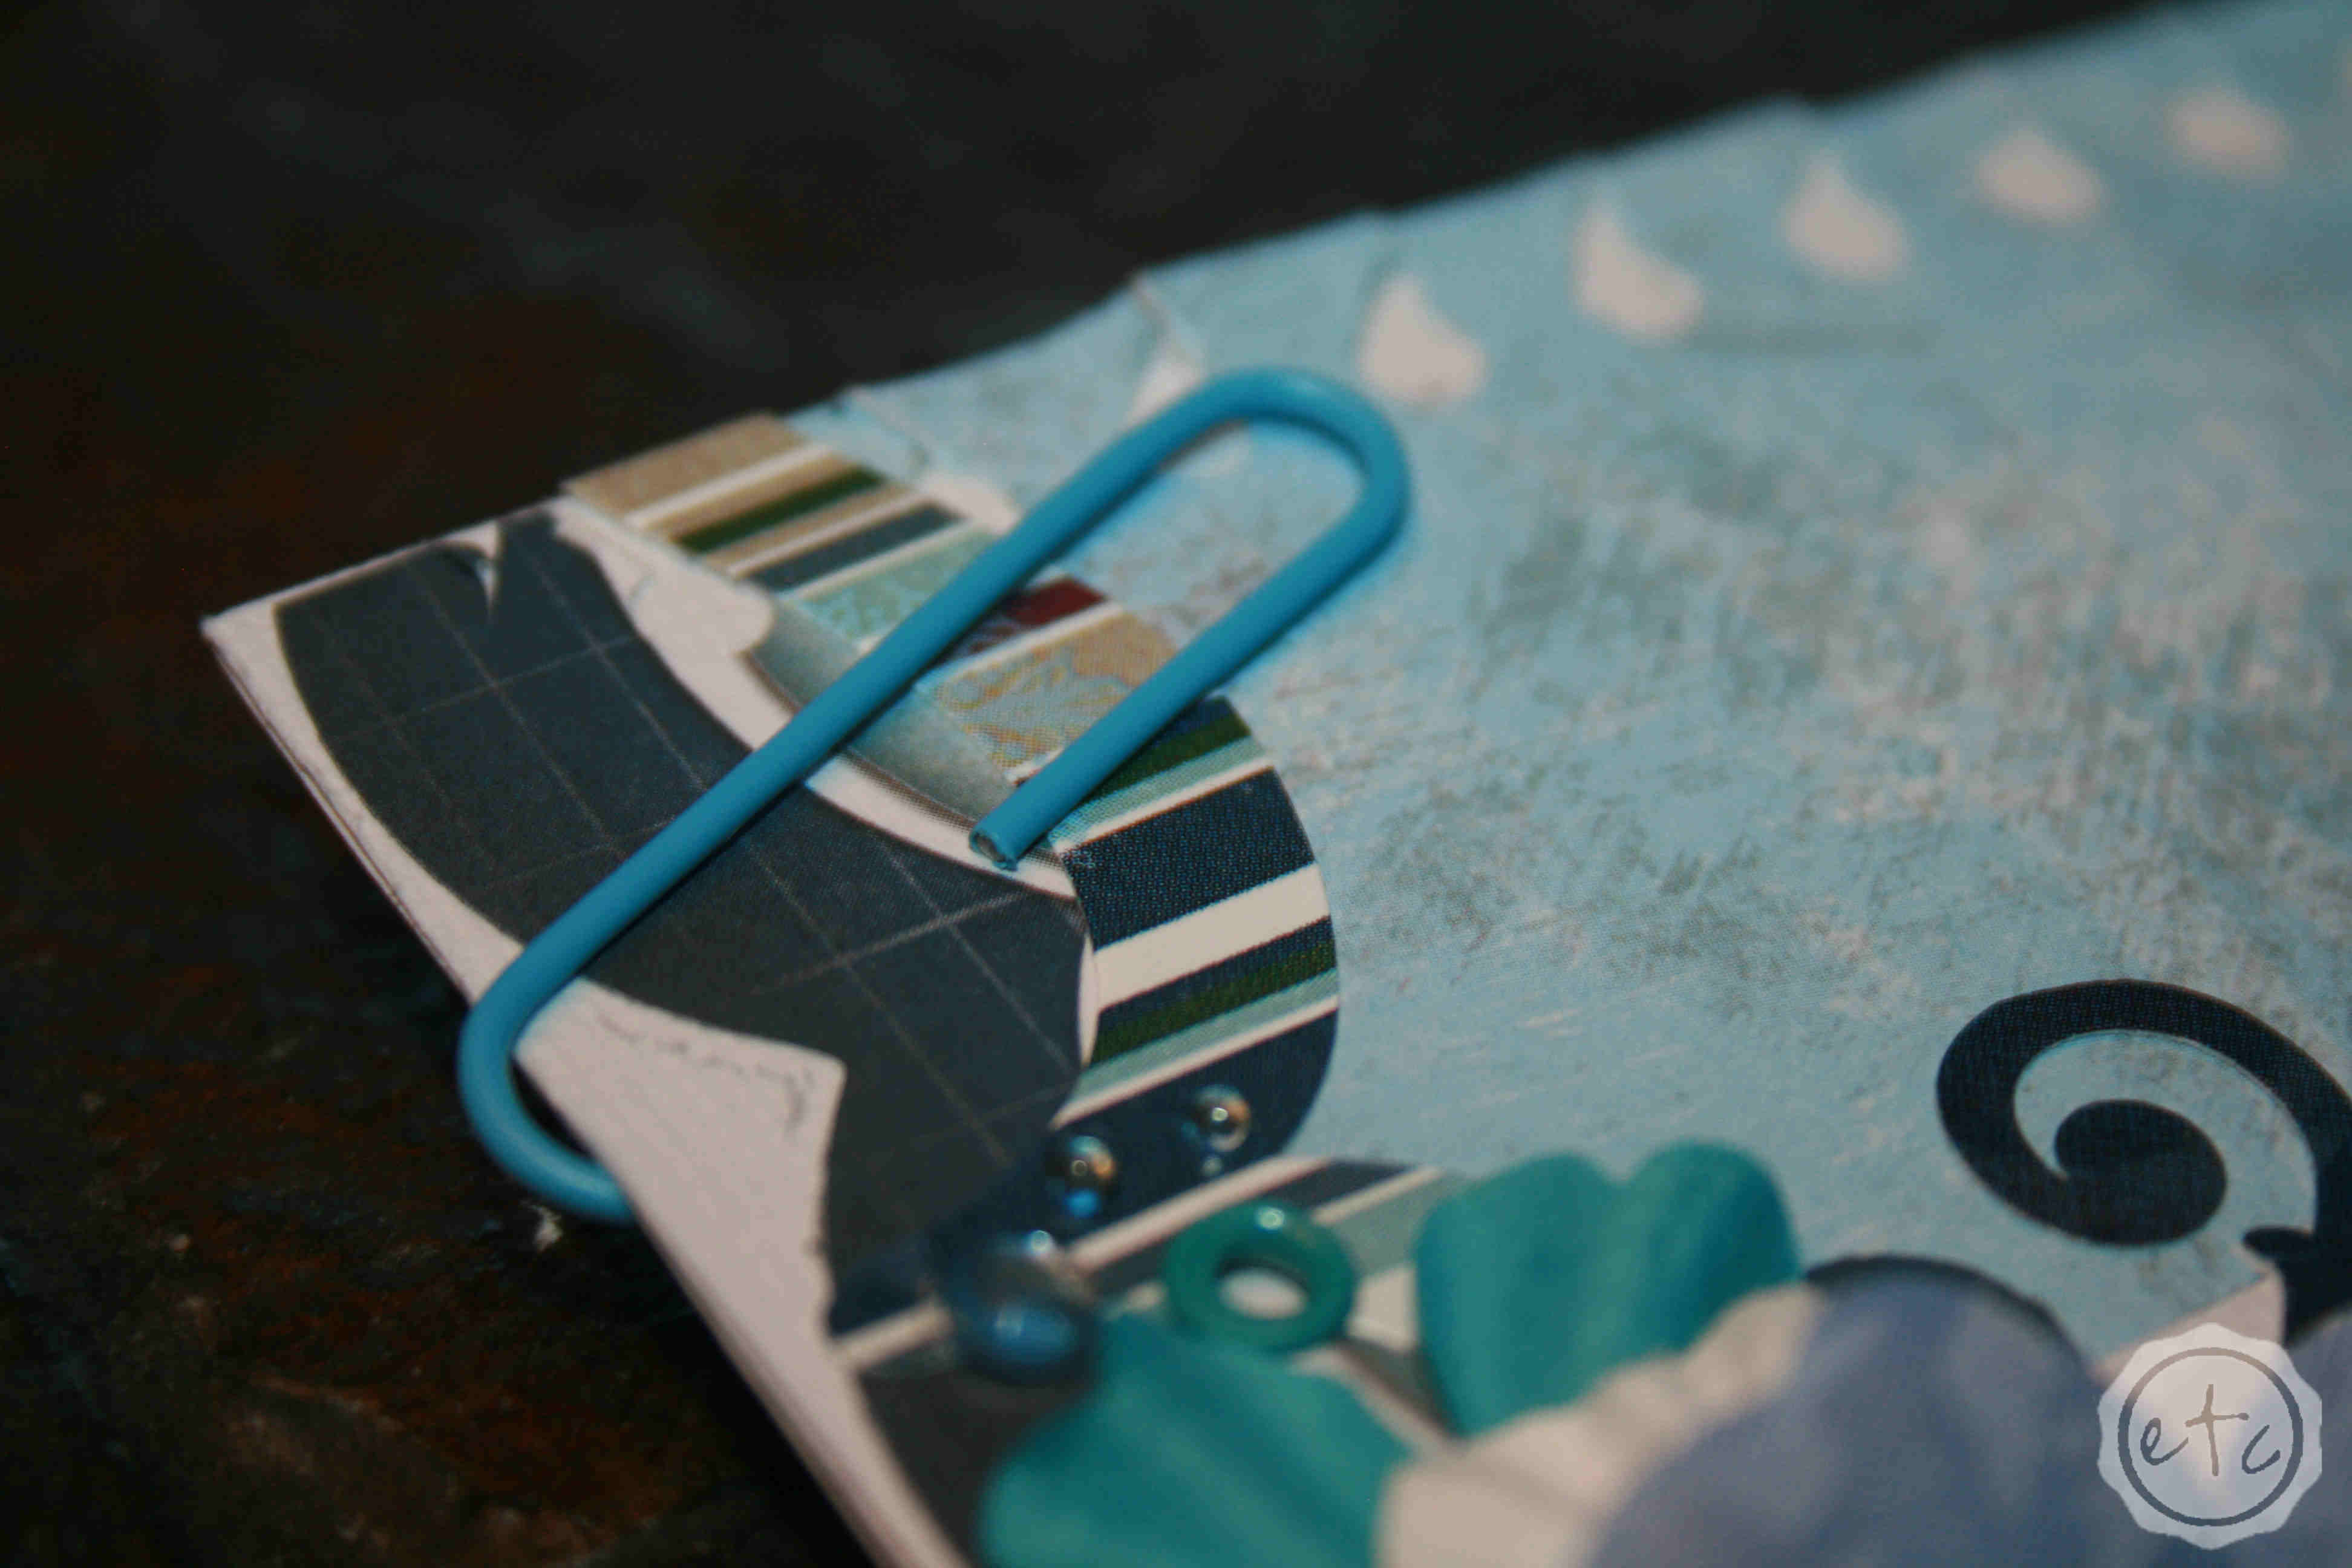
The hard part is knowing when to glue down all of your pieces… the small rhinestones in step three can be added at any point but the small brads? The ribbons and swirls that are tucked behind flowers? Those have to be added in before step three! That’s the challenge of a layered piece… and all of my pieces are layered *wink wink*

Sometimes the multiple layers of embellishments take a bit longer to assemble… but in my opinion it’s completely worth it! No one has ever accused me of being simple… we wouldn’t want them to start now!

A Handmade Thank You Card | Happily Ever After, Etc.A Handmade Thank You Card | Happily Ever After, Etc.A Handmade Thank You Card | Happily Ever After, Etc.A Handmade Thank You Card with Happily Ever After Etc

Linking up with: Tatertots and Jello

Save

You made it through the entire post? That means you're one of my new favorite people! I'd love to be friends and see what else you would like to read about! Leave me a comment and then sign up for your very own FREE paint planner.... so that you can keep track of every single paint color with ease!
Welcome back! I'd love to be friends and see what else you would like to read about! Leave me a comment and then sign up for your very own FREE paint planner.... so that you can keep track of every single paint color with ease!

Show me some LOVE y'all:

  • Facebook
  • Pinterest
  • Twitter
  • Email

Related

«
»

DIY & Crafts, Reveals, Smith Life 3

Comments

  1. Ellen Russell says

    February 19, 2015 at 6:59 am

    This is so cute – I love the colors you picked for this! Where is your favorite place to buy embellishments for projects like this?

    Reply
    • Happily Ever After, Etc. says

      February 19, 2015 at 8:33 am

      It just depends on what I’m looking for… My favorite product line is My Minds Eye and you can find them at Michaels or Hobby Lobby, my favorite flowers are prima and you can find them just about anywhere crafting supplies are sold… I found bottles of prima flowers on sale at Tuesday Morning for a dollar once when they are usually 10 a bottle!! I love archives for embellishments but really you can find beautiful things everywhere! Sometimes even magazine clippings or packaging tags with pretty embossing is fun to use!

      Reply
  2. Akmal says

    March 29, 2015 at 3:34 am

    So cute and and easy! We loved having you join us for “Strut Your Stuff Saturday.” Hope to see you again soon! -The Sisters

    Reply

Leave a Reply Cancel reply

Your email address will not be published. Required fields are marked *

sidebar betsy I'm Betsy, Home Decor Enthusiast, Yorkie Mama, Crafter, Blogger, Picky Eater, Chief Mess Maker, Antique Hoarder and Graphic Designer. You can generally find me working on (attacking with a paintbrush) the 3 bed, 2 bath home we are currently renting! Our home might not be perfect but it is ours & if you hang out long enough you'll see that what we lack in know-how we make up for in passion!
Shop My Craft Room

Shop My Home

Featured Articles

15 Fabulous Ideas to Organize your Laundry Room
25 FREE Printables For Your Home!
What to do with EXTRA Paint with Happily Ever After Etc
10 Ways to Make Your Bed EXTRA Comfy with Happily Ever After Etc.
Ready to Pick your Perfect Paint Color? We'll help you with our 6 Day FREE E-Course

Hey y’all,

Profile

I'm Betsy, Home Decor Enthusiast, Yorkie Mama, Picky Eater, Chief Mess Maker, & Graphic Designer...

A Little Note!

Many of the links on Happily Ever After, Etc. are affiliate links. If you purchase a product after clicking an affiliate link, I receive a small percentage of the sale for referring you, at zero cost to you! How awesome is that? Purchasing through affiliate links is an easy, painless way to help out your favorite bloggers. Thank you so much for your continued love and support! Read the full disclosure here!

Instagram

Load More... Follow on Instagram

Copyright © 2023 · Darling theme by Restored 316

Copyright © 2023 · Darling Theme on Genesis Framework · WordPress · Log in · Privacy Policy