This post is sponsored by KILZ® but the content and opinions expressed here are my own.

We’re back with another set of painting tips! Our master tips and tricks to paint like a pro post will help you paint almost any room but let’s face it… the bathroom is a special room. It’s small, it gets used *ahem* a lot and the whole shower aspect means this tiny room has more moisture than any other room in the house!
Which means you’ll have the best results if you take the time to paint your bathroom walls with the right products for the job. Water spots? Mold? Crackling paint? With the right products you won’t have any of these problems… just smooth beautiful painted walls!
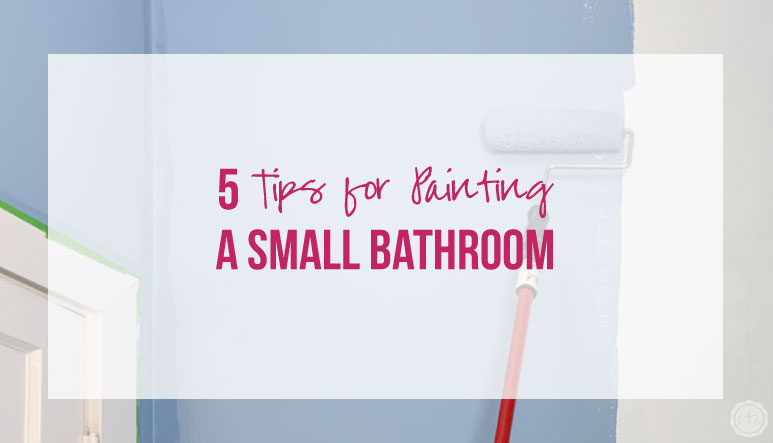
Ready to get started? Here are my best 5 Tips for painting a small bathroom… the quick and easy way!

1 Prep Your Walls
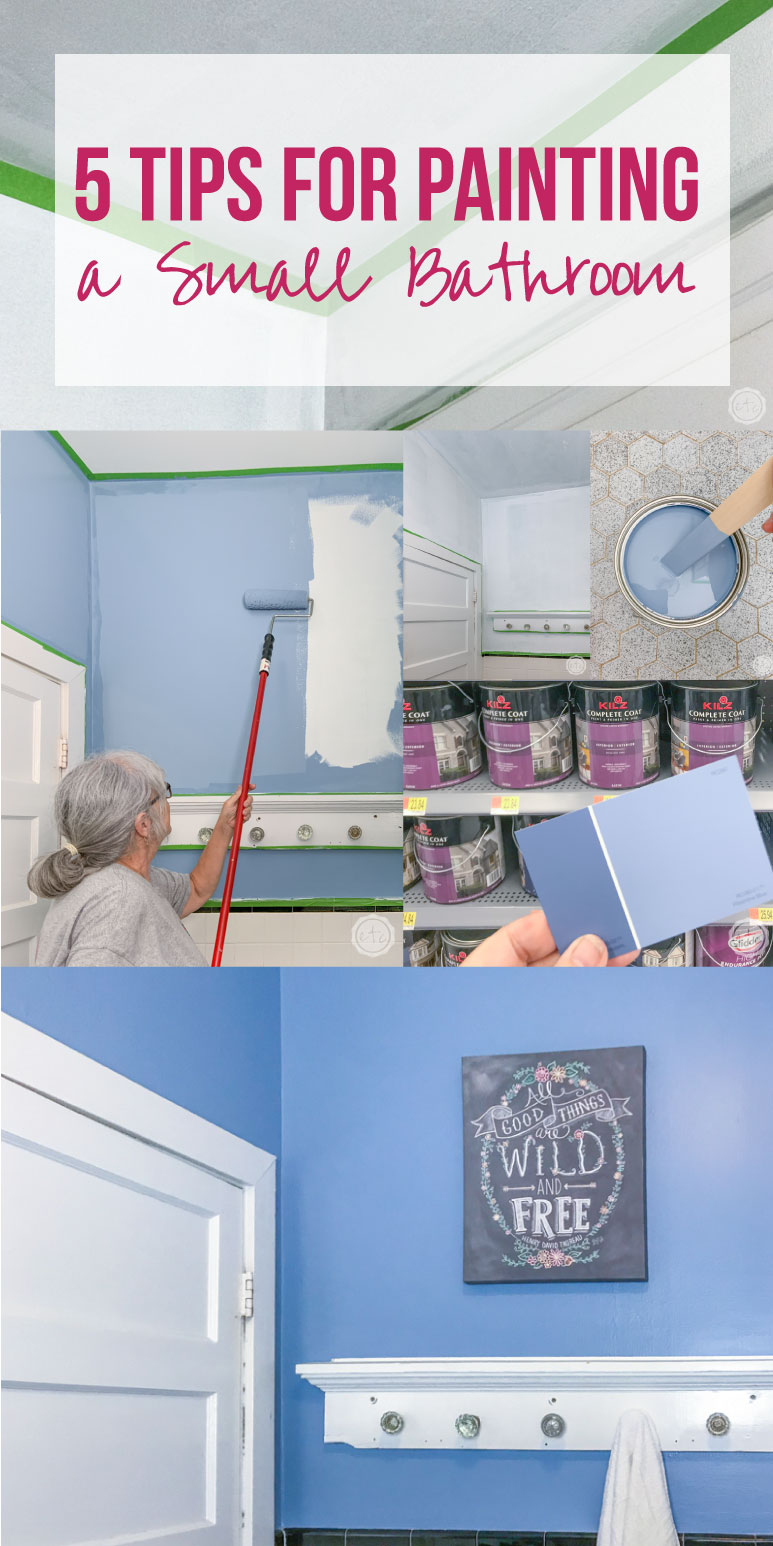
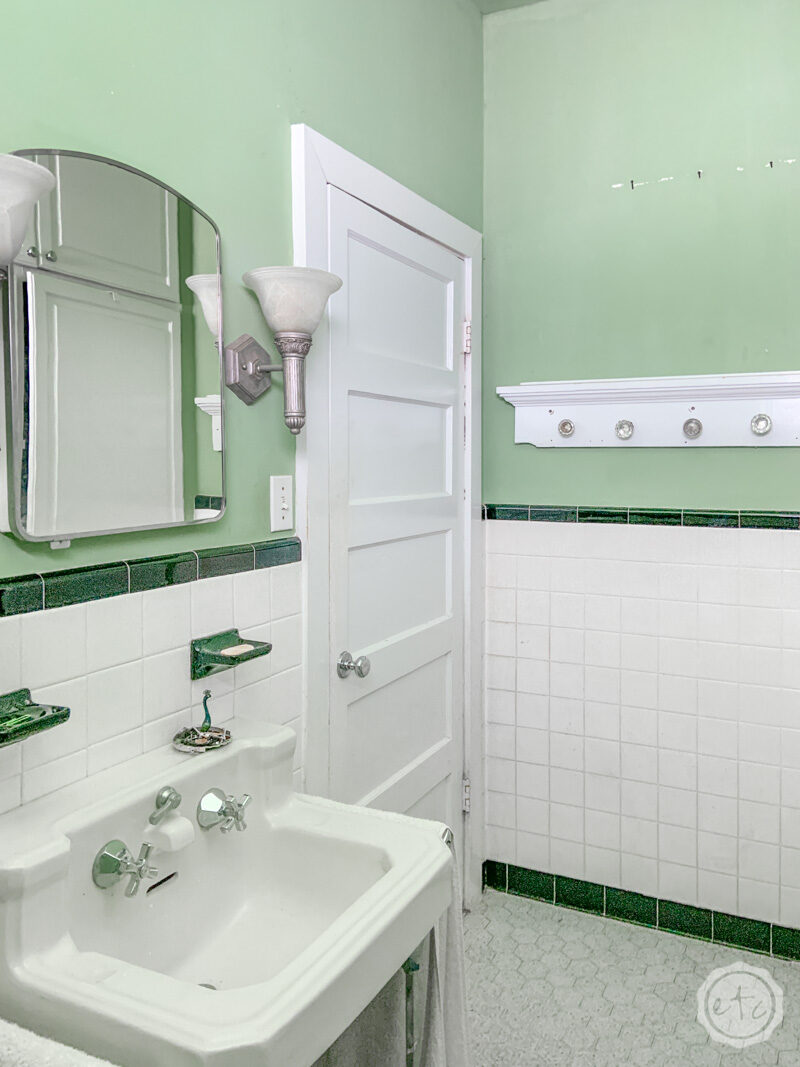
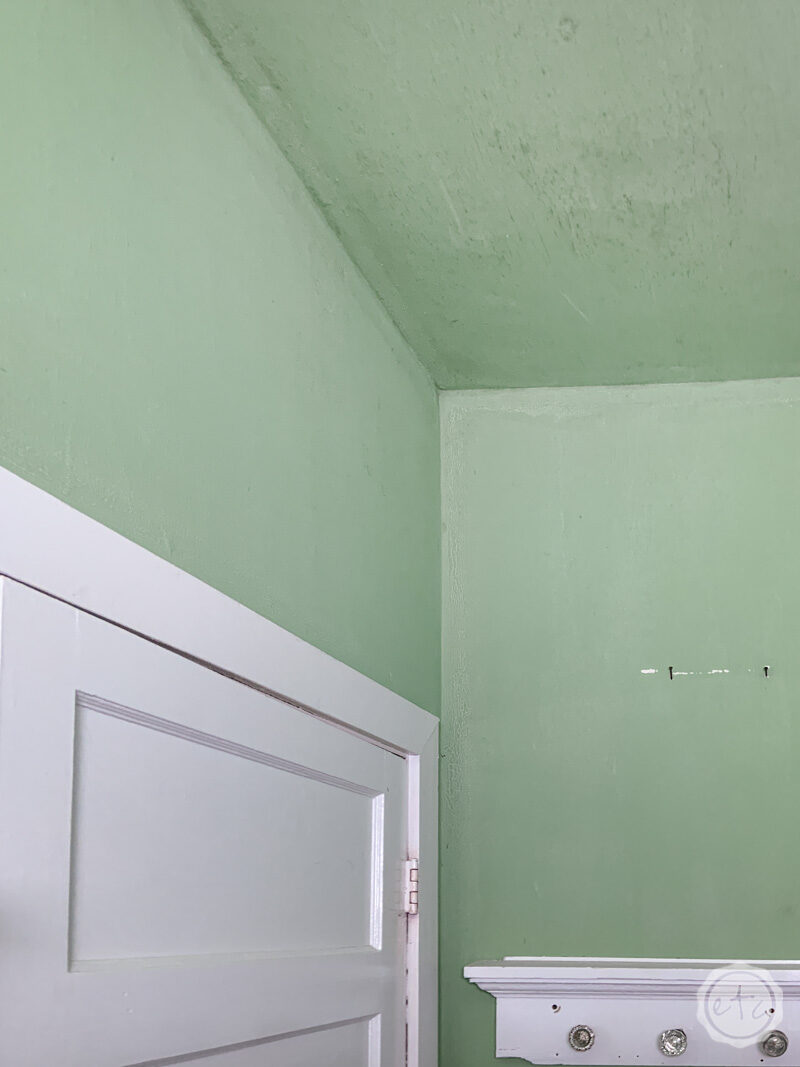
In order to walk you through every aspect of this project I’m tackling a project of my own… the small bathroom in my Mama’s house. This room has no window and the paint has been here since before she bought the house… the paint itself is cracking and growing mold in the corners (ew) so we’ll have to tackle all of that before we get started.
Since her walls are moldy I started by giving each wall a good scrub with a bit of water and bleach. Old fashioned elbow grease is definitely your best tool against mold so don’t be afraid to really scrub.
Once your walls are clean make sure you fill in any holes so that you have a smooth surface to paint. Fill in the hole with spackle and then let the mixture dry before sanding it smooth.
Easy peezy lemon squeezy!
Now we’re ready for the next step.
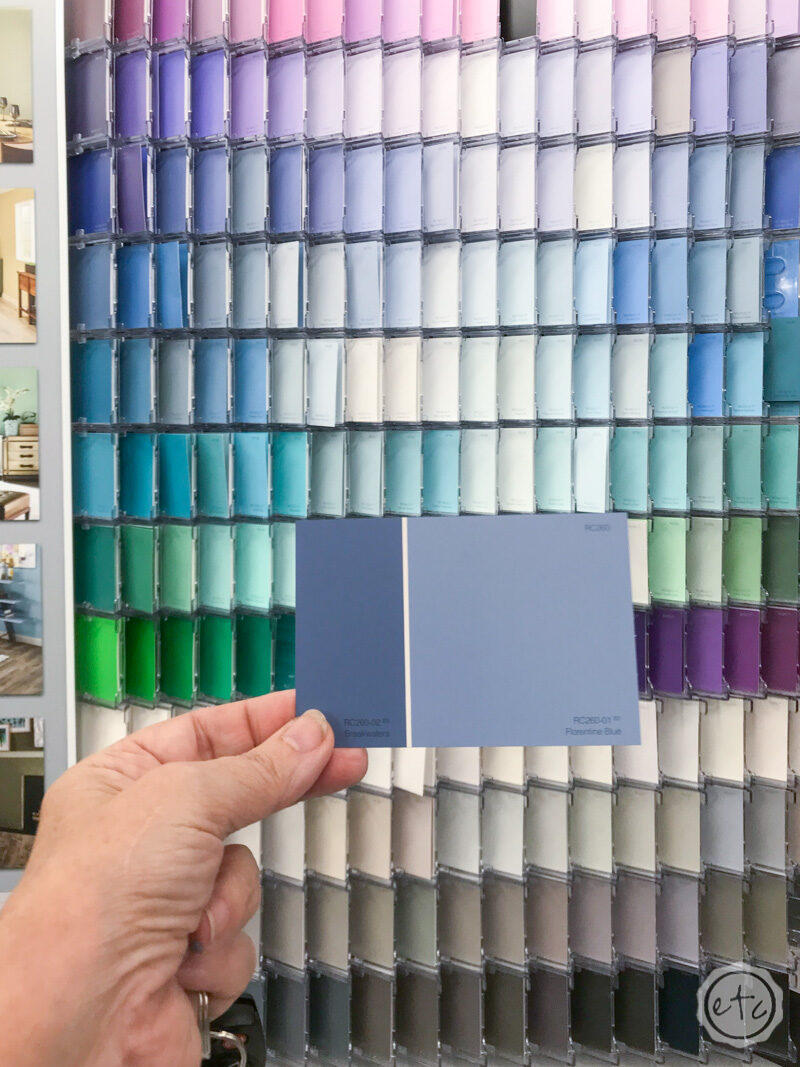
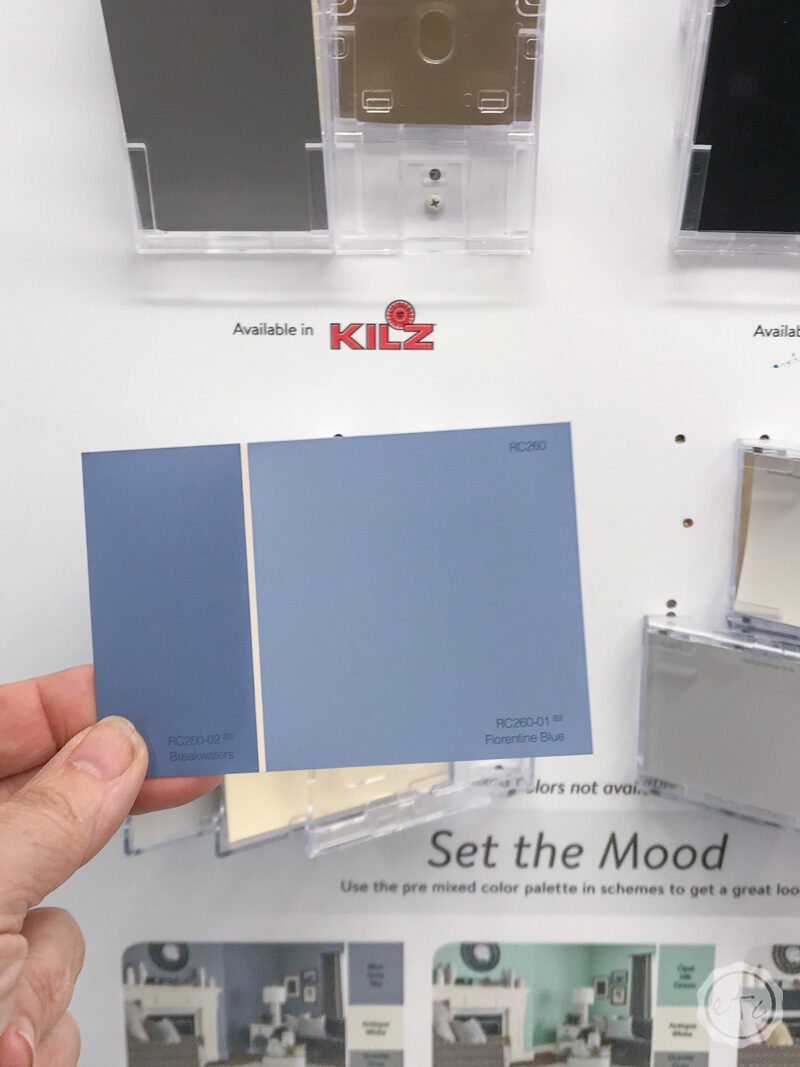
2 Pick your Color
First things first… before we can even think about getting started we need to pick a color. When you’re working in a small space without a lot of natural light (which is most bathrooms… hello interior of the house with no windows!) think light and bright with your paint color!
Light neutrals work really well since they’ll help to bounce light off the walls and make the space appear bigger: think light gray, white, light blue, sea-foam, khaki or beige.
Want to go one step further? Paint your ceiling and trim white! This will brighten up the ceiling while helping the eye to look upwards (tricky, tricky!). Just an age old tip that will help your small space look bigger and brighter.

BONUS! Need a little help picking a color? Sign up for my FREE 6-day e-course to help you find your perfect shade!


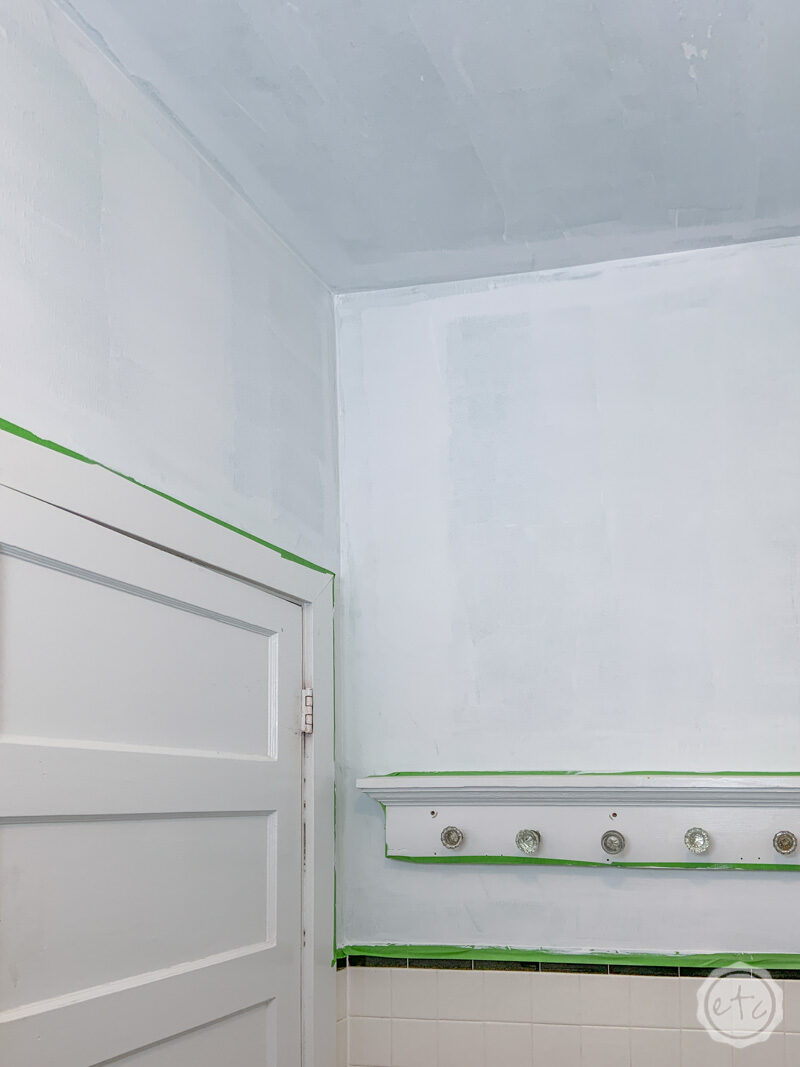
3 Tape the Edges
Okay if you are an absolute pro you can skip this step… but if you’re not make sure to tape everything you don’t want paint on. The edge between your tile and wall? The edge of your cabinet? The edge of your light fixture, faucet, medicine cabinet… anything you don’t want paint on.
Make sure to press down firmly to seal the edge of your tape… there is nothing worse than having paint seep under the edge of a painted line.
Once you’ve taped everything on let’s move onto the next step.
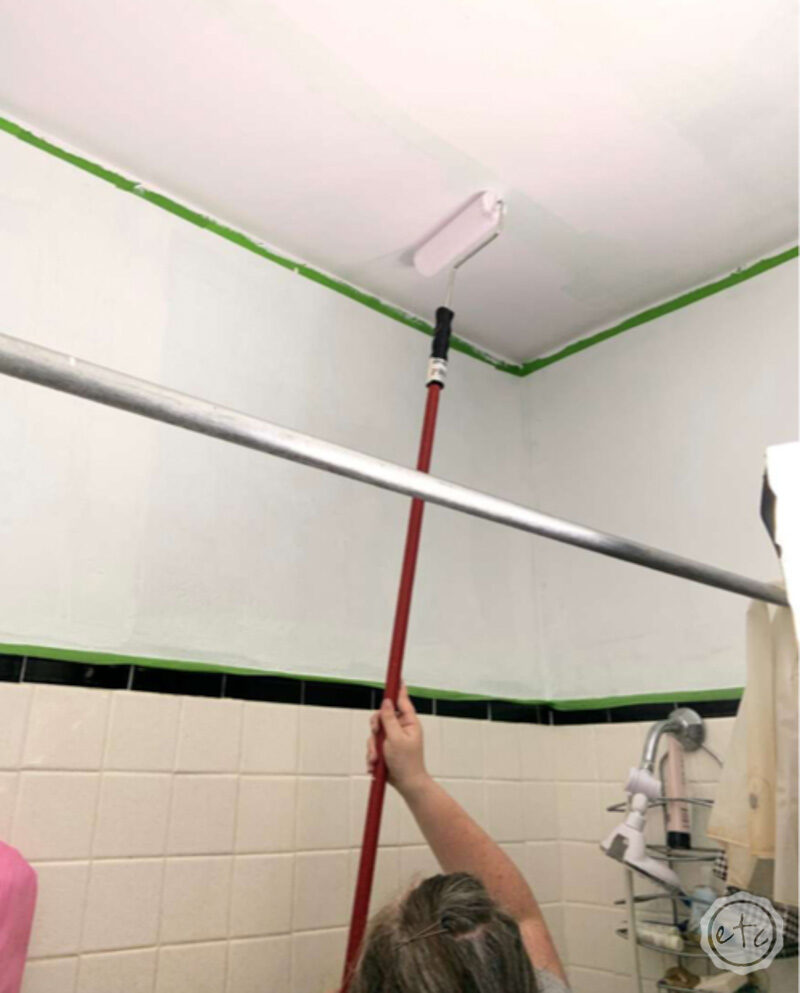
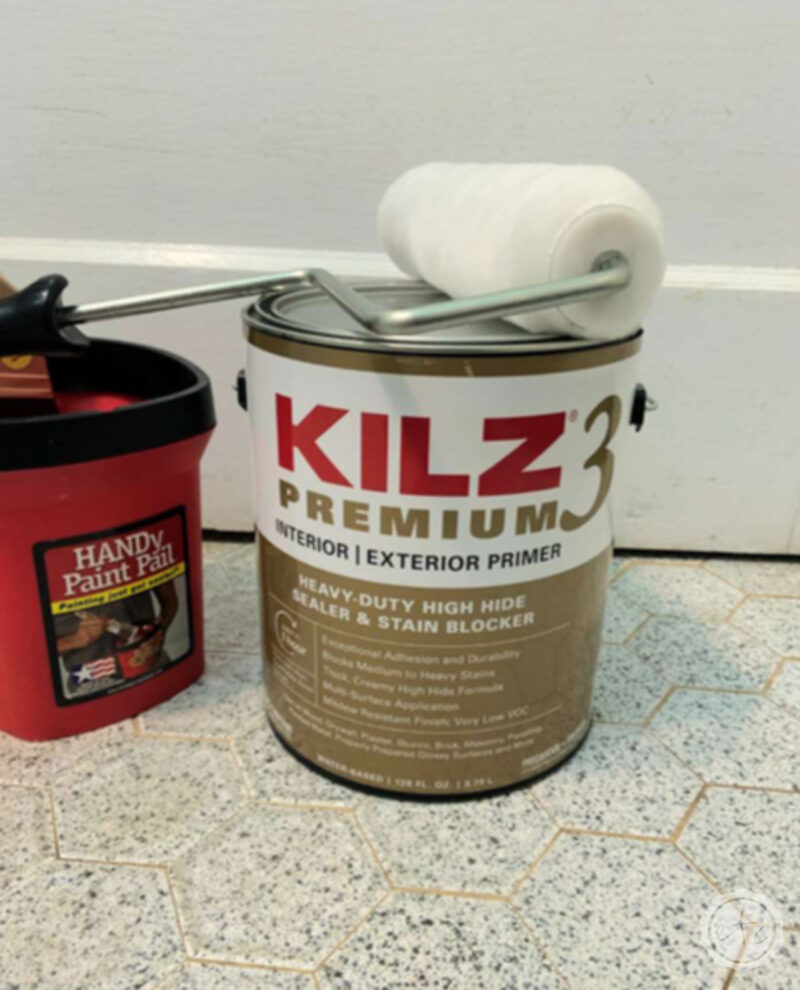
4 Prime the Walls & Ceiling
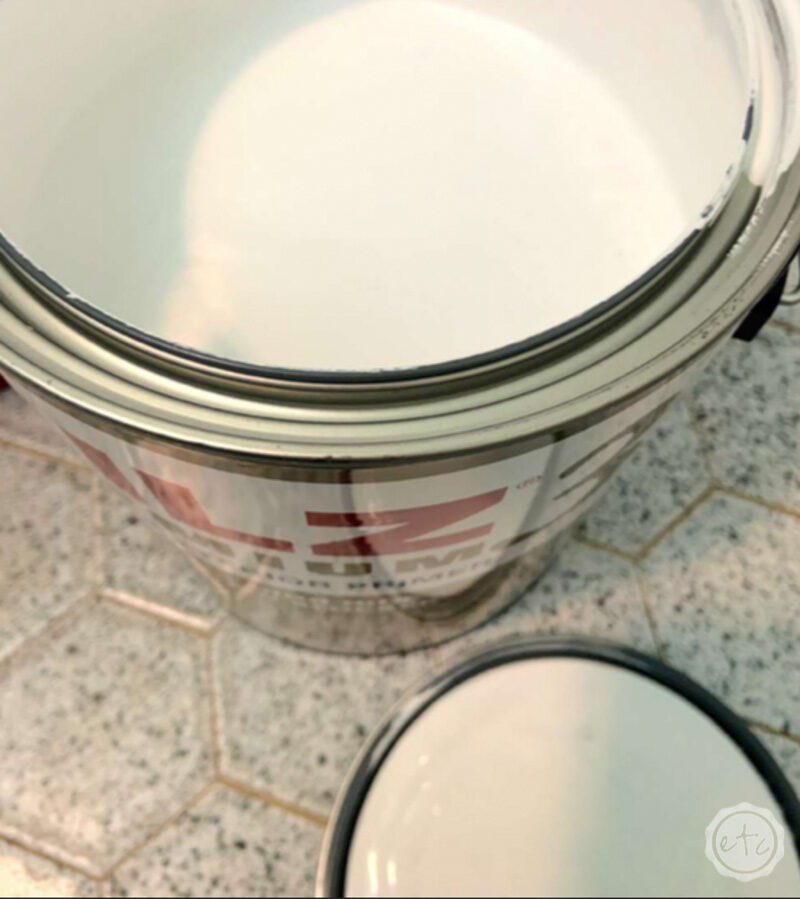
When it comes to painting a bathroom primer is super important. It’s the foundation for your walls to repel mold and create a barrier against moisture. I picked KILZ® 3 PREMIUM primer because it provides a mildew resistant coating which is perfect for areas like a bathroom which are prone to moisture.
I don’t want to scrub mold off these walls ever again.
I know primer seems like a time consuming extra step but trust me it is the key to long lasting, beautiful paint that does what it’s suppose to do. And in a bathroom that is more important than ever!
KILZ® is the same name brand I’ve been using for primer since I was a little girl so I feel confident that it’s going to work beautifully in this bathroom. Especially since we’re covering this beautiful *ahem* green color and going to a lighter blue… primer is especially important when going from a darker color to a lighter color as it will ensure that none of the original color bleeds through to the final coat.

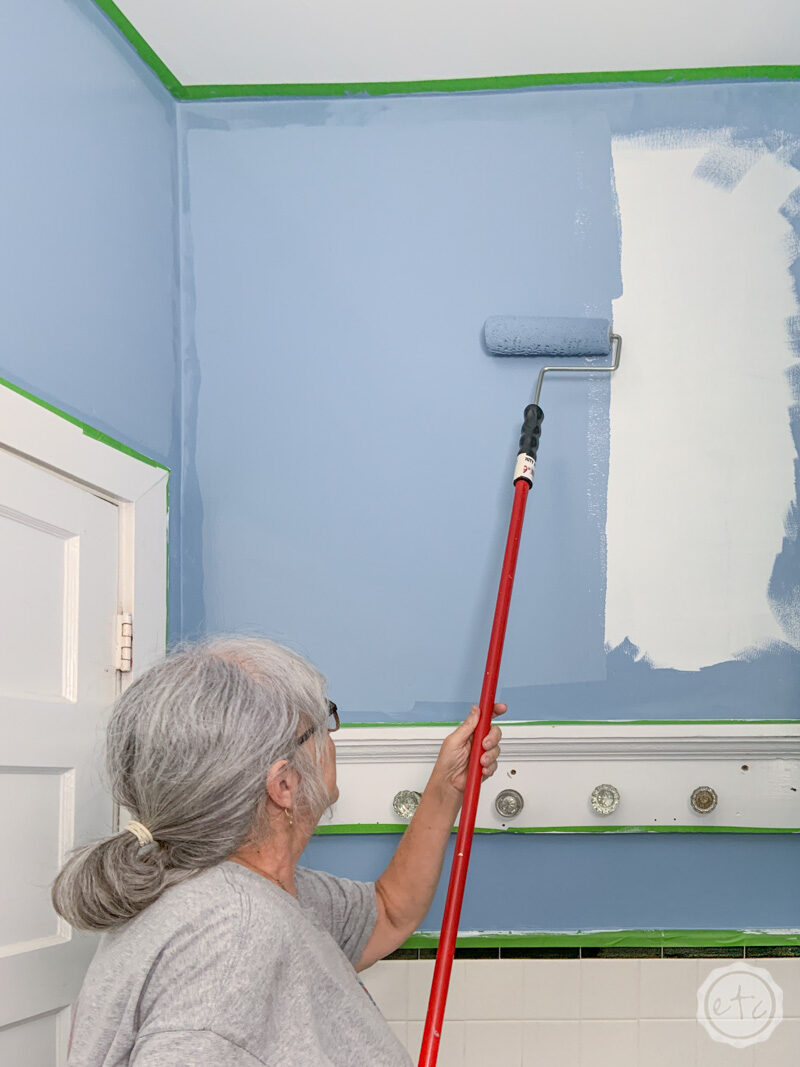
Start by cutting in the edges of your wall and then roll into the wet paint with your roller. Make sure to finish one entire wall before moving on to the next wall so that your primer never has a chance to dry in between steps.
Once you’re finished with your primer let it dry before moving on to your paint (if you’re using tape) so that you don’t pull any of the paint off with your painters tape. At this point the walls will look a bit frightening as one coat of primer won’t fully cover the original paint and you’ll still see brush strokes. That’s ok… we’re still in the ugly stage of the project and our next step will finish it off!
5 Paint the Walls & Ceiling
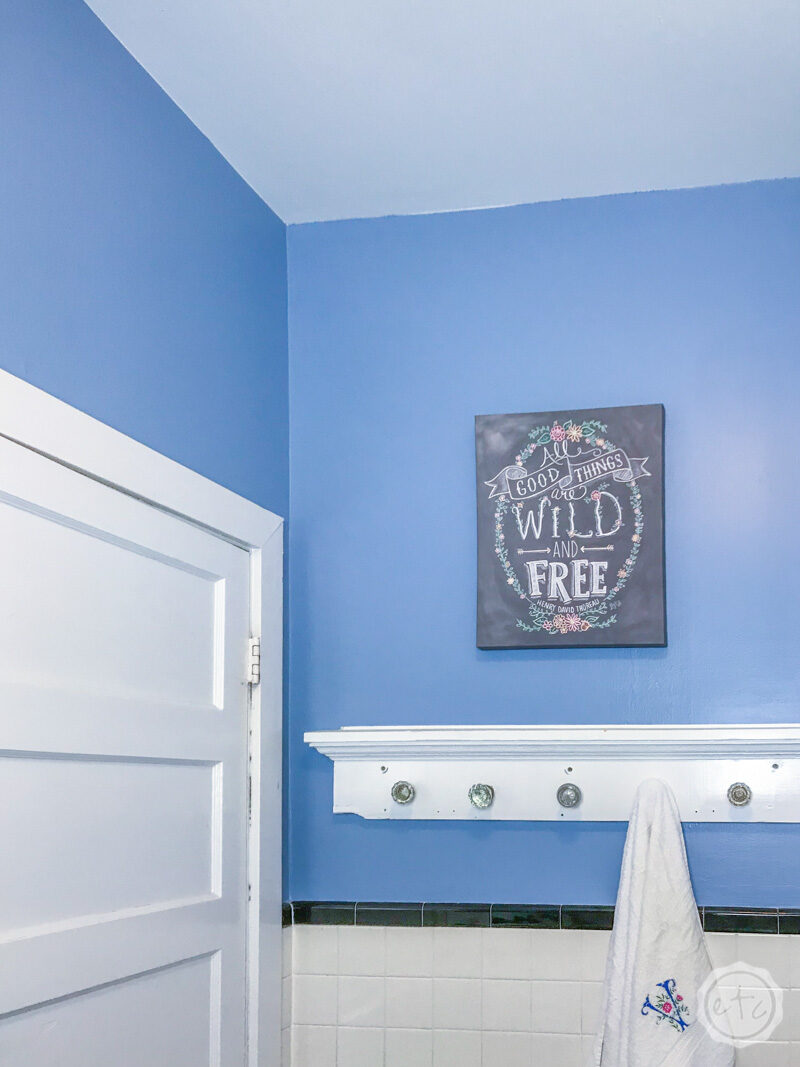
Ready for the last step? Now that our primer is dry it’s time to paint this baby. We chose a gallon of KILZ Complete Coat® in Florentine Blue to brighten up this tiny bathroom… and we finished the entire room with 2 coats of extra white ceiling paint on the top!
Painting the walls is simple: follow the same steps as your primer but with your paint. Start by cutting in the edges of your wall and then roll into the wet paint with your roller. Make sure to finish one entire wall before moving on to the next wall so that your primer never has a chance to dry in between steps.


Let your paint dry for about 2-3 hours in between coats and for a truly mildew-resistant, true to color finish make sure to add 2 coats.
Now it’s time to enjoy all of your hard work! A beautifully painted room always gives me a sense of accomplishment, is that just me?
BONUS TIP: Let your walls dry for at least 48 hours before taking a shower in your newly painted bathroom. Protect your hard work by showering in a different bathroom or taking quick showers.
Ready for the final reveal?
I love how it turned out!