Remember that wall gallery I told you about? The one in the hallway… well I’m moving along quite nicely, checking projects off my to-do list! Several years ago I lined two frames with blue maps, intending to later fill each with content. Well two moves, a husband and several years later I’m finally getting around to it! Nothing beats good timing, right? I knew I wanted a silhouette of my yorkie Little Bitt in the first frame, but I wasn’t sure exactly how that would look. Yesterday I was inspired to fill in the silhouette with string, I mean who doesn’t love a little string art?
Looking for a bunch of posts on DIY & Crafts? I’ve got you covered!
Click here to see all of my how to DIY & Craft posts in one place!
Supplies:
Short Finishing Nails
Metallic Silver Embroidery Thread
Step 1:
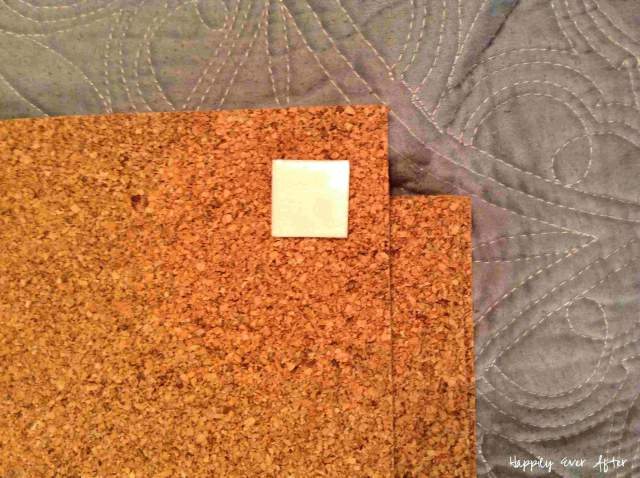
Once I knew what I wanted to do, the rest was easy… I think the total project took about an hour to complete! The whole process was very simple, go ahead and use the sticky tabs on your cardboard to attach your background map to the cork. That way they won’t slip and slide when you start to add nails!
Step 2:
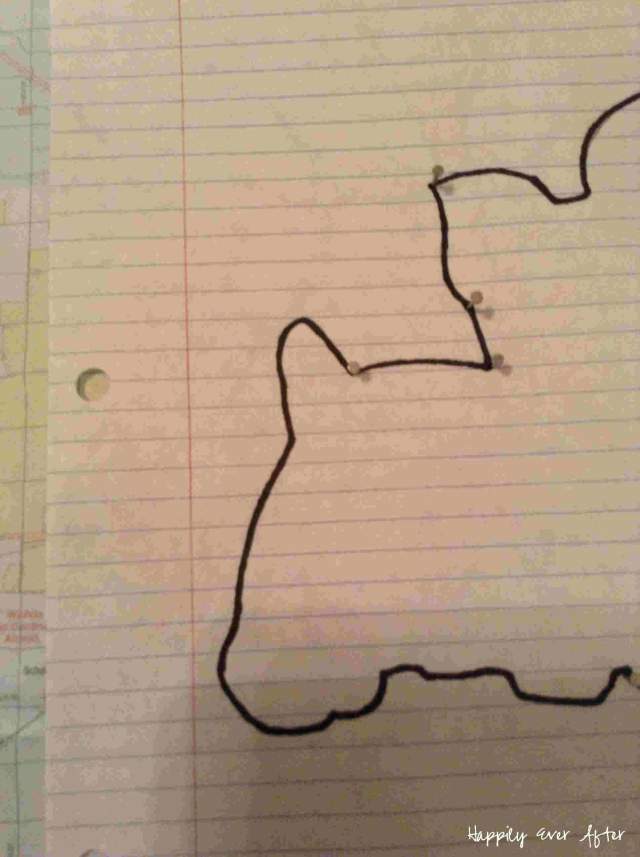
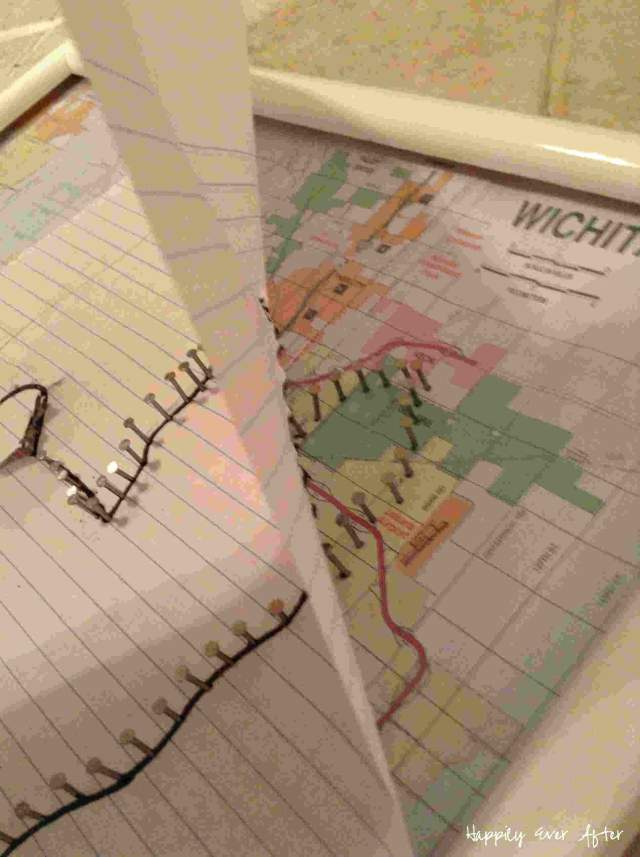
The second step is to decide on a shape for your string art… I decided to go with a little yorkie silhouette to represent Bitty! If you have a printer you could print a shape and use the printer sheet as a silhouette… since my printer wasn’t working I went ahead and drew a little yorkie shape on a piece of lined paper.
It doesn’t have to be complicated… in fact with string art it’s often best if your shape is NOT complicated! A simple shape will be easier to recognize!
Step 3:
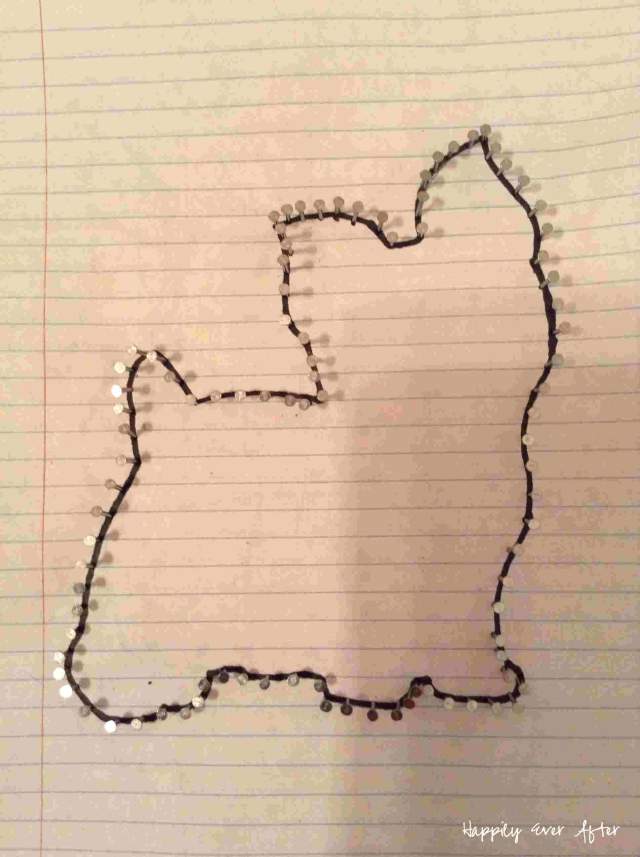
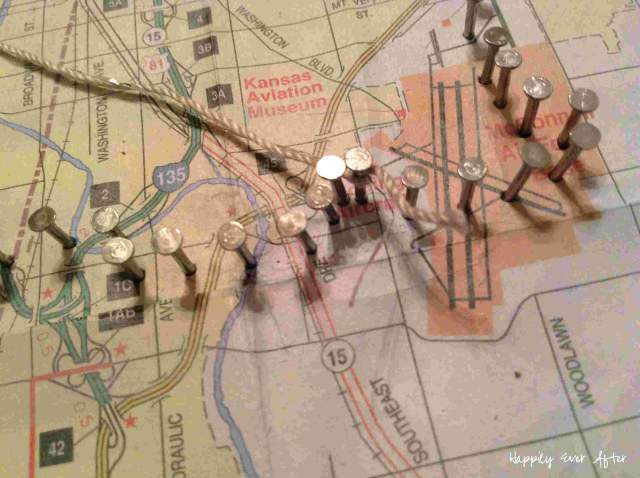
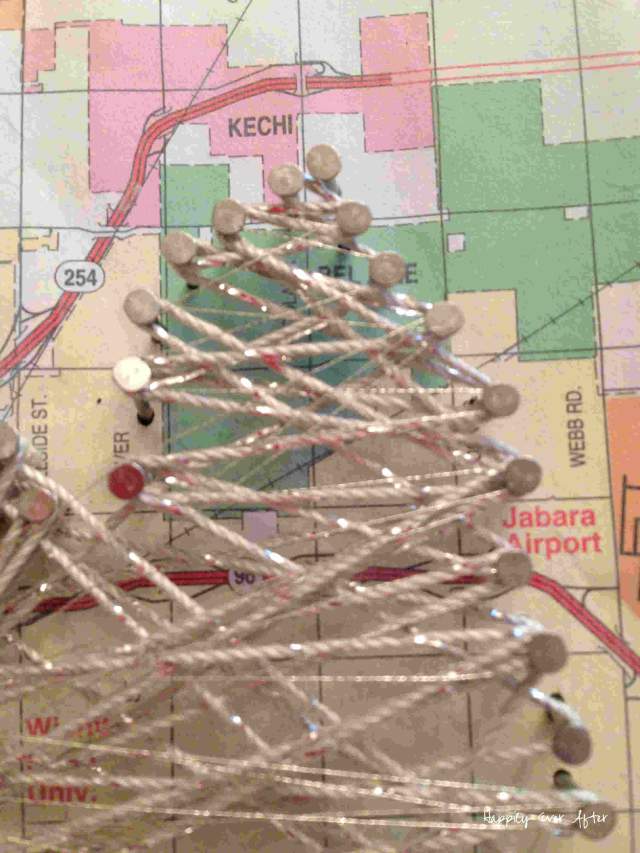
Now it’s time to start adding your nails! I started with one nail at the corners of my shape… and then filled in the rest of the nails from there. You can go with nails side by side (like I did) or leave a uniform space in between each nail. I’ve seen a space as big as a centimeter or an inch in between nails. Keep in mind the scale of the entire piece… and remember that you can always add additional nails if you don’t like the simple look!
Placing all of the nails was definitely the hardest part. Mostly because I wanted my nails to be SUPER close together, but also because pushing them into place made my poor little fingers hurt (didn’t you hear the angels crying?).I suppose you could use a little hammer but sine I am impatient I decided to skip that step and push each one in with my fingers. Yup… not the smartest decision!
Step 4:
Once the nail outline was finished go ahead and carefully rip the notebook paper off. It took me a moment but I quickly realized that the paper was stubborn and needed to be yanked! Be careful with your nails but don’t be afraid to pull! None of my little nails popped out even though I yanked pretty hard!
Step 5:
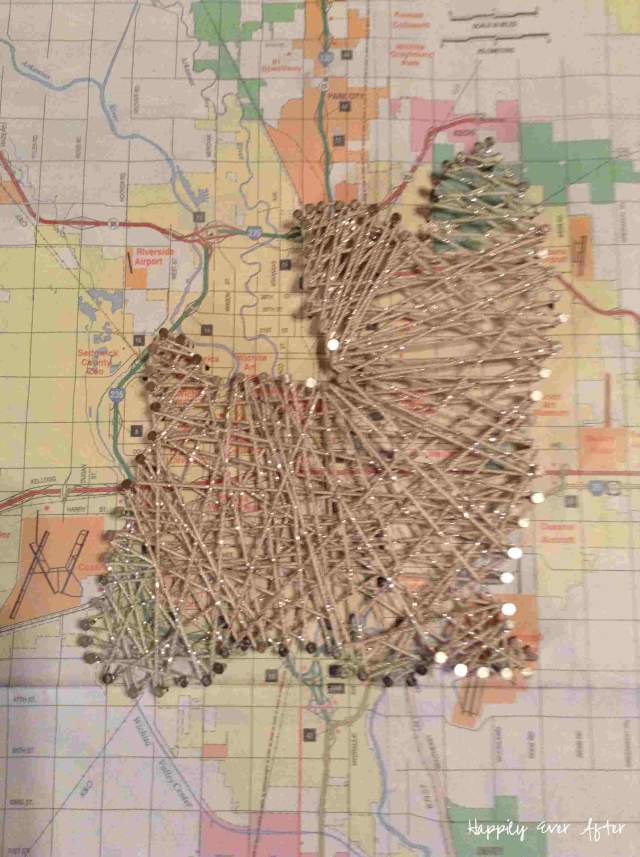
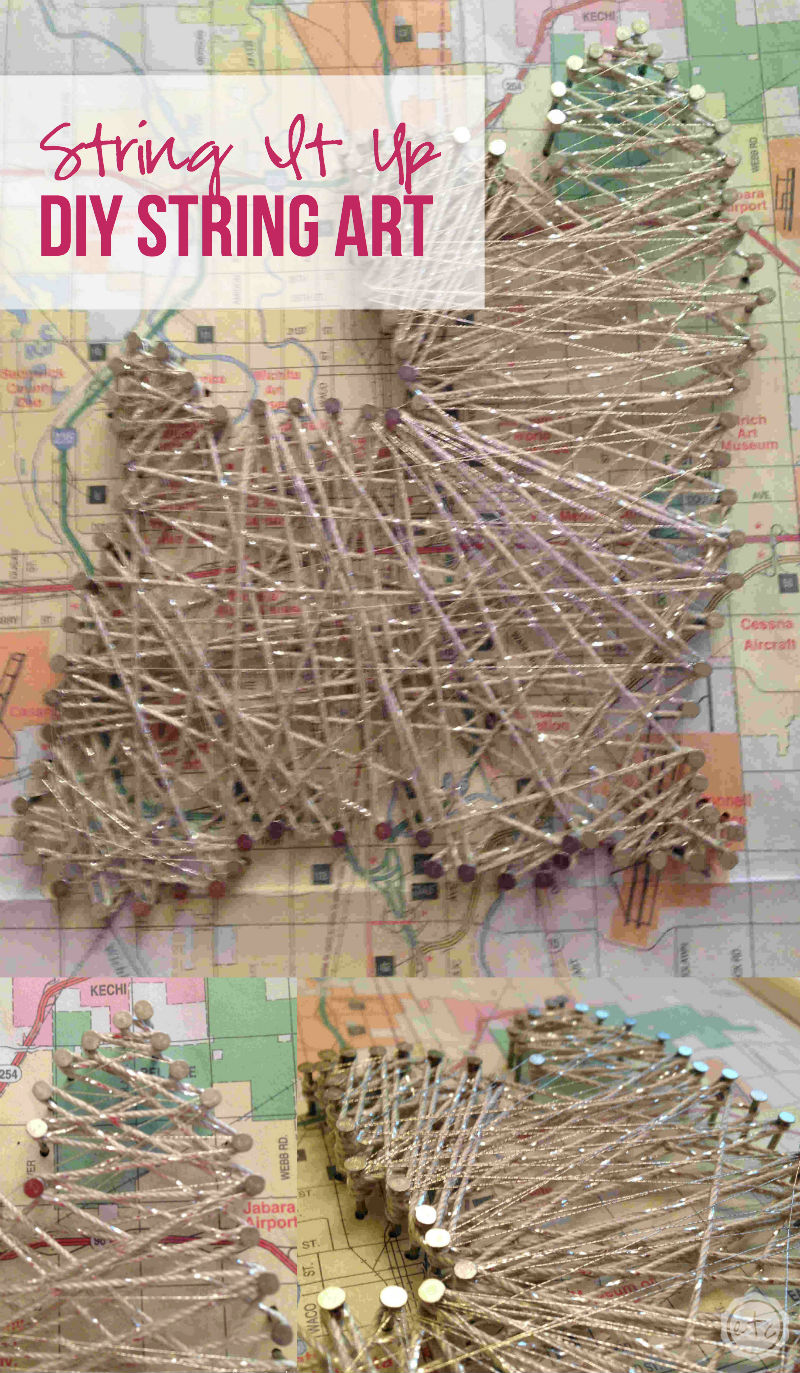
Now it’s time to string your thread! I’ve read that threading the string around the nails can be frustrating but it went super smooth for me! I simply sat on my bed and would the thread around and around for a good 20 minutes. Of course you have to take into consideration that I used crochet thread which is thicker than sewing thread and that my little puppy is fairly tiny. Working with smaller thread or a bigger area will increase the difficulty. My one regret is that my puppy is so small! I wish I would have made her bigger but she looked much larger (to me) on that notebook paper!
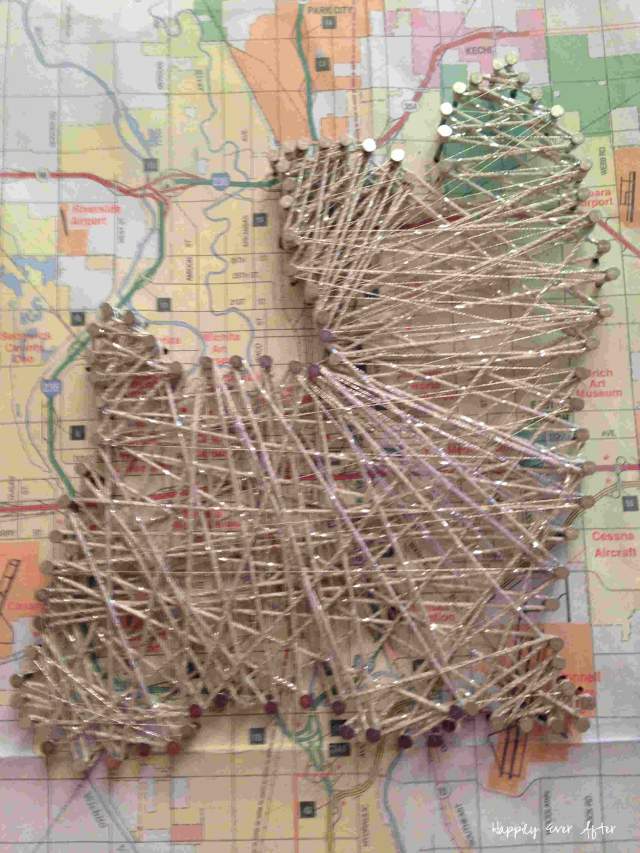
Once I finished with the crochet thread I ran another layer of thin metallic silver embroidery thread, it glimmers when the light hits it, and (I think) adds a little extra sparkle. Although the crochet thread was already laced with sparkly thread so the extra sparkle may all be in my head!
Either way I think she turned out fabulous! I love the way she brings a bit of silver sparkle across the hallway, I needed something to balance out that silver glitter deer!
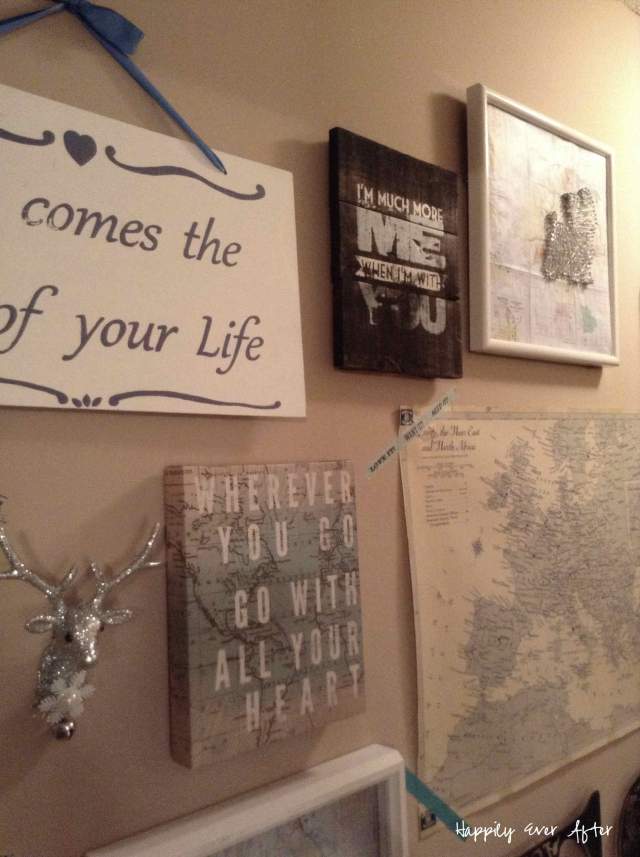
Check back next week to see what’s going in the other frame! I (literally) just hit order on my last two wedding canvases, so once those arrive I’ll be ready to reveal the finalized wall gallery… I know you’re all dying to see it. Aren’t you?
Linking up with: Meet the B’s & Live Laugh Rowe & 4 You With Love







LOVE this! So cute and so fun! I’m thinking my girls (12 and 15) and I might do this on a rainy day this summer!
Love love love this! We plan on doing some string art for our wedding.
This looks like such a FUN project! It’s really cute!!
Shut up !!! This is so neat and I think I could do it woot woot !!! I love this and thanks for showing us how to do it. I’m definitely trying this asap.
Laci @ Sequins
You could totally do it Laci!! It’s so easy! Make sure to share pictures… I want to see what you come up with!
How fun!
Thanks Cheyenne! It was such a fun project!
I love string art, and I’ve always wanted to try it. Your project turned out great!
It was soooooo simple too! I have had this project on the back burner for months and I don’t know why… It took minutes!