


Are you ever scrolling through your facebook feed and get stuck watching those videos of people who know how to brush letter? Or the gorgeous calligraphy? I’ve wanted to learn how to brush letter for as long as I can remember… cursive may not be taught in schools any longer but for those of us “creative types” having beautiful hand writing is oh-so-satisfying.
The good part is that brush lettering may not be easy… but it isn’t hard! It takes a lot of practice… and a lot of repetition. Honestly if you’re just trying to hand letter one phrase or one word you could probably fake it pretty easily but for easy-flowing-don’t-stop-to-think-about-it beautiful brush lettering there are no short cuts!
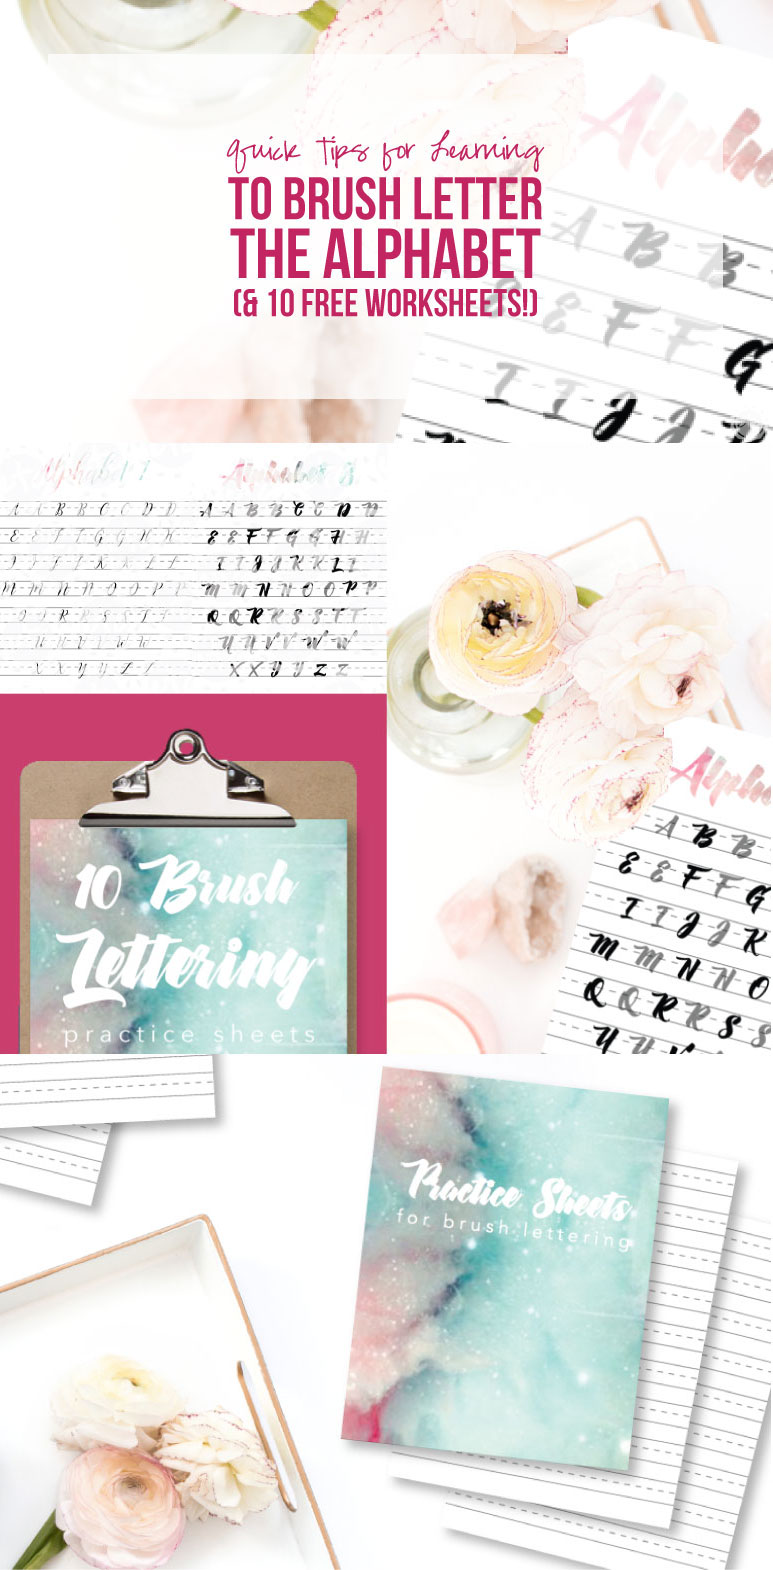
Here are a a couple quick tips to help you learn to brush letter the alphabet.
BONUS: Don’t forget your free brush lettering work sheets at the bottom of this post! I put together 5 quick tracing sheets and a whole bushel of blank practice pages so you can get started easy peezy lemon squeezy.
Practice Practice Practice!
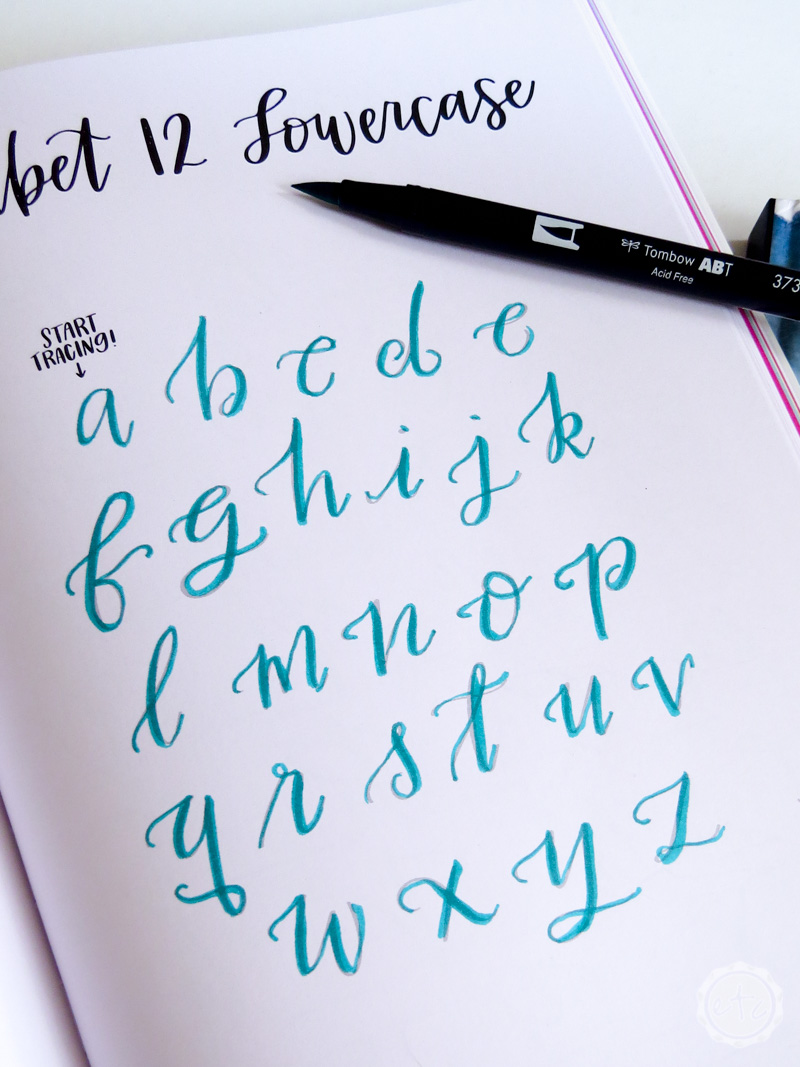
Step 1: Tracing the Letters
The most important step to learning brush lettering is to spend your time practicing. If you work on repetition even a couple minutes a day: tracing the letters, making the strokes, practicing using your brush pens. It will soon become old habit.
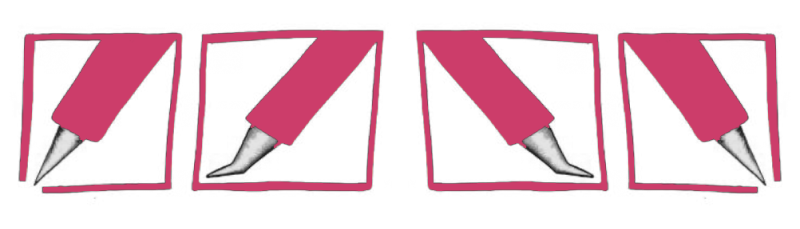
Of course, you can jump right in but if you’re just starting out you’ll want to practice the strokes that make up the letters. Remember the easiest way to think of it is light pressure on the up-stroke and heavy pressure on the down-stroke.
Look at the graphic up above. Can you tell the difference between the light pressure stroke and the heavy pressure stroke. Brush pens make this super easy since their tips are meant to bend at an angle to provide the right thickness of the lines.
That’s why a good brush pen makes this pressure super easy! If you haven’t picked up any brush lettering supplies I recommend this Tombow advanced lettering set. Don’t let the name fool you… it’s not for advanced calligrapher’s it’s just the advanced version of the 3 brush pen set.
It has a couple small brush pens, a couple large ones, a pencil and an eraser so it’s a great starter pack. Especially for girls like me who want to rush out and buy alllll the colors of the rainbow. This girl did not have the basic crayola pack!
Practice the Motion!
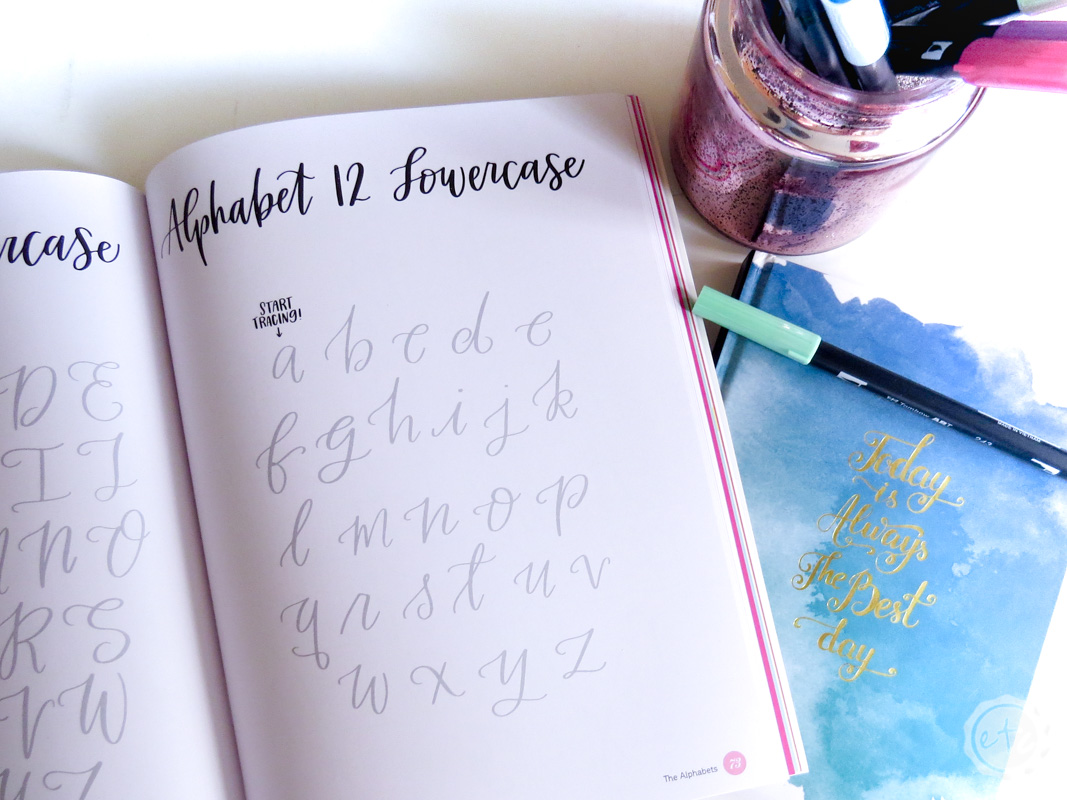
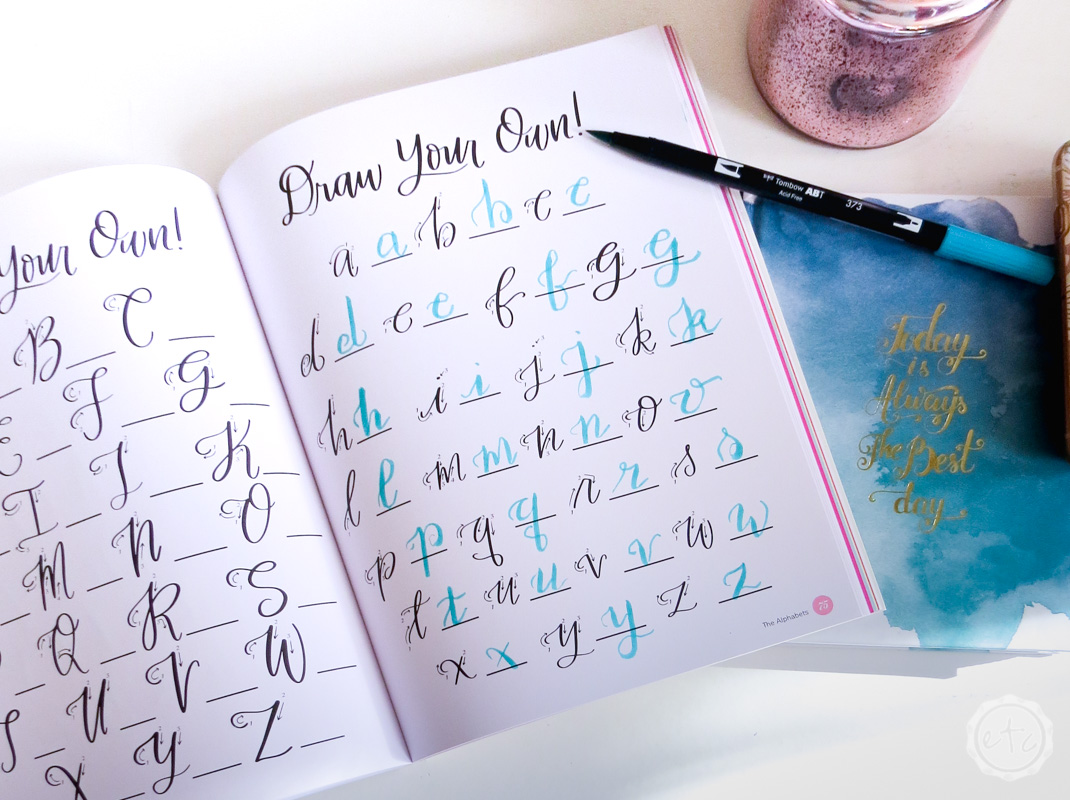
Step 2: Practice the Alphabet
I find that when you’re first starting out the best way to start is to trace the letters. I’ve included tracing sheets for 5 alphabets in my freebie down below so go ahead print those babies out and get started!
Go over each letter and think about which is the upstroke and which is the down stroke. Lift your pen on the upstroke to apply light pressure and push down on your brush pen on the down stroke for heavier pressure.
Remember that while our goal is to eventually be able to write continuous letters the first step is just to learn the motions… so don’t go trying to write whole words and phrases just yet. Focus on each part of the letter.
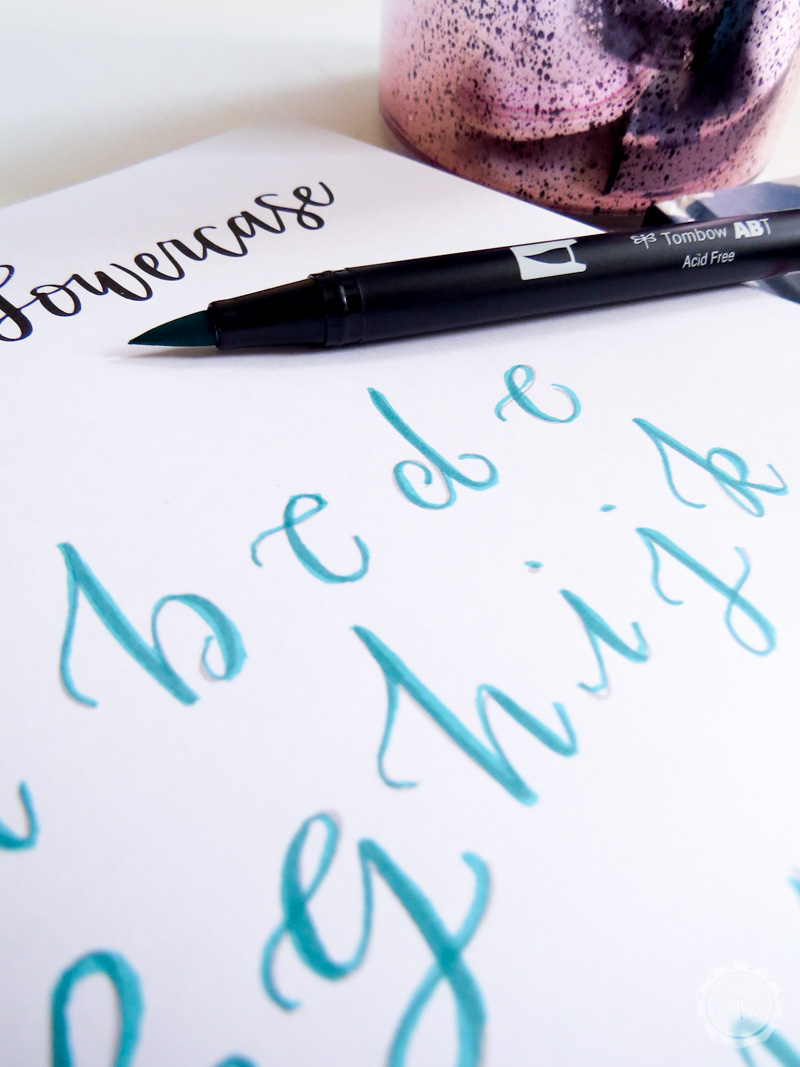
Once you’ve made your way through the tracing pages it’s time to practice each letter!
Practice Drawing the Letters
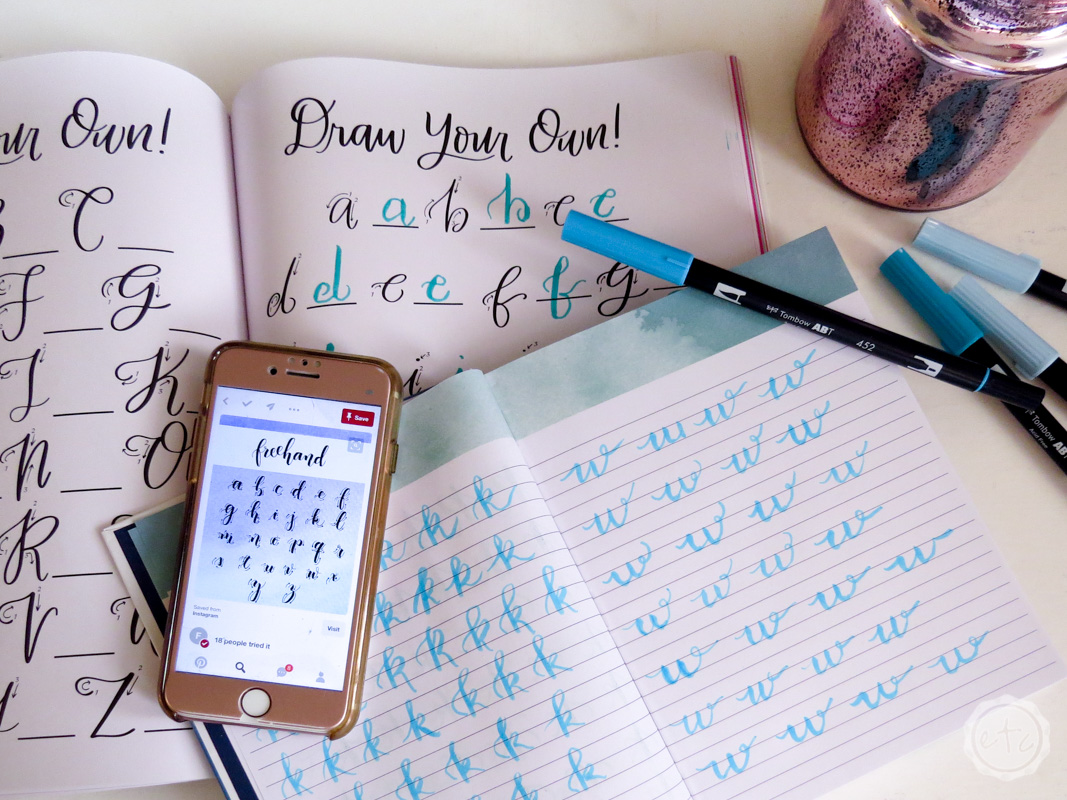
Step 3: Write Each Letter Repeatedly
Go ahead and take your practice sheets and practice each letter. Start by writing an entire sheet of a’s then b’s… then c’s!
You get the idea.
Of course, if you download the freebies you have 5 separate alphabets to practice but if you want to practice a specific alphabet (say there’s a typeset you just really love and want to learn) or you’re looking to expand on the few you’ve started with.
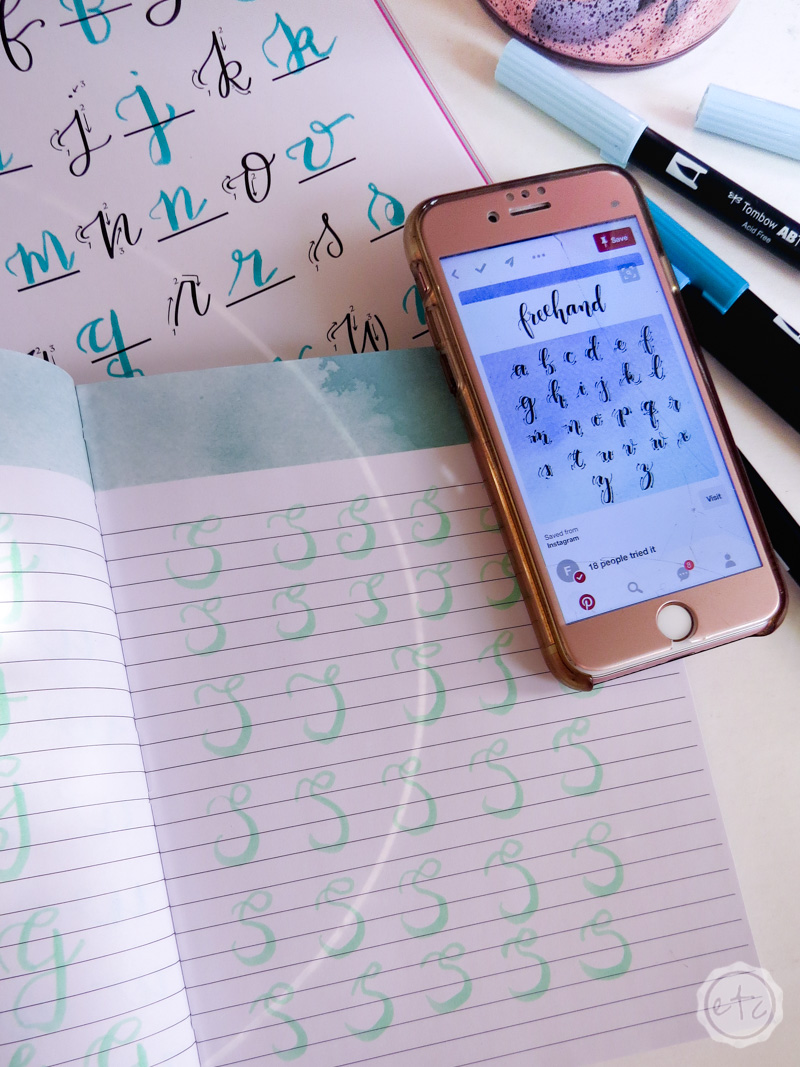
I don’t care what the question is… the answer is Pinterest!
I’ll take my blank practice pages, look up a beautiful hand lettering alphabet on pinterest and practice practice practice. Sometimes when you’re struggling with a specific letter (like the blasted k that eludes me!) this is a great way to make a character study.
Just write alllllllll the k’s until they come naturally.
Did you notice how all 3 headings in today’s post had the word practice in them? That’s because my biggest tip is to practice!
Of course, the easiest way to do that is to follow all the steps!
Step 1: Tracing the Letters Step 2: Practice the Alphabet Step 3: Write Each Letter Repeatedly.
Or… practice, practice, practice!
Happy practicing!


[…] great for allllll kinds of crafts. Especially hand lettering which is a great hobby to get into with all of the free online resources these […]