
This is a sponsored post written by me on behalf of FrogTape® for IZEA Worldwide. All opinions are 100% mine.

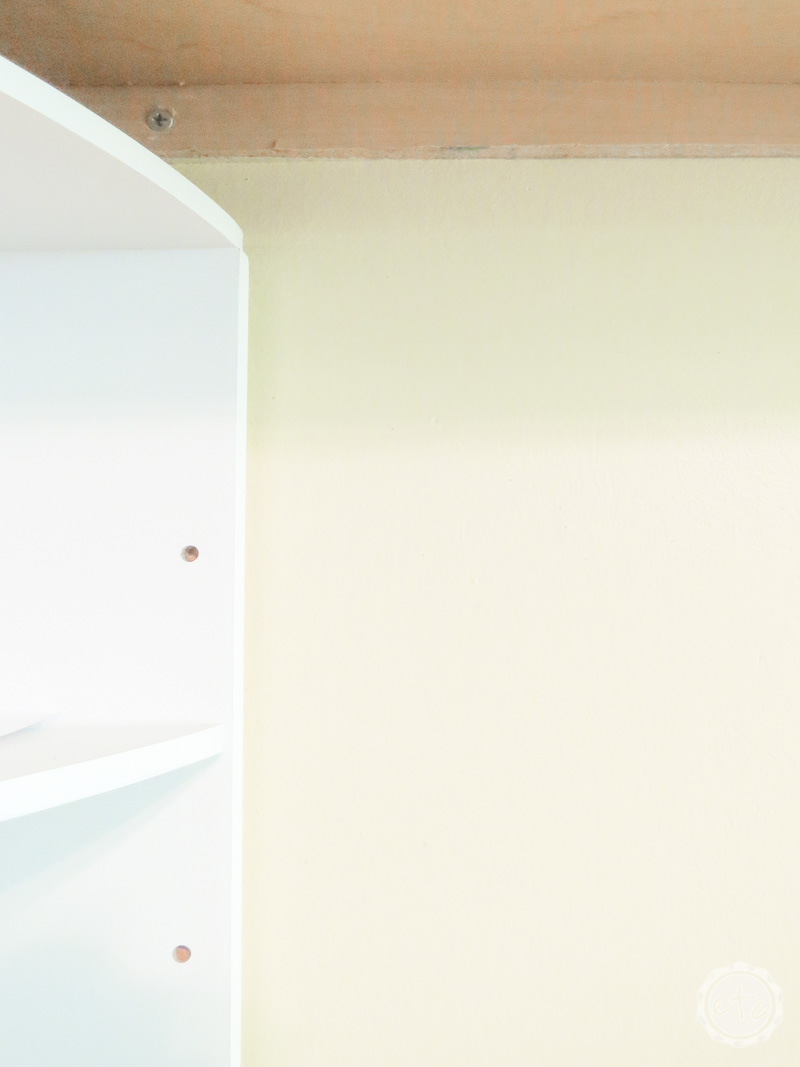
Have you ever had part of your paint start peeling off the wall? There’s a million reasons why something like this happens… the wall wasn’t prepped right, the wrong paint was used, you put up one of those sticky hooks and it took all your paint off the wall when it fell down.
Yup, you guessed it… we’re dealing with the third one.
In this case a small sticky hook came crashing to the ground pulling alllll the yellow paint with it. Since we originally painted this room about 10 years ago it was definitely time for a face lift!
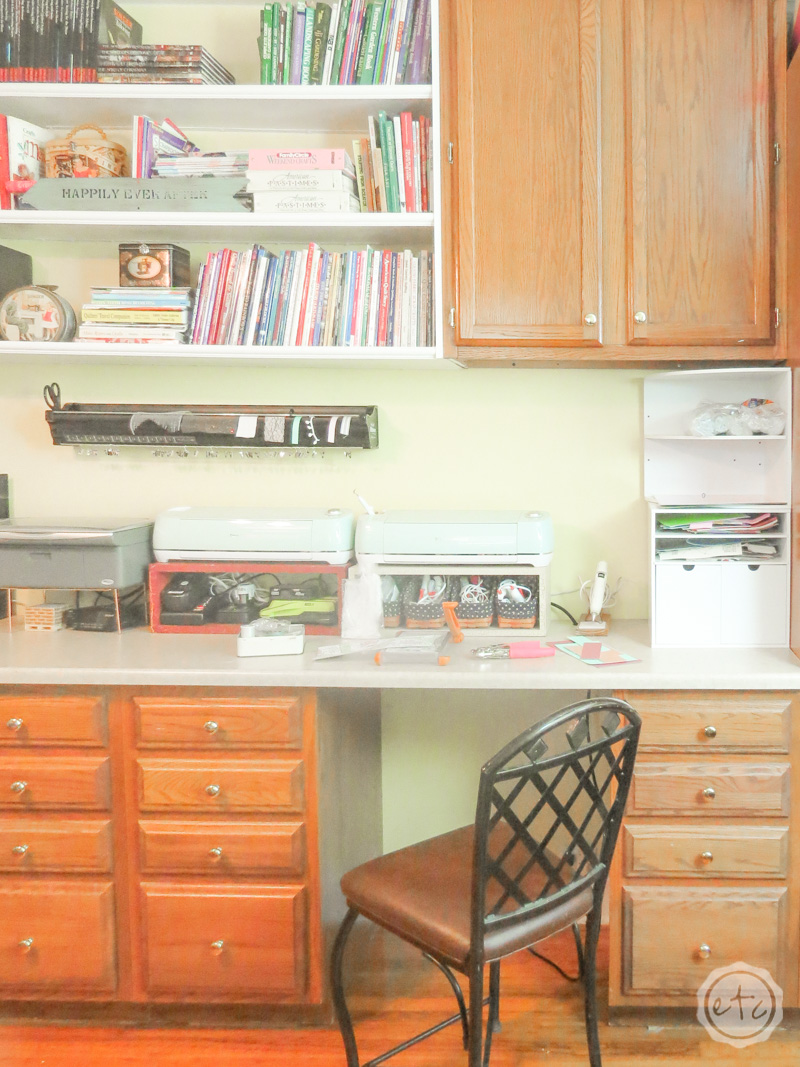
Luckily repairing a wall like this was quick and easy… even with all of the cabinets. From start to finish the entire project took about an hour and a half.
Supplies:
Non-Shrink Spackle
Putty Knife
Sand Paper
FrogTape®
Paint Brush
Paint Roller and Nap
Paint Tray
Paint!

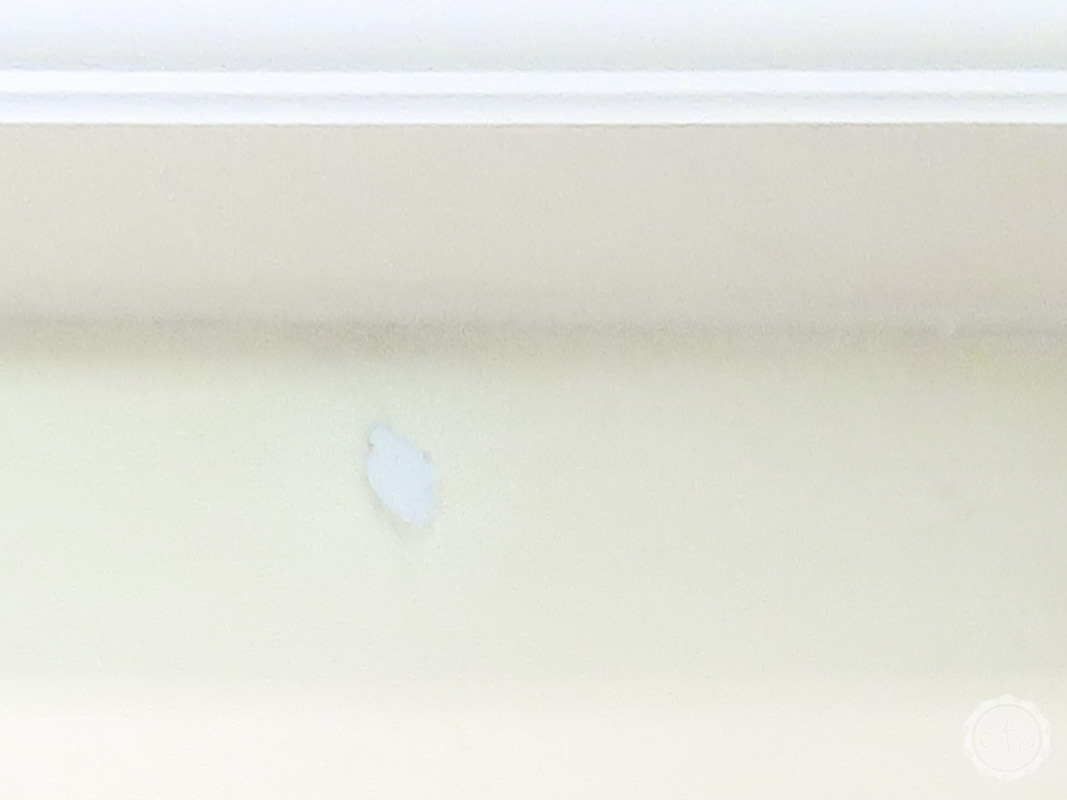
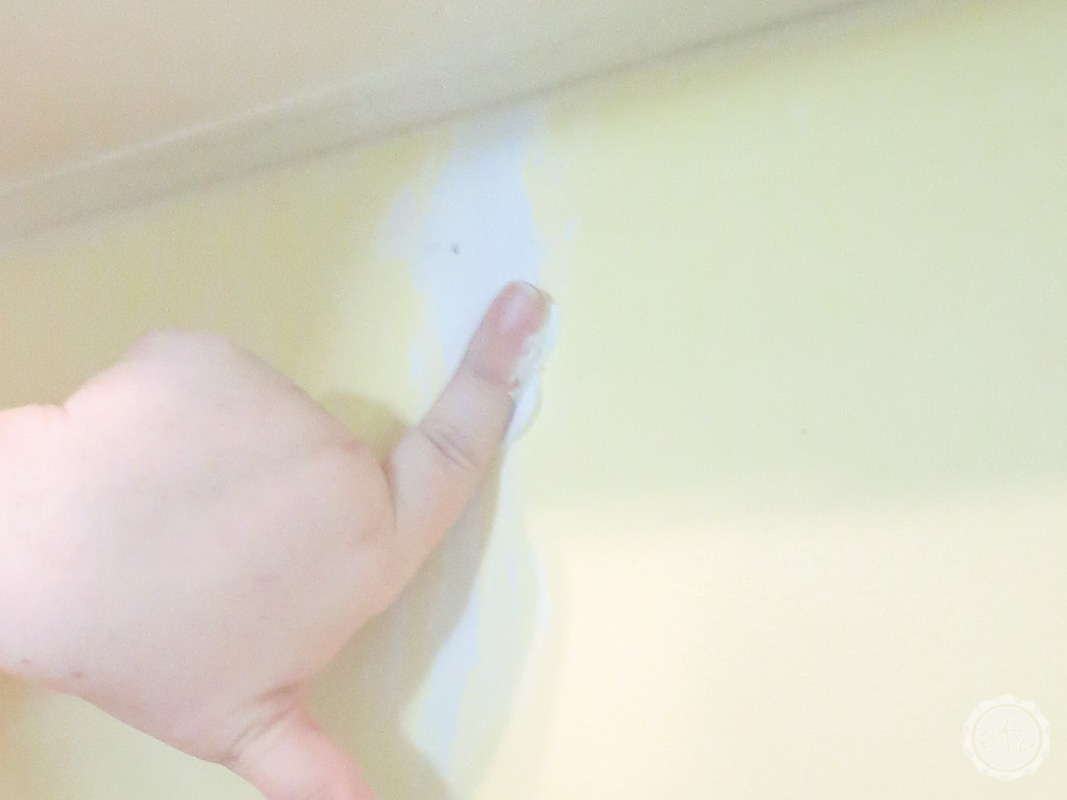
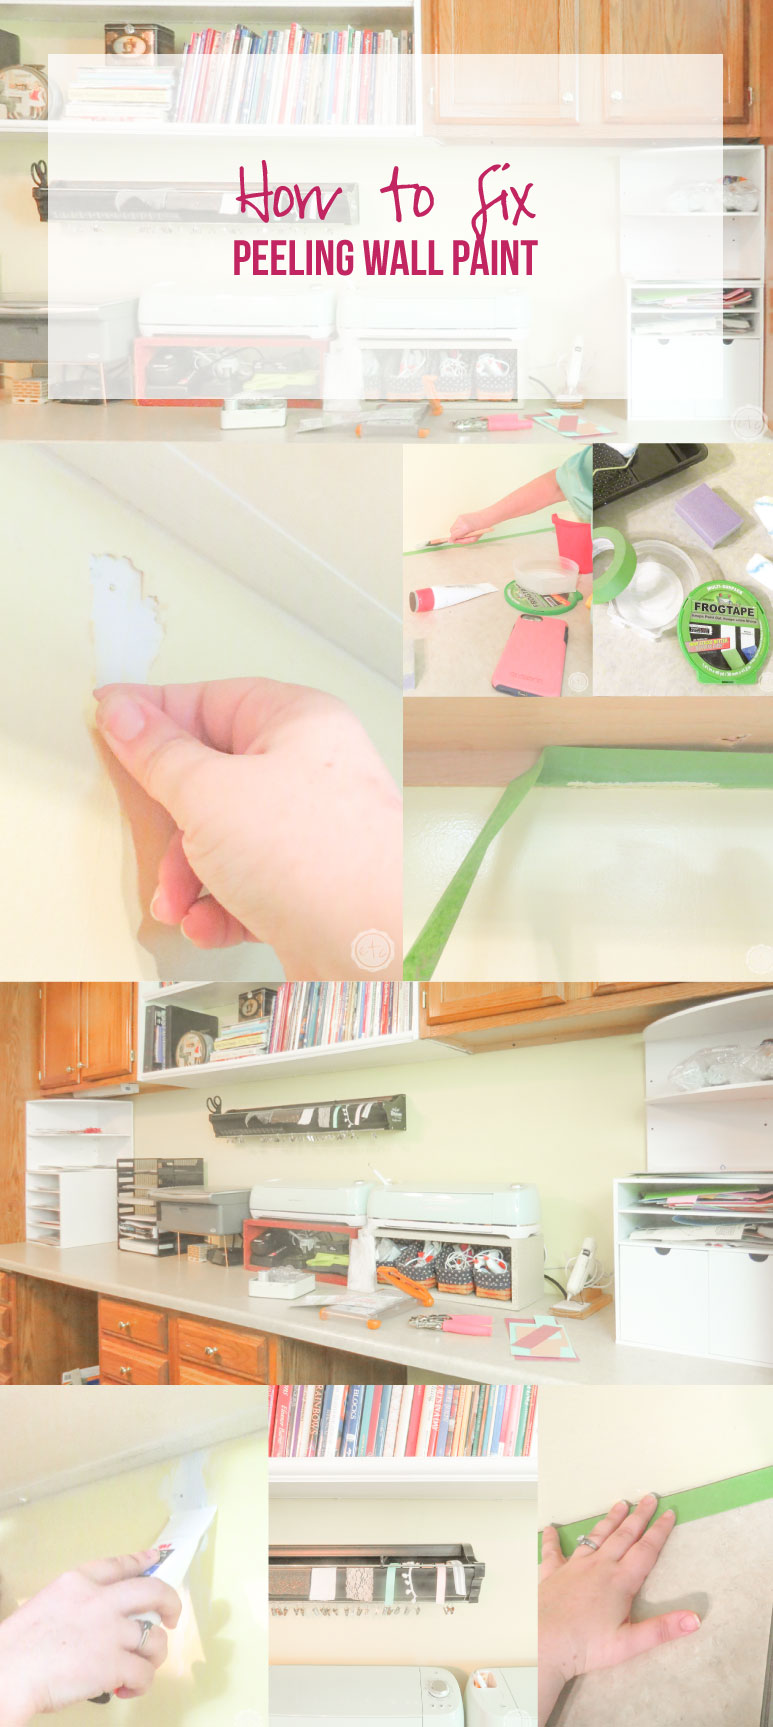
Step 1: Remove All Peeling Paint
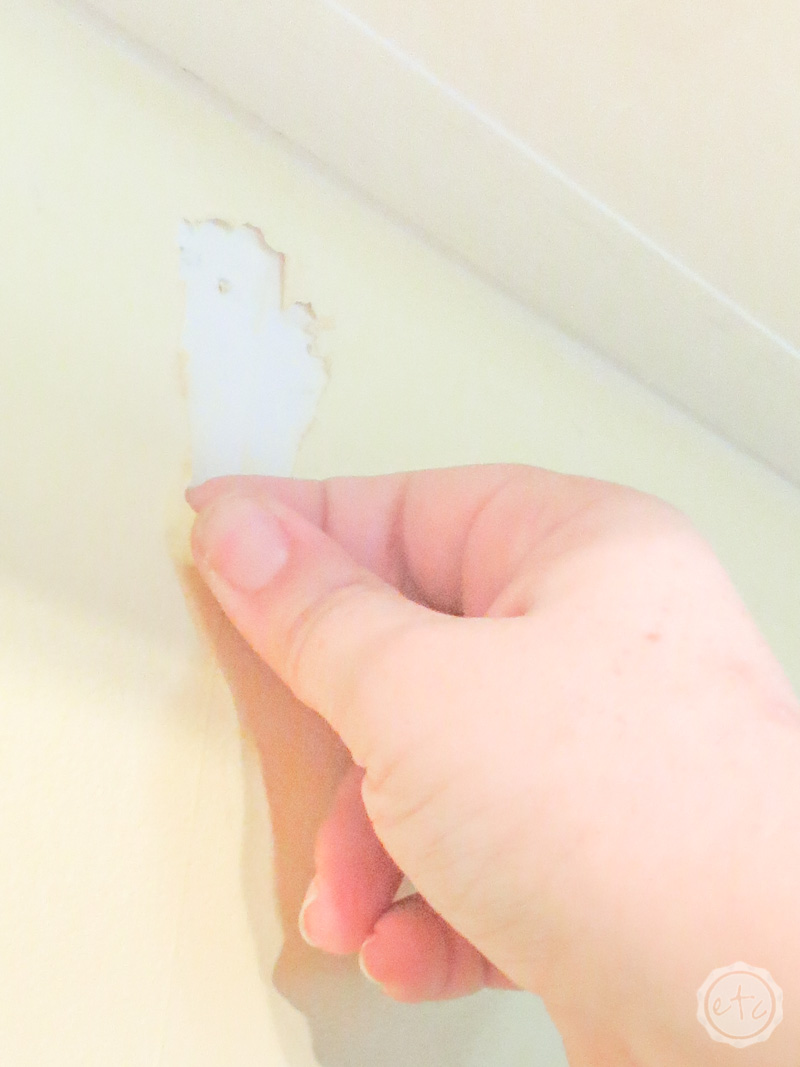
Unfortunitely in the case of peeling paint it has to get worse before it gets better! Start by taking allll the peeling paint off of the wall. I like to start by removing the biggest pieces by hand and then moving on to sanding the edges.
Anything sticking to the wall can stay but just imagine spending alllllll this time and energy fixing the wall only to have the peeling paint continue peeling in a week or so when those peeling edges come up!
That would be horrible.
Truly horrible!
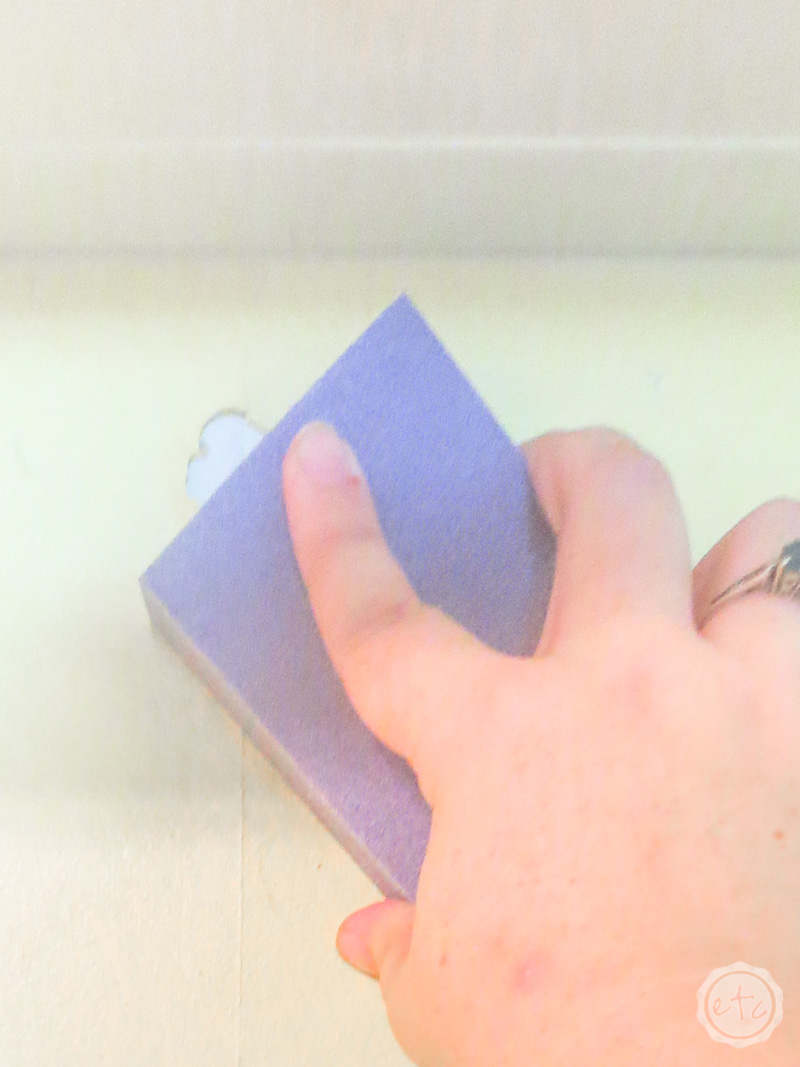
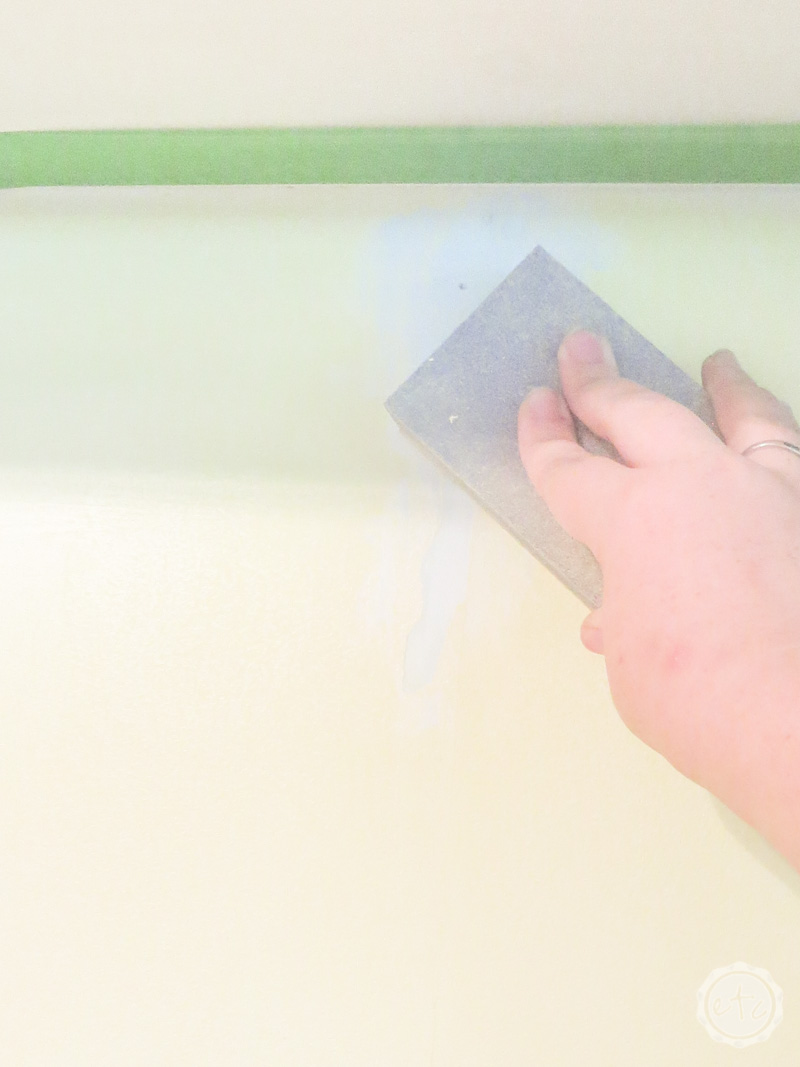
Step 2: Sand the Edges
Once you’ve taken the biggest pieces off by hand take a sanding block and sand the entire section. Any small bits of paint that come off are good to go but typically this will shake a few more big pieces of peeling paint loose.
Which can be frustrating because it feels like two steps forward, one step back. Yuck! It’s ok. Just keep sanding all the little edges until the hole has smooth edges and merges seamlessly with the wall.
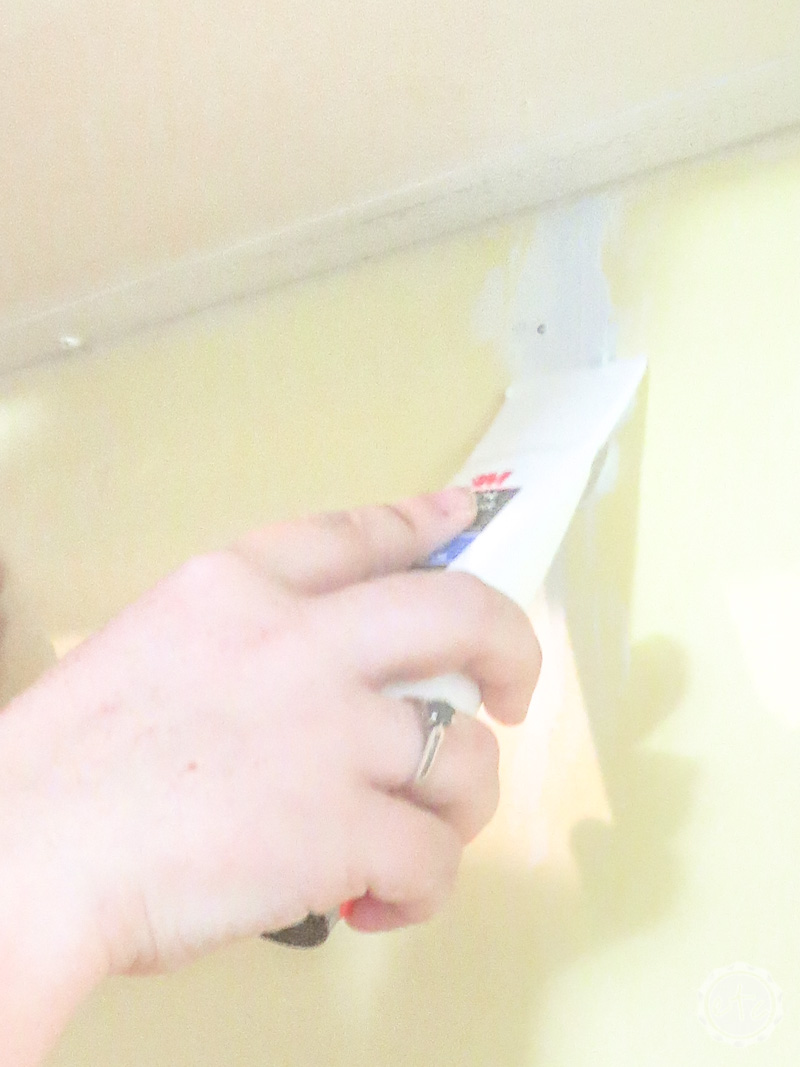
Step 3: It’s Time for Spackle!
In order, to paint the wall and not show a difference in the hole and the rest of the wall we have to fill in the hole. The easiest way to do this is with a little spackle. Just like the stuff you’d use to fill in a nail hole we’re going to fill in the larger hole so that our wall is once again smooth.
My biggest tip? Make sure you use shrink-free spackle so it doesn’t shrink as it dries. Spackle with primer makes it even easier since we’re not priming the entire wall… just fixing the wall!
Go ahead and fill your hole with spackle… then smooth it out with your putty knife. We want the whole thing to be super smooth so go ahead and place spackle over the edges onto the wall.
When you smooth the spackle out having excess will help level the entire area.
Once your spackle is level go ahead and let it dry… which shouldn’t take long. Just a couple of minutes! Ok… like 10-15 minutes. Once it’s completely dry take your sanding block and smooth out the wall.
Volia! Our hole is fixed… it’s just a different color.
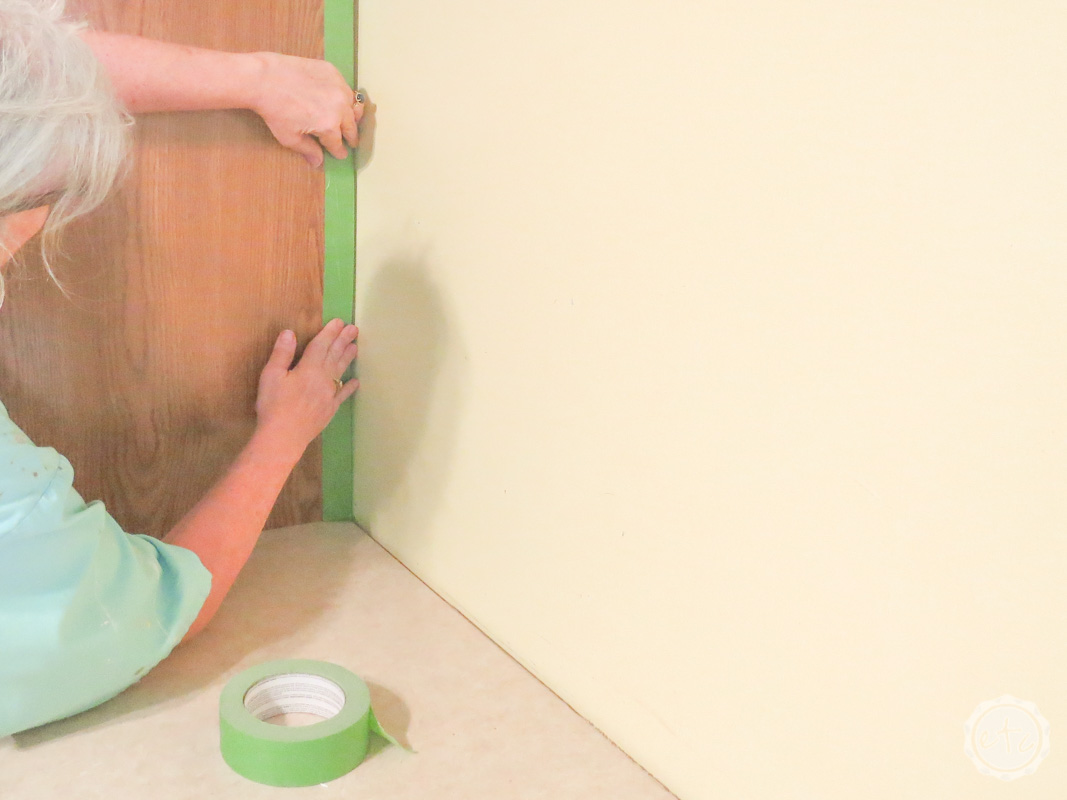
Step 4: Tape those Edges!
Now it’s time to break out that Frog Tape! In my case this is especially important because I’m working on the space between a bay of cabinets.
Cabinets for days y’all.
I don’t want any of these cabinets to be painted a creamy butter yellow… just the wall.
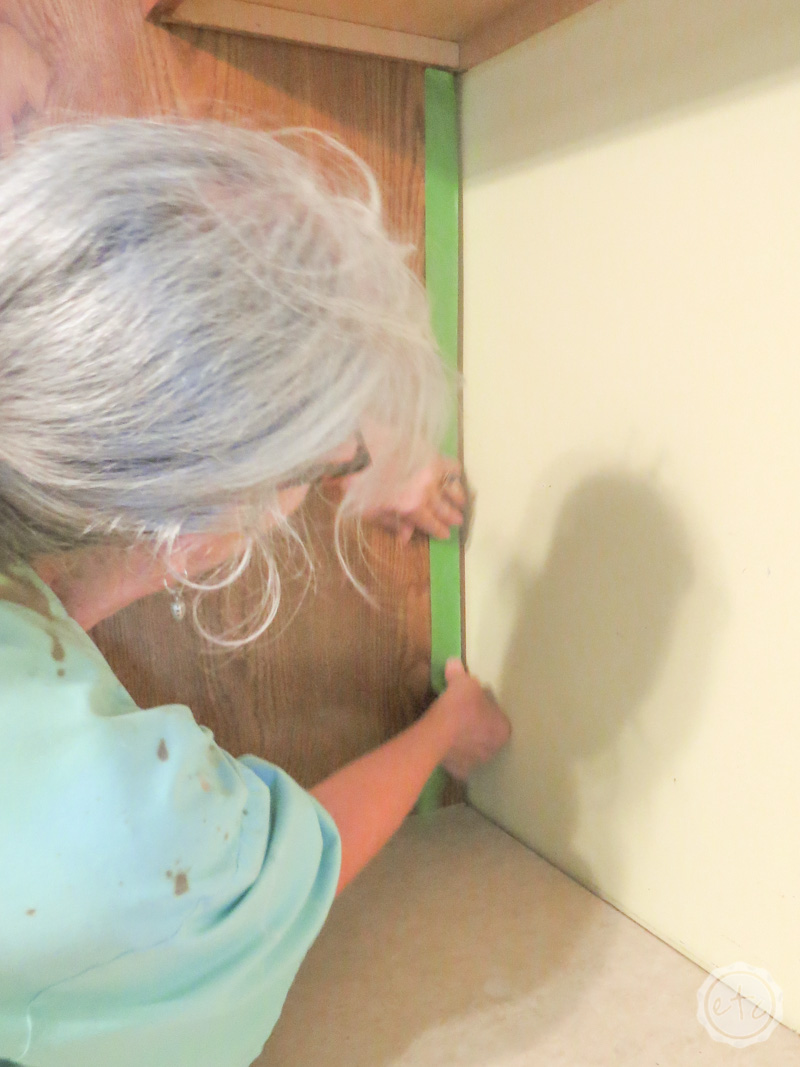
When you’re laying your Frog Tape make sure to line it up with the edge of your wall (or in our case cabinet) and press down firmly on the edges to seal them tight.
If you don’t seal the edges you’ll have tape seep underneath and make a big mess… which completely defeats the entire point of the tape in the first place. Luckily it’s easy to seal the edges and then your tape comes off nice and clean… leaving behind only fresh, straight paint lines.
No seeping necessary.
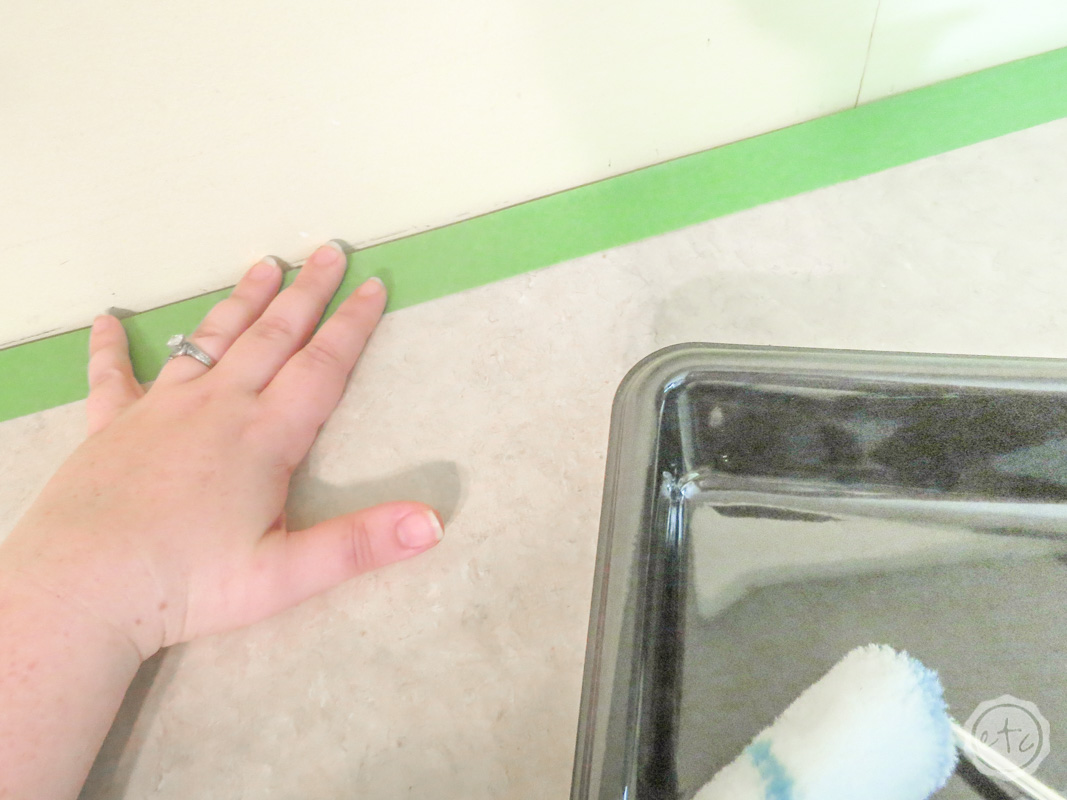
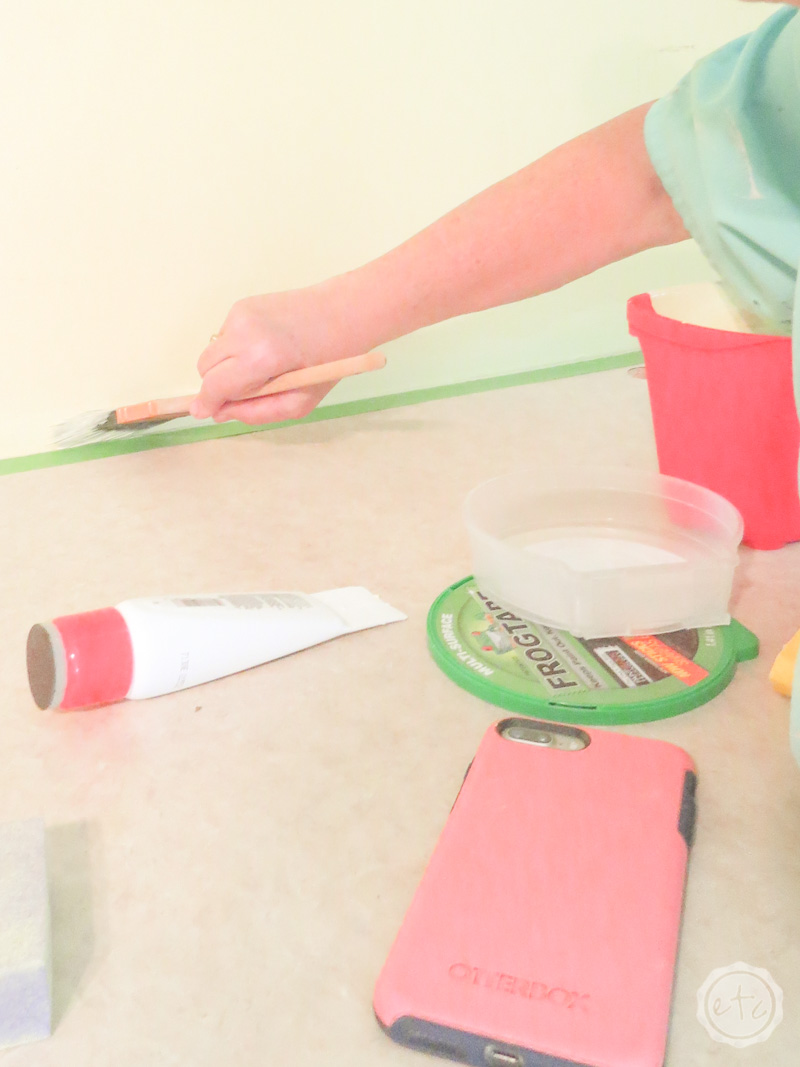
Step 5: Cut in the Edges
Once you’ve taped off the edges it’s time to start painting. Using your brush go ahead and cut in the edges. You’ll want to paint about 2-3 inches around the entire perimeter so that when you roll your paint onto the wall you have enough space to roll your paint roller (without hitting the ceiling or floor… trust me. Been there… tried that)
If you’re working on a small area it shouldn’t take long to cut in the edges but if you’re working on a large space make sure to cut in a section, roll the paint onto the wall in that section and then move down the wall. You always want to be working with wet paint on the wall since once it dries you’ll have a harder time getting the shades to match (even if you’re working out of the same paint bucket in the same hour on the same day with the same brush wearing the same hair bow… it’s just a thing.)
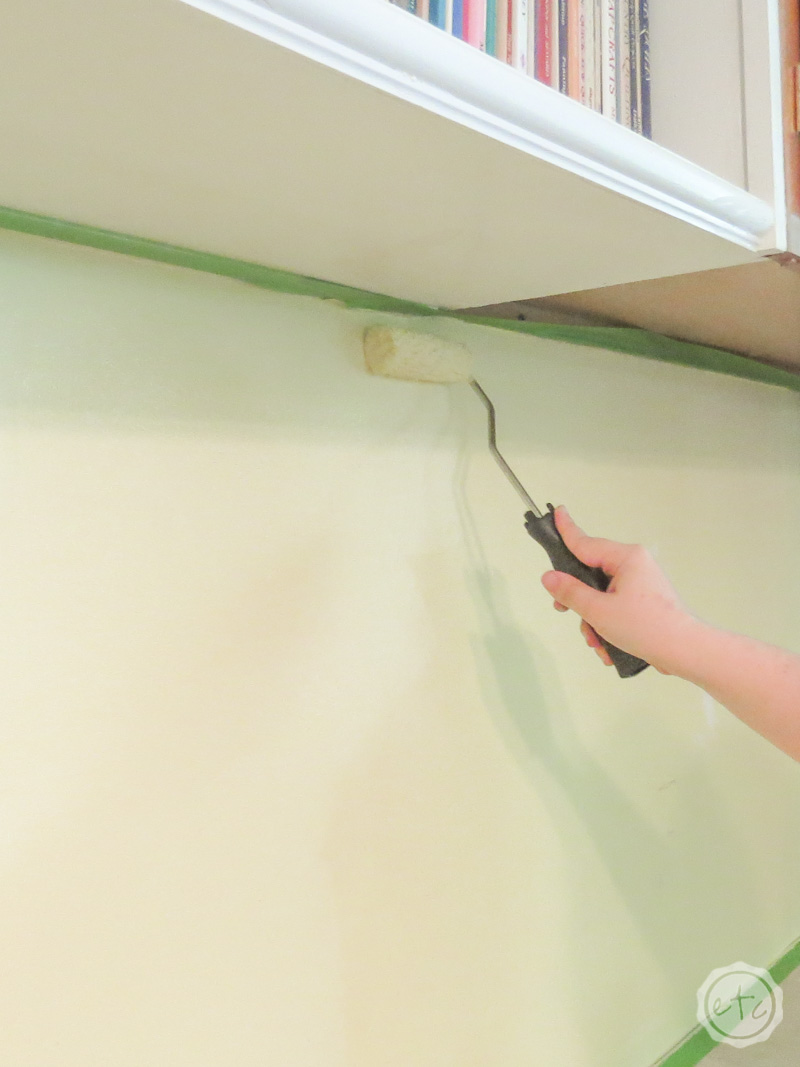
Step 6: Paint the Wall!
Alright y’all now it’s time for the fun part… time to paint the wall! Use your paint roller to roll paint onto the entire wall. Roll as far into the cut in border of the wall (from step 5) as possible so that the brush marks and the roller marks blend together.
Since we’re fixing a hole you’ll probably already have your paint color picked out (the color of the wall) but if you’re looking to change your room’s color this is the perfect time to do it! Pick a beautiful new color (need a little help? I have a free course to help you pick your perfect paint color!) and at the end of this hole repair you’ll have a gorgeous new room.
If you’re just matching the color already on your wall the easiest solution is to take a bit of your peeling paint (make sure you have a section that’s flat and about the size of a quarter) down to good old Sherwin Williams and they can match your paint color.
Once you’re done painting you’re almost done!

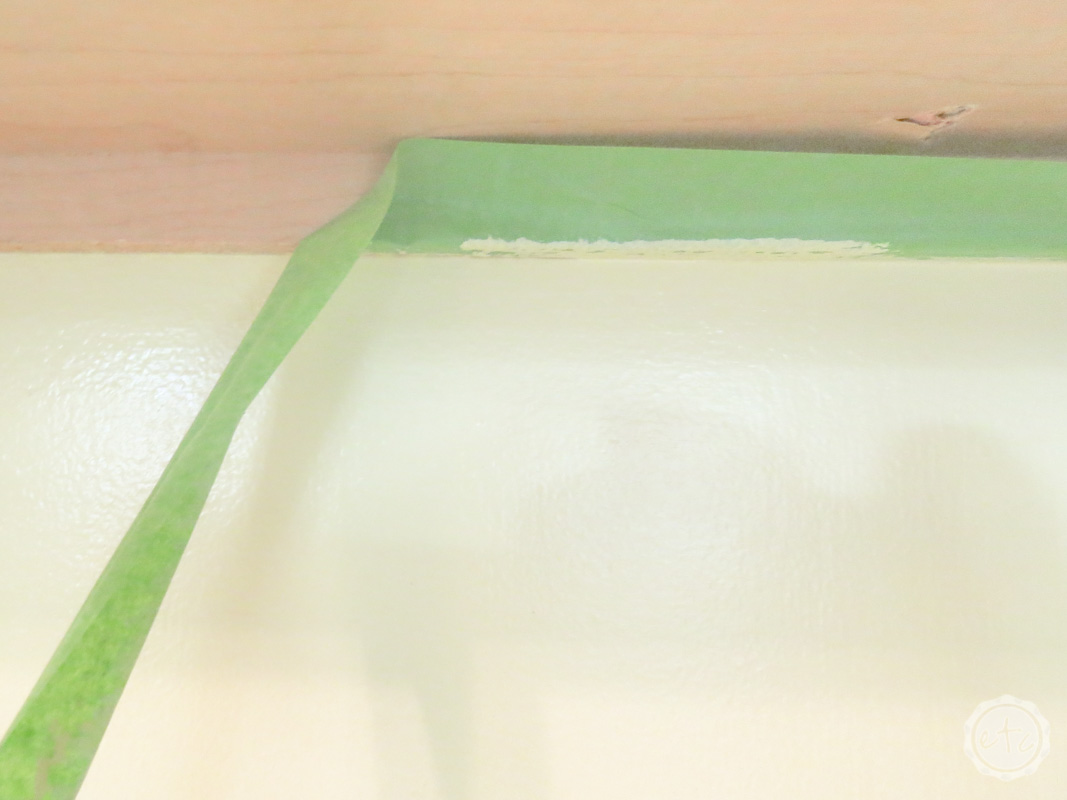
Step 7: Remove the Tape
Alright y’all it’s time for the grand reveal! Once you’ve painted the wall go ahead and take your tape off. You’ll want to remove it while the paint is still wet to take advantage of that PaintBlock® Technology and get a nice crisp line.
If you’ve ever removed Frog Tape from a painted wall before you know that this is the most satisfying part… plus at the end you’re done!
Your hole has been fixed!
The entire wall should look like one big giant wall instead of one wall with a hole of peeling paint in the middle. A little spackle, a little frog tape, a little paint and a little elbow grease and you’ve got yourself a brand new wall!
Or the same wall with a whole new attitude.
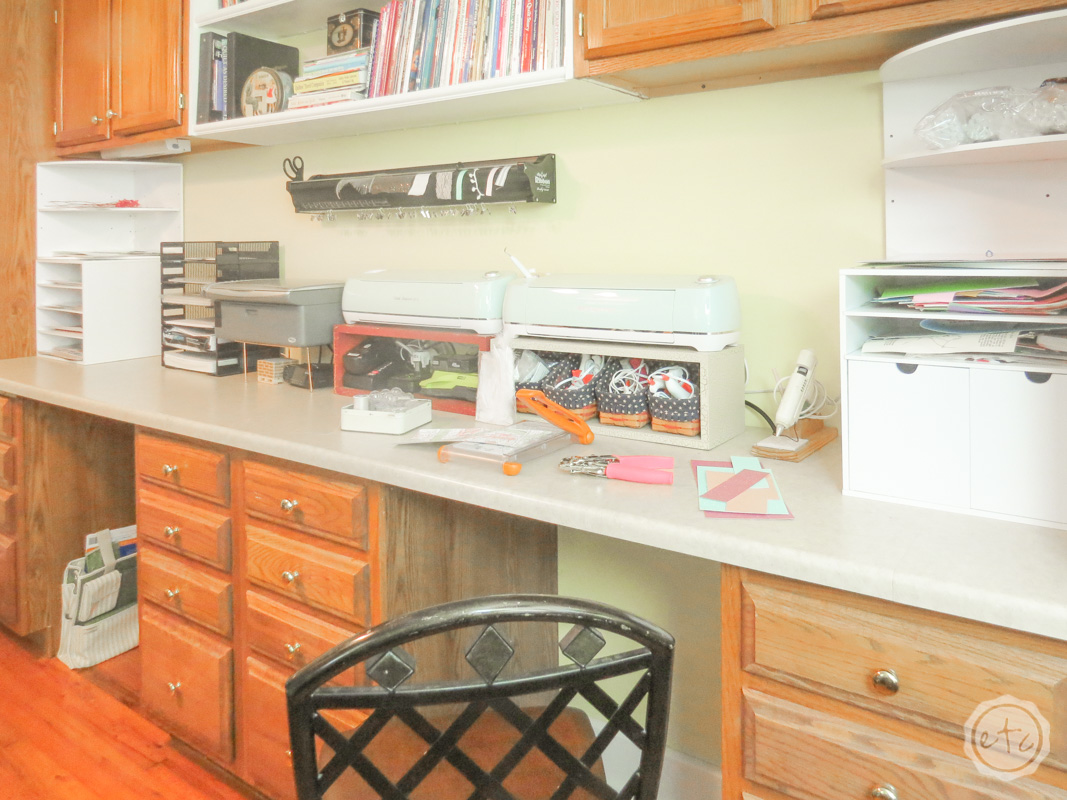
I mean just look at those crisp lines and that gorgeous buttery yellow color.
All of the scuffs and scrapes of the last 10 years are gone and this wall looks brand new! Which is great since it definitely isn’t! We originally painted this wall before the cabinets went in which is just a tad easier.
I mean… just a tad.
But taping off the wall is one extra step and it makes the painting process easy. as. pie.
Now if someone could just invent a patch to put over a peeling paint hole that seamless blends with the rest of your wall making it smooth and the perfect color.
I’d never have to patch a wall again!


Leave a Reply