


If you have never mounted your flat screen TV to the wall before then you’re in for a treat… because before today neither had I. Luckily it was a pretty easy process but it definitely took a little figuring out… those pesky instructions on how to wall mount a TV are never quite as simple as they should be.
I started out by trying to mount the TV in our living room but quickly realized the facade over the fireplace is NOT real and will NOT support a 60 inch flat screen… I didn’t even try. So I moved on to the little TV in my current bedroom… much easier and more importantly: in studs.
Supplies:
Flat Screen TV *wink wink*
Drill Bits and Screwdriver Bits


Mount TV Supports
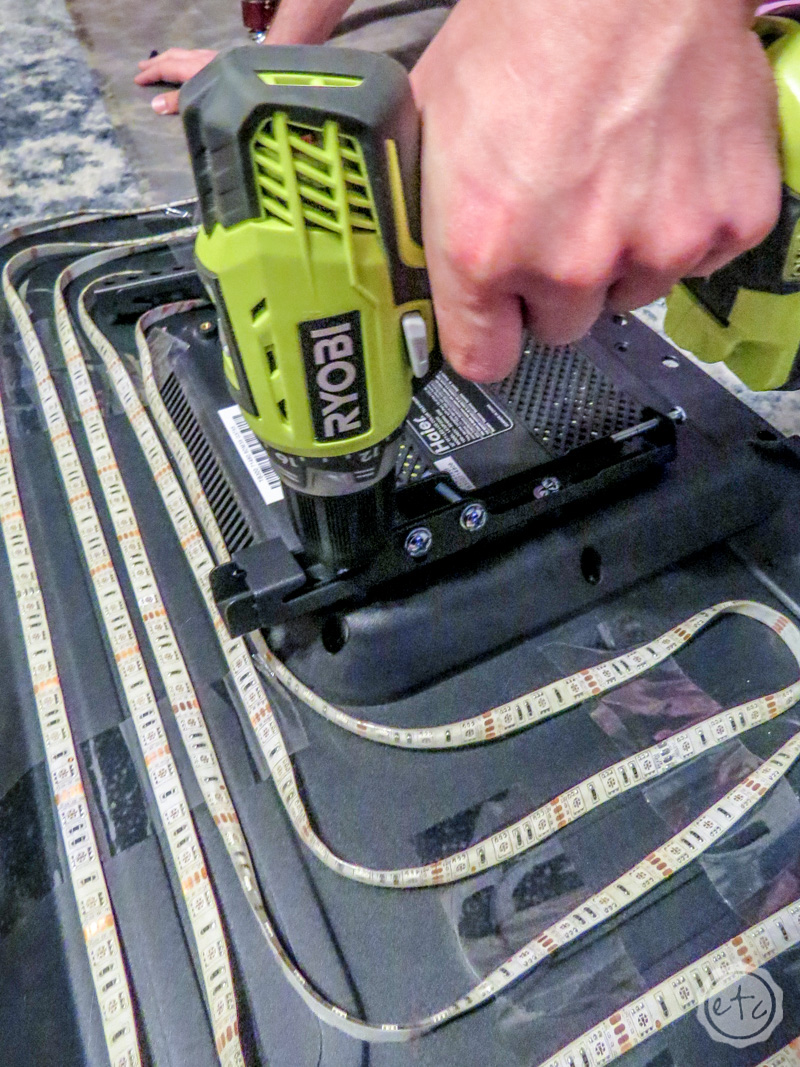
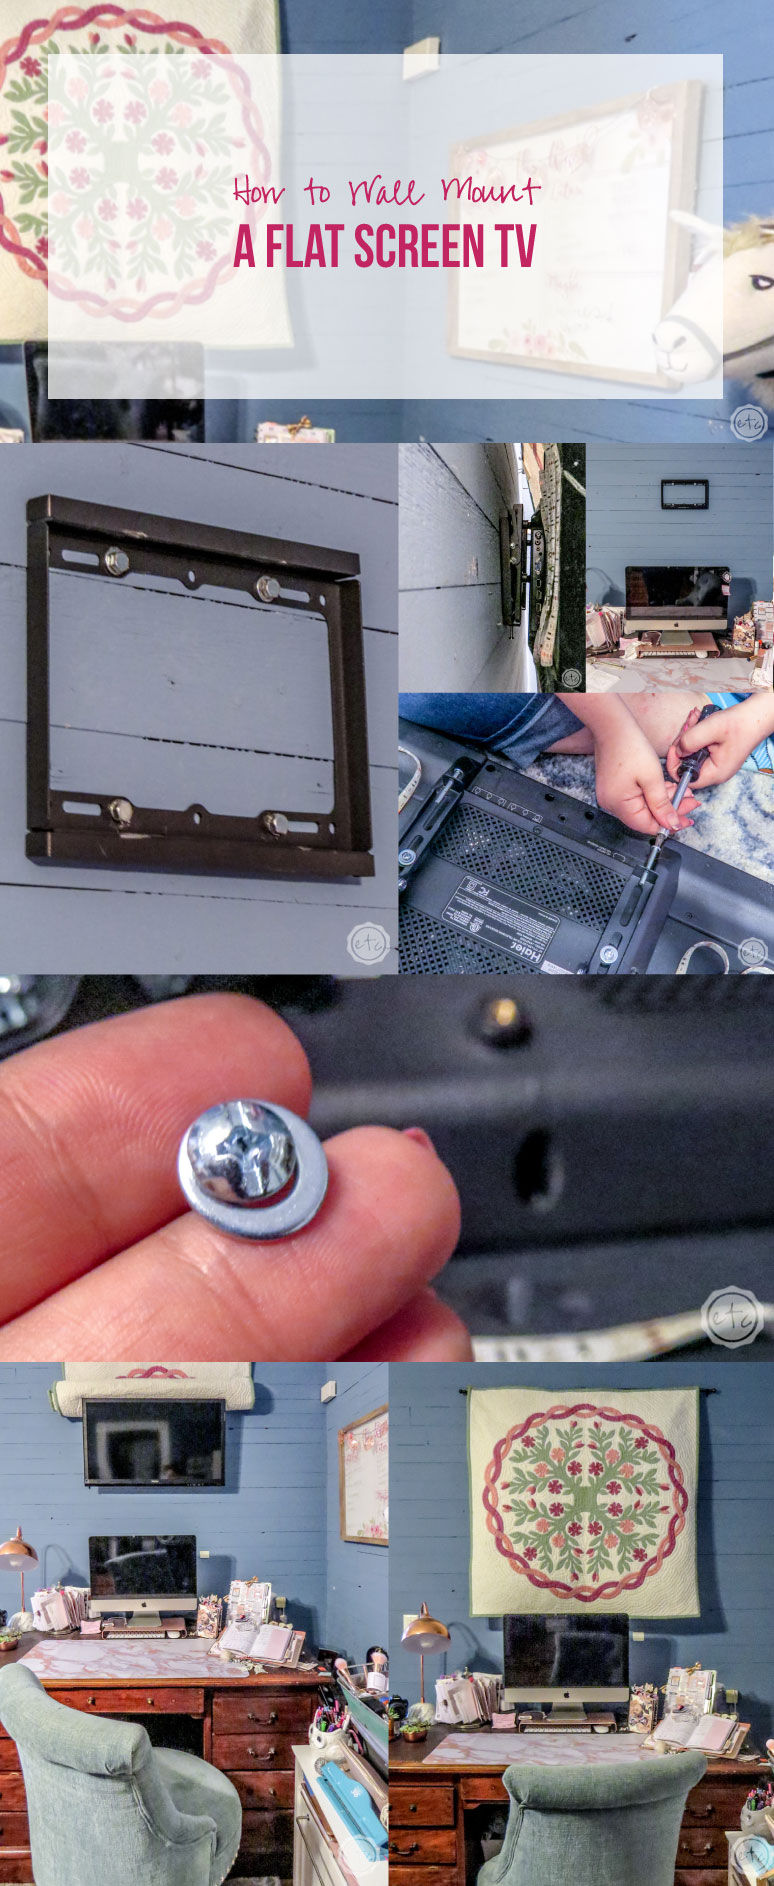
First things first… we have to attach the metal bars to the back of the TV. If your TV supports wall mounting you will have 4 small screw holes on the back casing of your TV. Lay your TV on a flat (soft!) surface that won’t damage the screen so that you can find these little screw holes.
Now it’s time to screw your metal support bars into place. Make sure to add a washer to first and then your screw. Depending on the length of screw and your TV you may need a larger black washer or a smaller silver washer.
We have mounted several TV’s since attempting this first little guy and even though the mounting kit provides plenty of hardware I’ve found it easier to keep a bit of mounting hardware on hand since each TV is slightly different and needs slightly different hardware.
Easy peezy lemon squeezy.
Once I determined that this TV needed one medium sized black plastic washer under each black metal bar we were off to the races. Each metal bar was securely attached and we could move on to the next step.

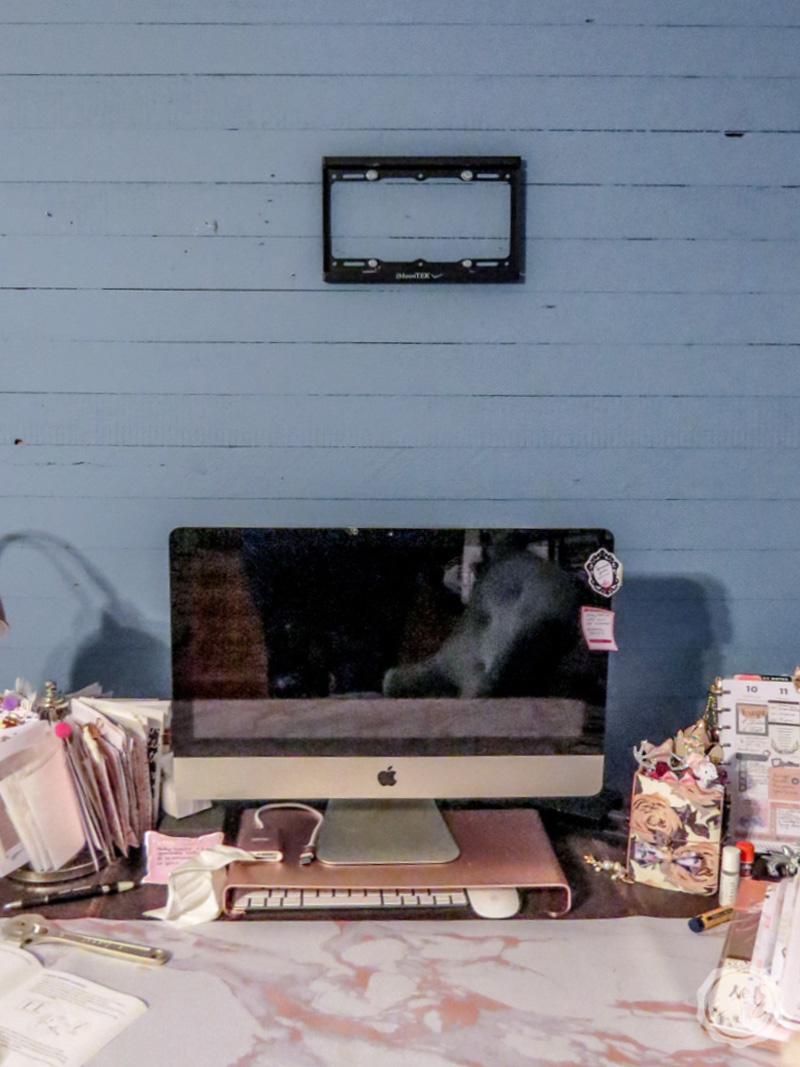
Secure your TV Mount to the Wall
Now that your TV is ready it’s time to get the wall ready! This part is simple… place the wall mount on the wall in the space you would like your TV. Make sure that it is in the center of your area and that the horizontal bars are level.
Don’t forget to make sure that at least two of your screws (the top two) are in studs. The mount has spots all along the top and bottom so that you can secure it to the wall in the best spot. Our wall is old two by four shiplap from 1909 (or 1908? something like that!) so it’s sturdy… basically the whole wall is studs. Use a stud finder juuuusssst in case you’re not sure which spot is best.
Mark your holes with a pencil and now it’s time to drill! I always drill a pilot hole with a drill bit that’s one size smaller than my screw when screwing into studs… just like my Daddy taught me. Of course, I used my Mama’s power drill so it all worked out in the end *wink wink* Once your pilot holes are drilled simply screw the TV wall mount in place!
Righty tighty and all that.

Secure your TV to the Mount
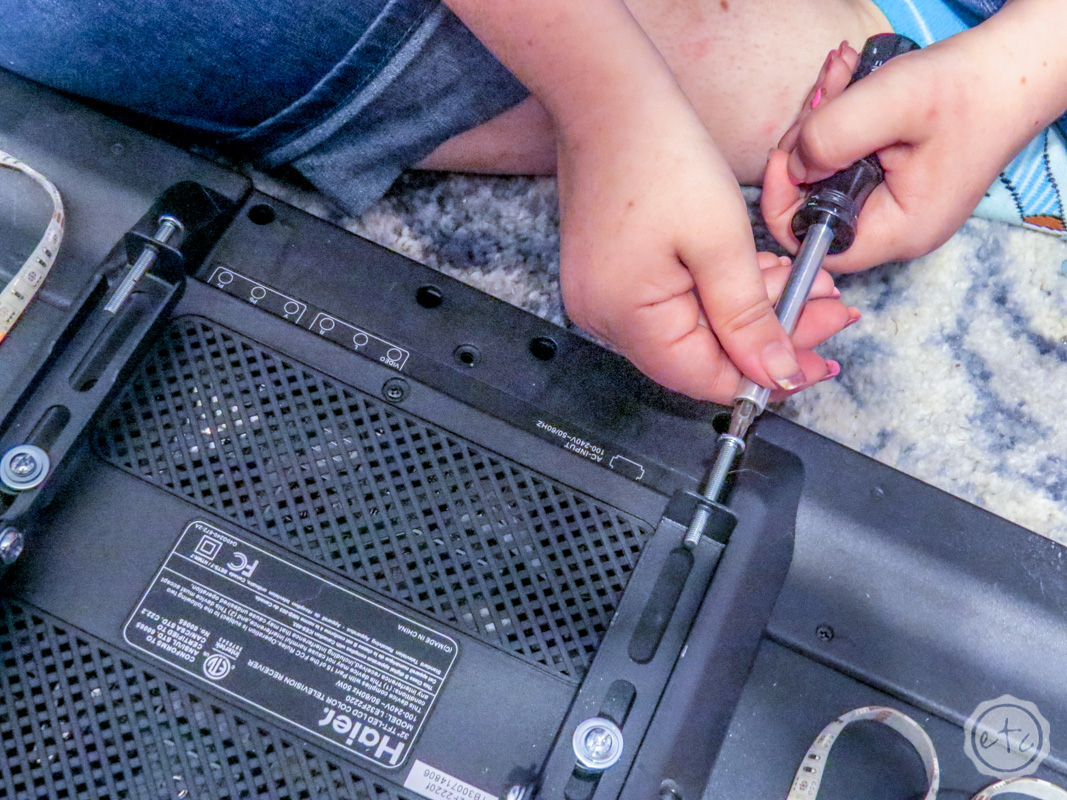
Now that your TV mounting hardware is on your TV and your mount is on the wall it’s time to put the two together! Our mounting system had long screws on the end of the black metal bars that had to be loosened… then when the mounts were connected we tightened the screws back up.
These long screws seem to hold the screws in place so that the TV can’t just lift off or fall away. Which is perfect if your TV is on the wall *wink wink*. Once your TV is secure you’re all set… now it’s time to sit back and enjoy!
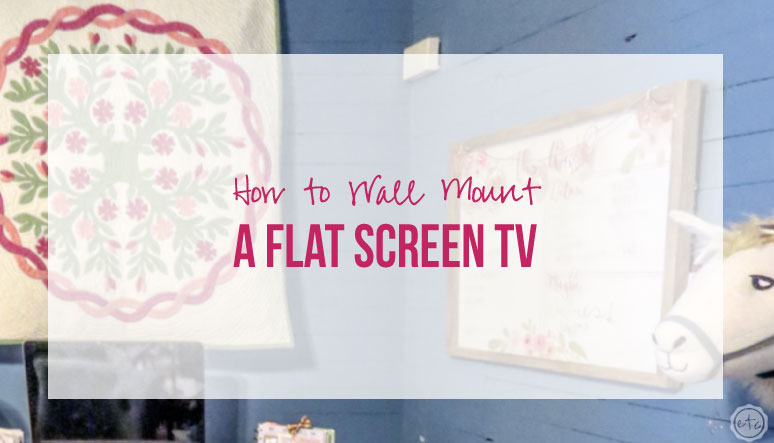
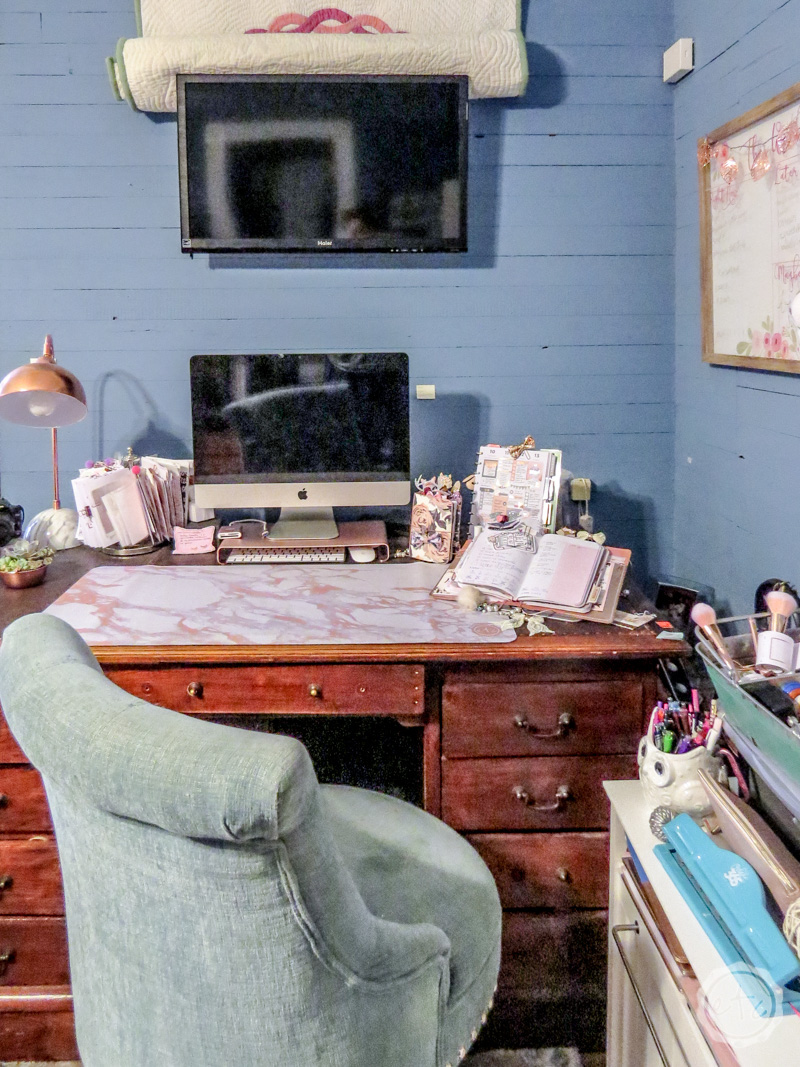
Since this little TV is in the bedroom I decided to hide it behind a quilt… that way it’s visible when I’m working at my computer but put away when I’m resting at night.


Leave a Reply