
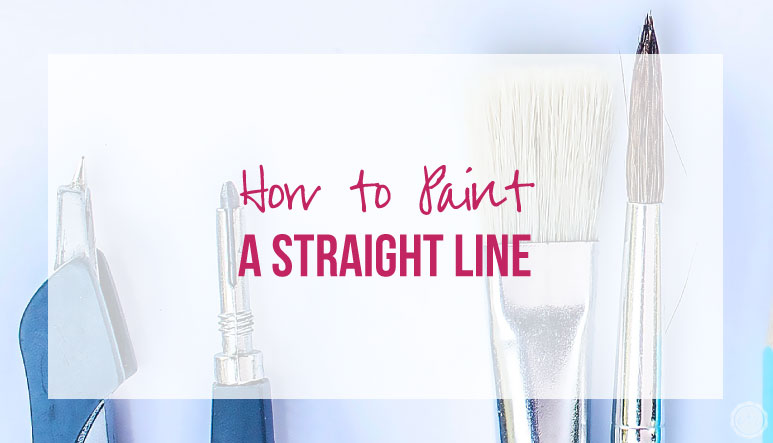


Painting a room can be a simple hours worth of work or an afternoon of arguing… trust me I’ve done both! Of course, when you’re painting an entire room the hardest part is using the paint roller or picking the perfect shade of gray (although if you’re having trouble with that I have a free e-course that will help you pick the perfect color easy peezy lemon squeezy!!)… it’s painting a straight line.
There are a million devices out there meant to help you paint in a straight line… pads and rollers, guards and guides but at the end of the day nothing beats a steady hand and a roll of tape.
Of course, if you have a realllllllly steady hand you can skip the roll of take but that isn’t always an option. Most of us just aren’t pros… although working at the paint store I did meet an older painter (named Lamar!) who could paint your nails with a 5″ straight edged wall brush.
I’m not that cool… so I go back to the basics every time. Here’s my top tips for cutting in the straightest line you’ve ever seen.

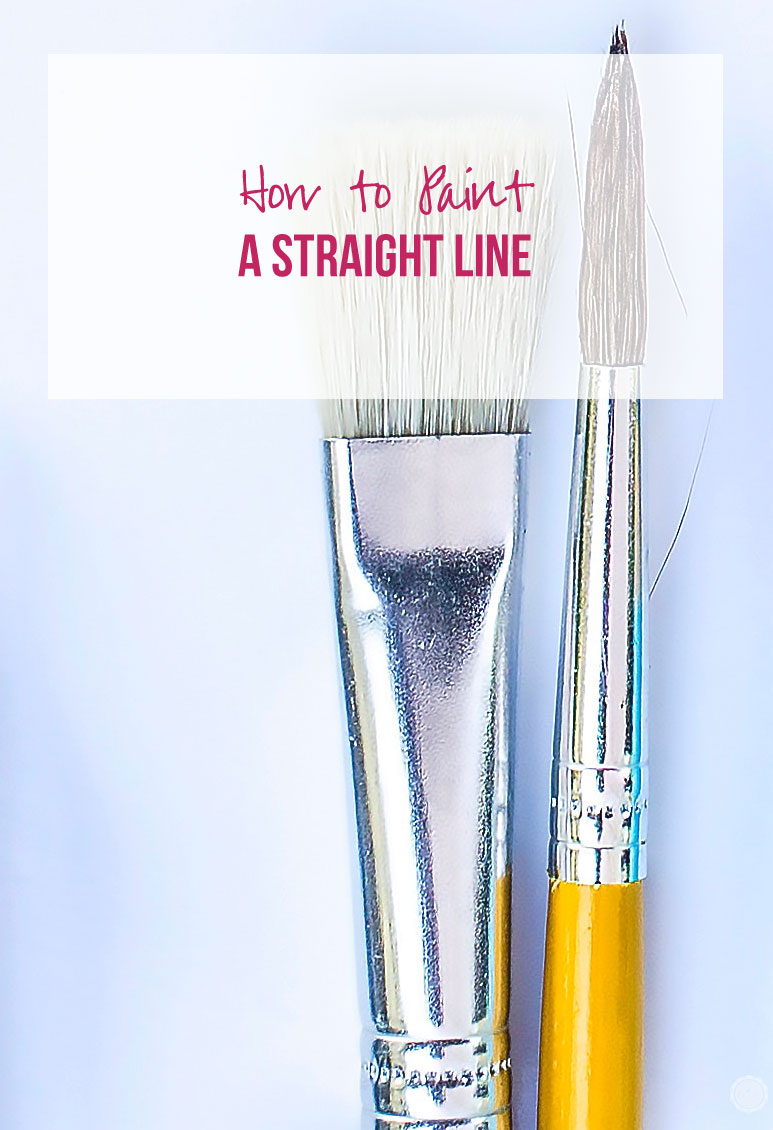
Step 1: Buy a solid brush.
This isn’t something to scrimp on. And it’s generally better to get a brush with a shorter handle. It will allow you to get into small nooks and crannies. Plus it’s easier to control… I love this 2″ angled cub brush from Purdy. It’s easy to use, gets crisp clean lines and is perfect for cutting in a wall or painting furniture.
Score!
BONUS: Freebie Alert!
Looking for a little color help? I’ve put together a quick, easy and FREE Printable of my Top 10 Neutral Paint Colors and their coordinating colors. So that you can pick a color with ease. It’s at the bottom of this post so don’t forget to hit download before you go… easy peezy lemon squeezy!
Score!
Step 2: Clean off the surface you’re painting.
If I’ve said it once I’ll say it a million times… your paint is only as good as your prep work. Trust me. Paint won’t stick as well to dirty surfaces, plus you don’t want dirt or dust clumps on your wall. If you paint over dirt then when the dirt finally comes off the wall you’ll have a weird paint peeling spot on your wall!
Or your paint just won’t stick if you’re trying to paint over grease or oil (like in the kitchen around the stove… yuck!). At the end of the day most people don’t scrub their walls with good old fashioned soap and water all that often (we’re not all like the one and only Monica Geller after all) so to clean the surface of your wall before painting is just like spring cleaning. Totally worth it.
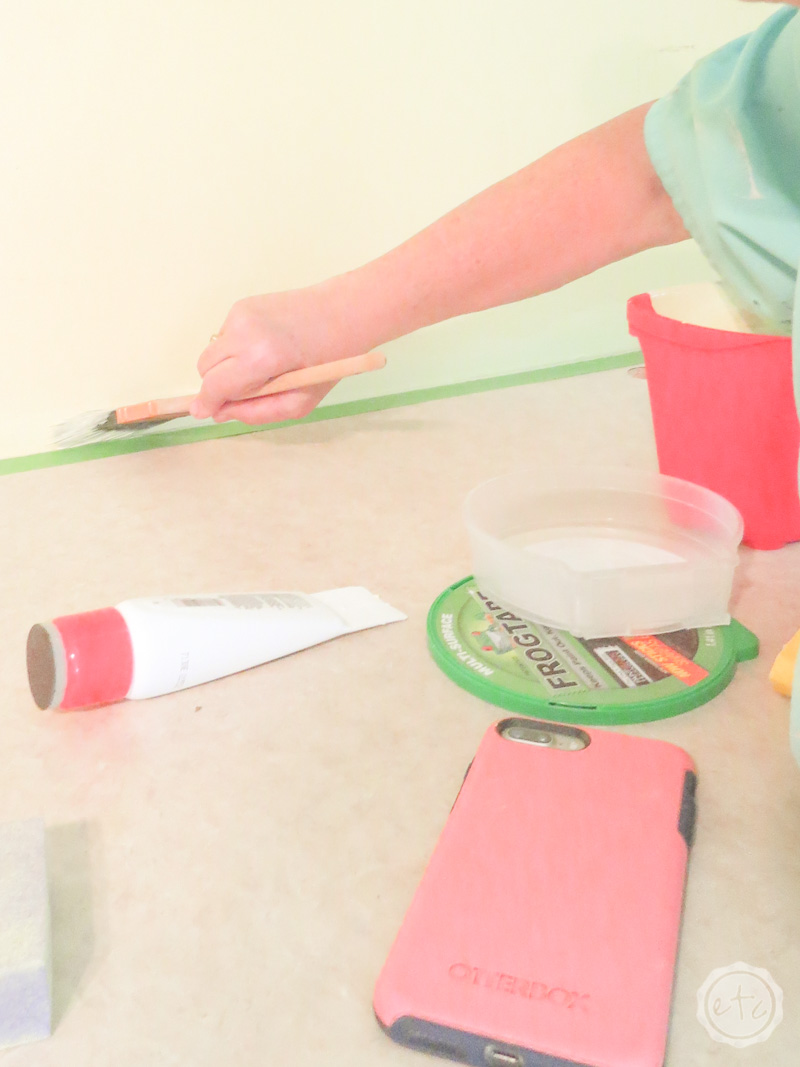
Step 3: Paint with your brush straight up and down… not on it’s side.
People are always tempted to paint with the side of their brush since that gives you the most surface area but when cutting in (or painting a straight line) hold your brush straight up and down. Perpendicular to the wall!
Like in the photo up above I’m talking about how the handle relates to the surface of the wall… not necessarily how the brush relates to the wall itself. You want your bristles to be sitting directly on the wall.
When you push down your brush will form an oval shape which is perfect for cutting in. Now you only have to worry about that straight line with a section of your brush instead of the entire surface area.
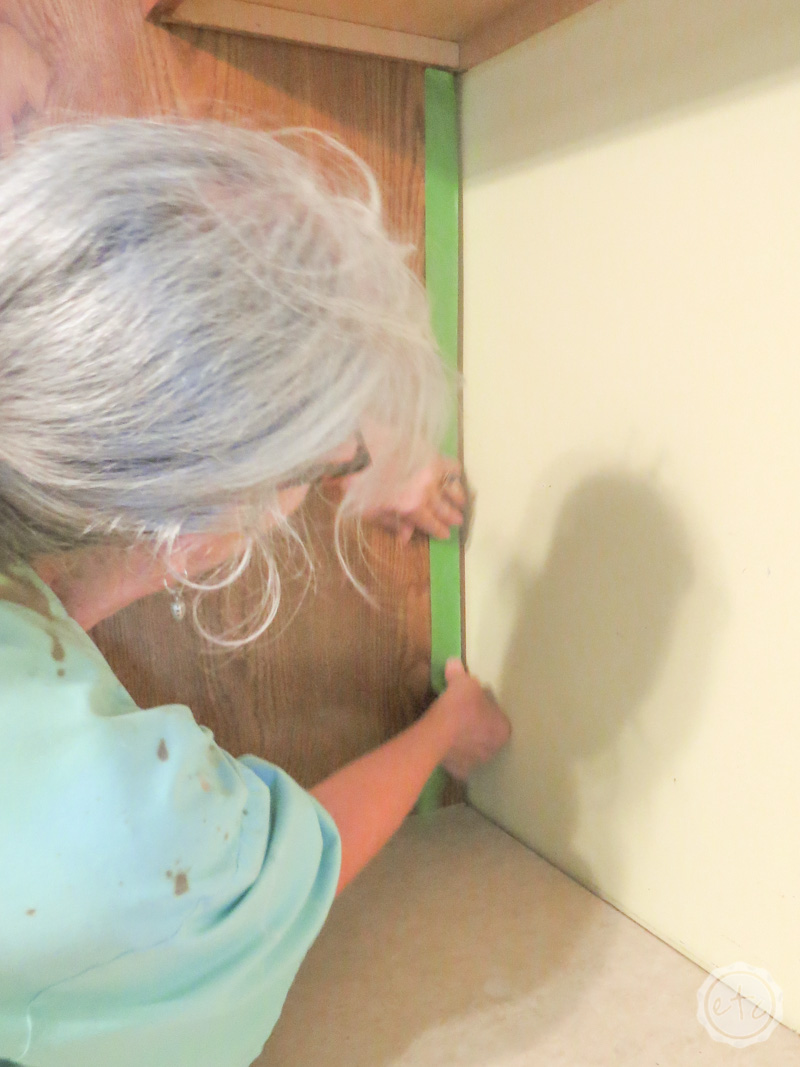
Step 4: Use tape if you need to.
Lay down your tape and then use a putty knife or spatula to smooth out the edges. You can use your finger as well but typically using a putty knife is a little easier on the fingers! Make sure that edge is sealed to the wall really well so that you don’t have any paint seeping under the edge and messing up your straight line.
Make sure you peel the tape off before the paint has completely dried. Otherwise the tape will peel off some of the paint and you’ll be back at square one!
If you’re using a brand new roll of tape you’re good to go but chances are you have several rolls already in your tool bag… I know I use frog tape for everything.
Bonus Tip: Frog tape is great for sticking paper to your cricut mat if the sticky has come off or if you’re trying to cut things like felt that you really shouldn’t *shoulder shrug* Frog tape does everything y’all, everything!
Back to the topic… if your tape is rock solid, heat it up in the microwave for a few seconds. This will make it a piece of cake to roll and stick anywhere you want.
Take it slow. There’s no reason to speed through painting the edge. Let your hand go a slow as necessary to get a crisp line. Work steadily so that you’re always painting into a wet edge… once the paint dries on the wall you start to get shadow lines in your finished paint where the paint dried at different times.
Move the ladder. Sometimes you may be tempted to reach while you’re painting the edge of the ceiling. It’s better just to take the time to move the ladder. You’ll give your hand a rest and have an easier time painting. If your hubby is 6’4 like mine it is usually easier just to ask him to cut in the tall portions… BUT if you really want a straight line this isn’t always the best solution.
The man can paint a wall without a ladder but he doesn’t have the steadiest hand! Unfortunitely, I learned this the hard way back at our first apartment when we painted an accent wall blue… yup you guessed it: blue. ceiling. for. days.
Luckily I can put up tape along the ceiling and he’s tall enough to cut in with the tape securely blocking the access between the ceiling and his paint brush.
Of course, accidents do happen so keep a wet rag handy. If you accidentally paint something or somewhere you’re not supposed to, you’ll want to wipe it off quickly.
Once you’ve painted your entire wall go ahead and peel up your tape while the paint is still slightly wet. You’ll get a nice crisp straight line!
Winner Winner Chicken Dinner!!!!


Betsy, those are fantastic tips! I have to tell you that my grandfather was renowned for having such a steady hand that he could paint in a perfectly straight line without tape or anything else to help. (He was, as well as a farmer, a house painter during the Depression.)
I, his granddaughter, have not inherited that particular talent! So painter’s tape for me!