


When you have a super cool die cutting machine it’s only a matter of time before you realize you can make all kinds of things with it! Including custom envelopes for your next project, your next letter or even your next craft.
The best part about making envelopes with your Cricut is that it’s soooo easy. You don’t even need to make your own cut files… there are literally dozens of options in the Cricut Access library. You can simply pick your favorite and start creating.
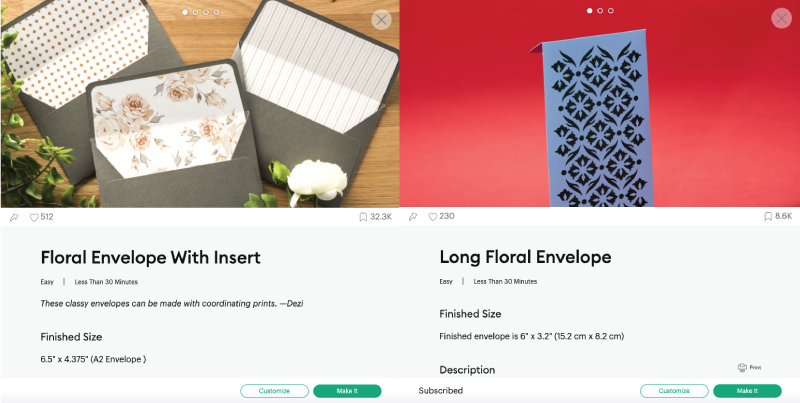
I’ve selected a basic envelope template (complete with an interior liner) and a fancier envelope with die cuts for today’s tutorial. Both envelopes design files can be found in the Cricut Access Library and are made the exact same way (one simply has die cuts on the outside).
Ready to jump in?
Supplies:
- Cricut Maker
- Fine Point Blade
- Scoring Wheel
- Light Grip Mat
- Cricut Cardstock
- Metallic Kraft Board
- Envelope SVG:
- Cricut Access
- Double Stick Tape
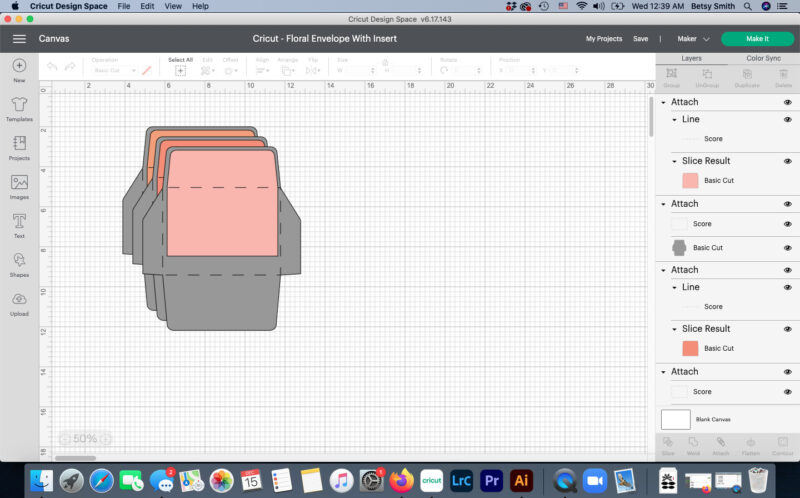
Step 1: Find your Design File
In this case I’ve already looked through all the options and picked these two. For the sake of this tutorial I’m going to show you step by step the instructions for making the floral envelope with insert… but the directions are exactly the same for the long floral envelope.
Once you’ve hit the Cricut Access Library (how many times do you think I can say that in one post?) and searched for this specific design file you’re good to go. The design file itself contains the cut files to make 3 envelopes and 3 liners… so if you only need one envelope go ahead and turn off the other layers.
While you’re here you can re-size the envelopes if you’re looking for a different size. The default sets this particular design file to 6.5 x 4.375 which is an A2 envelope. It says that right on the project page so if you’re looking for a specific sized envelope try searching for it!
A2 is the perfect size for my project so I left the sizing alone and clicked “make it.”
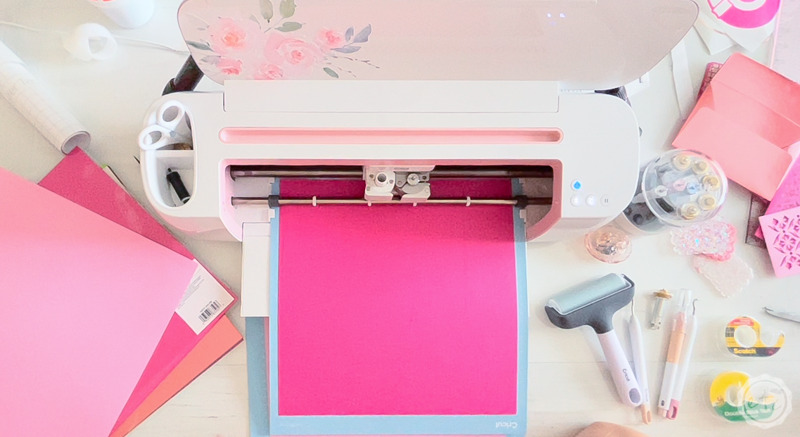
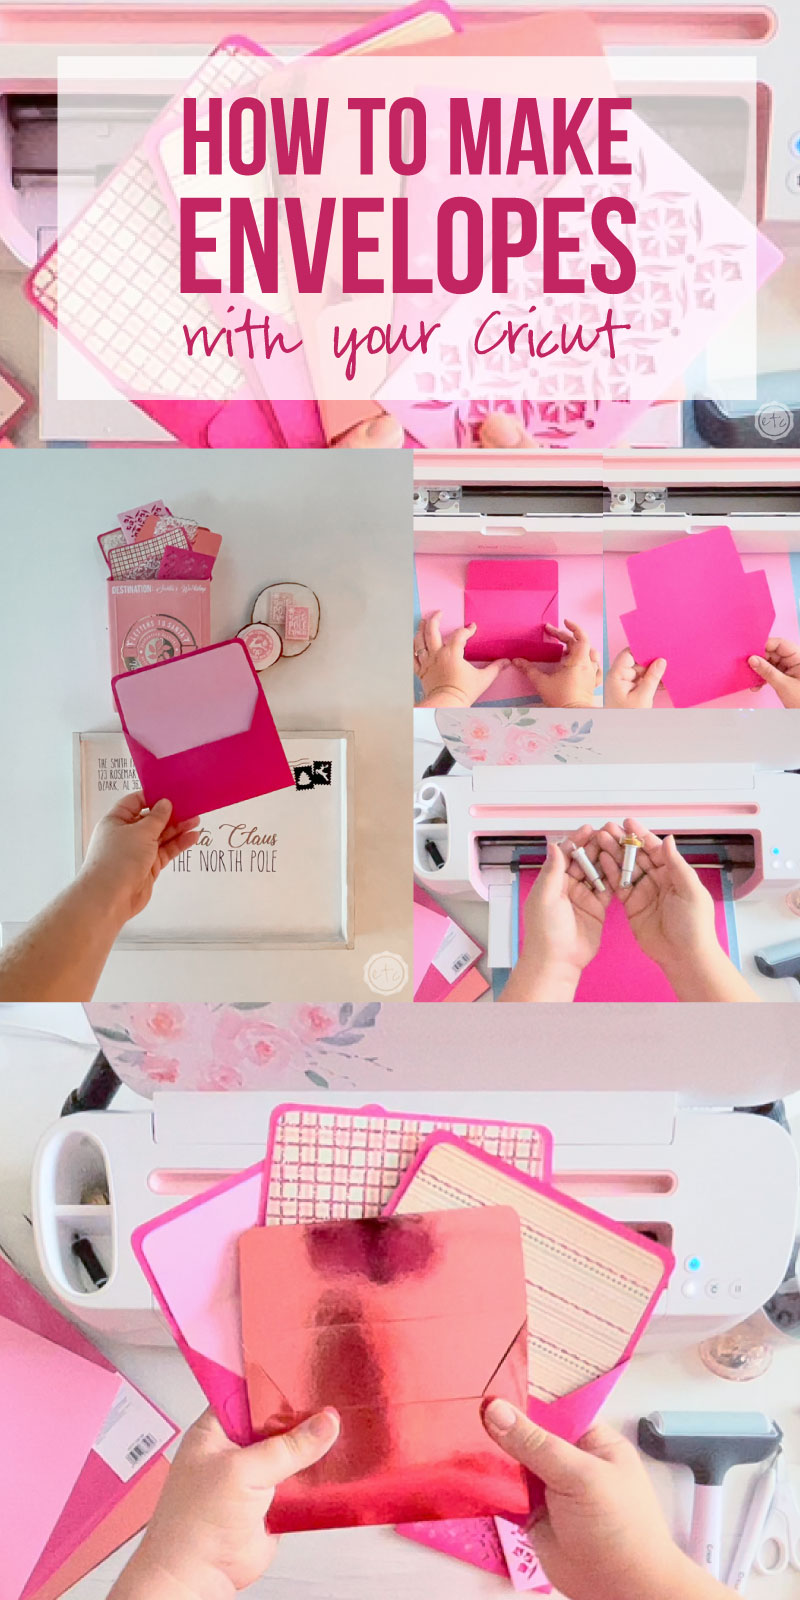
Step 2: Load your Blades and Cutting Mat
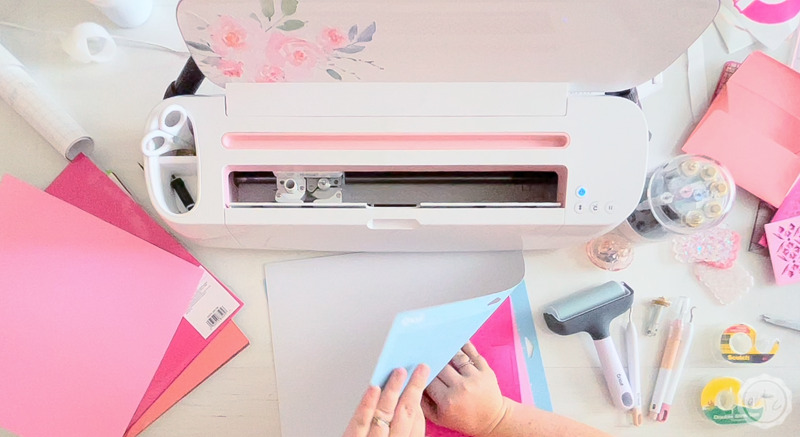
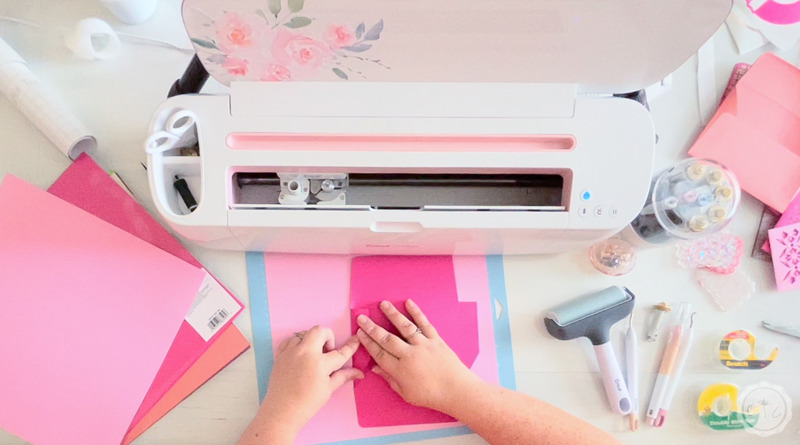
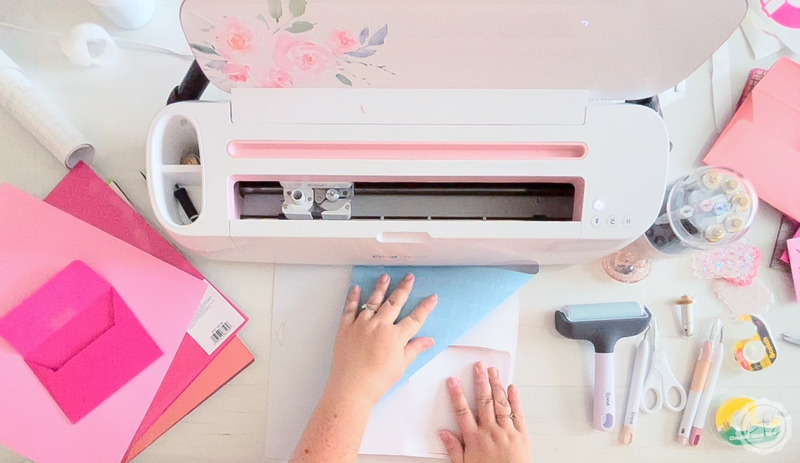
Now that we have our design file ready to rock let’s get our machine ready to start cutting. Since we’re working with cardstock we want to use a light grip mat… anything stronger will grip your paper much too tight and potentially cause tearing or curling.
And we don’t want either.
Instead load your cardstock directly onto a light grip mat and then use your brayer to smooth the cardstock down so that there’s contact across the entire sheet.
Now follow the prompts on your computer (phone or tablet) and load your scoring wheel into your machine. Since I’m using a Cricut Maker the scoring wheel will automatically be selected but if you’re using an Explore model like the Cricut Explore Air 2 that doesn’t have the adaptable cutting system your screen will tell you to use the scoring stylus instead.
Of course, you can delete those score lines from the design file and skip the scoring all together if you don’t have the tools but if you have the scoring wheel it’s worth using… it makes those edges so crisp and clean when you fold them over!
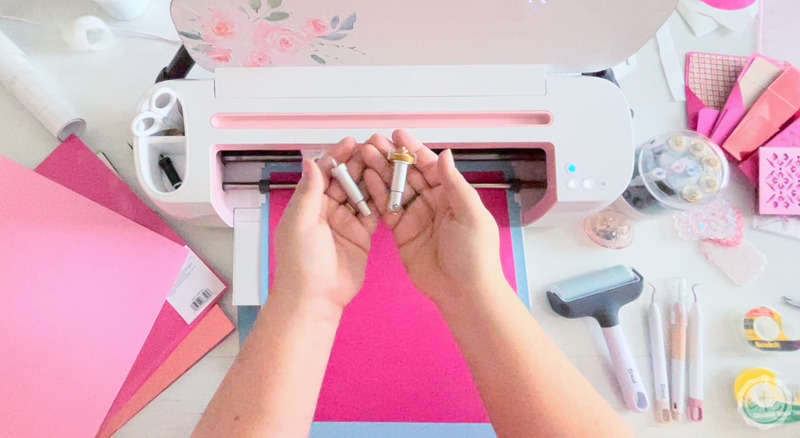
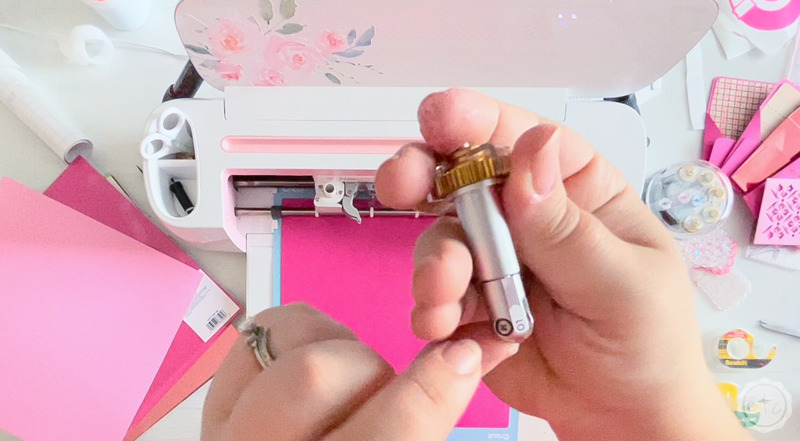
Keep in mind that there are two scoring wheel tips so depending on your cardstock you may need the (01) tip or for thicker cardstocks you may need the (02) tip.
For example, the metallic shiny envelope? I made that one out of a shiny metallic kraft board that is much thicker than cardstock and it specifically required the (02) tip. Of course, the best part about Cricut is that it takes all the guesswork out of your machine… simply set the material and then use the tools and materials that it tells you.
So for this pink Cricut cardstock I selected Medium Cardstock (80 lb) and it tells me to use the (01) tip. When I select metallic kraft board however it will tell me to use the double (02) tip. How awesome is that!?
Once you’ve loaded your scoring wheel into the machine click the flashing go button and watch the scoring wheel work. It’s only running 4 lines so it should be pretty fast… then your machine will pause and the screen will remind you to switch the scoring wheel to the fine-tip blade to cut out the rest of the envelope.
Perfect!

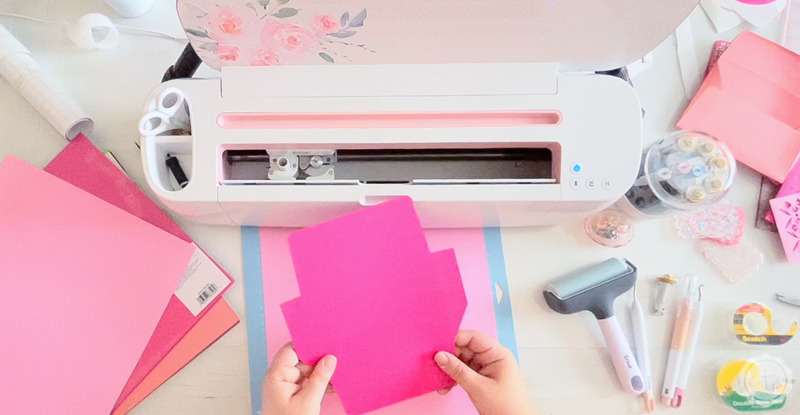
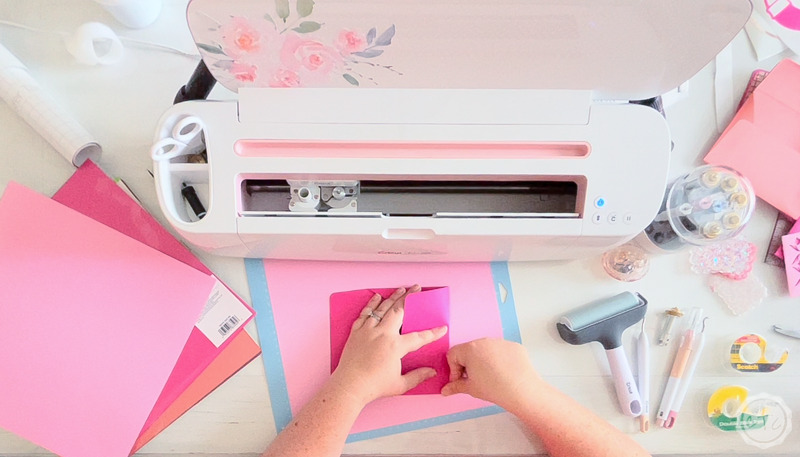
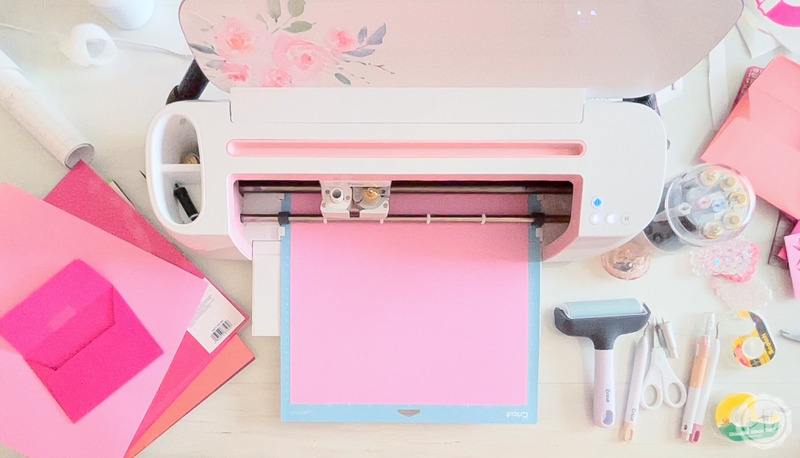
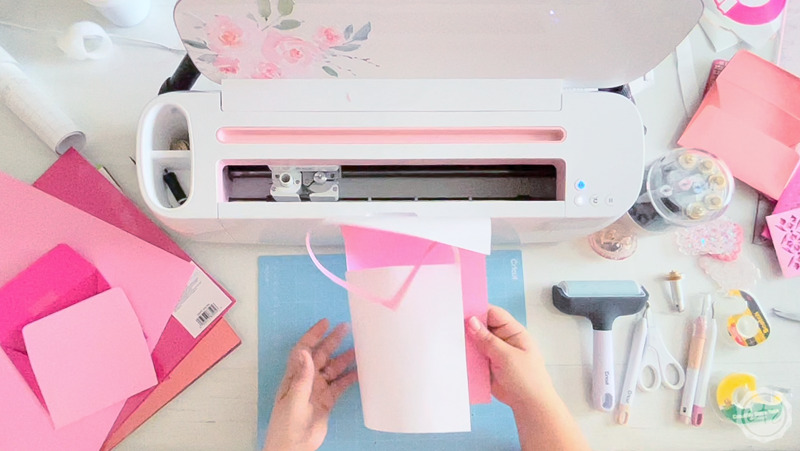
Step 3: Remove Cardstock from the Cutting Mat
Once your design file is finished cutting you can hit eject… and remove the cardstock from your cutting mat. Just make sure that when you do this you are careful. If you simply grab that cardstock and pull you run the risk of either ripping the paper or curling it.
Instead flip it over and carefully roll the cutting mat away from the cardstock… the cardstock should remain flat on your desk so that it doesn’t curl at all. Once you’ve curled the entire cutting mask up, up, and away you can finally take a look at your cardstock… it should look a little something like this:
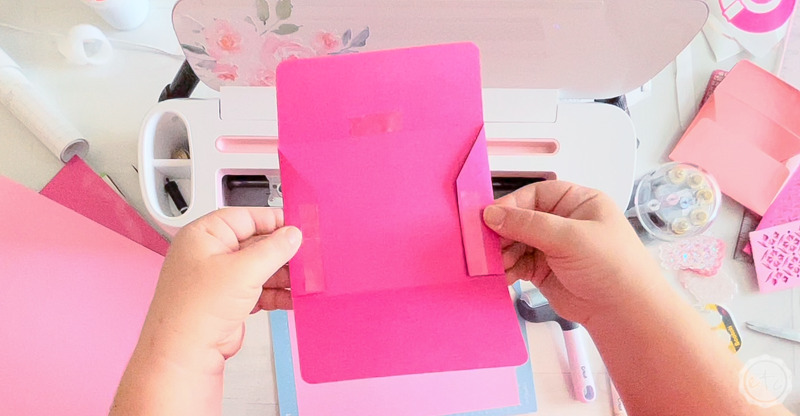
Step 4: Fold your Envelope
Ready for the fun part? Now that our envelope shape is cut out we need to cut along those score lines to actually fold this envelope. I like to start with the sides, then the bottom and finish with the top that way as I fold each layer I know it will sit perfectly over the bottom layers.
Maybe that’s a little extra but it makes me feel better about myself.
Either way the score lines make the folding fairly easy. I start by carefully starting to fold along the score line, stopping half way to make sure that the fold is happening from corner to corner and in the right place before actually creasing the cardstock. Once I’ve pushed the flaps down and creased the cardstock I’ll use a bone knife, a scraper tool or even the back of a fingernail to further crease that line and really give that sharp fantastic cut line we’ve been looking for.

Step 5: Finish your Envelope
We’re almost done! Once everything is folded I usually run over all of the seams with my brayer… this is optional but the sharper we can get those creases the better our envelope will look. And the better it will hold it’s shape.
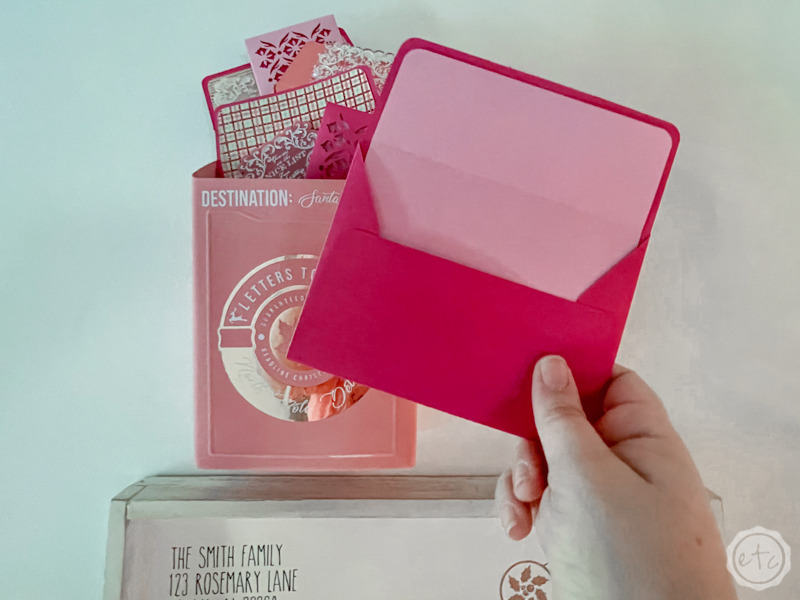
Once I’m happy with the folds and the edges I’ll grab a bit of double edged table. I place a piece on each of the flaps and then carefully push the bottom flap into place (starting in the middle).
Now I have an envelope!
At this point I could call it a day but if you want to add a fun insert let’s jump into that section. Spoiler alert: it’s even easier than the outer envelope.

Step 6: Cut the Liner
Ready for the liner? I picked a light pink cardstock for this particular project… so that we have a nice contrast in the two layers. It’s a lighter cardstock so I actually had to customize the settings from the lightest cardstock option to 195 pressure… and that’s crazy because I went though at least 3 additional pieces of cardstock getting the settings just right.
Oh well, that’s the problem you run into when you chose not to use cricut cardstock.
Either way, I set the settings to light cardstock (195 pressure) and loaded my light pink cardstock on a light grip cutting mat and then into the machine.
This time we’ll have 1 scoring line (for the top of the envelope flap) and 4 cuts so the whole process should go fairly quickly.
Step 7: Remove Cardstock from the Cutting Mat
Once your liner is cut go ahead and remove the cutting mat. This cardstock is even lighter than before so please, please, please make sure to flip your cutting mat over and roll it off the cardstock so that your light weight cardstock doesn’t curl.
And in case you don’t believe me I carefully removed my flat liner and removed the rest of the cardstock the regular way. Grip and pull.
Just look at how curly it is!
This is why we always, always, always flip the cutting mat over and remove the cutting mat from the cardstock. Never the cardstock from the cutting mat.

Step 8: Add the Envelope Liner
We’re at the finish line! Since our liner only has one score line I simply folded the liner in half to prep that score line for use as an envelope flap and then inserted it into the envelope.
You can leave it free but I’ve found that the whole thing works better if you add a bit of tape in between the envelope and the liner. This should hold everything in place!
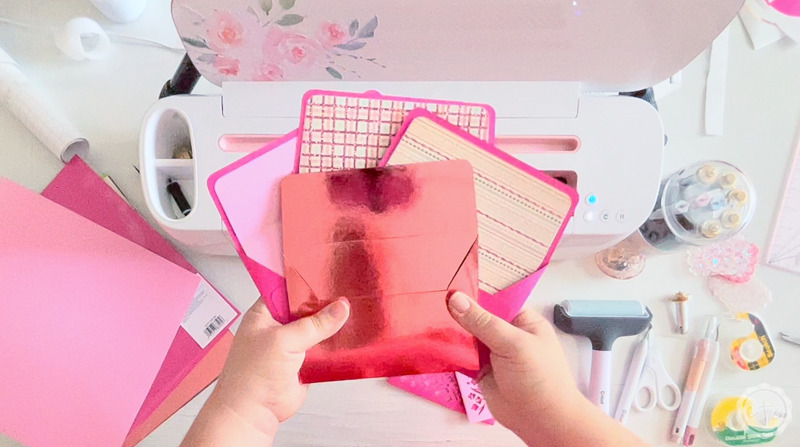
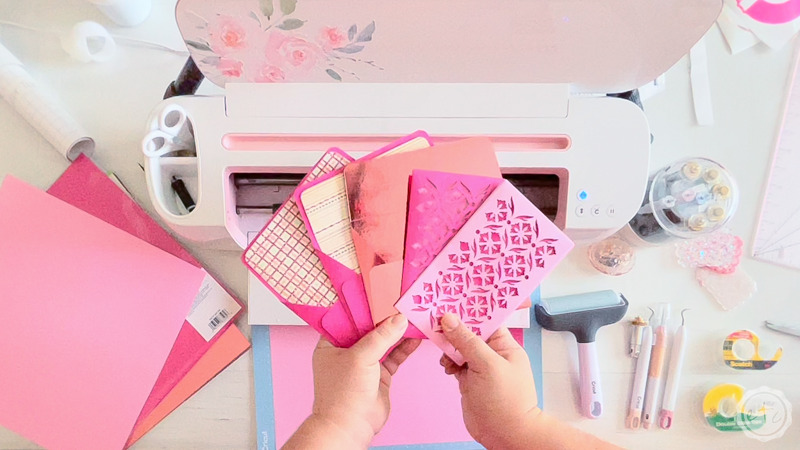
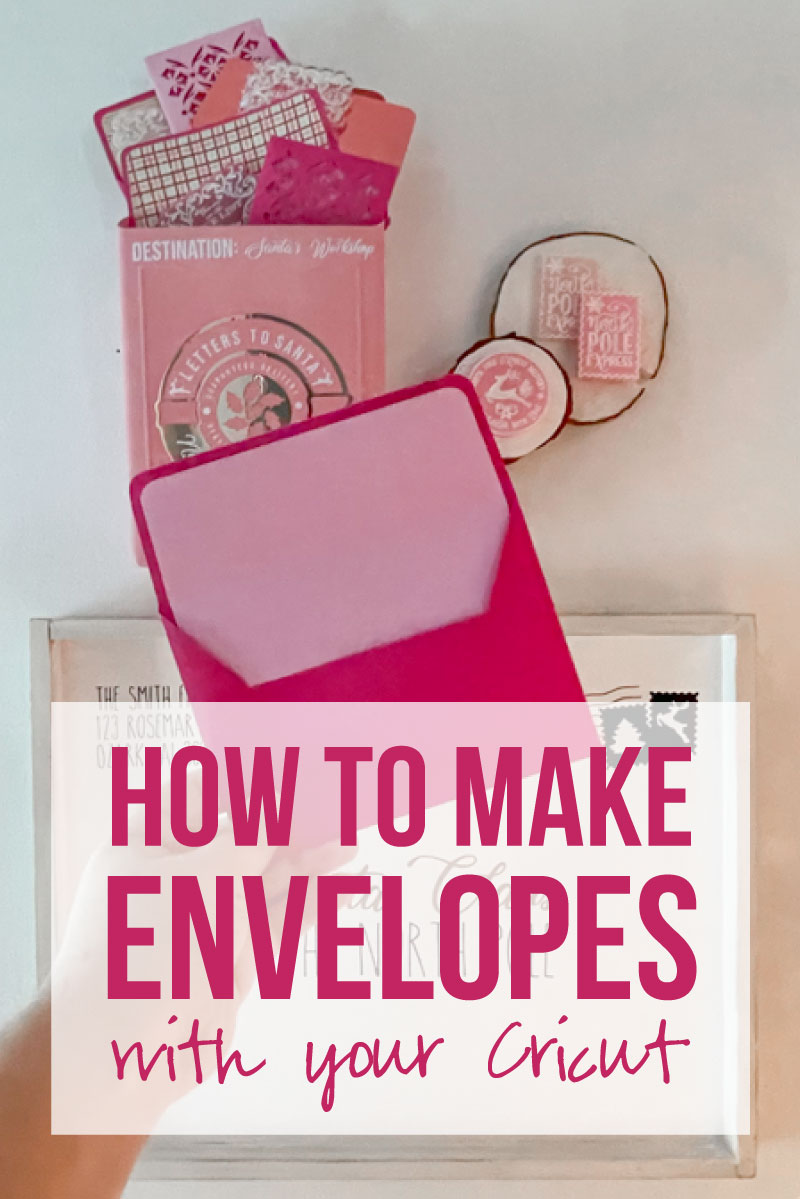
Now we’re all done. Just take a look at all my pretty envelopes. I think that metallic kraft board one may be my favorite!

BONUS TIP: When selecting materials keep in mind that double sided materials work the best for functional envelopes. The kraft board envelope is my favorite but it’s only metallic on one side so I had to cut the envelope template twice: one time metallic side up and one time with the metallic side down. Then when I fold my envelope and have a brown yucky interior and flap for my envelope I can simply slide the second metallic section down inside. Just cut off the flaps and you’re good to go!
So cute!

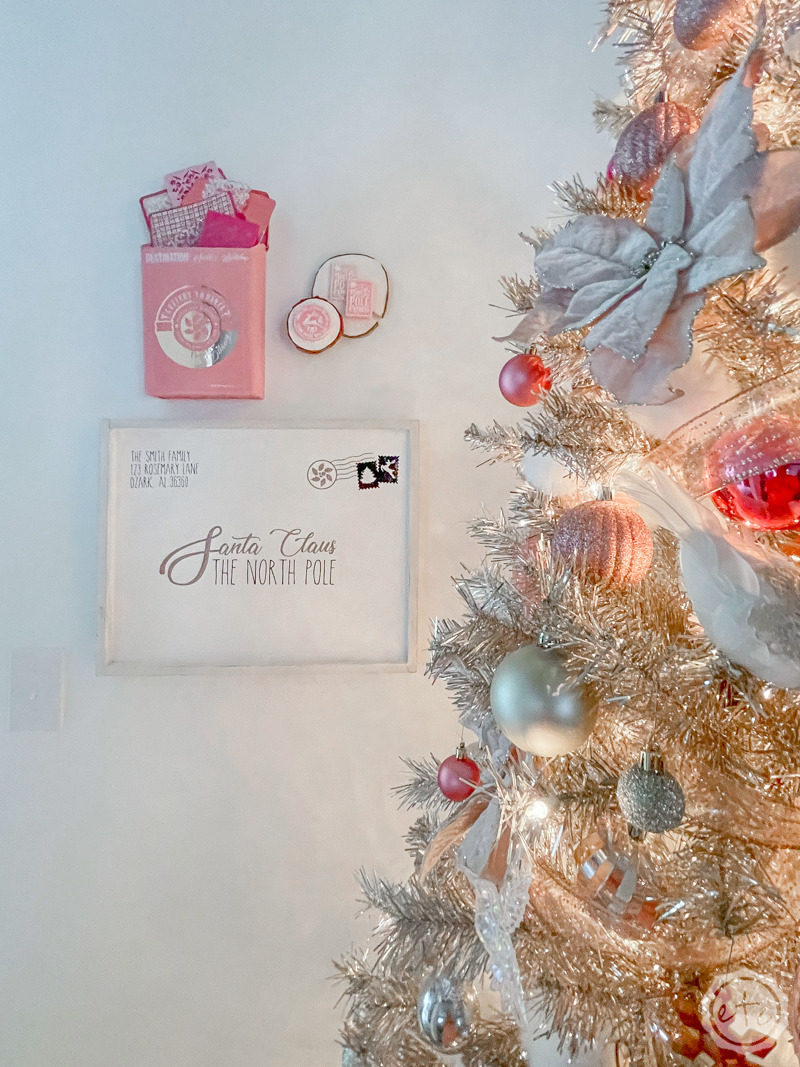
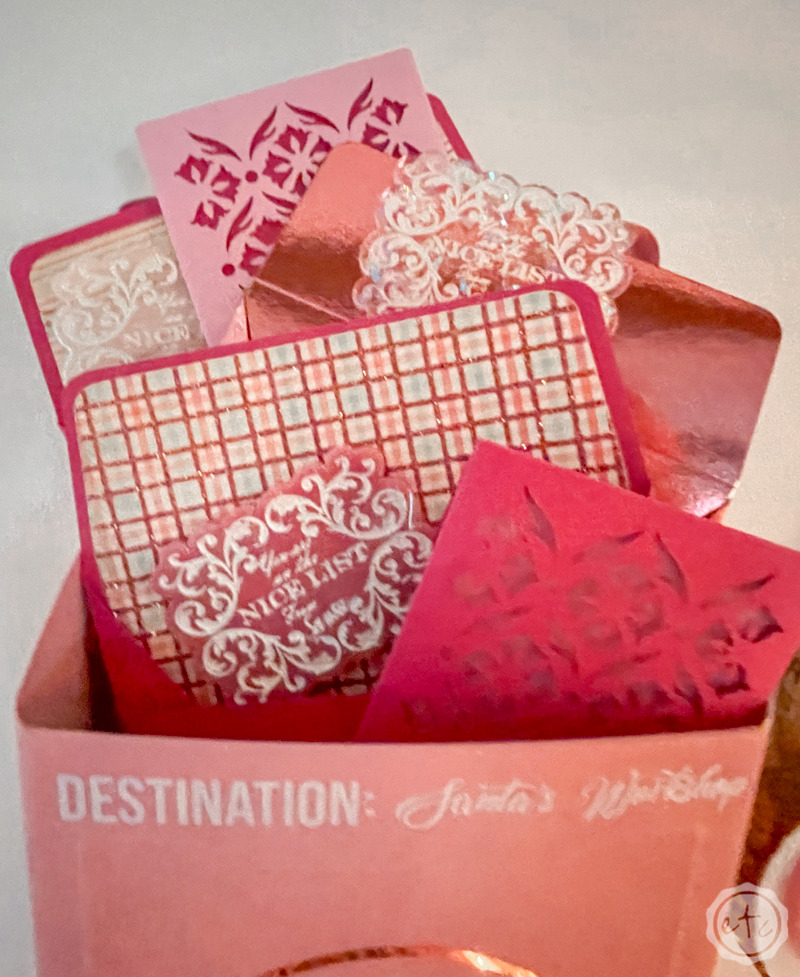
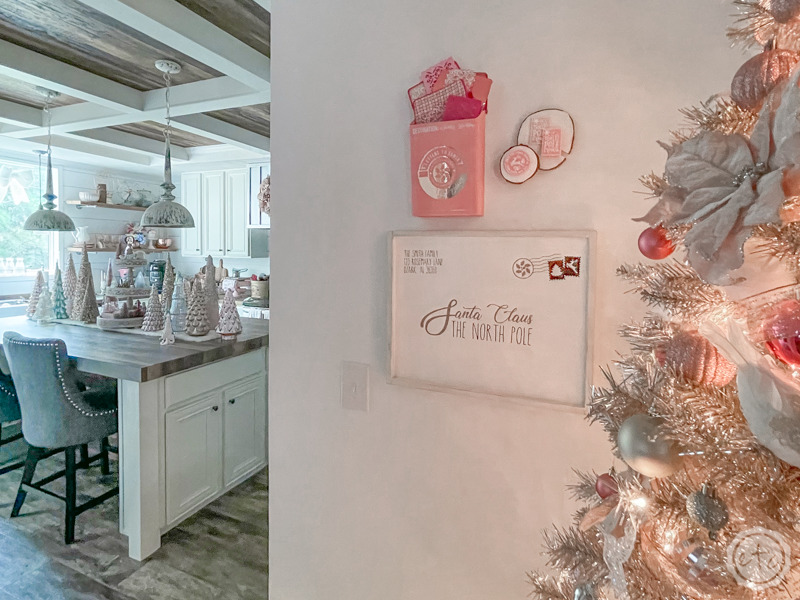
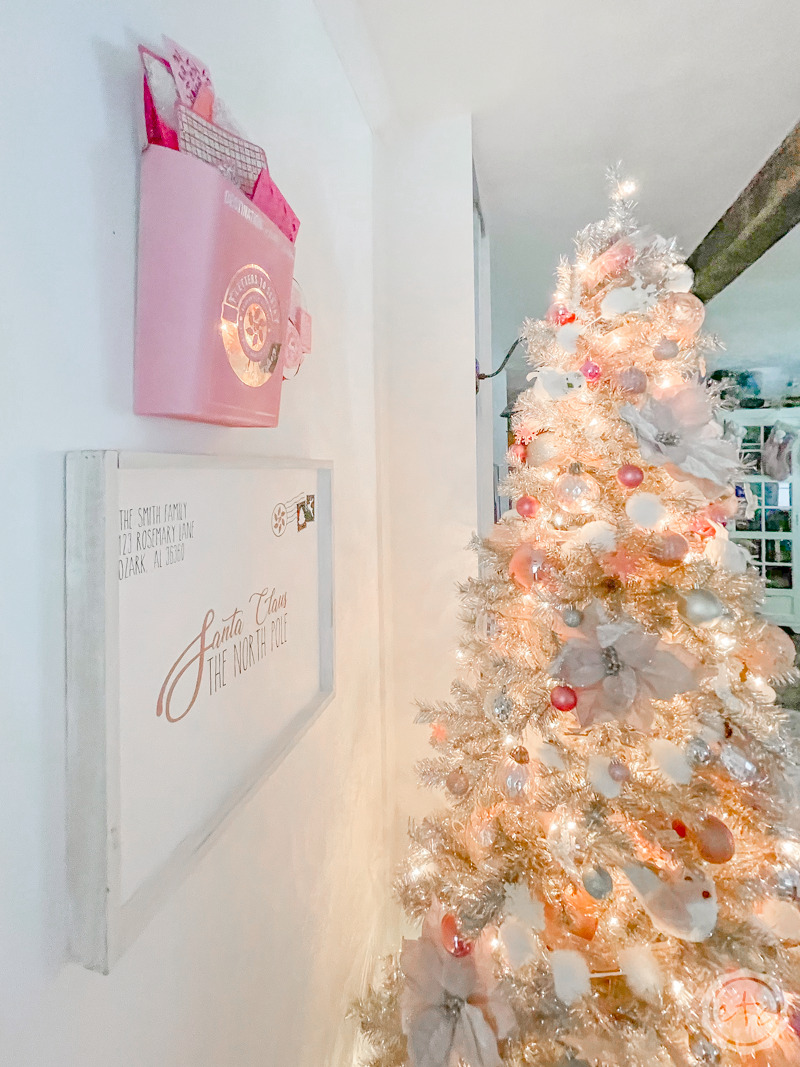
I used these specific envelopes for a filler in my cute Letters to Santa mailbox… I stuffed the top of the mailbox with them and filled them with these cute resin “You’re on Santa’s Nice List cards”.
How cute did the whole project turn out?


Leave a Reply