


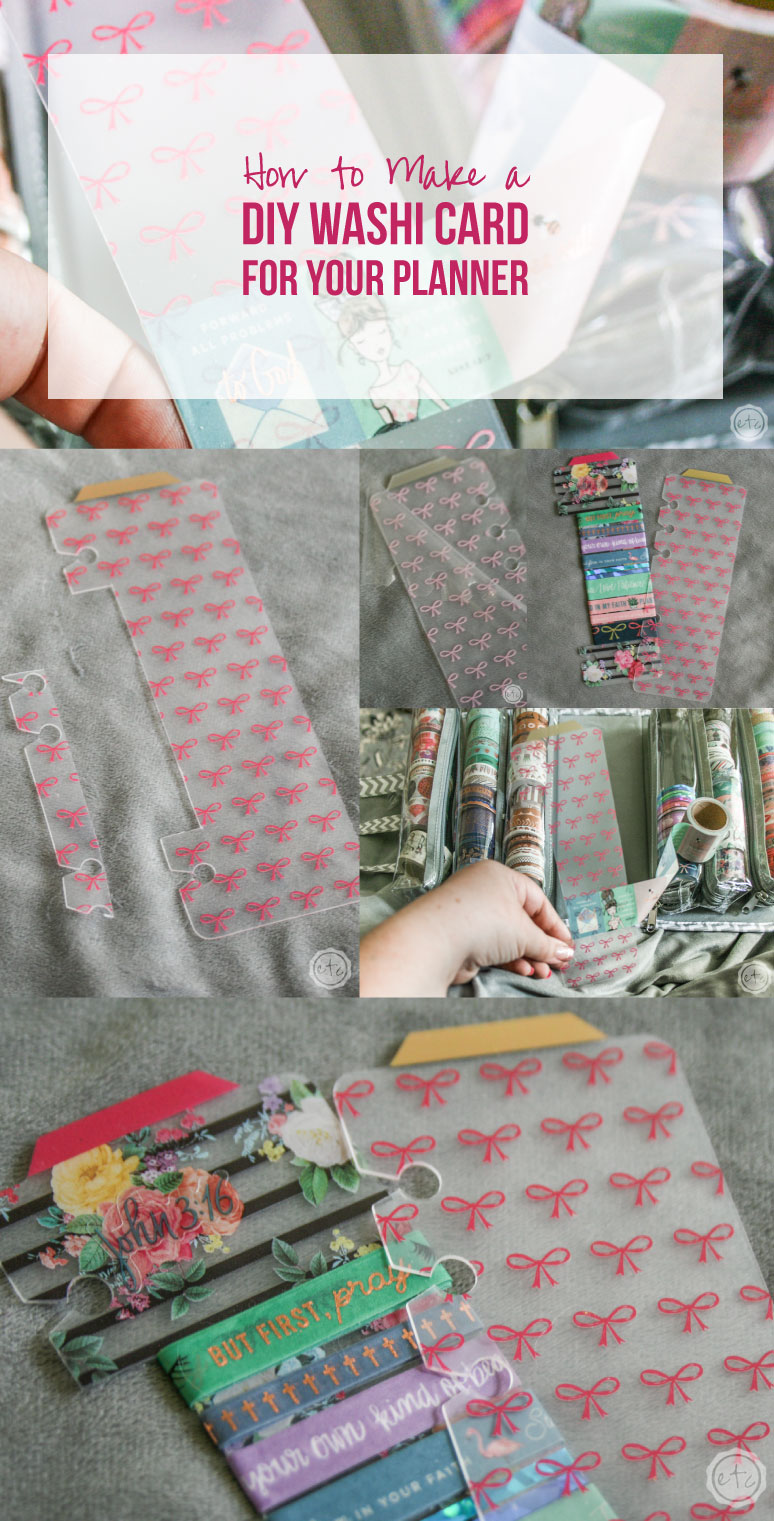
I have an easy but completely practical project for you today… a DIY washi card! These little guys are super easy to make and are wonderful for keeping washi in your planner so you’re set on the go.
Of course, there are so many different ways to make a washi card (you can see a few of mine tucked into the back of my travelers notebook in this flip through) and I typically make mine with bits of cardstock or backing from other sticker packages… but I find that cardstock washi cards slip out of the pockets really easily.
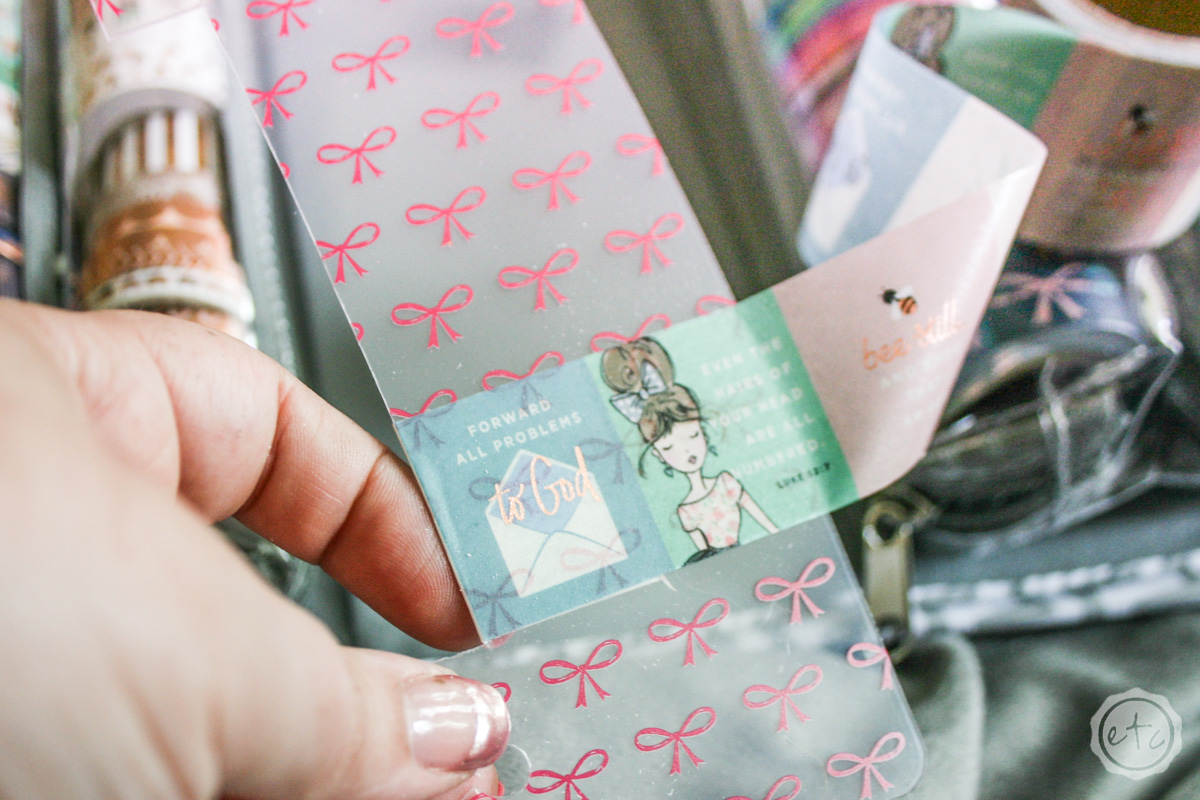
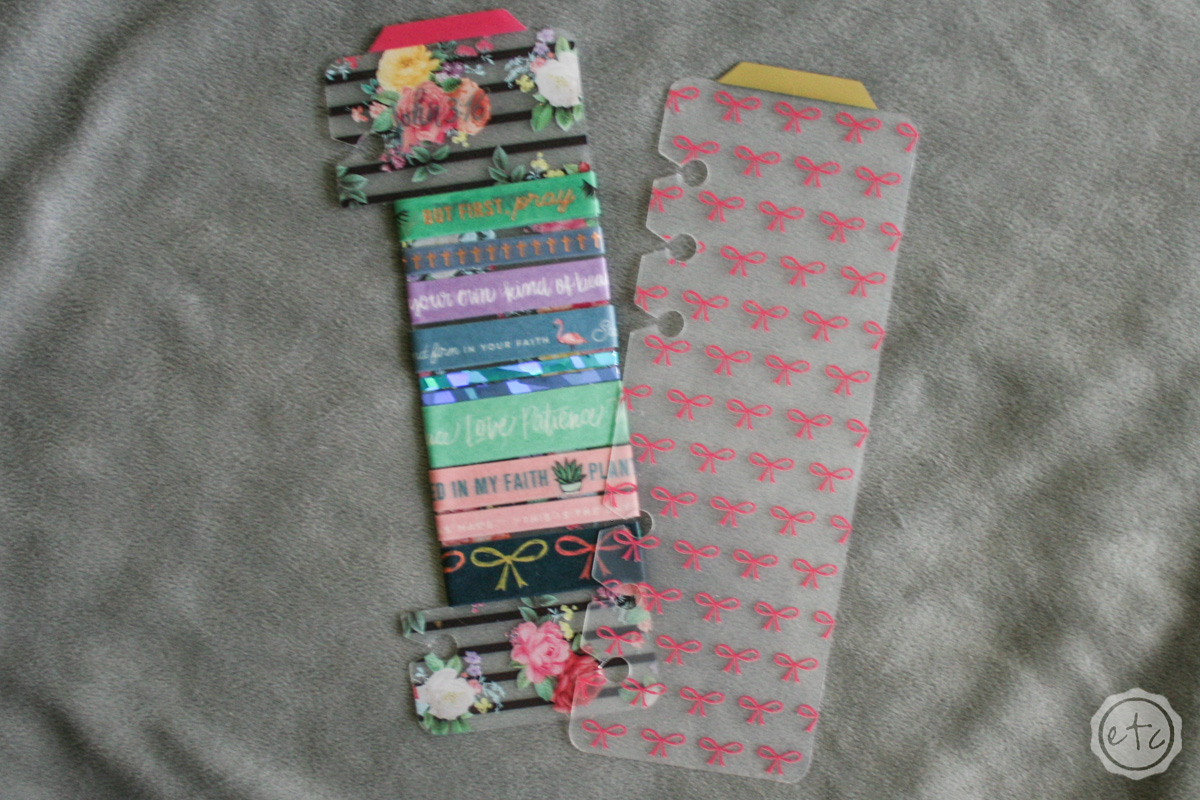
Which is why I picked up these bookmark/place holder pieces. They’re made of plastic so they are super sturdy and they’ll clip right into your planner with a bit of modification! Which means we can say goodbye to the cards slipping out of the back pocket.
Of course, these planner bookmark cards would work best in a happy planner (which is what I use them for) or a ring planner… a travelers notebook would need a slightly different set up or you can go right back to sliding it in to that back pocket. You can find them at Hobby Lobby (or search on their website for planner bookmarks… a couple different designs come up if this one isn’t your style).


Prepare Your Bookmarks
The very first step using these cards is to peel off the protective film… and trust me it’s hard to see! Even knowing that it was on there I completely forgot about it until I had finished the entire first card. Then I had to carefully pull it off from under the washi which was not easy and required more patience than I actually possess.
It is on the front of the card so find the edge and take it off… and if you have any tips please leave them below since I still have a hard time doing this part!
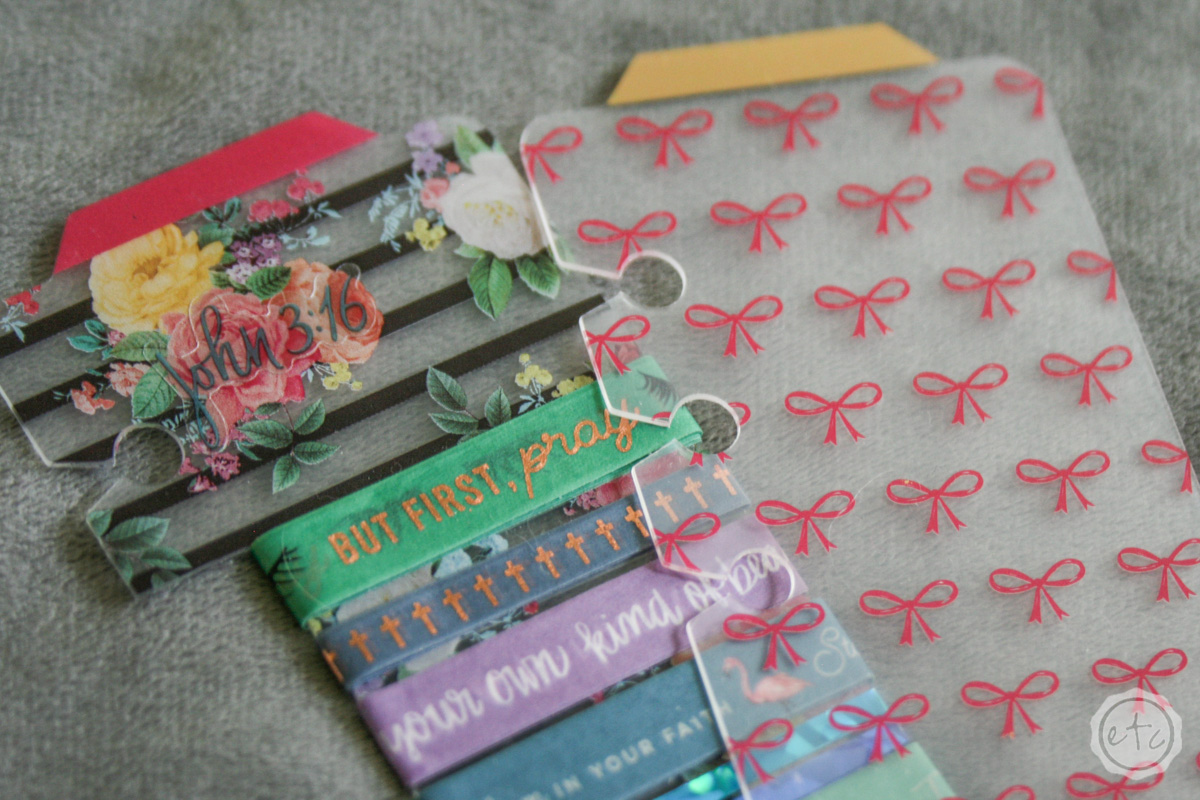
If you’re using a six hole punched planner (otherwise known as an A5 planner) than it is up to you to leave your bookmark as is or cut out the center portion… without the middle punched holes your card can hold a bunch more washi! As for us happy planner girls we definitely need to do a little modification!
I found that if you cut a portion of the middle plastic away the top and bottom holes will snap into your happy planner quite nicely. Plus it gives you the perfect spot to wrap your washi without interfering with the punched holes on the left.
Simply cut the bookmark right above the top hole and right below the bottom hole then connect the dots! Easy peezy… a pair of scissors and a couple minutes and you’ll be moving on to the next step.

Add Your Washi
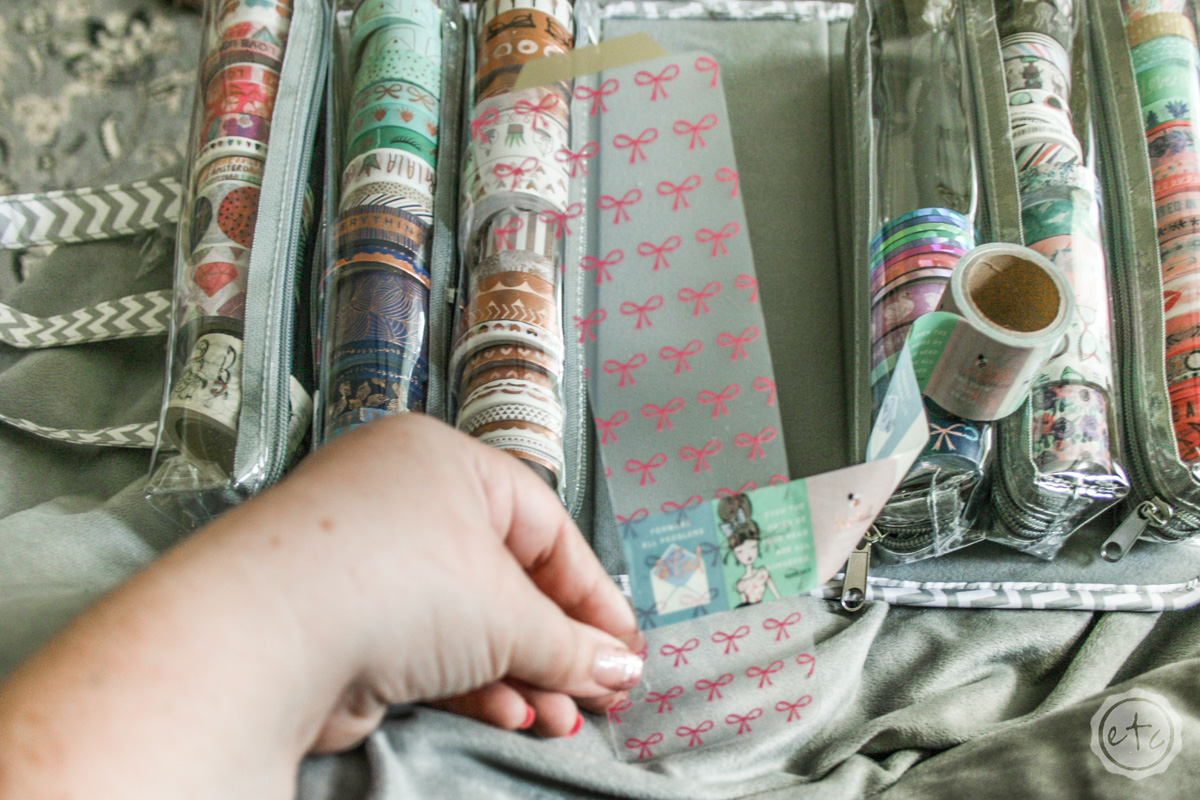
Now it’s time for the fun part… adding alllllllll the washi! As you can see my washi collection is quite extensive and carrying around my entire washi carrying case every day wouldn’t make much sense. Even though it does have a handle if I need to take it somewhere.
Either way picking the right washi for your card is definitely the hardest part of this entire process. I would need like 20 washi cards to fit alllllll of my washi in my planner. So I narrowed it down to my favorites… the ones I use on a daily basis or ones with neutral colors that would work in most situations.
Keep in mind that if you add only big wide rolls of washi you’ll only have space for 3 or 4 before the card is full whereas smaller washi will allow you more room and therefore more rolls. I also find it helpful to place the rolls of washi next to the card before starting to see how they’ll all fit… but Im a bit of a perfectionest when it comes to this type of thing.
Once you’ve picked which washi you want on your card it’s time to start adding the washi onto the card! Simply wind the washi around and around until you have the amount you’d like on your card. I tend to go with about 20 times around… sometimes a little more sometimes a little less. You’ll get the hang of it as you go and will be able to decide how much you need.
Try to think about whether you use short washi pieces or long washi strips and that will help you determine how much washi to put on your card.
Now you’re done! If you’d like to add any embellishments to your card you can but since I am actually mailing these to my bestie I opted to leave them plain once the washi was added. She’s not quite as into the little bits and bobs as I am!
Leave a comment below on how you use your washi card and happy planning!


Leave a Reply