

Do you ever come across a project that you don’t hesitate on? That you just DO? This was one of those projects for me… it all just sort of fell together!
When I was out shopping for baskets to organize my office closet with (the space above my DIY Cardboard Bookcase is so wasted!) I ran across these cute little Marquee Lights. I’ve shared my love for Marquee Lights before… but I am sadly still hunting for the perfect LARGE marquee letter! One day I will stumble upon the perfect marquee letter but until then… why couldn’t I make a small version of my own?

Looking for a bunch of posts on DIY & Crafts? I’ve got you covered!
Click here to see all of my how to DIY & Craft posts in one place!
I grabbed a set of lights and two colored bulbs: turquoise and clear (they have pink to if that works in your space). I expected these bad boys to be more expense because of their popularity but they were only $3.99 a box… not bad for their level of cuteness! They had little tiny (pre-drilled) plastic letters and shapes for the light kits but I decided to forgo the pre-made and make a base of my own.

Luckily I already had one in my car! I had just picked up this adorable silver glittered (have you noticed I like glitter yet?) box from TJMaxx. I think it’s suppose to be for presents… it was in the discarded Christmas section… but for $1 I knew I could use it for something. No that was not a typo, this little adorable glitter covered box was only ONE DOLLAR! I paid in quarters!
When I got home I immediately pulled out my (mama’s) drill, my hot glue gun and paper to make a template. The rest is history!


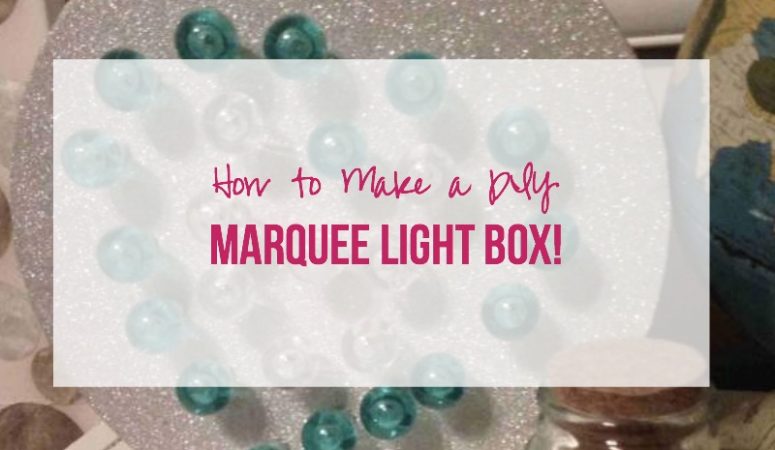
I decided to make my marquee sign into a heart, since it is going to go into our master bedroom I thought that was appropriate. Plus our last name is Smith… and I was afraid an S would just end up looking like a giant squiggle! I drew a heart template on a piece of paper and then cut it out. (Tip: when cutting out a symmetrical shape fold your paper in half… then you only have to cut out half the shape!) Placing the template on the top of my box I marked where I wanted each of my 24 little lights to go… then I drilled 24 tiny holes! (Tip #2: When drilling your holes make sure your drill bit is as large as your marquee light bulbs… my drill was stuck so instead of using the right size drill bit I had to enlarge all 24 holes… not as much fun!)


Once your holes are drilled go ahead and pop all 24 marquee lights through their holes so that they are popping out of the box top. Now we’re ready to add your marquee light covers! I used hot glue to secure them over each of the marquee lights… they don’t click into place or anything so without glue they are not secure AT ALL! Make sure you press down firmly and that each little light is standing straight up. I had a little trouble making sure my bulbs were really straight… they kept trying to veer off course and be crooked. So after I had the front secure I flipped the box top over and hot glued the backs into place… with as much hot glue as possible. These babies aren’t going anywhere!
Then for good measure I hot glued the battery case into place as well. I figured that would keep it safe and secure and as long as the part of the case that OPENS is facing up you can still switch out the batteries! Just make sure that you glue your battery case at the bottom of your marquee sign. It is the heaviest part of the whole project and if your box is circular like mine… it will just keep rolling until the heaviest part is on the bottom!


Once it’s done just sit back and enjoy! Right now I have my little sign in our office so that I can enjoy it while I work but as soon as the hubby finishes our shelves in the bedroom it will find a new home! It looks so cute when the lights are turned on and I love that it’s an actual box… I can still open it up and put things inside! More storage, baby!


Linking up with: Tatatertots and Jello & Faith Along the Way


this is so cute! i had never heard about using these kinds of lights before, but they are so fun and pretty!
Aren’t they cute? I have seen plenty of DIY christmas light versions of the marquee light but I had never seen these little light kits before either! They make it so easy! They even have the letters that you can buy if you’d like to do a letter! So much fun! Thanks for stopping by!