


I was decorating this years Christmas tree a few days ago and while I loved it… it was missing something. I don’t want to buy all new ornaments or decorations every year so I tend to work off a base of similar ornaments and just change the main decorative pieces… which is how I changed this glitzy, iridescent resin Christmas tree from last year into this Cruise Christmas tree this year. I love all of my fun cruise port souvenir ornaments in one place but the over all tree doesn’t scream cruising.
It’s blush and white with sweet little birds and poinsettias.
Not blue and teal with little jellyfish and shells.
So instead of running out to buy more themed ornaments I may never use if I don’t re-do this tree I decided to head to the craft room. I made a super cute anchor tree topper out of basswood and corrugated cardstock but I still wanted to tie it together a bit more.
So I figured we’d add a little decal to our tree collar! It’s metal so removable vinyl will pop on and pop off in the future if we don’t need it again… and we can make it say whatever we want!
Let’s get started.
Supplies:
- Galvanized Tree Collar
- Cricut Maker 3
- Cricut Roll Holder (for smart vinyl)
- Fine-Point Cutting Blade
- Cricut Standard Grip Mat (that’s the green one!)
- OR Cricut Fabric Grip Mat (that’s the one I use… it’s pink and holds everything)
- SVG Cut Files (FREE at the bottom of this post).
- Bright 360 Floor Lamp
- Weeding Tool
- Brayer
- Scraping Tool
- Smart Vinyl
- Transfer Tape

Step 1: Design your Cut Files in Cricut Design Space
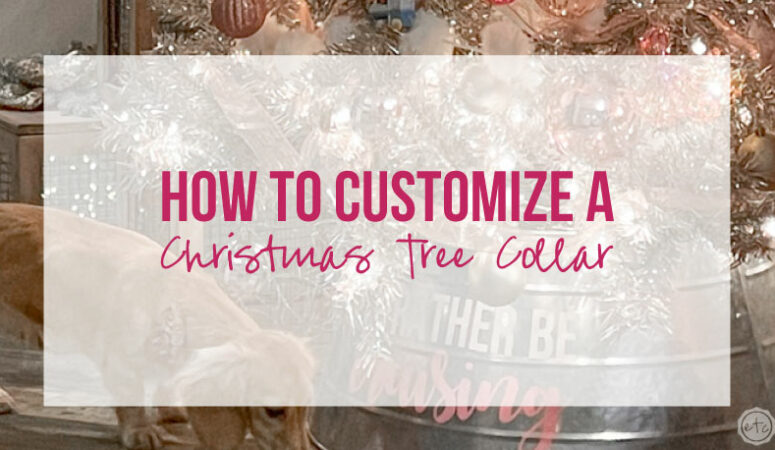
I want my little tree collar to be specifically about cruising… bonus points if it specifically says the word cruise. Of course, you could use any phrase you like but I decided to go with I’d rather be cruising.
It’s cute and says the word cruise without saying “cruise ornaments” which is a little too on the nose.
Since I don’t have an SVG with those words I opened Cricut Design Space and decided to just wing it. I typed out my phrase and picked a few fonts I know look great together (and cut easily) Bebas Neue for the top line and Autumn in November for the second line.
These are both free fonts you can download and use for personal projects so we’re good to go… just size these babies for your tree skirt and we’re ready to rock. I went with 12 inches wide and about 6 inches tall… my tree is about 6 feet tall and the tree collar is smaller so this is a big decal for my little tree collar.
If you have a larger tree collar you may want to bump up the size an inch or two.
We are 90% of the way done… from here I assigned colors to the words: white for the top line and pink for the second line. This way they’ll automatically be assigned to different cutting mats and I can cut them out of different color vinyls easy peezy. Then I welded the word cruising and we’re ready to roll!
Any script words need to be welded as the letters will automatically overlap and your cricut will cut them out individually… but we want the entire word cut out as one piece. That weld button will fix that… just make sure you’re finished editing the word first!
Now we’re ready to cut!


Step 2: Cut your Smart Vinyl
Ready for the magic to happen? Since we’re using smart vinyl you can hit go and select without a mat for your cutting option.
Of course, with a cutting mat and regular vinyl you can cut this project on almost any machine… an Explore Air 2 or 3 or either Maker. You could even use the Cricut Joy but you’ll probably have to cut each line out individually… which is fine with our design.
Select your type of vinyl and we’re good to go… watch each color vinyl cut and we’re ready for the next step!


Step 3: Weed your Design
Weeding!! The best and worst part of any vinyl project! I love how satisfying it is to take the outer piece of excess vinyl off and reveal the letters left behind… but sometimes removing all those little inside spaces can be a pain in the butt.
This design is pretty easy though.
Just grab a weeding tool and remove any negative parts of the design. The inside of the B, the R, the g… then the negative space around the outside. We want to be left with just our letters.
Our vinyl design should look identical to the design we cut in Cricut Design Space when we’re done weeding!


Step 4: Use Transfer Tape to Move your Design
It’s time for transfer tape. Be careful because these big sticky transfer sheets can get you into trouble… I accidentally stuck my first “I’d rather be” decal in on itself in a big messy ball of vinyl when trying to carry it to the other room to put on my tree collar.
Make sure you’re careful to keep the transfer tape flat and don’t let it fold in on itself.
Do as I say not as I do LOL.
Start by cutting a piece of transfer tape that fits over your phrase and lay it down over your letters. You’ll use a scraping tool to really bond the tape to your letters from the front… and flip it over to bond it from the back as well.
Then you can peel up the transfer tape and the letters will come with it… like a big sticker! Leave the white carrier sheet behind and we’ll take our transfer tape with the decal on it (our big sticker) very carefully into the other room to apply it to our tree collar.
Carefully…


Step 5: Place your Design on your Christmas Tree Collar
I know what you’re thinking… it would be way easier to take the tree collar off the tree and apply the design to it without being under the Christmas Tree.
You’re right of course… but this tree collar is horrible to take off and on and I already put it on. So this is fine.
Simply line up your decal and spread it from the middle out so that any bubbles get pushed out of the design. Then remove the transfer tape and your vinyl should stay behind on the tree collar!
I did realize that without designing this project on a curve my straight letters were a little… off. But they’re fine and as a temporary project it’s close enough for me. If you’d like the letters to wrap around the tree collar properly though they need to be on a curve and not a straight line in design space.

Step 6: Enjoy
At this point we’re done! Our tree collar looks super cute, the dogs had a blast playing with me while I was under the tree and between the anchor tree topper and the “I’d rather be cruising” tree collar my little Christmas tree looks way more like a cruise tree!
Which was the whole goal!
I love this entire custom tree collar idea… and my brain is already working on other phrases we can use for the future. I mean we could go totally Christmas with this “Here comes Santa Claus” anyone?
The possibilities are endless!


Leave a Reply