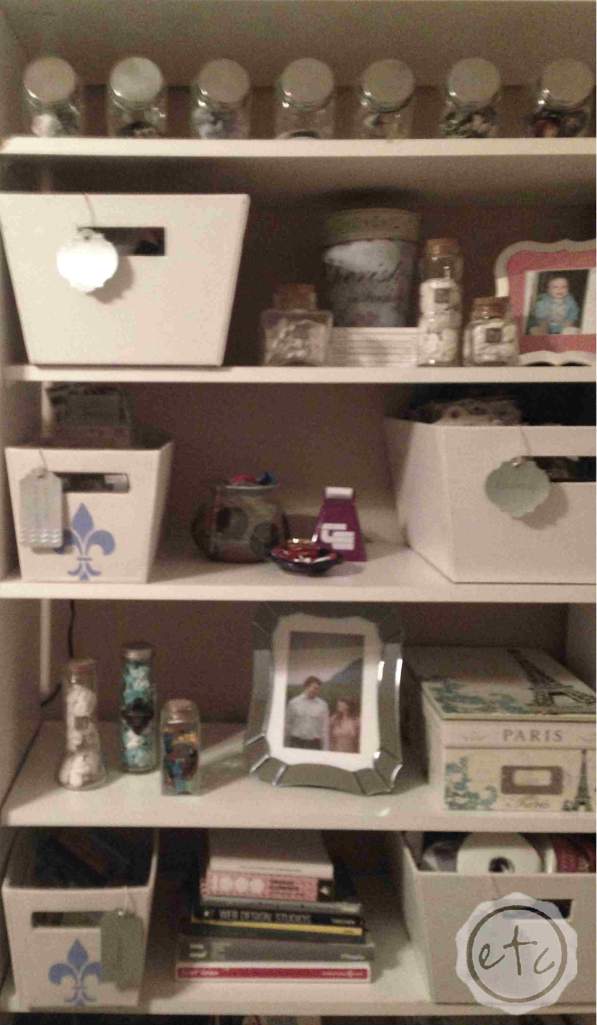
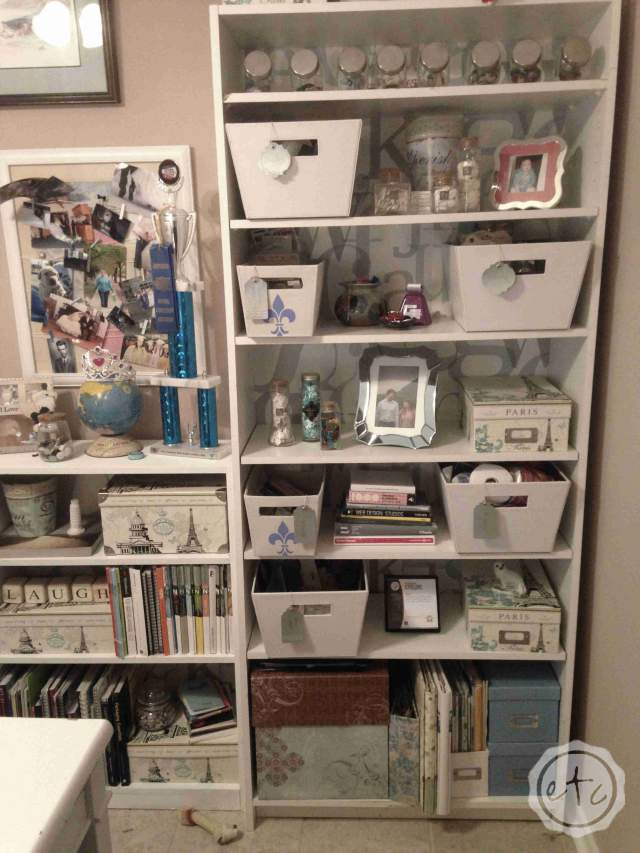
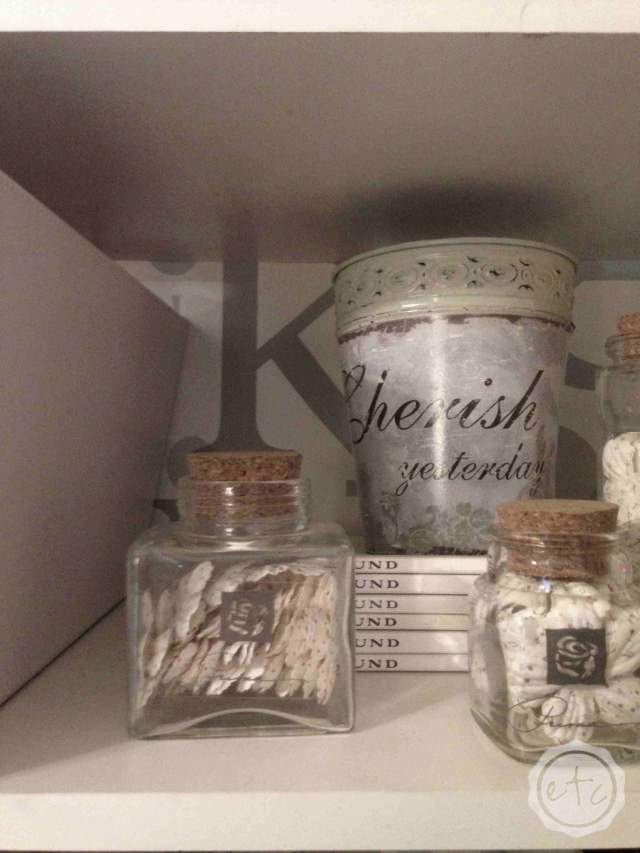
This might just be my favorite project ever. Probably because it has pearl sheen wallpaper, which is something that every project needs! My office is (for all intensive purposes) complete… but you know I can’t pass up an opportunity to make it even prettier. Which is why the state of my bookcase just wasn’t cutting it. I mean take a look… the tall one didn’t even have a back.
Looking for a bunch of posts on DIY & Crafts? I’ve got you covered!
Click here to see all of my how to DIY & Craft posts in one place!
I knew that adding a back was crucial… but why have plywood or cardboard when you can have prettiness? I looked all over for the perfect solution: fabric, wrapping paper, wallpaper etc. Fabric was great but I just couldn’t find the perfect pattern. Wrapping paper was definitely the most economical solution but again… I just couldn’t find anything I liked! My mama suggested wallpaper, which comes in just about a million patterns and colors. I balked at first, I mean isn’t wallpaper expensive? But I started looking around and discovered the HGTV wallpaper series which is… just about… the most amazing thing on the planet. Really every pattern in the book is absolutely amazing.
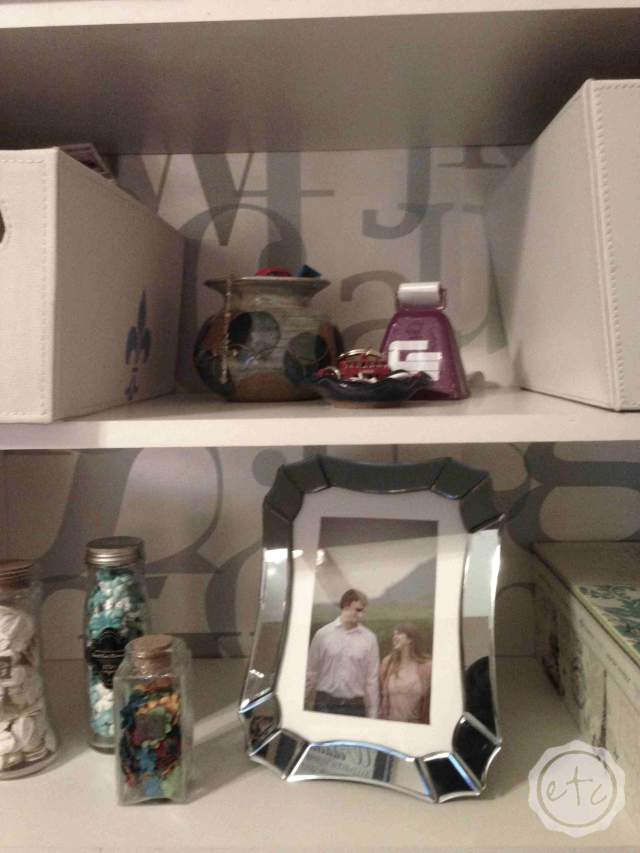
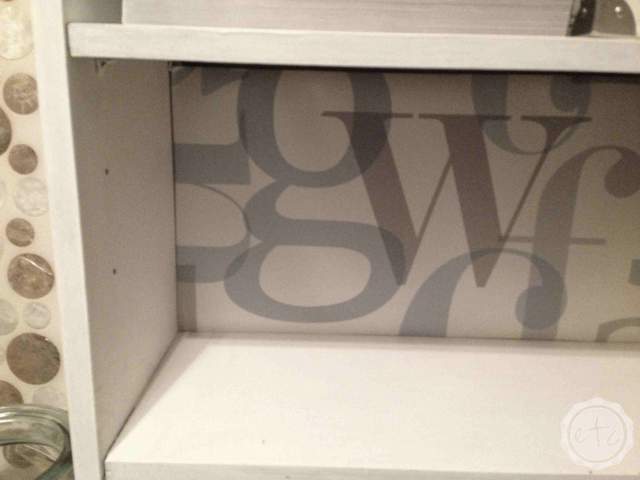
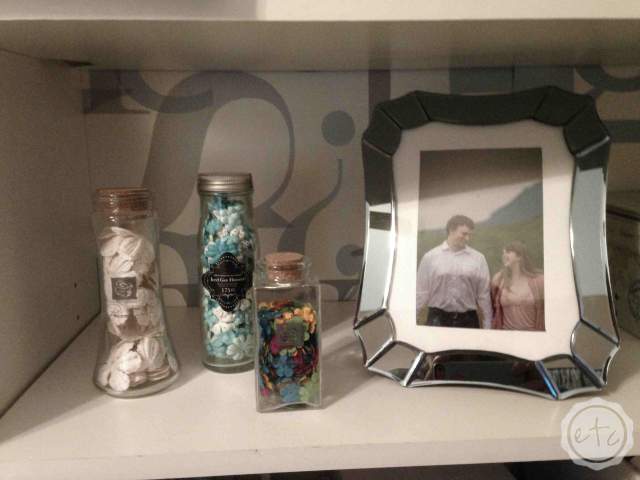
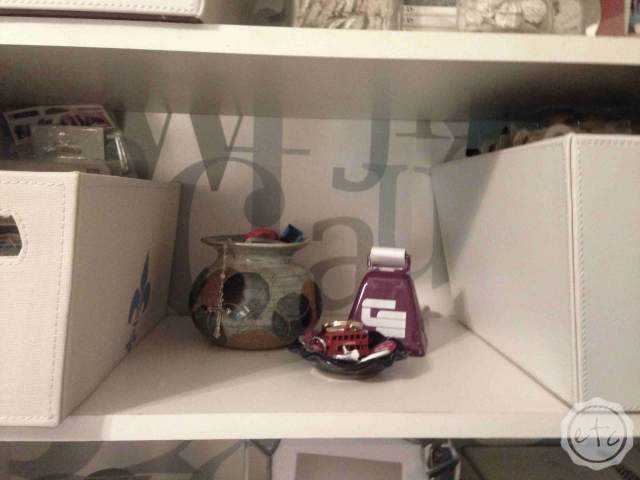
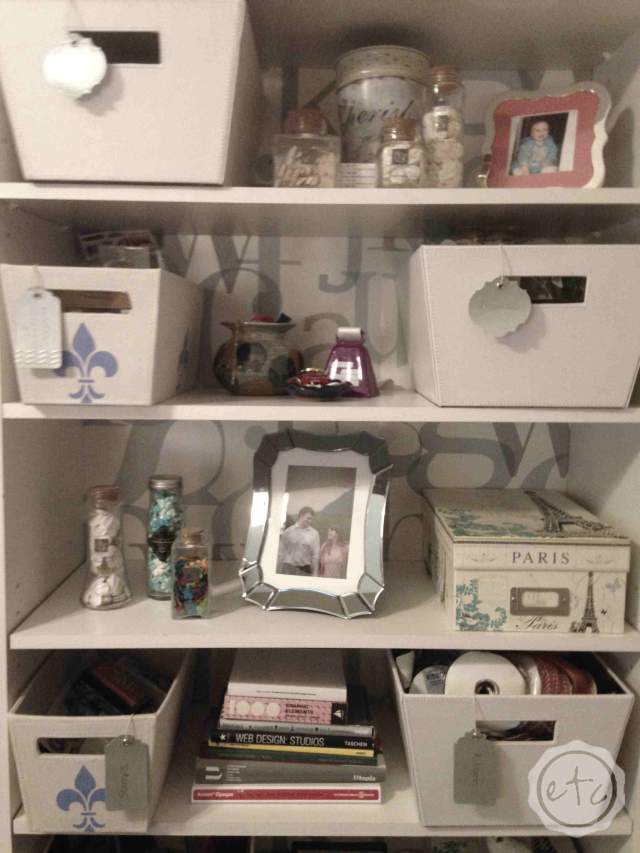
While I loved the entire book my absolute favorite pattern was No: 493-5829. The colors are just perfect: gray, light blue and light teal. I think I may have squealed a little (okay a lot) when I came across it in the book. Plus on top of the perfect colors… it’s the perfect pattern! It’s different typography printed at opacity so that they overlap. I mean typography is just about perfect for a graphic designers office! Again… lots of squealing! Add in the pearl finish and I was a goner. The only downside was the wait time… two weeks for the rolls to come in. 🙁 Unfortunately all wallpaper is a custom order now a days so I bit the bullet and placed the order. You should have heard the squealing the day it came in!
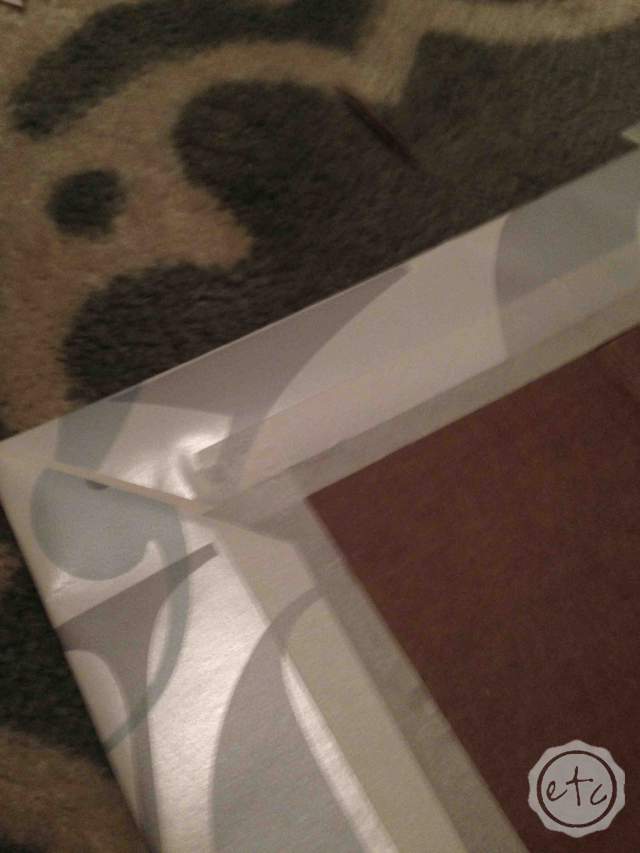
Once the wallpaper came in the rest of the project took an hour, maybe two (tops) to complete! We used two different strategy’s for the bookcases in the office. The little bookcase has a backing… one that really wasn’t coming off without a ton of effort. So instead of taking off the back and covering it in one piece we measured the shelves and cut pieces of cardboard to fit the openings. Then we wrapped the cardboard pieces with our wrapping paper… just like presents! We wrapped the paper around to the back and secured it with tape, short of clipping the corners so that the paper lay smooth THAT’S THE WHOLE PROCESS!
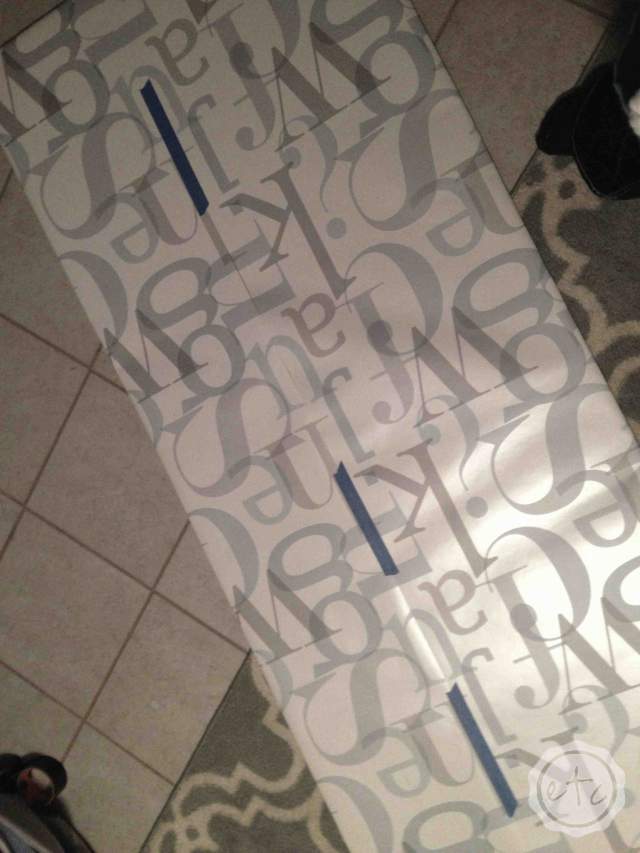
For the big bookcase the process was very similar. The only difference is that this bookcase doesn’t have a back… so using individual pieces would not be half as efficient. Basically the individual pieces would be easily pushed through the shelf and out the back of the opening! No bueno. So instead we cut one big piece of cardboard and wrapped the entire sheet. So now we have two presents ;). Since the wallpaper didn’t cover the entire piece of cardboard we cut two pieces and used painters tape to tape them together. Once the back is secure the painters tape can be cleanly removed leaving only wrapping paper… and this way the repeat lines up across the entire piece! Once it was wrapped and ready to go we used little brad nails to secure the backing to the bookcase. Super easy, just line up and nail in place!
Isn’t he cute?
I absolutely love how this turned out! Like I said it might just be my favorite project ever! I tackled the little bookcase and my hubby fixed up the big one… so together we spent about an hour on both pieces. If you’re working alone it would take about two… but I seriously recommend drafting a loved one! It makes everything better!
The bookcases are sort of stuffed in the corner so the wallpaper doesn’t make that much of an impact from the door… but they fill my entire field of vision from my desk! I love turning my head to the right and seeing all of that prettiness! It really makes my day… and isn’t that the point?
I loved this project so much that I’m planning to back the cubby holes on my hubby’s desk with the same wallpaper. That will bounce the pattern across the room… and add a bit more of the pretty pearl finish to the room! If I could I would wallpaper the entire wall behind my desk… but I’m not sure if I have quite enough wallpaper! I suppose we’ll just have to see :).
Linking up with: Cook, Craft, Love & Just a Girl and her Blog & Carissa Miss & Faith Along the Way & Tatatertots and Jello


