As you know I am on an organizeeverysingleclosetinthehouse kick. It’s great because my closets are getting organized (duh!) but not so great because… I have A LOT of closets! Plus I am highly impatient! I want them to be done… yesterday! Or at least right now! But since this is the real world (not my dream fantasy world where I think of projects and little elves magically complete them for me) I am slowly working on each closet… one at a time.
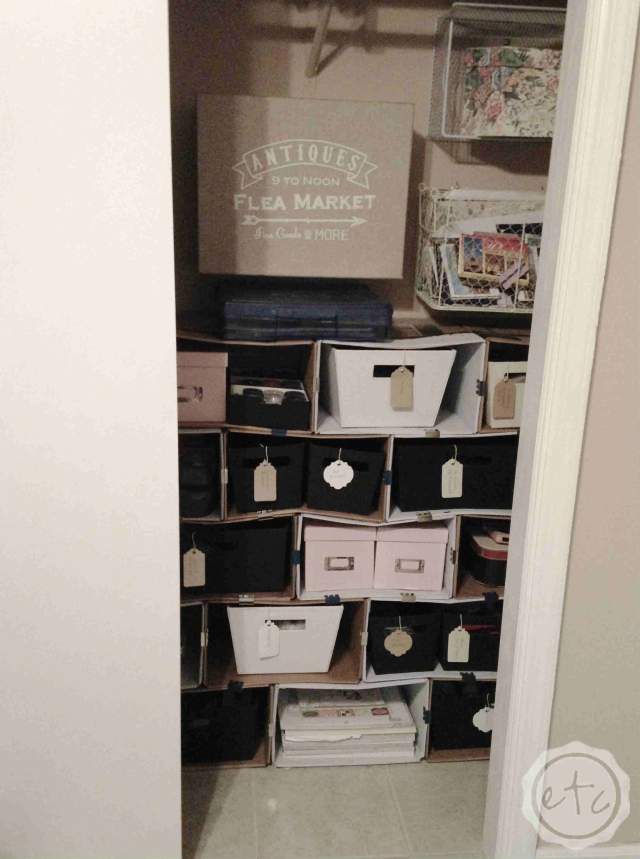
The last closet related project you saw was my DIY Cardboard Bookcase… which is pretty awesome! (If I do say so myself!) However, my little bookcase is fairly short. That means there is a lot of wasted real estate in between the top shelf and the cardboard bookcase! Short of building the cardboard bookcase all the way up to the ceiling (I don’t know how it would hold weight if it were that tall) or building lots of new shelves (which would not be cost effective) I needed a new idea for storage. I wanted something that I could use as a shelf… but without building a shelf.
Does that make any sense? Yes? No? I think it does but my brain is a weird place. Let’s just go with it!
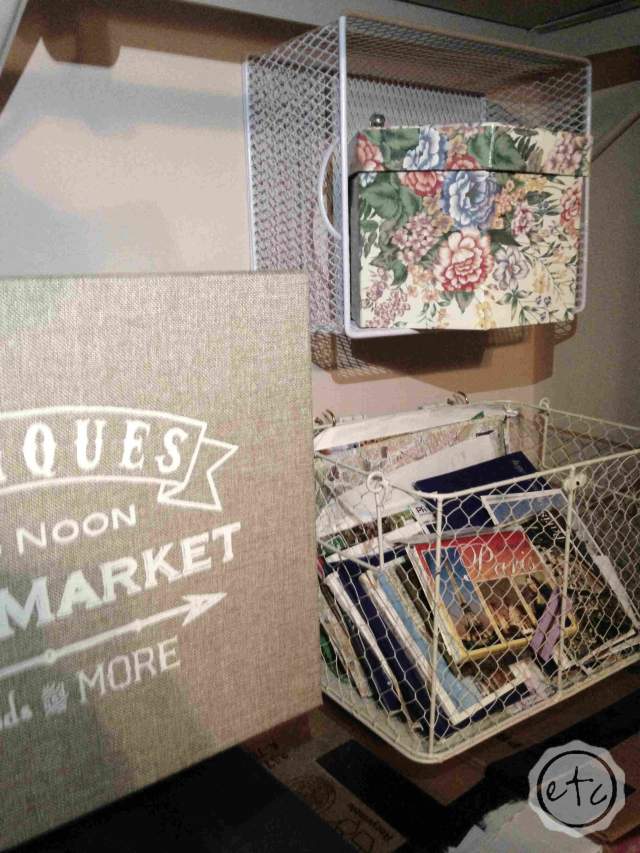
I was stumped for quite a while… and then I went to my mom’s house. Do you remember how I said she was the queen of all basket hoarding? Well we were sitting on her couch and I noticed that she had taken one of her favorite little baskets and hung it on the wall. Not completely crazy… but instead of hanging the basket so that the opening was at the top she hung the basket so that the opening was facing out. Her basket is teeny tiny and shaped like a heart, so it is purely for decoration. However, if the basket were larger, square and attached securely to the wall the bottom side of the basket would function EXACTLY LIKE A SHELF! It’s a shelf… that’s not a shelf! (See it all makes sense! Why did you ever doubt me?)
Looking for a bunch of posts on organization & planning? I’ve got you covered! Click here to see all of my organization & planning posts in one place!
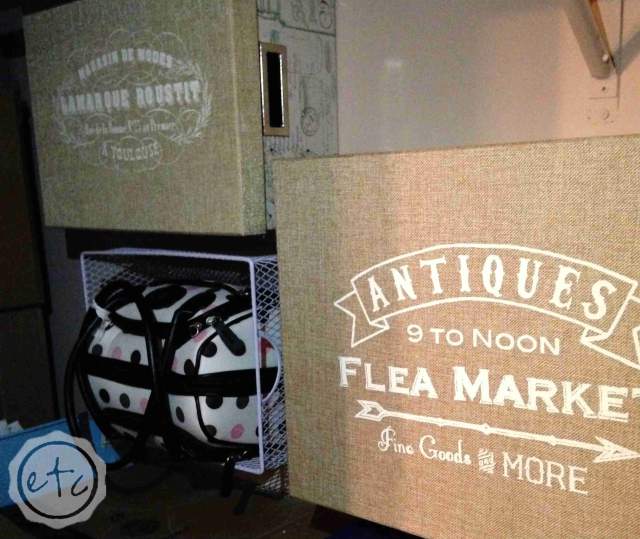
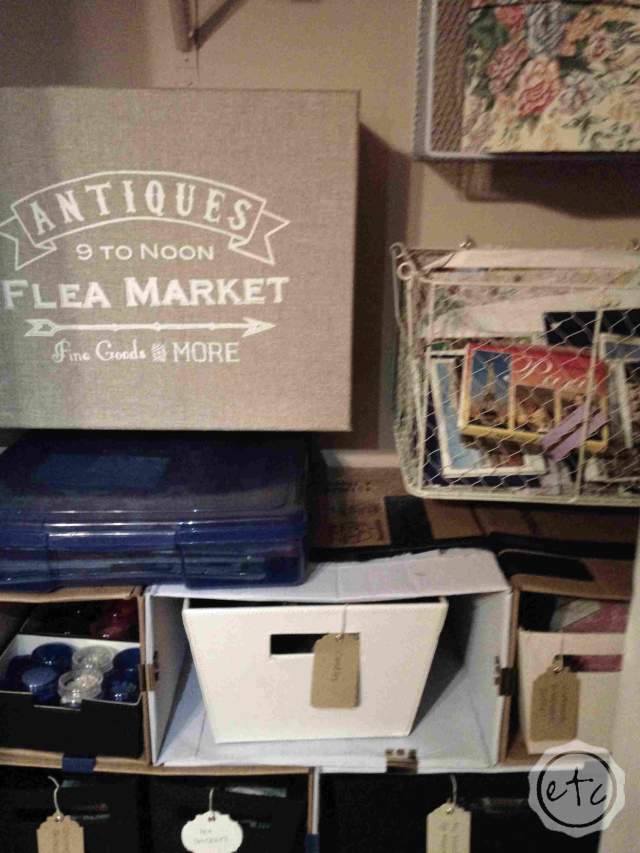
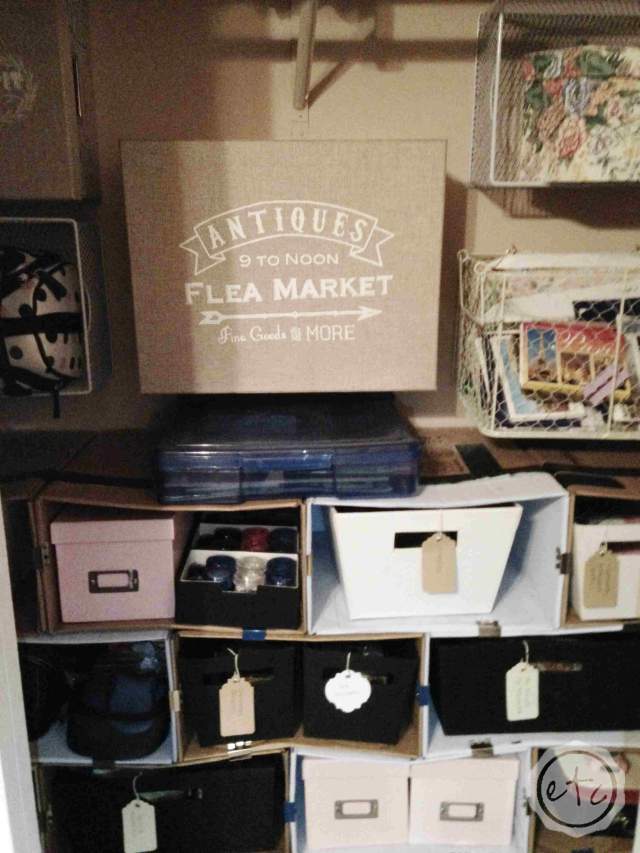
The best part is a) I am a second generation basket hoarder so I have plenty of baskets and b) in addition to baskets square boxes work really well (because they’re sturdy). My favorite part? Many square boxes have LIDS! Which means you can attach the box to the wall, fill it with things and then CLOSE THE BOX. Now you have a hidden shelf! Genius! (again, if I do say so myself 😉 ).
While I had many boxes to use for this project I did splurge and buy two boxes specifically for this project. Remember the small turquoise box I bought for my bedside table? When I bought that adorable little box I also found these two larger boxes for my office closet. I picked them because they are neutral colors (which works better for my blue and white office than the turquoise) and they have adorable tops! When they are attached to the wall the top is the only part you see, so picking a box with a cute top turns the box into wall art! Function and beauty. The two standards of any good product!
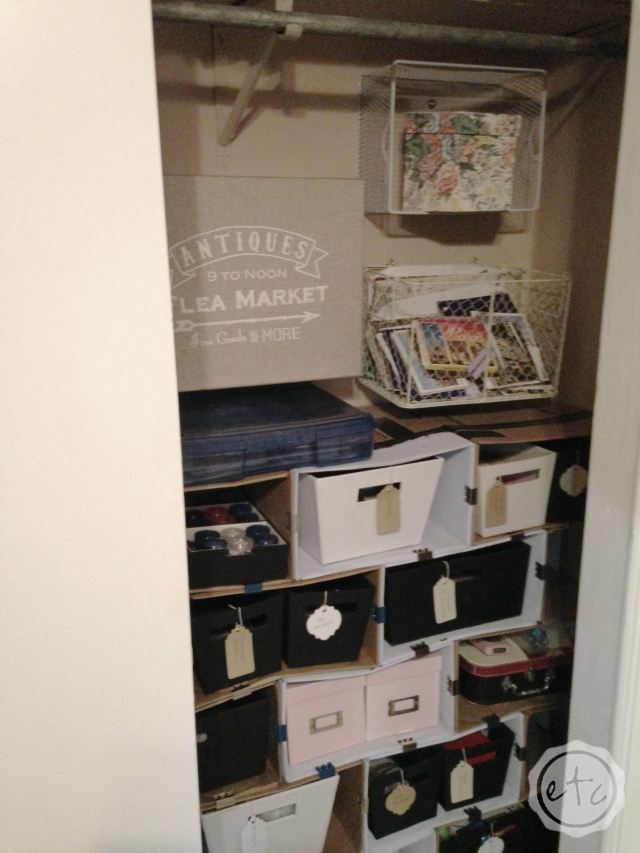
The entire project was so simple. First gather all of your boxes and baskets, then lay them out in the configuration that you want to hang them in. That way you know if all of your baskets/boxes will fit in your space! After you know how you want to hang them… hang them! Simply place your basket or box flush with the wall and then attach!
I picked several different baskets so there were several different ways to hang them. I used washers for every basket, but for the boxes I wanted to be sure that the little tiny screw head would be secured. If you place too much pressure on one single spot it may break. So the washer helps to keep the box from ripping around the screw if the pressure is too great. I used a washer for the rest of the baskets because… they had holes! A screw by itself would pass all the way through the hole, so a washer was necessary to catch the back of the basket. Several of my baskets were able to be secured directly into a stud… these were easy. Just take a large screw (and your washer) and go directly into the stud. DONE. The baskets that did not have a secure stud are held in place with toggle bolts. That means you have to (ask your hubby to) drill a hole through the drywall and then use your toggle bolt (and washer) to secure the basket to the wall. DONE! Now you’re ready to load up your baskets, attach the tops and sit back to enjoy your “shelves”.
If you decide to try this at home you’ll want boxes that have:
Straight sides: so that the bottom can function as a shelf.
No fabric! Pick boxes or baskets with solid sides… so that they don’t rip when weight is placed on them.
A pretty top! So that your box doubles as wall art!
I absolutely love how this turned out. I am able to store more of my (larger) crafting supplies in these boxes… and they’re super cute! That’s a win in my book!
Linking up with: Tatertots & Jello, Meet the B’s


