• House Tour
    • Reveals
  • About
    • Smith Life
    • Disclosure and Privacy Policy
      • Terms and Conditions
      • Store Affiliates
  • Contact Me
    • Want a Button?
  • Shop
    • Floral Printable Planners
    • Paint eBooks and Packages
    • Wedding Binders & Extra Printables!
    • Planner Bundles
    • Planner Accessories
    • Home Decor Printables!
    • Cart
    • Bloglovin
    • Facebook
    • Instagram
    • Pinterest
    • Twitter
    • YouTube

Happily Ever After, Etc.

Creating Our Own Fairytale

  • Happily Ever After, Etc.
  • Home
  • Home Decor
    • My Home
    • Paint
    • Before and After
    • Tablescapes
    • Mood Boards
    • Furniture
  • DIY & Crafts
    • New to Cricut – Start Here
    • Cricut Projects
    • Resin
    • Scrapbooking
  • Organization & Planning
    • Cricut
    • Organization
    • Planner
  • Wedding
    • Cricut Wedding Projects
    • Free Wedding Binder
    • Bride Bag- The Ultimate Wedding Planner

How to DIY a 2-Tiered Tray

Hey y'all,

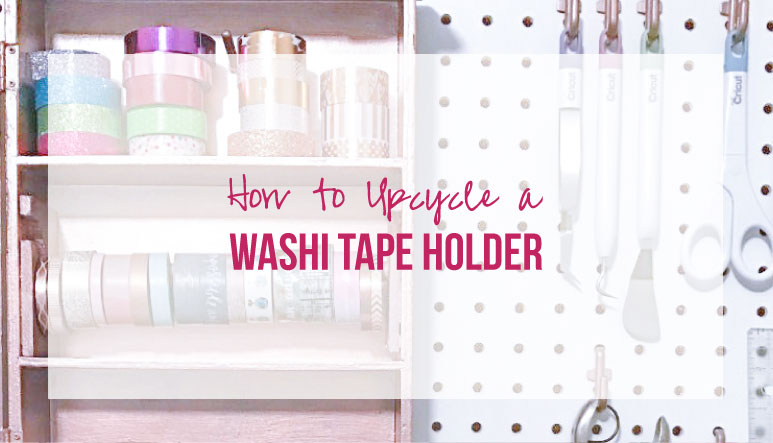
It’s finally time for the second reveal in our little Thrift Store Swap! If you caught the washi tape holder makeover I shared last week you’re all caught up on previous swap projects. Which is why I’m so excited to show you how to DIY a 2-Tiered Tray with the wooden tray’s I received!

I’m always up for a good project *wink wink*.

But I’m getting ahead of myself.

If you haven’t checked out a swap before here are the basics: 10 crafty bloggers commit to buying and re-purposing 2 thrift store items for under $10! Our fearless leader thought up the entire blog hop and although it sounds easy… there’s a catch!

Each blogger is buying for a different blogger on the list! That means each blogger gets a little bit of a surprise in their mailbox! It’s like Christmas but with thrift store items… it’s pretty awesome. So what happens when the unknown challenges 10 crafty ladies?

You get some out of the box tutorials!

Looking for a bunch of posts on DIY & Crafts? I’ve got you covered!
Click here to see all of my how to DIY & Craft posts in one place!

Meet the Swappers!

Happily Ever After, Etc

One Crazy Ride

5 Kids, a Dog and a Blog

Unique Junktique

From Evija with Love

My Sweet Things

Just a Little Creativity

Shop at Blu

Feathering My Nest

Every Home is a Castle

Molly from Just a little Creativity was just before me in the loop so she sent me two fun little projects! In addition to the little wooden box we transformed last week she also sent these 2 wooden trays.

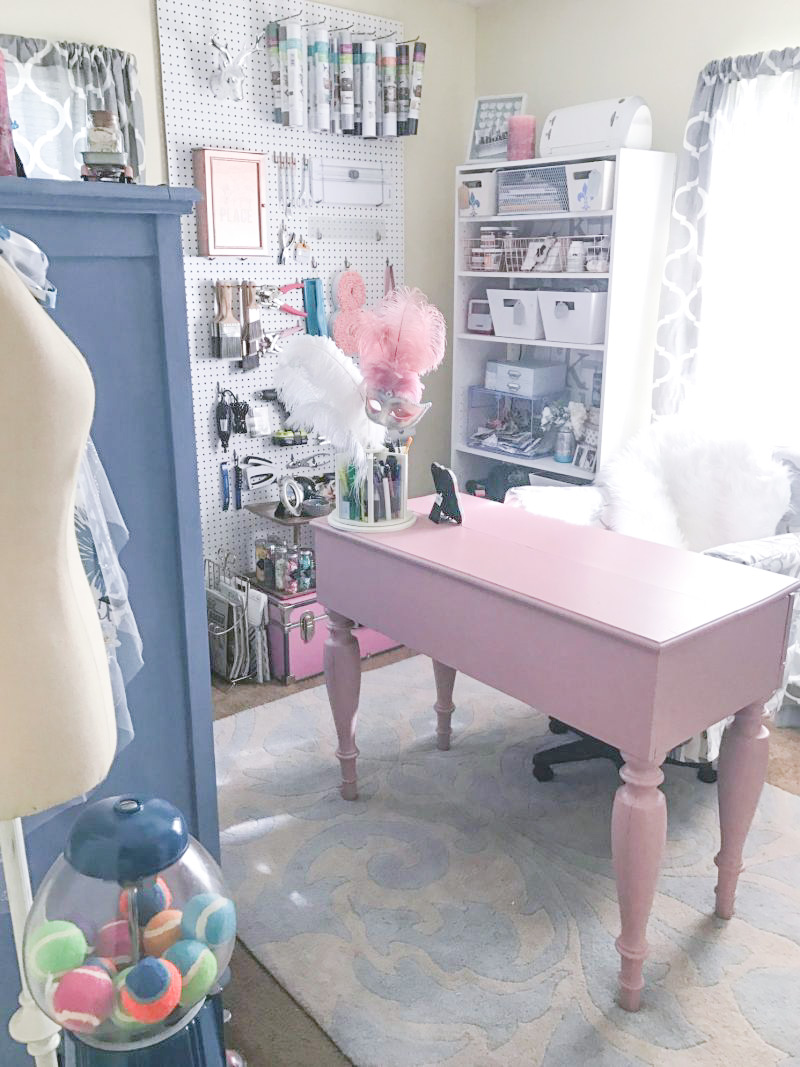
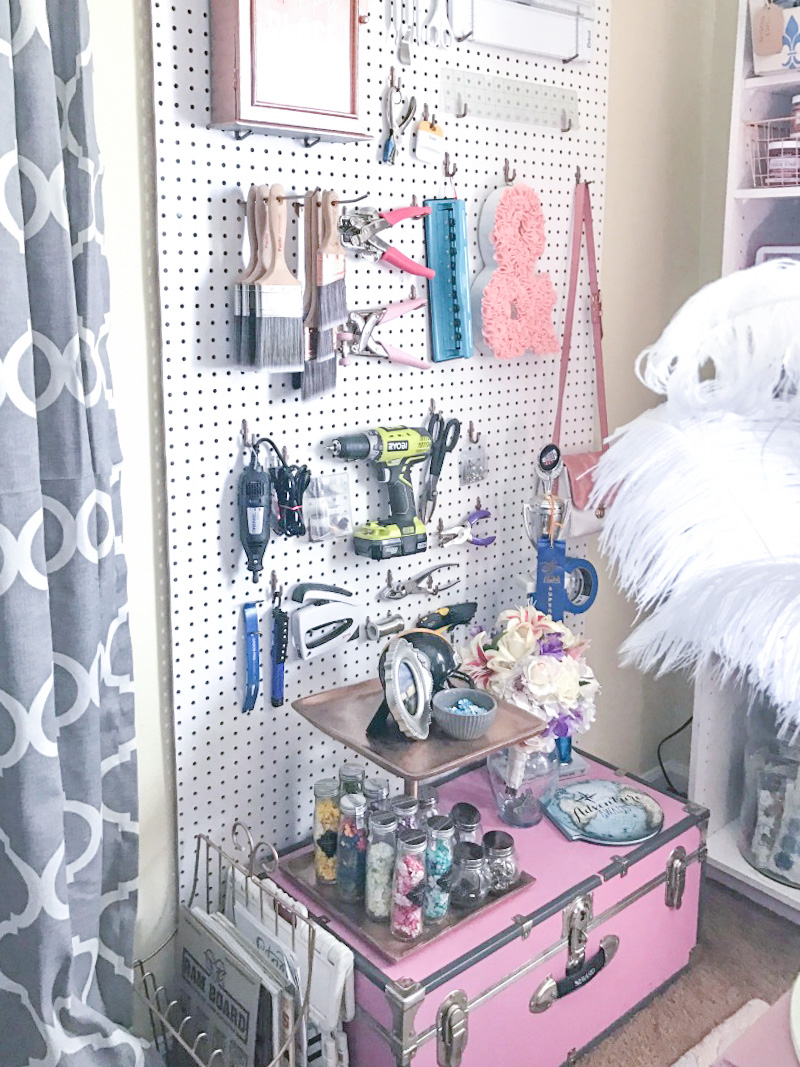
I automatically thought of making these little guys into wall art but honestly… I have more wall art then I can even use. My closet is literally full of random paintings that I have no wall space for. So instead I imagined other uses for these little guys.. and I decided on a two tiered tray for a little extra storage in my craft room.

Check out the befores!

Now this makeover was the easiest DIY EVER! I didn’t even take photos because it was so easy.

Step 1:

Paint your trays a pretty rose gold (because I’m on a mission to make everything in my life rose gold *wnk wink*). Plus I still have rose gold DecoArt Rose Gold paint from Haven… I’ve only used it on every single project this month so I’m starting to run out.

Step 2:

Cut a wooden dowel and paint it the same color. I didn’t exactly measure my wooden dowel but it held it up to my wooden trays and decided on the perfect height.

Step 3:

Screw your wooden dowel onto the trays! I borrowed the hubby for this one… simply because 4 hands are better than 2. I held the dowel and tray together while he put one screw through the bottom tray (into the dowel) and one screw through the top tray (and into the dowel).

That’s it! Your done!

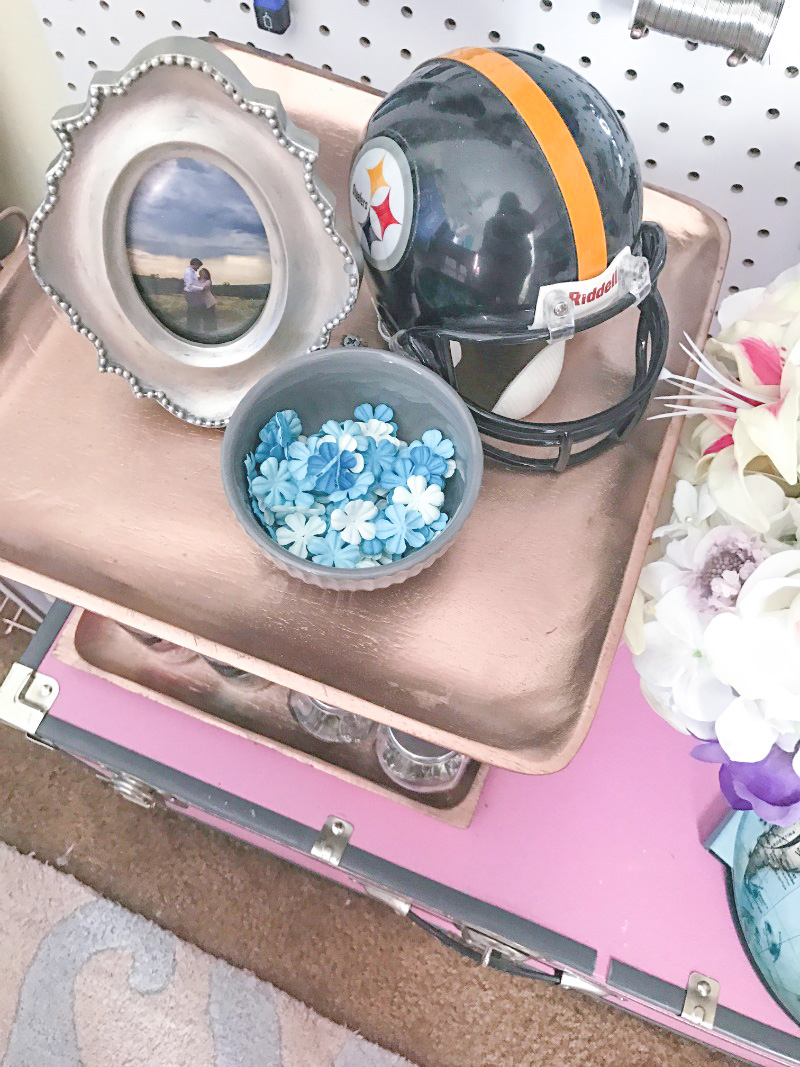
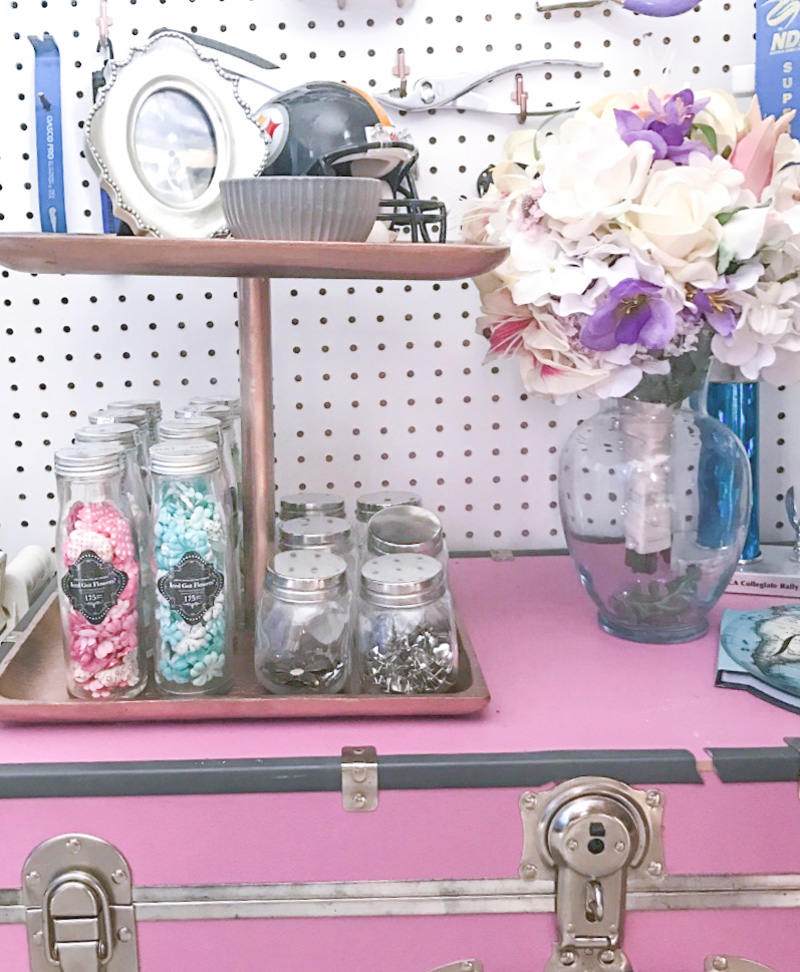
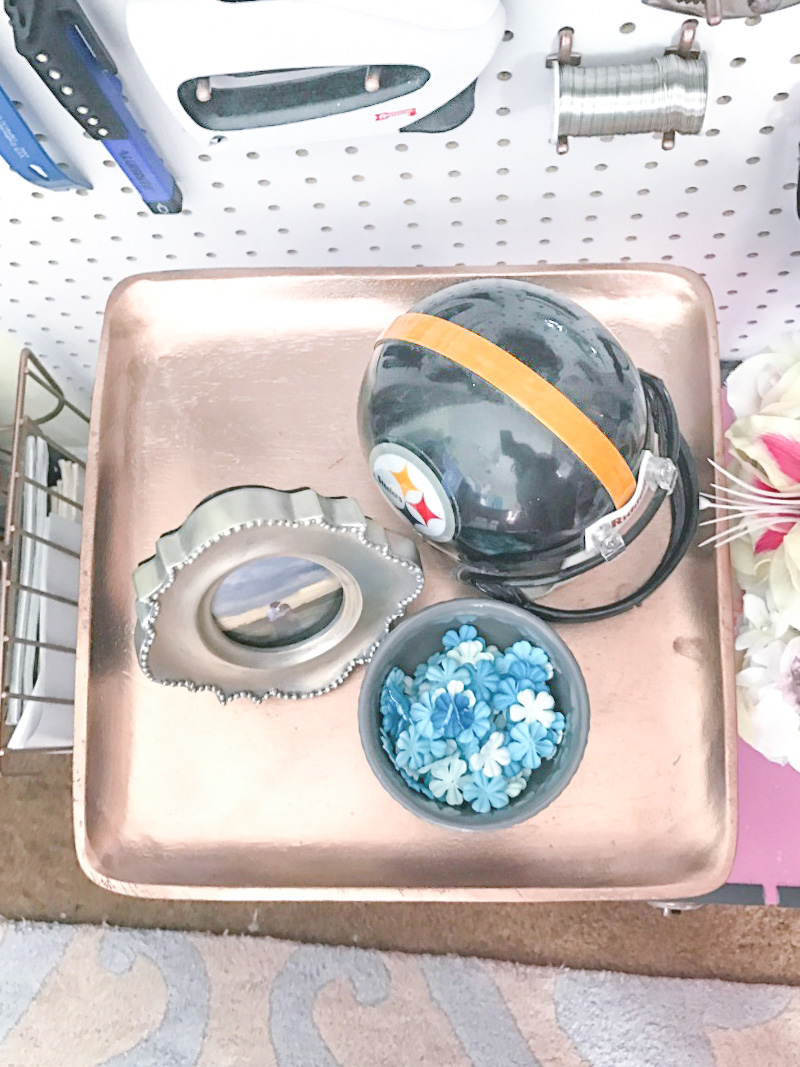
I had a really hard time deciding what to display on this little guy… especially because a quick search on Pinterest revealed that most people use their 2-tiered tray’s for display and not function. My craft room is super tiny so I need all the functional storage I can get!

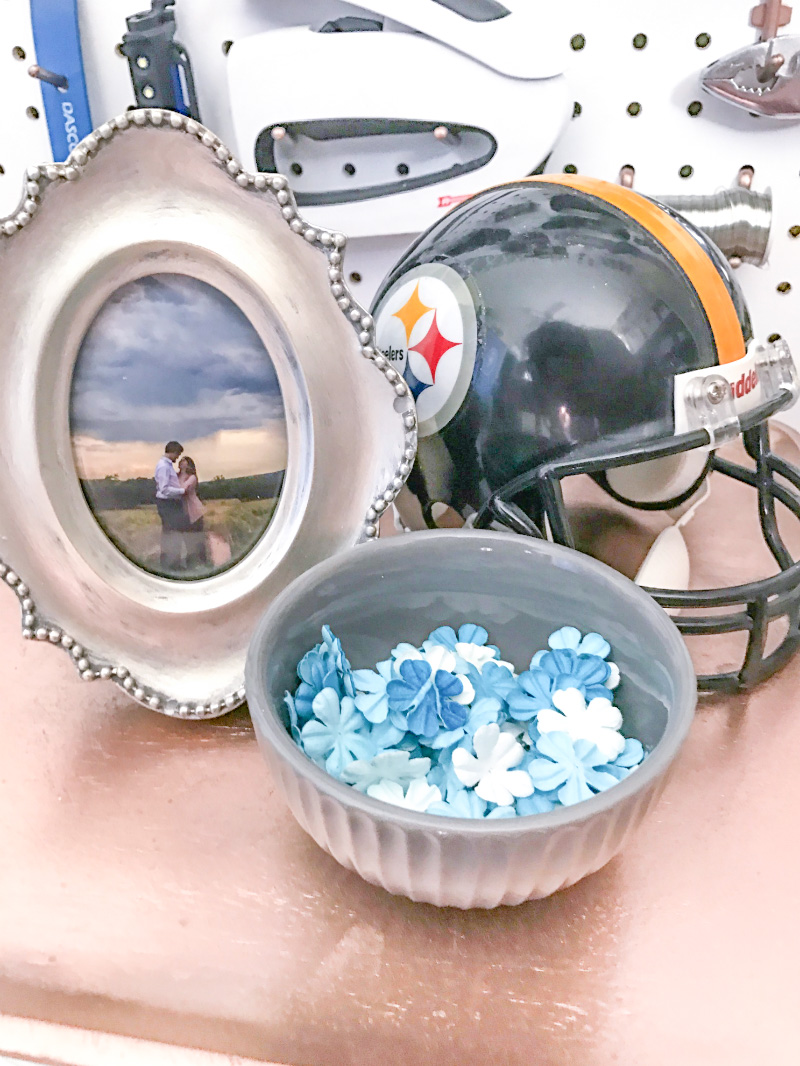
I decided to display my glass bottles on the bottom shelf and use the top shelf for a few cute items (like my Steelers helmet!).

Priorities and all that.

I kind of love it!

Of course, the best part is that it’s only one project of many! If you’re still in the mood for a good DIY go ahead and check out all the other Thrift Store Swap Projects.

An InLinkz Link-up


Looking for the rest of the Craft Room? Check it Out!

An InLinkz Link-up


Don’t forget to Pin for Later!

Save

Save

You made it through the entire post? That means you're one of my new favorite people! I'd love to be friends and see what else you would like to read about! Leave me a comment and then sign up for your very own FREE paint planner.... so that you can keep track of every single paint color with ease!
Welcome back! I'd love to be friends and see what else you would like to read about! Leave me a comment and then sign up for your very own FREE paint planner.... so that you can keep track of every single paint color with ease!

Show me some LOVE y'all:

  • Facebook
  • Pinterest
  • Twitter
  • Email

Related

«
»

DIY & Crafts, Thrift Store Swap 3

sidebar betsy I'm Betsy, Home Decor Enthusiast, Yorkie Mama, Crafter, Blogger, Picky Eater, Chief Mess Maker, Antique Hoarder and Graphic Designer. You can generally find me working on (attacking with a paintbrush) the 3 bed, 2 bath home we are currently renting! Our home might not be perfect but it is ours & if you hang out long enough you'll see that what we lack in know-how we make up for in passion!
Shop My Craft Room

Shop My Home

Featured Articles

15 Fabulous Ideas to Organize your Laundry Room
25 FREE Printables For Your Home!
What to do with EXTRA Paint with Happily Ever After Etc
10 Ways to Make Your Bed EXTRA Comfy with Happily Ever After Etc.
Ready to Pick your Perfect Paint Color? We'll help you with our 6 Day FREE E-Course

Hey y’all,

Profile

I'm Betsy, Home Decor Enthusiast, Yorkie Mama, Picky Eater, Chief Mess Maker, & Graphic Designer...

A Little Note!

Many of the links on Happily Ever After, Etc. are affiliate links. If you purchase a product after clicking an affiliate link, I receive a small percentage of the sale for referring you, at zero cost to you! How awesome is that? Purchasing through affiliate links is an easy, painless way to help out your favorite bloggers. Thank you so much for your continued love and support! Read the full disclosure here!

Instagram

Load More... Follow on Instagram

Copyright © 2021 · Darling theme by Restored 316

Copyright © 2021 · Darling Theme on Genesis Framework · WordPress · Log in · Privacy Policy

loading Cancel
Post was not sent - check your email addresses!
Email check failed, please try again
Sorry, your blog cannot share posts by email.