
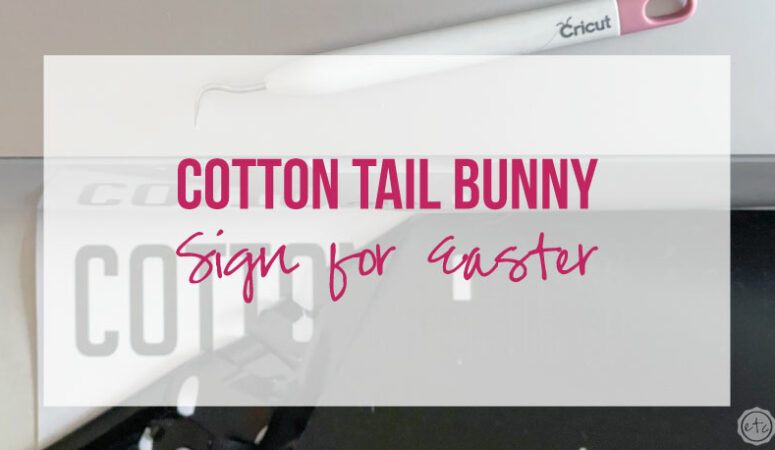


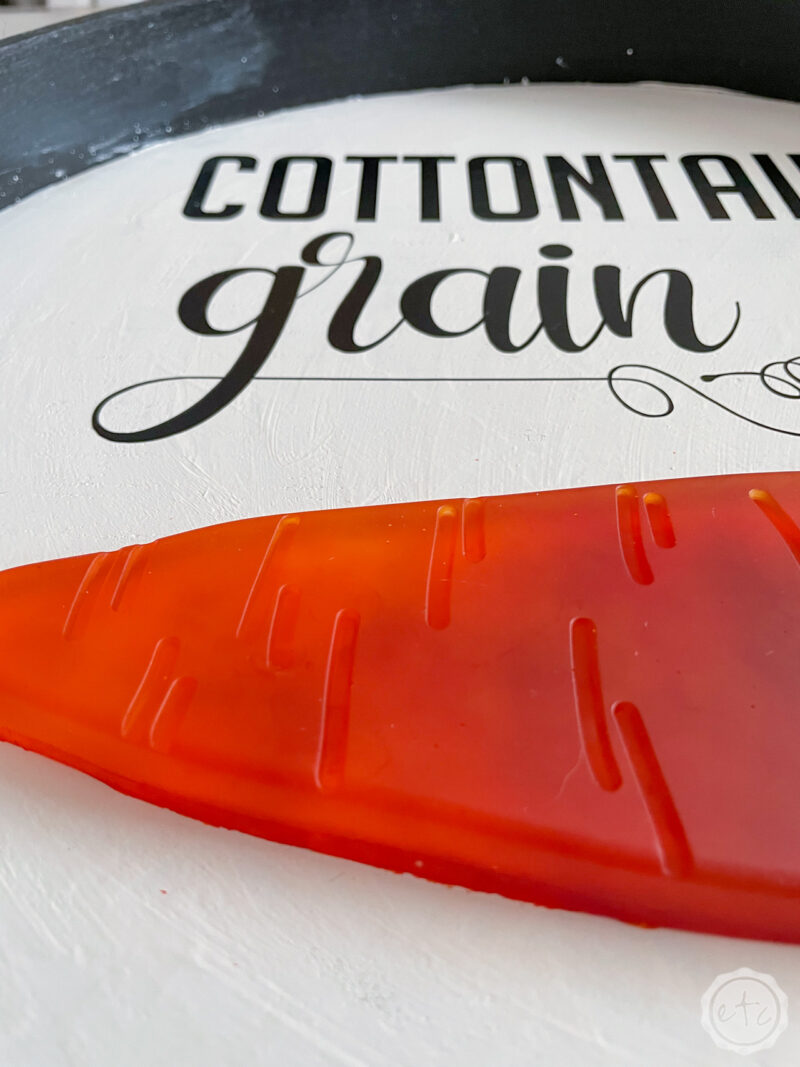
Ready for another fun Cricut sign? Today we’re whipping out the smart vinyl to make an adorable Easter Bunny sign for… wait for it… Easter! It says “Cotton Tail’s Grain Co. and at the end of the day it will have an adorable resin carrot as the centerpiece. I just love using my cricut and resin to make something super unique!
You can check out the full tutorial for pouring the resin carrot here but in the meantime we’re going to jump right into the Cricut portion of this sign.
Let’s get started!
Supplies:
- Cricut Maker 3
- Cricut Access
- Cricut Roll Holder (for smart vinyl)
- Fine-Point Cutting Blade
- Weeding Tool
- Scraping Tool
- Smart Vinyl
- Transfer Tape
- Acrylic Rule
- Round Wood Sign Blank

Step 1: Cut your Vinyl
We’re using smart vinyl today which means we don’t need a cutting mat (yay!) BUT before we can even get to the do they need a cutting mat or not question we need to load our SVG into Cricut Design Space.
Go ahead and download my FREE set of Easter SVG’s at the bottom of this post and them upload them into Cricut Design Space. If you need a little help you can follow my “How to Upload an SVG to Cricut Design Space” tutorial here.
It’s a pretty straight forward process and once everything is uploaded we can get started cutting all the pieces.
The sign I’m making is actually rather large (my resin carrot is pretty big too) so I measured how big my vinyl decal needed to be and adjusted it in Cricut Design Space before hitting cut.
2 seconds later and the Cricut was finished cutting the vinyl… ok maybe that’s an exageration but the Maker 3 really does cut super fast when it’s working with Smart Vinyl.
Of course, you can use regular vinyl on a cutting mat, you can even use a different machine like the Explore Air 2. The steps are all the same! I even included a vinyl decal of a carrot in case you don’t want to pour resin.
Score!


Step 2: Weed your Vinyl
Next up is weeding! Go ahead and grab your best weeding tool and remove all the little pieces: the inside of the o, the small section inside the a, the interior of the loops. Any vinyl that’s not in the original design needs to go.
Just go slowly and carefully so that you don’t accidentally rip anything and you’ll be golden. It’s a pretty easy process… just a little tedious.


Step 3: Use Transfer Tape to Transfer your Design
Ah transfer tape: my best friend and enemy. It’s either super helpful and fun to use or a pain in the rear.
Start by cutting a piece large enough to cover the entire design… then smooth it over the vinyl using a scraper. Make sure to scrape the design from the front and back so it’s really bonded.
Then you should be able to peel up the transfer tape with the vinyl attached… and leave the blank white carrier sheet behind.
Perfect, darling!


Step 4: Place your Vinyl
This project is almost over and i feel like we just got started!
Carefully line up your vinyl to your sign and lay it flat. Then start in the middle of the design and smooth everything out to the edges. You should remove any bubbles this way as well as bond the vinyl to it’s new surface.
Once you’ve gone over the entire surface you can carefully remove the transfer tape. Just make sure that everything is bonded to your sign and not still attached to the transfer sheet or you could rip things.
And we don’t want that!


Step 5: Enjoy
At this point we’re done! If you want to add a vinyl carrot you can cut a bit more vinyl and add it to the surface. I decided to pour my carrot out of resin and attach it with hot glue!
I think the three dimensional look is so much cuter!
Check it out!


Leave a Reply