Do you ever start working on one project only to be hit full on with an idea for a SECOND project?
Last week I was at Michaels buying glitter for a fun little project I’m currently working on (keep checking back, you know you want to see what it is I’m currently glittering! Besides myself that is, glitter is messy!)
As I walked through the store I saw a handful of little baskets filled with, you guessed it, cookie cutters!
Looking for a bunch of posts on DIY & Crafts? I’ve got you covered!
Click here to see all of my how to DIY & Craft posts in one place!
I just knew they’d be adorable covered in glitter! So I grabbed a couple and skipped home (ok I drove home but I was so excited I COULD have skipped! It’s the thought that counts right?).
This project was so much fun and so easy! It took hardly anytime! Plus (and here’s the good part) if you already have cookie cutters (that you don’t want to use anymore! Please don’t make glittery cookies ladies!) and glitter you wouldn’t even have to purchase anything!
I bought a set of 18 for $12.82 so they were like less than a dollar but I bet you could find them at a second hand store for super cheap if you wanted to make a whole bunch of them.
As for glitter… well I was already buying a specific color for my other project so I just used that but let’s face it… If you’re any type of crafter you already own glitter. I know I have a whole basket at home (just not fine blue glitter, darn it).
The moral of the story is these little beauties could be made for pennies… or even completely for free!
Now that’s my kind of Christmas ornament!
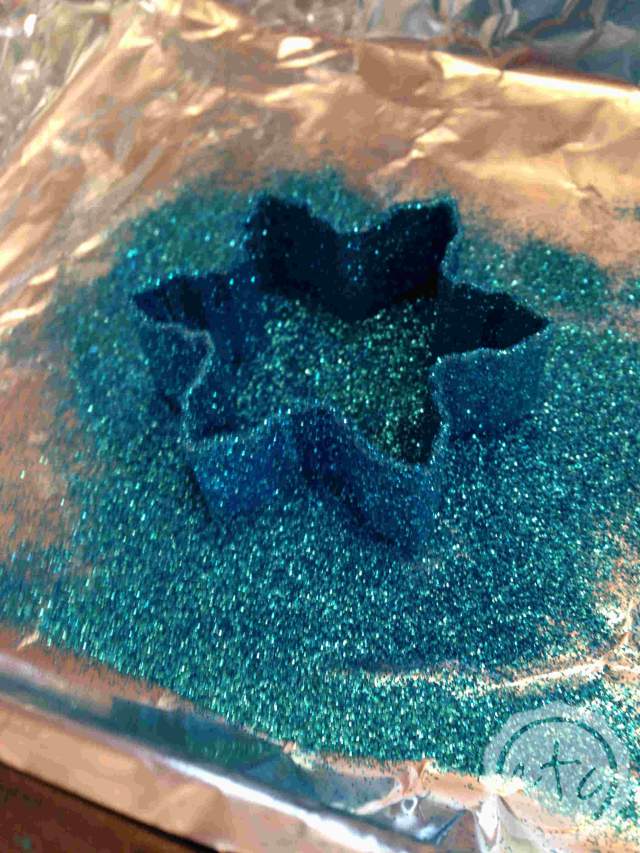
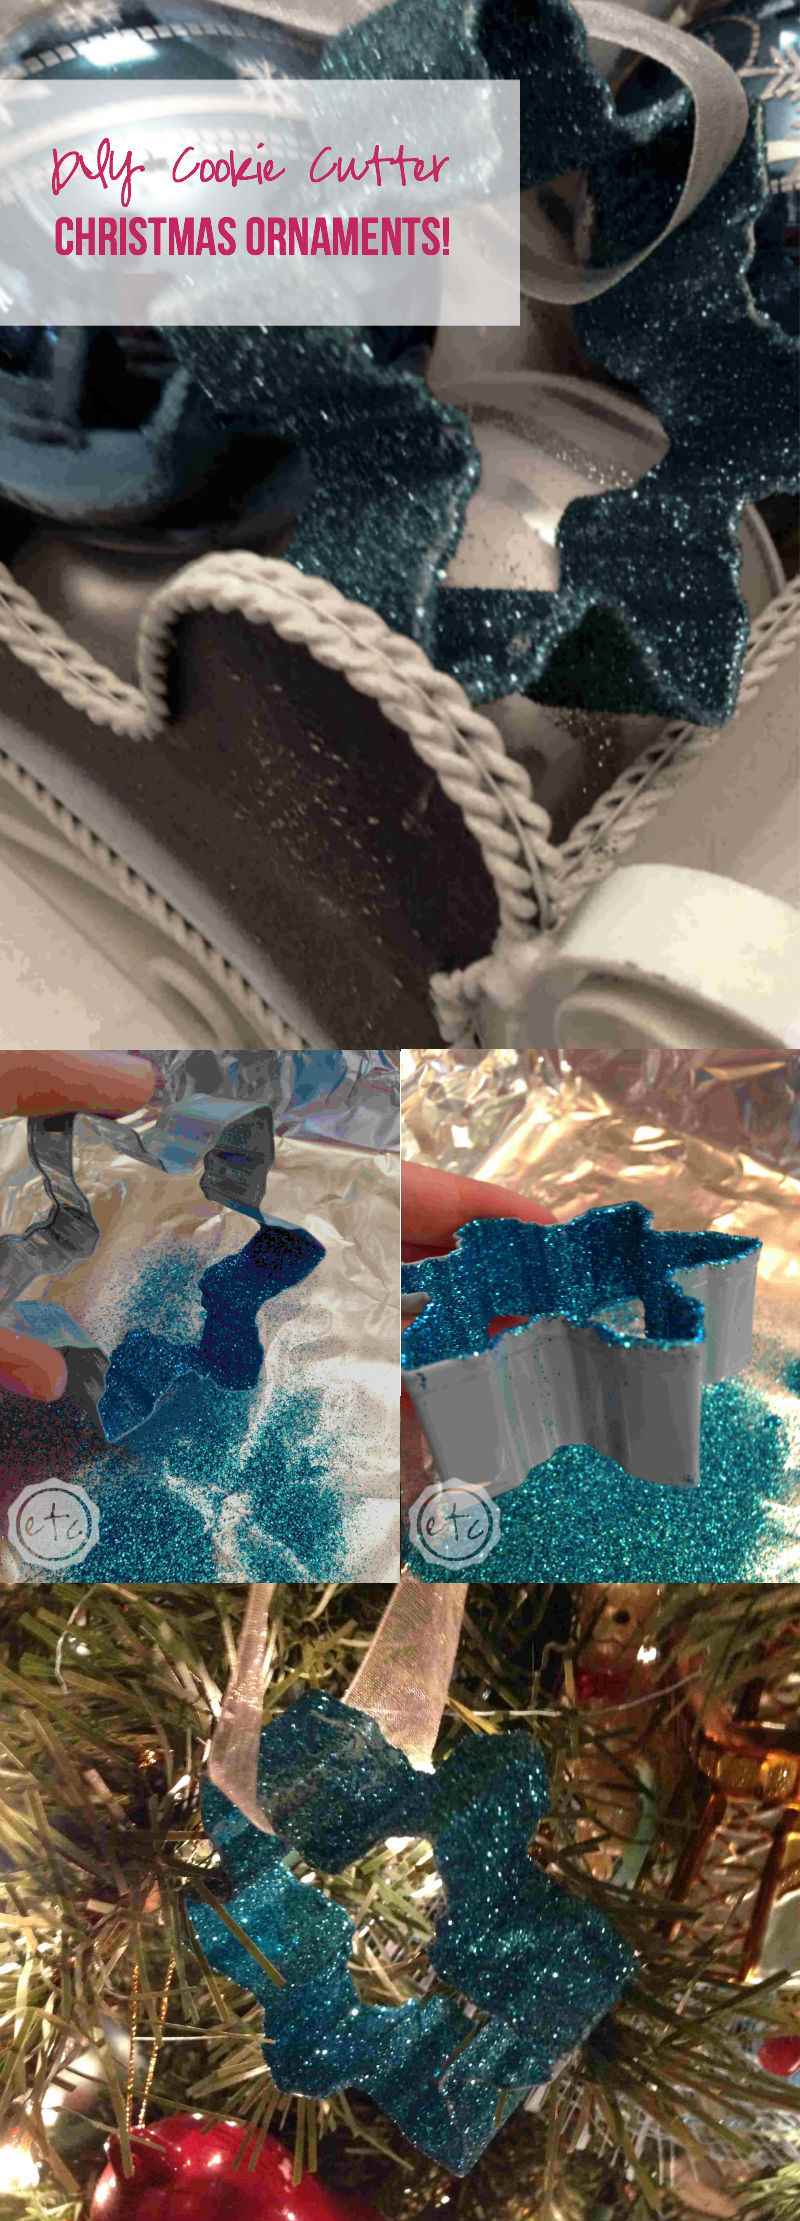
In order to make these little ornaments I set up at the kitchen table. I started by covering a cake pan with tin foil, this way I could do all of my glittering in one pan… and the tin foil would make for easy clean up! Or it would if you weren’t a total clutz like me… I still managed to dump glitter all over myself and half the kitchen!
This post contains affiliate links to products that will help you make this project!
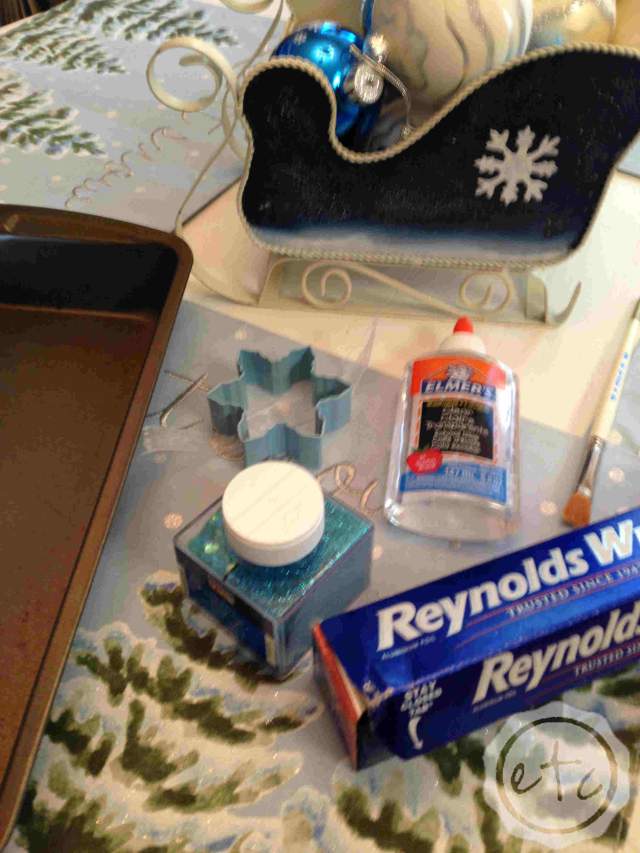
Supplies:
a Cake Pan
Elmer’s glue
Glitter
Cookie Cutters (this is the same set I used… it has so many cute shapes and they’re the perfect size for ornaments!)
a Ribbon to hang your ornament from
a Small Paint Brush to apply your glue.
Make sure to pick a throw away paint brush and not something super expensive because once you use the brush for glue it will be stiffer than a board. Not good for painting!

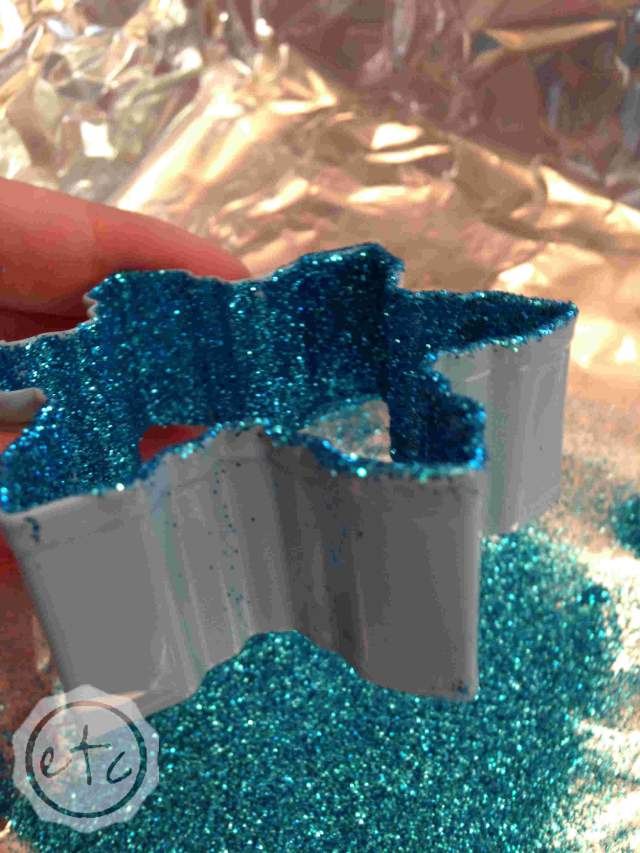
Start by painting a small section of your ornament and covering it liberally with glitter. Don’t be shy ladies we can pour the excess back in the bottle later but we don’t want to leave any part of our ornament uncovered.
Painting in small sections slowly work your way around the ornament until the entire ornament is covered with sparkly glitter! If you want full coverage don’t forget the edges!
Tip: if you plan to make more than one make sure you wash your brush out every hour or so. If you go to long without washing the glue will set making it impossible to use your brush, yuck!
Your sections can be as big as you feel comfortable with just make sure not to make them so big that your glue dries before the glitter is applied! I did about a third of the ornament at a time, just for reference.
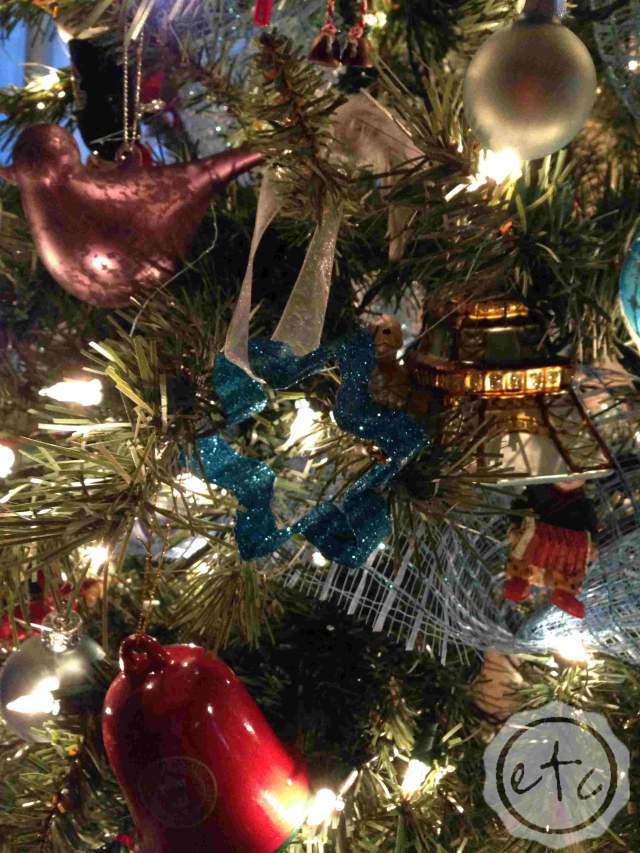
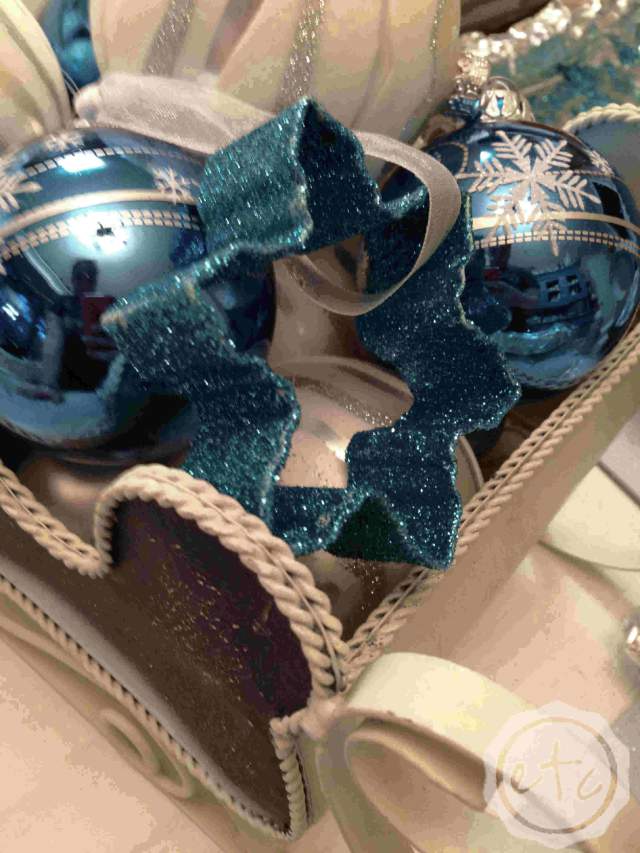
These cookie cutter ornaments are so quick and easy to make I can see making a bunch of them in a jiffy! Not only are they gorgeous on the tree (the light really bounces off of them) I threw them in the little sleigh on my kitchen table for pictures and they looked just darling! I’m thinking about making a couple to mix in with the ornaments already filling that little blue sleigh!
Plus wouldn’t they make cute presents? I would love to get one… But I do love glitter!
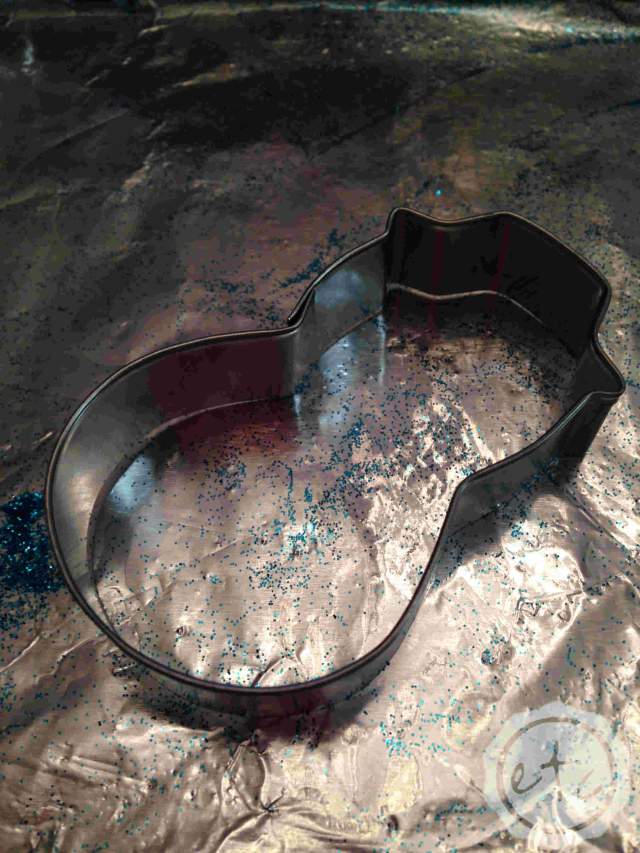
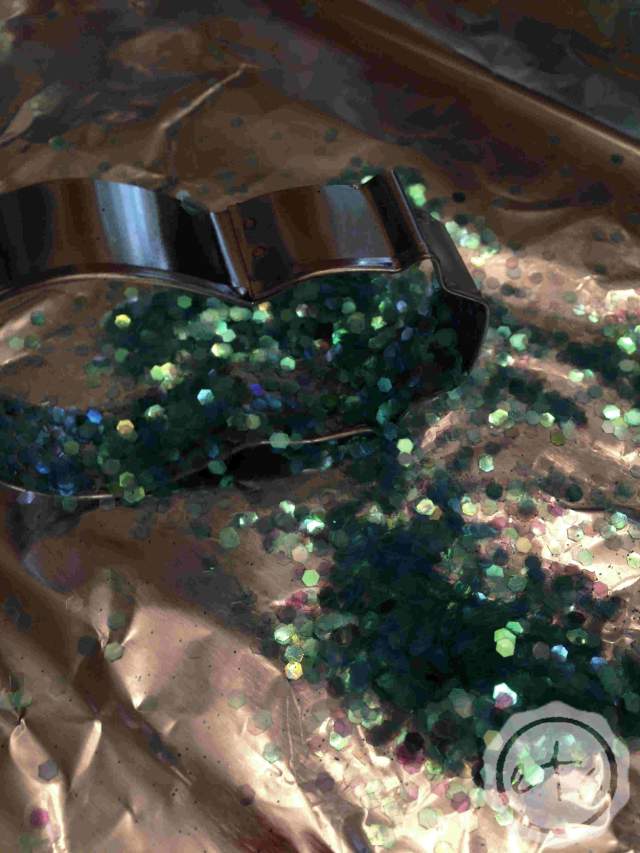
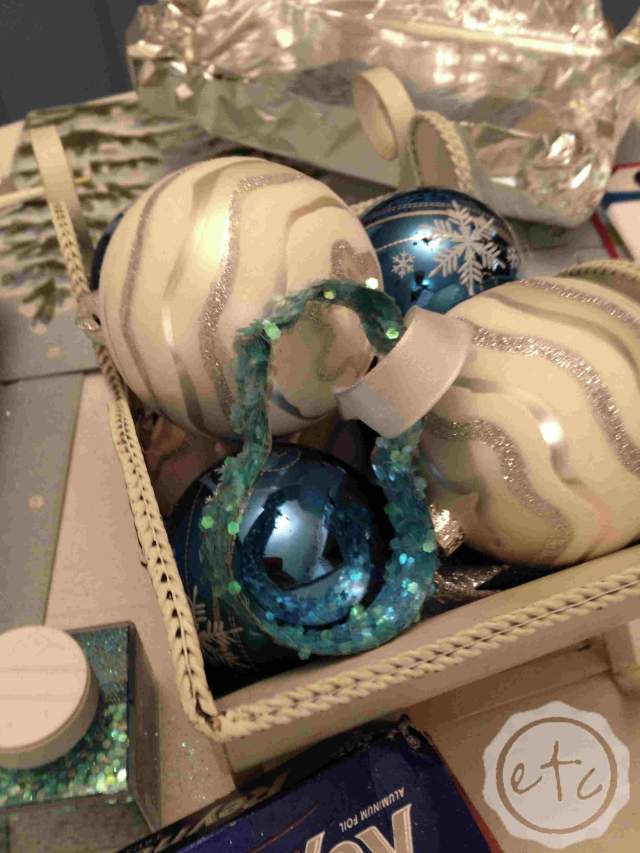
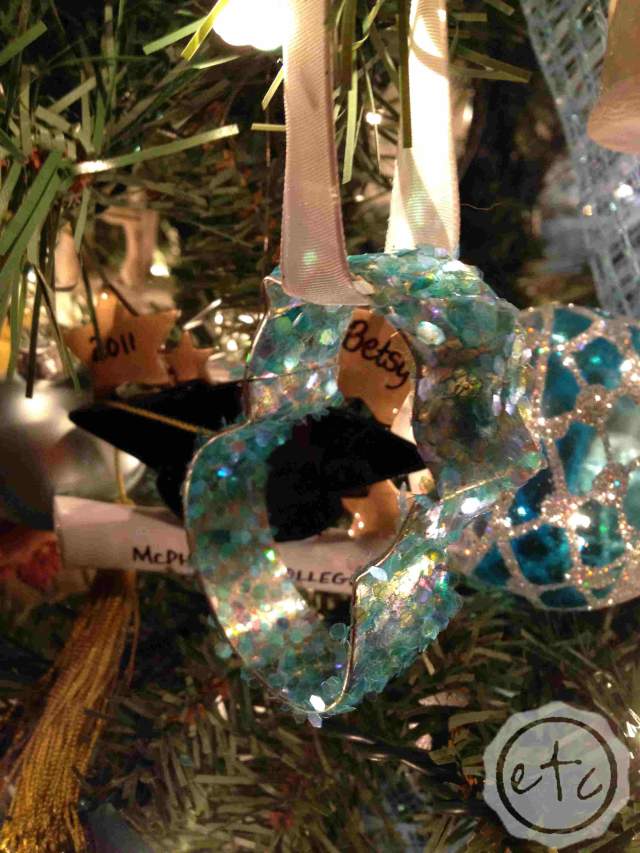
After I made my first one I decided to make a second one out of a little snowman cookie cutter I had in my collection. My glitter came in two different compartments (fine glitter a and big chunky hexagon pieces) so I wanted to see what the hexagon glitter looked like on a second ornament! Using the same method I covered my snowman with the larger glitter and he is absolutely adorable (if I do say so myself!)
The larger glitter was harder to work with, I really had to pat down each section of glitter to make sure it stuck, but I think it turned out just fine! The glitter really makes it shimmer.
I suppose it’s down to personal preference though, while I like the larger glitter the fine glitter is so much prettier to me!
I absolutely love how they turned out! What do you ladies think? Which glittery cookie cutter is your favorite ornament?
P.S. Fun little tip I learned today… after your glitter is dry spray the whole thing with hairspray! The hairspray will hold the glitter in place so that it doesn’t fall off quite as easily!
Linking up with: Tatertots and Jello


