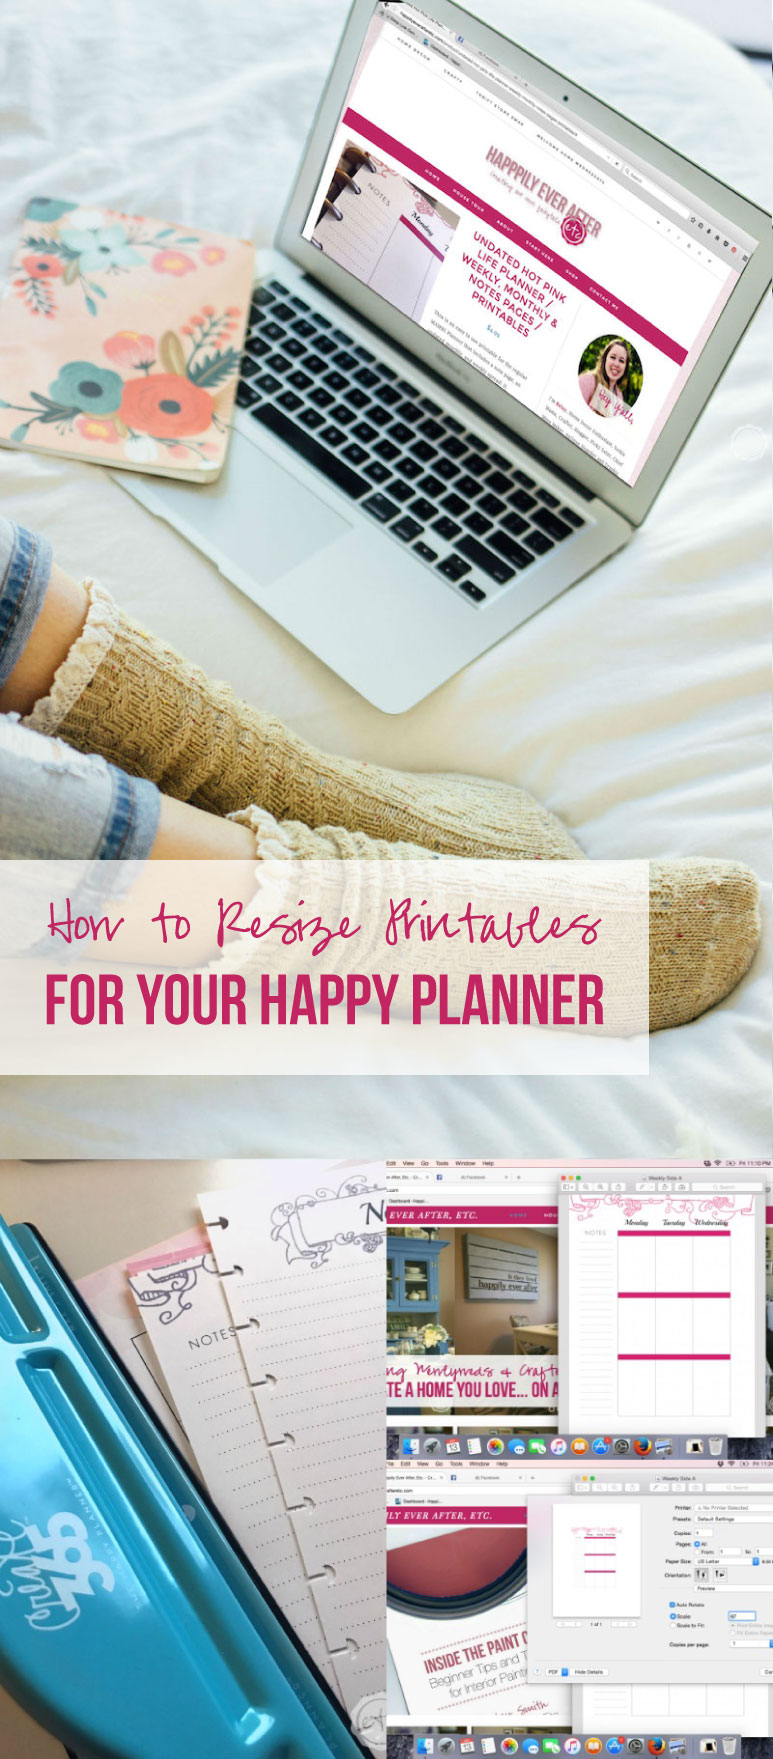
So last week I introduced you to my new Happy Planner… and the Life Planner printables I created to match my Free Wedding Binder! I’m using the classic sized Happy Planner but as you know planners are like people… they come in all shapes and sizes! Which means we need to learn how to resize printables to fit any planner.
My planner might be a completely different size from your planner… some people like little planners they can throw in their purse while others have the BIG planner they can leave open on their desk. I am loving the classic size… I guess I’m like Goldilocks it’s juuust right!
Either way, my favorite part of the Happy Planner set-up is how easy it is to pop pages in and out… I can truly make my planner perfect for me by adding blogging pages, budget pages, the whole nine yards. I even have a tracker just for No Spend January (that I’m miserably failing but oh well… sometimes a girl just needs a little retail therapy!).
Looking for a bunch of posts on organization & planning? I’ve got you covered! Click here to see all of my organization & planning posts in one place!
On to the main part of today’s post… how to resize printables to fit your planner… because in my world we’re all Goldilocks.
How cheesy was that?
It’s super easy y’all, to start with find a printable you need to print out…
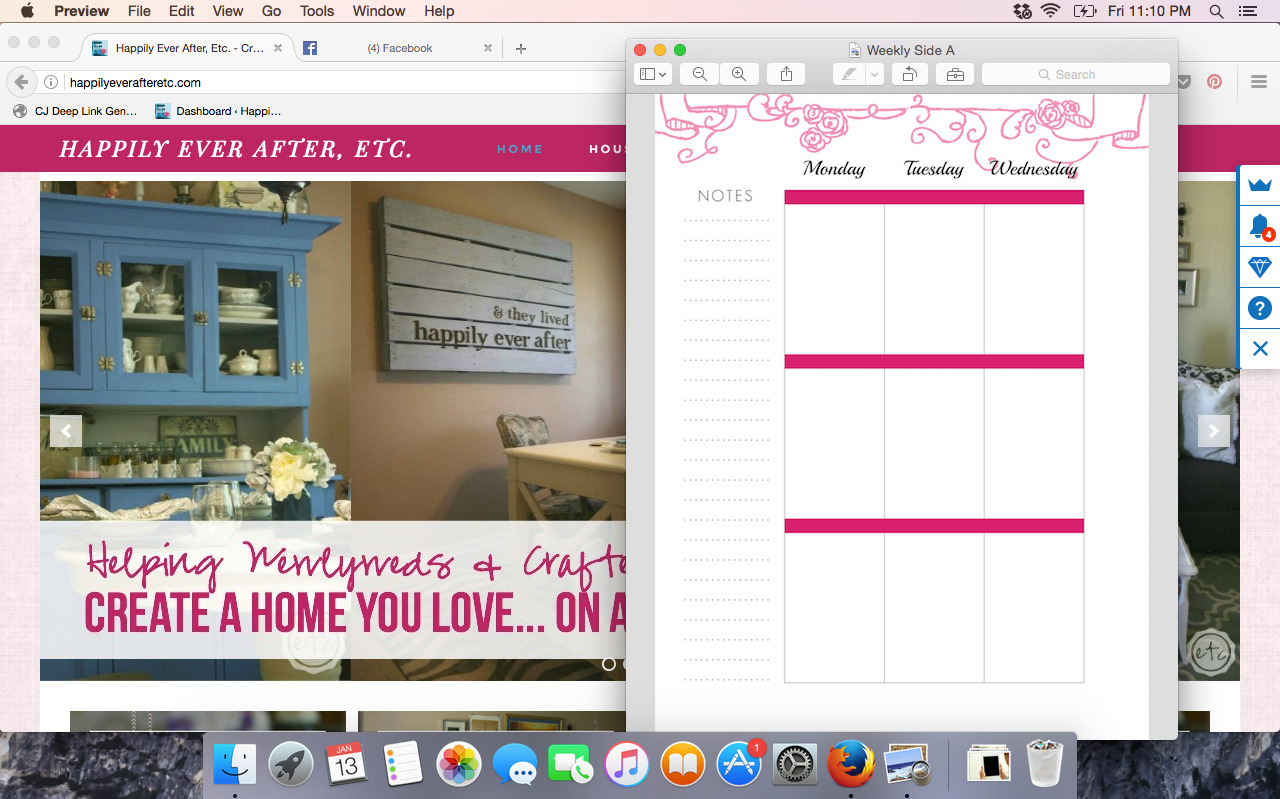
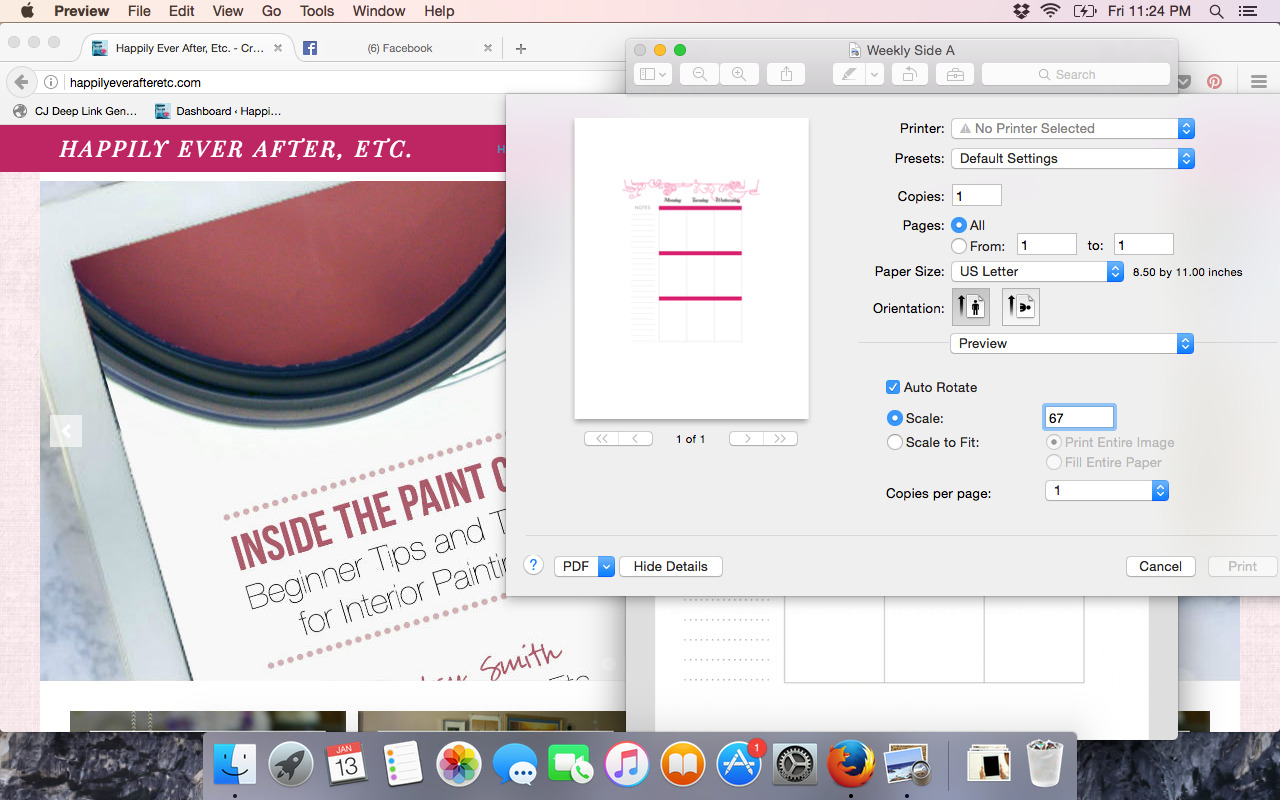
Next open your printable in an image editing program… honestly, anything you can print out of will work. I am on an iMac so I like to use preview.
Of course, you can use adobe reader, word, anything that allows you to open a preview and then print!
Once your printable is open go ahead and click file, print… it can be different depending on your program but it’s usually fairly similar on most programs.
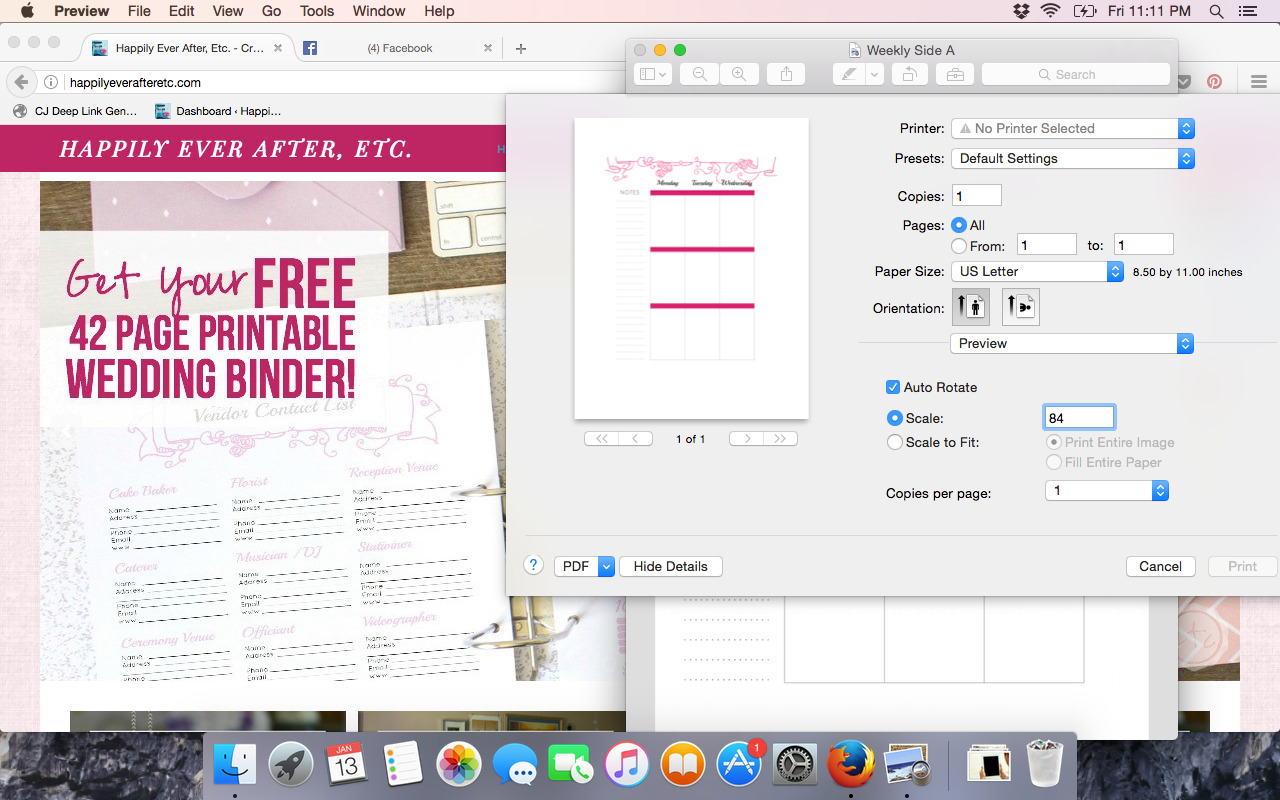
Once your print folder is open it’s time to work your magic… if you have a printable sized for the classic happy planner (like my life planner is) you can just hit print. If you have a normal 8.5 x 11 printable then you’ll need to resize the image.
It’s suuuper simple y’all… for a classic sized Happy Planner just put 82% in the scale box. That’s the magic number to resize a normal paper sheet printable to fit the classic happy planner.
If you want to be precise and measure the page so that they line up exactly, the happy planner pages are 7 x 9.25 inches.
Of course, if you’re using the little mini Happy Planner all you need to do is set the scale to 54%.
Now all you need to do is cut and punch your printable and volia! You’re ready to plan!
The BIG Planner uses letter sized pages so go ahead and hit print at 100% you lucky ducky.
How easy was that?
If you’re looking for a few printables to organize your year check out the shop… and happy planning!
Ready to Print?! Don’t forget printing supplies!
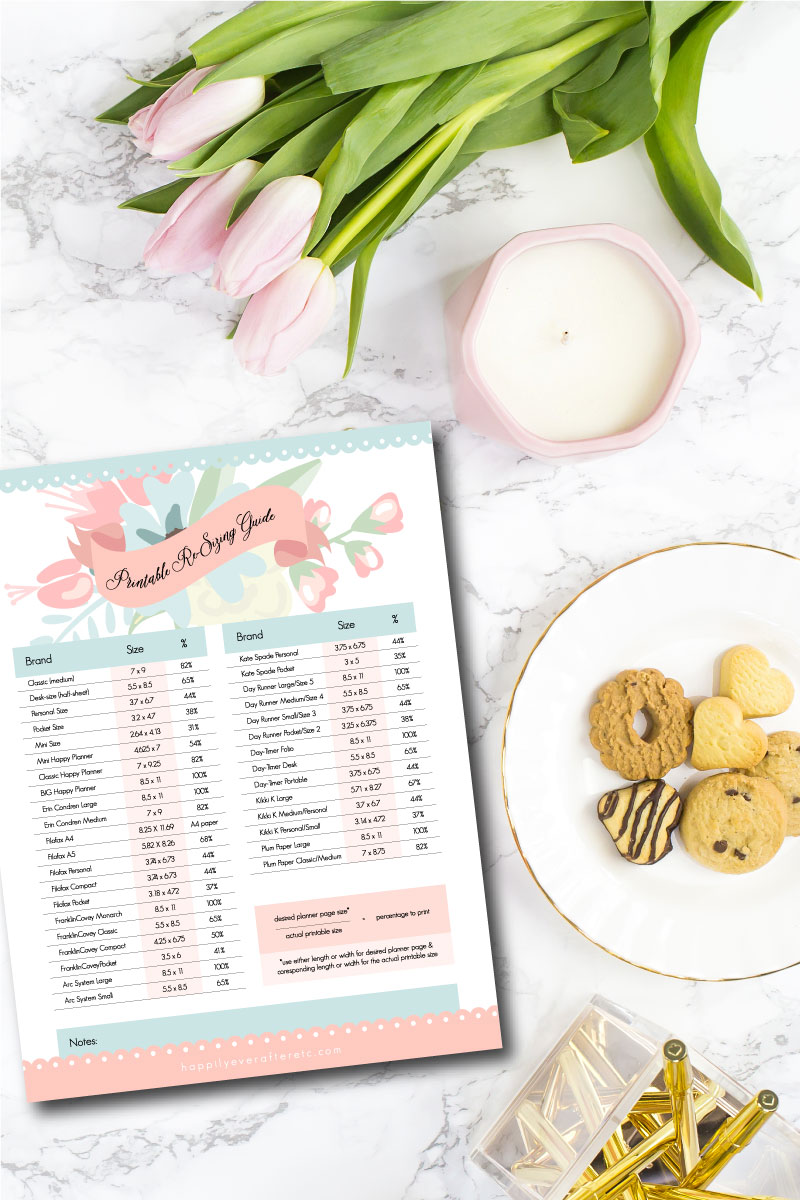
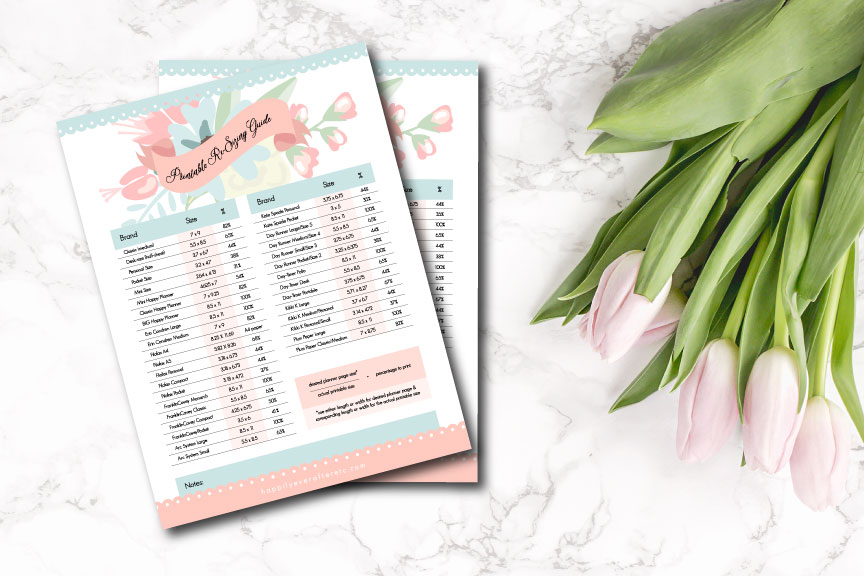
Looking for even more sizes? Want to re-size printables for a kate spade planner… or maybe a filofax? Download my printable cheat sheet to see all the printable sizes you could ever need… plus a handy little formula for any unusual sizes you could come across.


