


On the chance that y’all will think I’m a total nerd I’m going to share a little secret… I’ve been struggling with my sticker storage for a while now. I just couldn’t come up with a solution that really worked for me! I had all of my planner stickers conveniently stored on two cute little clipboards.
Well that worked great when I first started… a few sticker sheets fit perfectly on my little clipboard and looked cute and efficient. Now my clipboards look like a hot mess! During last weeks Plan with Me video it took me ten minutes to find the perfect sticker with my clipboard system.
I knew it was time to find a new system!
I have seen a million different storage systems. Everything from cute storage boxes, accordion folders to creative sticker books but nothing really seemed like it would solve my problem. I didn’t want to spend time searching through stacks of stickers each and every time I needed one. single. sticker.
So instead I started to search Instagram’s #stickerstorage hashtag to see what other planner girls were doing and I found the perfect solution…

That’s right… a vertical… spinning… sticker organizer. This little guy goes by a lot of different names but the main one is discontinued.
Trust me I was sooooo upset when I found out they aren’t easy to find. I searched a couple different names… the original poster said hers was an old Pottery Barn Rolodex. I didn’t have any luck with those terms so I took to the MAMBI Facebook group and these ladies know their stuff. They said that 7 Gypsies had created a card display that looked similar several years ago and here’s where the results started.
I found a few results on ebay y’all… like this 7 Gypsies Revolving Card Holder Rolodex ! I mean just look at how pretty it is in person y’all! There were two or three of them on ebay last week y’all… this week there is only one. Luckily I got mine from a sweet lady in that exact same MAMBI Facebook group where I went for answers. She said she had one she never used and would I like it?
Um, yes please!!
Y’all when it arrived it was still in the original box! Who keeps boxes anymore? I was ecstatic!!


Looking for a bunch of posts on organization & planning? I’ve got you covered!
Click here to see all of my organization & planning posts in one place!
Supplies:
Single Hole Punch
Scissors
7 Gypsies Revolving Card Holder Rolodex
Pretty Cardstock (I used this rose gold paper pack from MAMBI)
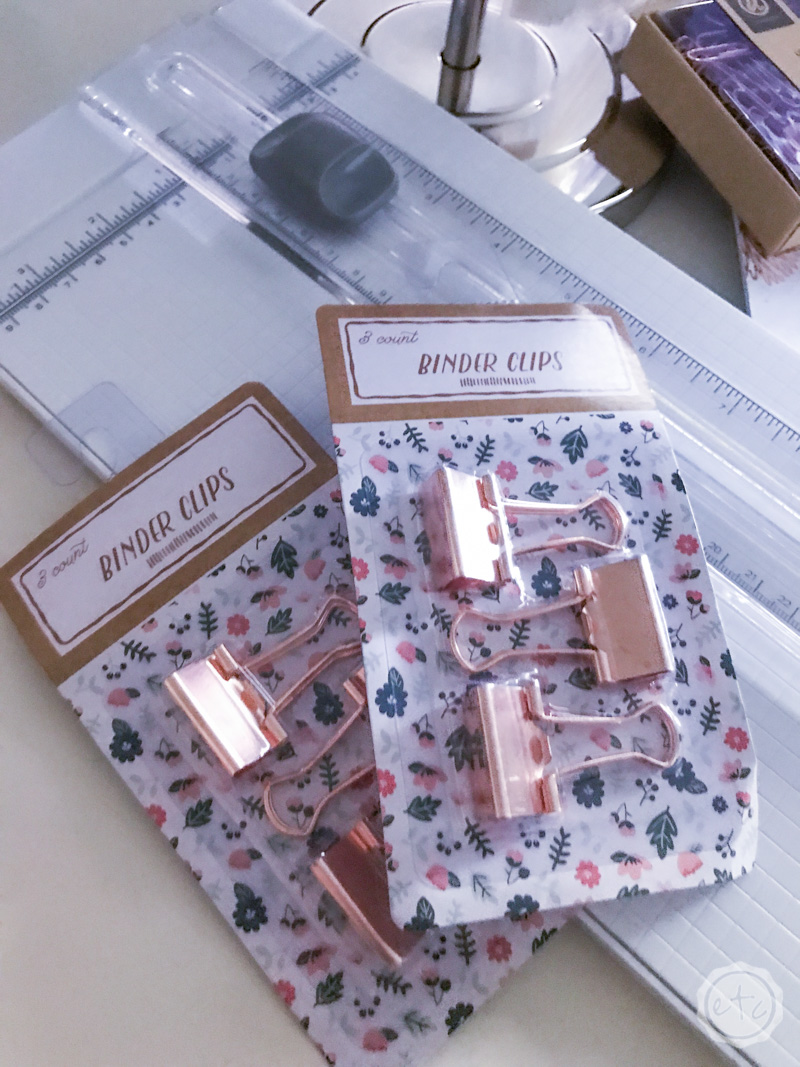
Rose Gold Paperclips (I had 3 separate types: regular, bows and arrows from the Target dollar spot! I love these little rose gold coffee cups though… if you drink coffee these would be adorable!)
Rose Gold Binder Clips (if you have larger sticker groups to add throughout)
Now it’s time to get started on the fun part… cutting all our cardstock!
Step 1:
I didn’t even take a picture of this step because it was soooo easy (plus my hubby was doing it since we spent last date night working on this project. Isn’t he the cutest?). He simply cut each sheet of cardstock into four separate 4×6 pieces.
Want a tip? Use a few cute paperclips to hold four sheets of cardstock together… now you’re cutting four sheets at a time! That’s 16 pieces at a time instead of four!
Step 2:
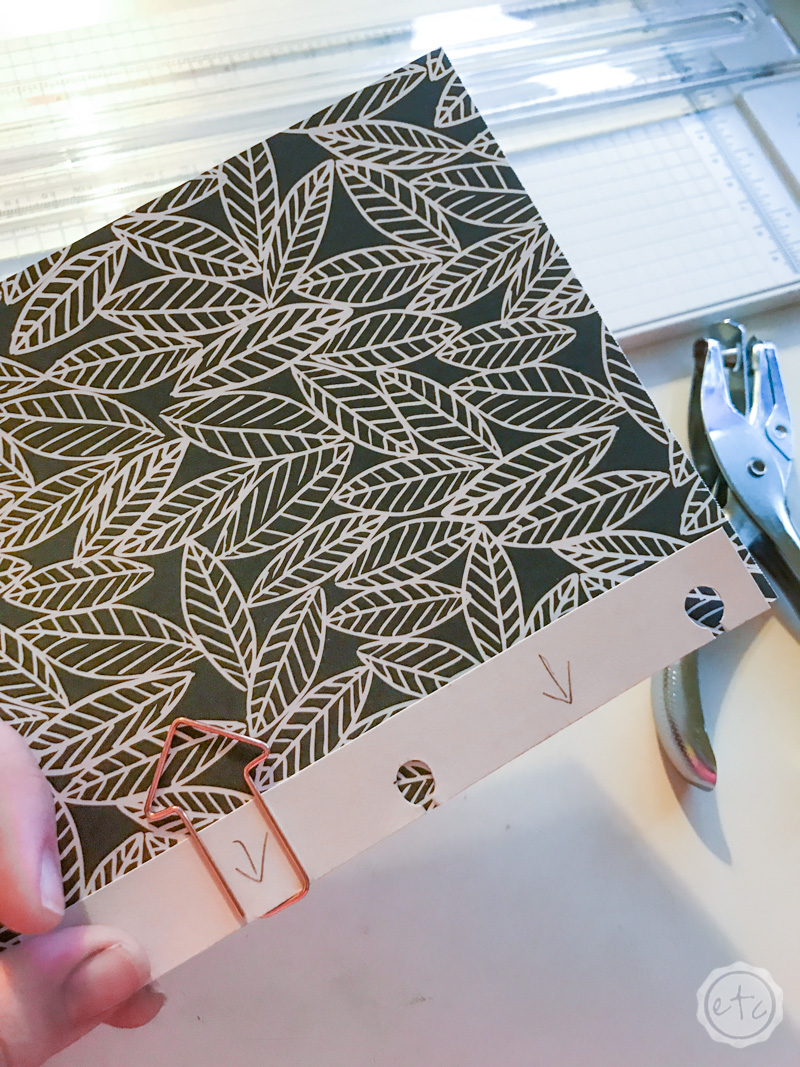
Now it’s time to punch the holes! I used a spare piece of cardstock to create a little guide for my holes. I basically laid one of the clear picture holders that come with the kit on top of the cardstock and traced the holes.
Then I laid my guide on top of the 4×6 sheet and punched the holes! The best part? Using a cute little paper clip to clip four sheets together I could punch 4 sheets at a time!

Step 3:
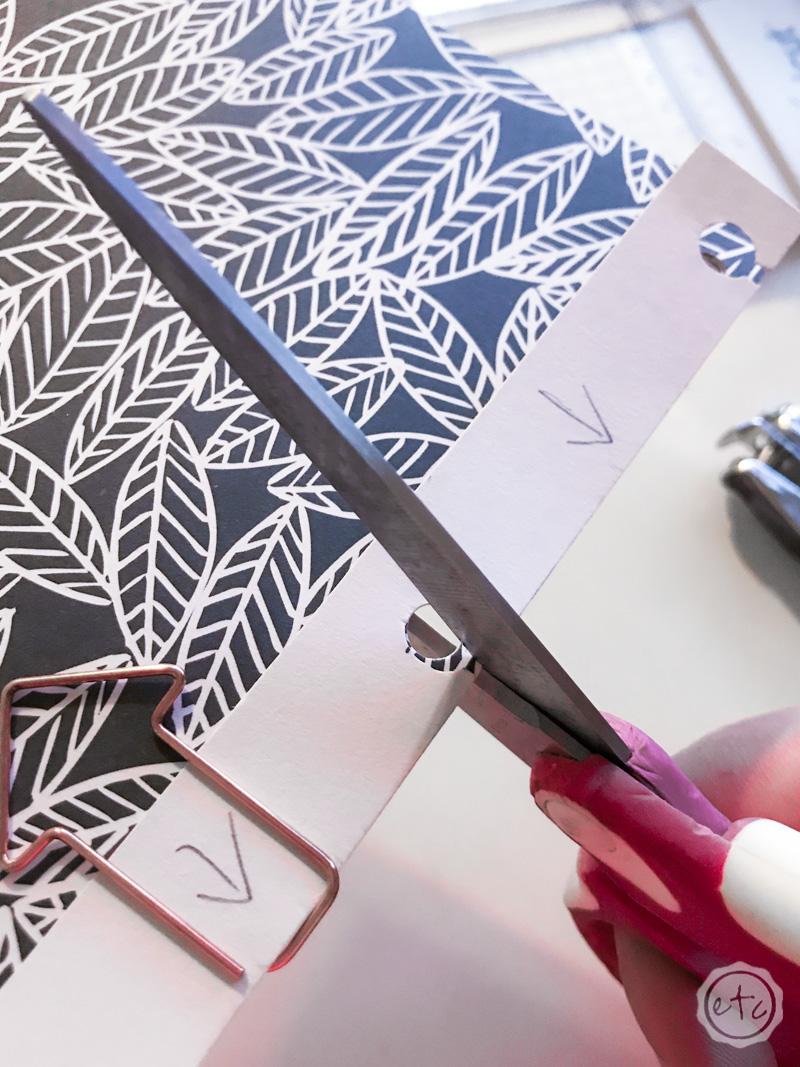
Now it’s time to cut the slits… learn from my mistakes and cut these little slits over a trash can because now I need to vacuum.
I mean I seriously need to vacuum.
Either way this part is super simple… and once you’re done it’s time to load your cardstock onto the carousel.
Step 4:
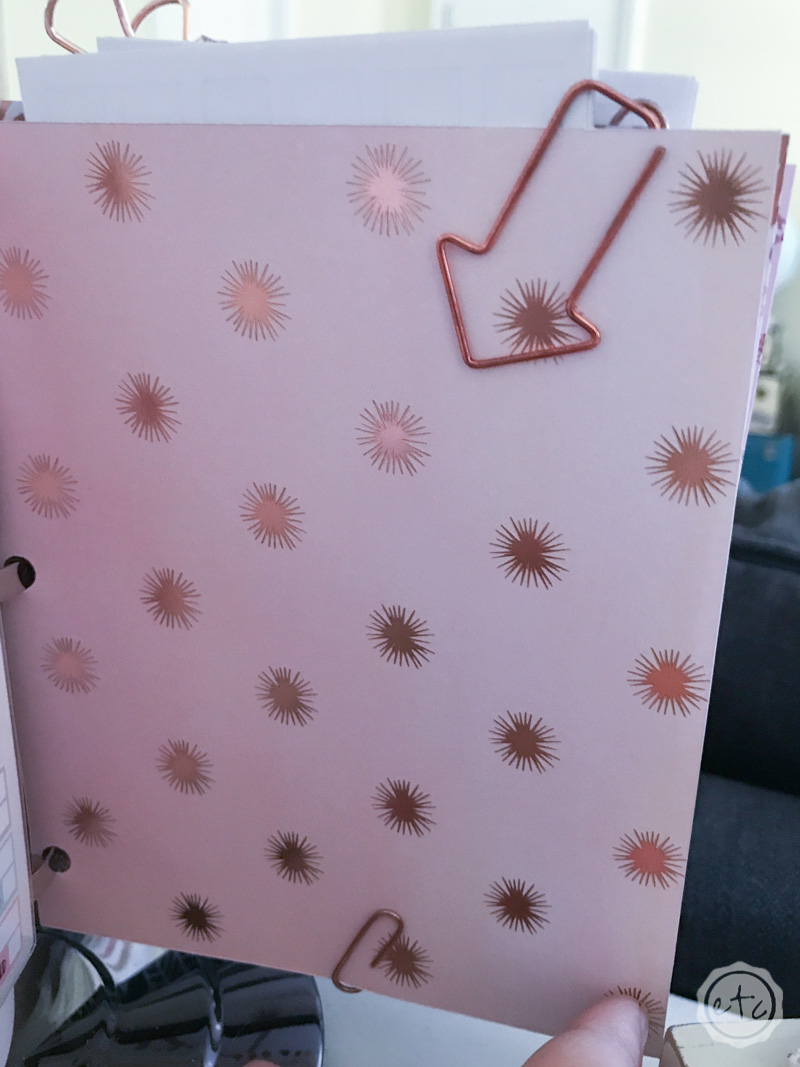
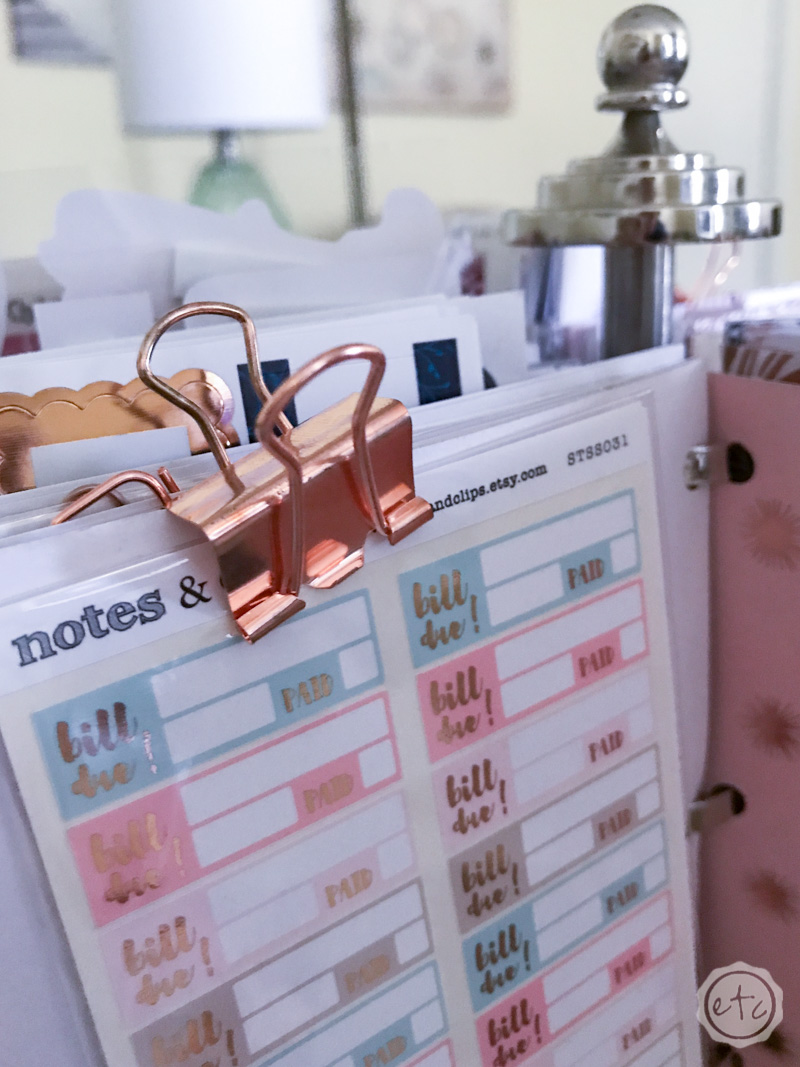
The only step left is to load your stickers! I tried to organize mine as I loaded so that they’ll be super easy to find. Make sure to add a paperclip at the bottom and top for larger stickers and pay attention to where those larger paperclips go because they can be heavy enough to throw your cardstock off balance.
Although the cardstock is fairly sturdy so it wasn’t too much of an issue!
Ready to see the final product?


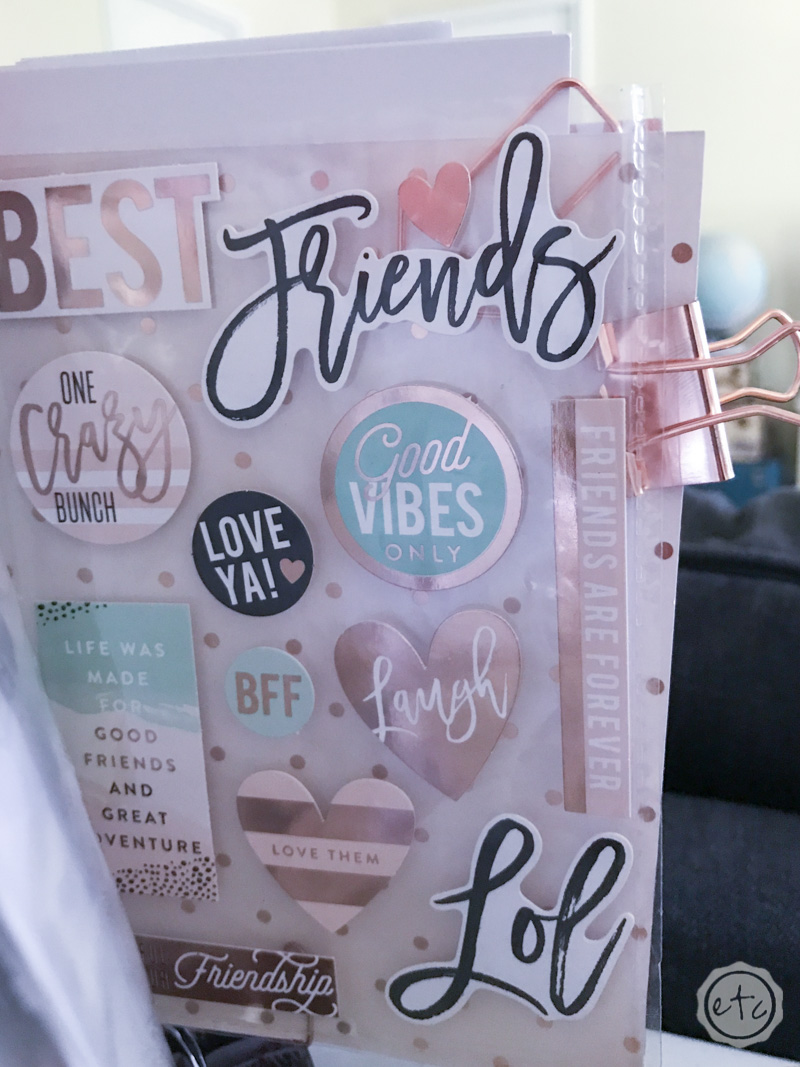
I am absolutely loving how this turned out!!! I added a few of my smaller sticker sets into the clear photo sheets that came with the little kit and I love how these rose gold stickers look!
Is that weird?
I’m a sticker girl ok… just deal with it!


Leave a Reply