


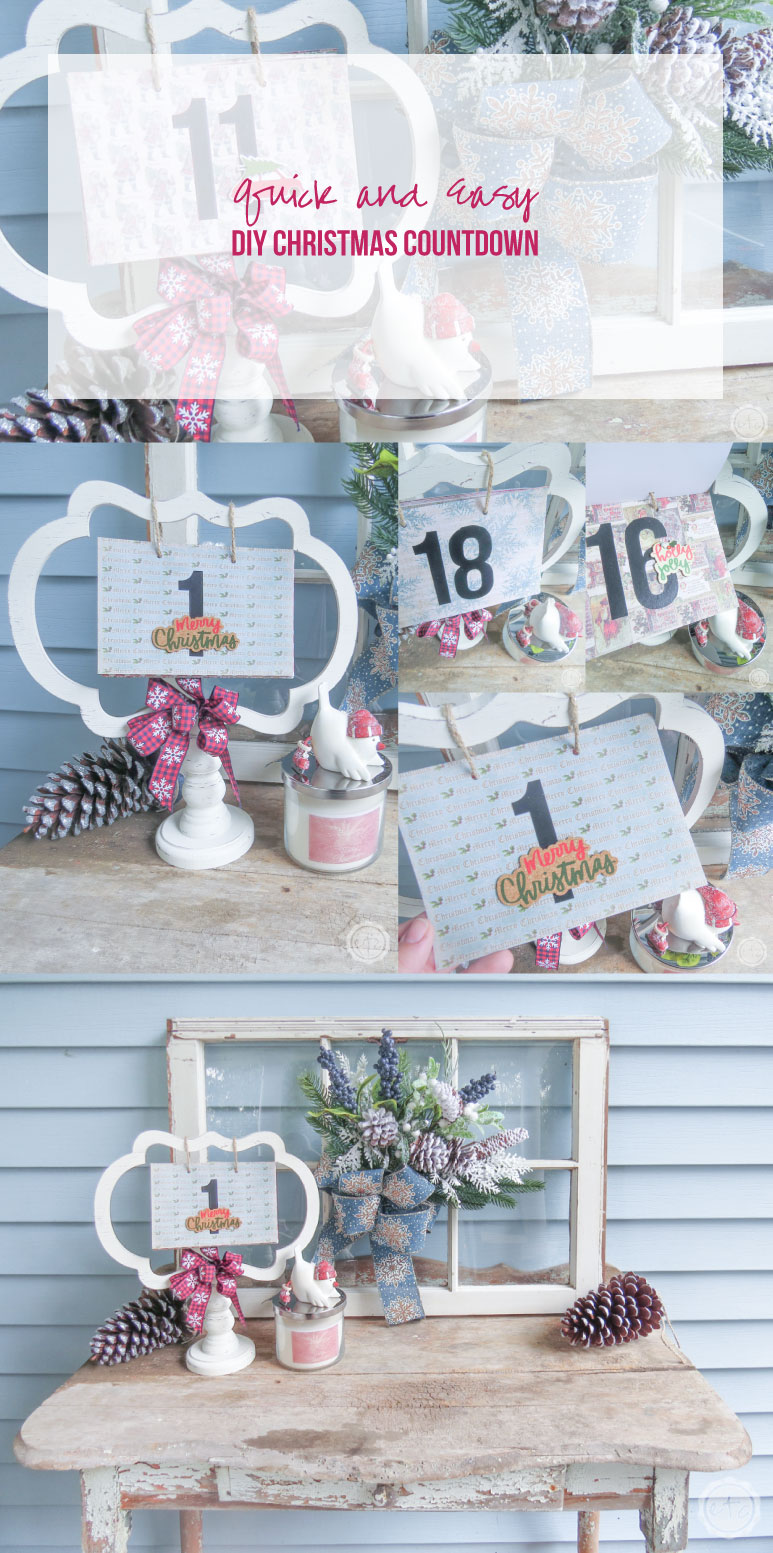
It’s beginning to look a lot like Christmas! Which means it’s time for a little Christmas countdown… does anyone else like to count the days to the most wonderful day of the year?
Of course, the best part of a countdown is marking off each and every day along the way. So this year I whipped up a fun little countdown that you can easily flip over to keep track of the days. The best part? It’s fairly inexpensive and if you’re looking for something a little extra you can look through any of the other fun projects down below!
I’ve have teamed up with 50 plus bloggers to bring you a oodles of DIY Ideas and Recipes to make your holiday season merrier. There are 12 different posts in the series and we have spread them out over a four week period with three posts per week. Now is the time to subscribe!
Welcome to Day 3 of the Fourth Annual 12 Days of Christmas Series!

GO HERE for the complete list of Dates and Topics plus a collection of most popular holiday ideas including ornaments, games, recipes and more from all 50 plus talented bloggers!
It’s Day 3 and we are sharing DIY Christmas Countdown Calendar Ideas!
Supplies:
Distressed Chalkboard on Stand
Black Vinyl
Cricut Explore Air 2
Cutting Mat
Black Number Stickers (if you don’t have a cutting machine)
4×6 Christmas Scrapbook Paper
Scrapbook Stickers (Optional)
Rings or Ribbon

Step 1: Prepare Your Countdown!
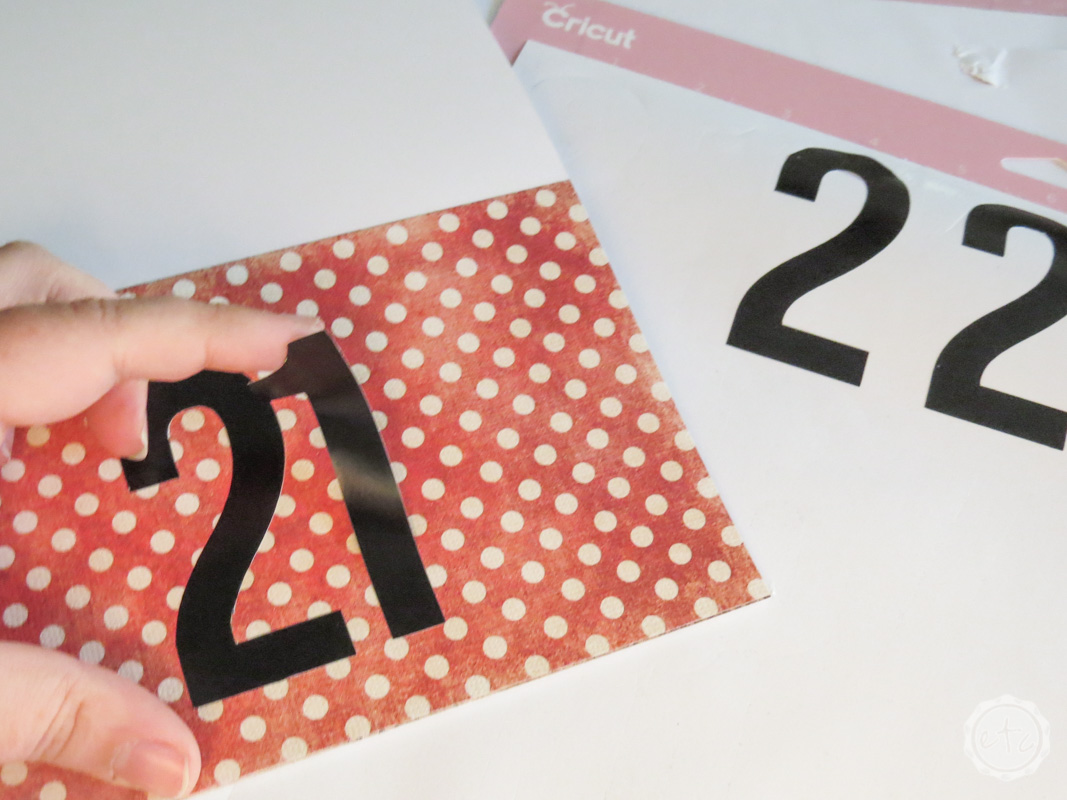
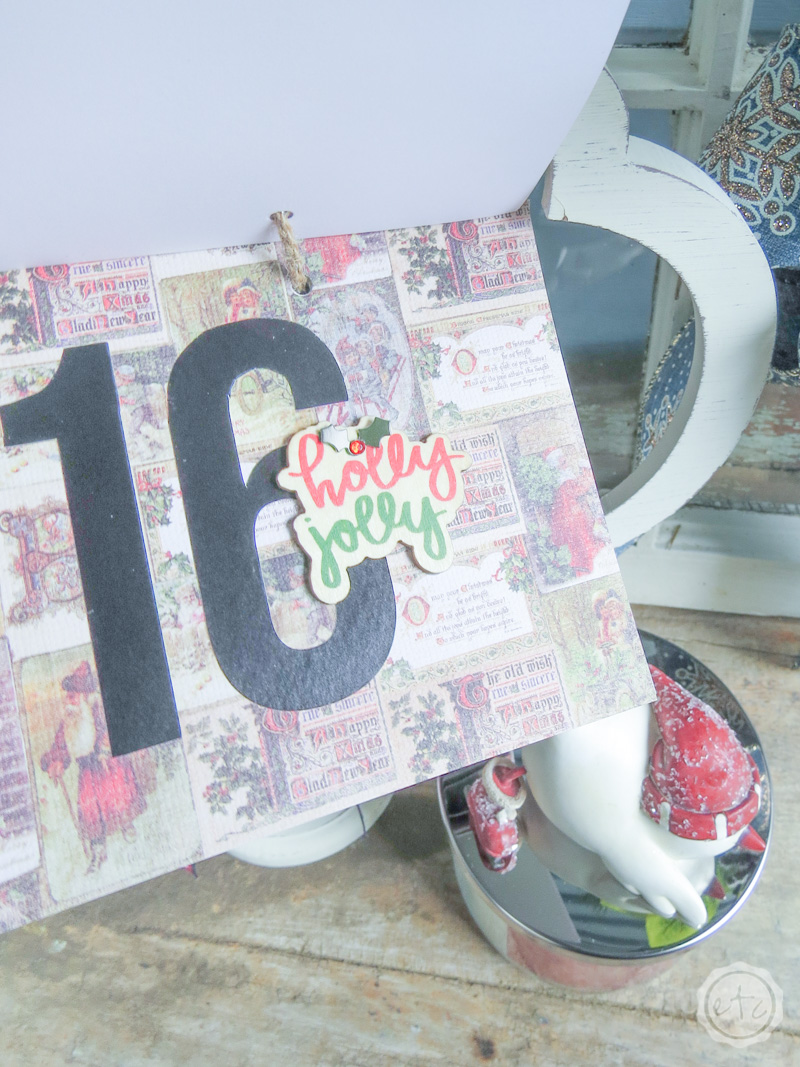
The first step is to prepare your scrapbook paper and numbers! Since I grabbed a tiny 4×6 scrapbook paper back and that’s the perfect size for this little chalkboard frame I didn’t even have to cut the scrapbook down to size.
Although you could easily cut down larger 12×12 pages to a 4×6 size. The next step was to apply the vinyl letters to each of the scrapbook pages… I simply cut the numbers out of black vinyl with my cricut and then placed them on the little pages. Easy peezy lemon squeezy.
Once that was done I used my little hole punch to punch holes in all of the pages. Once I had measured and punched the first two holes I was able to use that sheet as a guide for the rest of the pages… this part was super easy.
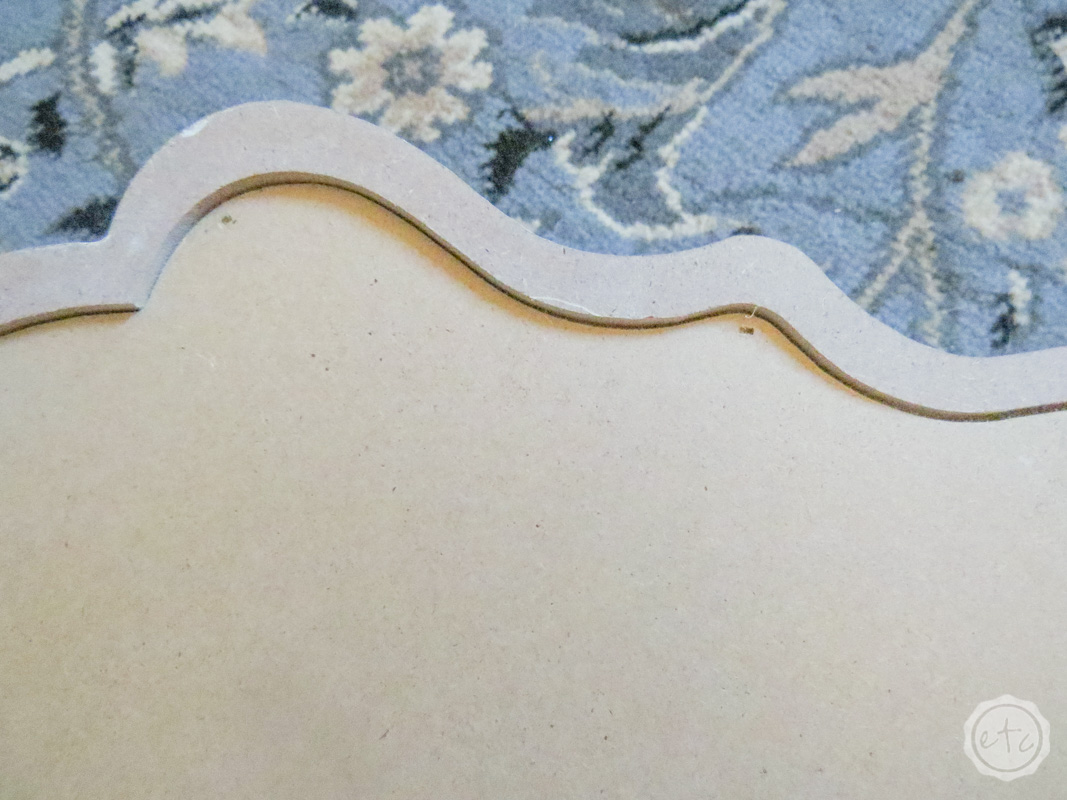
Step 2: Remove the Backing on Your Chalkboard
Alright now this step is super easy! I decided to use a little chalkboard to make my countdown stand but you could use a picture frame without a traditional backing as well (if that’s more your jam!). The main points are a) a removable back so that your paper countdown can swing all the way around b) a stand that doesn’t get in the way of the swinging c) a super cute frame!
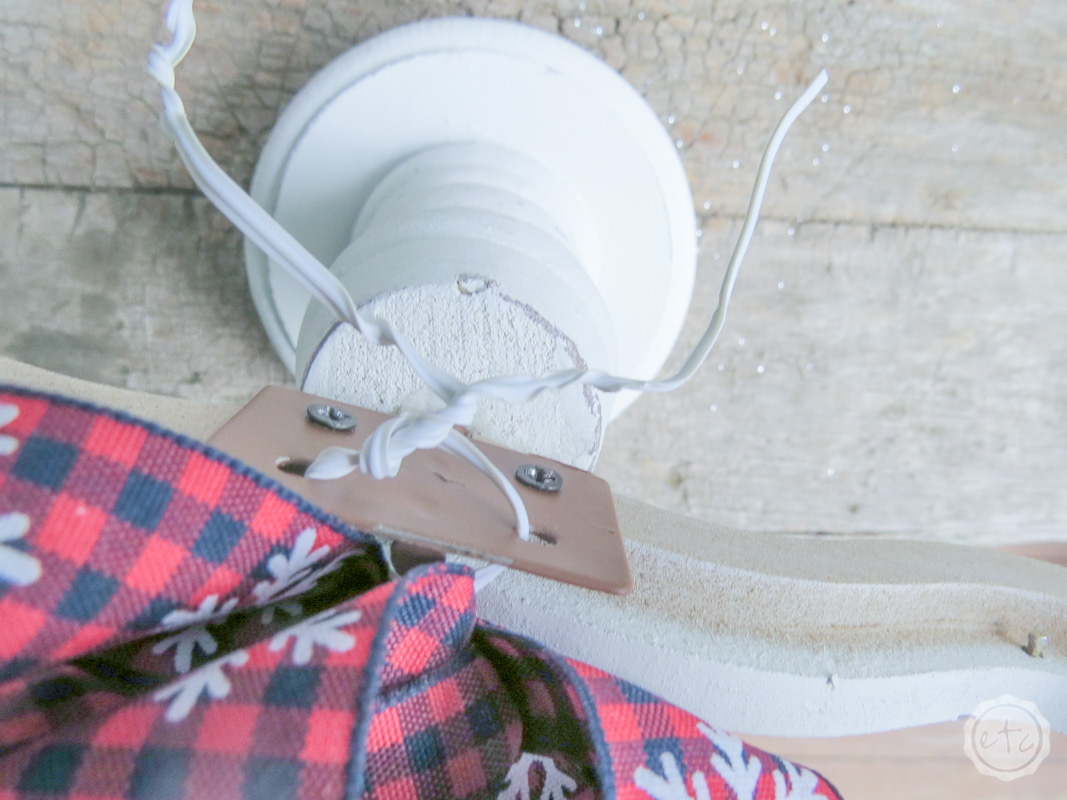
This little frame had two obstacles: little brads holding in the backing and a screw piece holding the base in place. The little brads are easy to deal with… simply hold the frame and press outwards from the back. Do this slowly so that you don’t mess up the frame but honestly it was super easy and only took a couple of seconds.

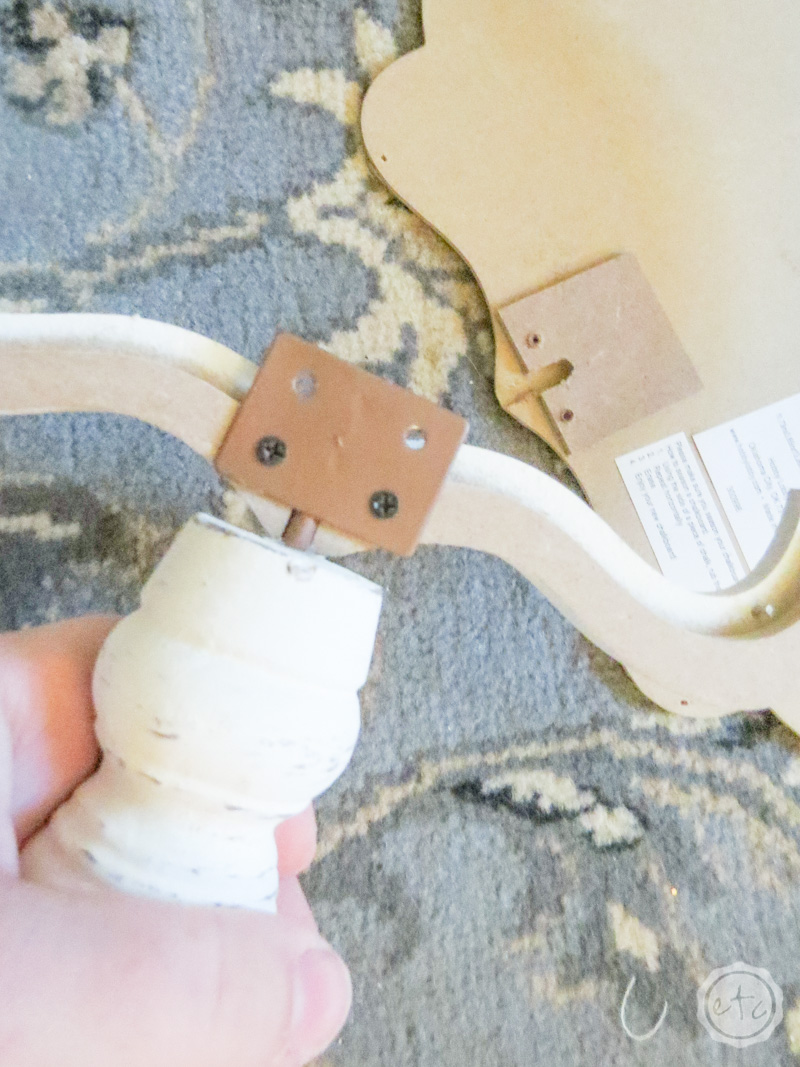
Next we have to unscrew the bottom piece from the chalkboard. This leaves a weird screw-hole-empty-spot to deal with. While you could use a little saw to cut the top off I decided to leave it that way I could re-attach the chalk board down the road if I ever decided to.
Luckily there’s an easy fix!
Step 3: Add a Bow!
Here’s the easy fix y’all… add a little bit of twist tie through the holes and use it to attach a big bow to the front! Trust me… at Christmas time a big bow fixes everything.
Once you secure your bow you can trim the twist tie down so that it doesn’t look like a strange alien antenna. Or don’t… maybe you like alien antennas?

Step 4: Hang Your Countdown!
Alright y’all we’re onto the final step… FINALLY hanging our countdown. I say finally because while getting to this step only took about 20 minutes (including cutting out my numbers with the cricut) this step took me for-ever.
Mainly because I planned to use metal rings to hang my countdown but with a completley air-brained move I accidentally bought rings that were welded shut.
WELDED SHUT!!
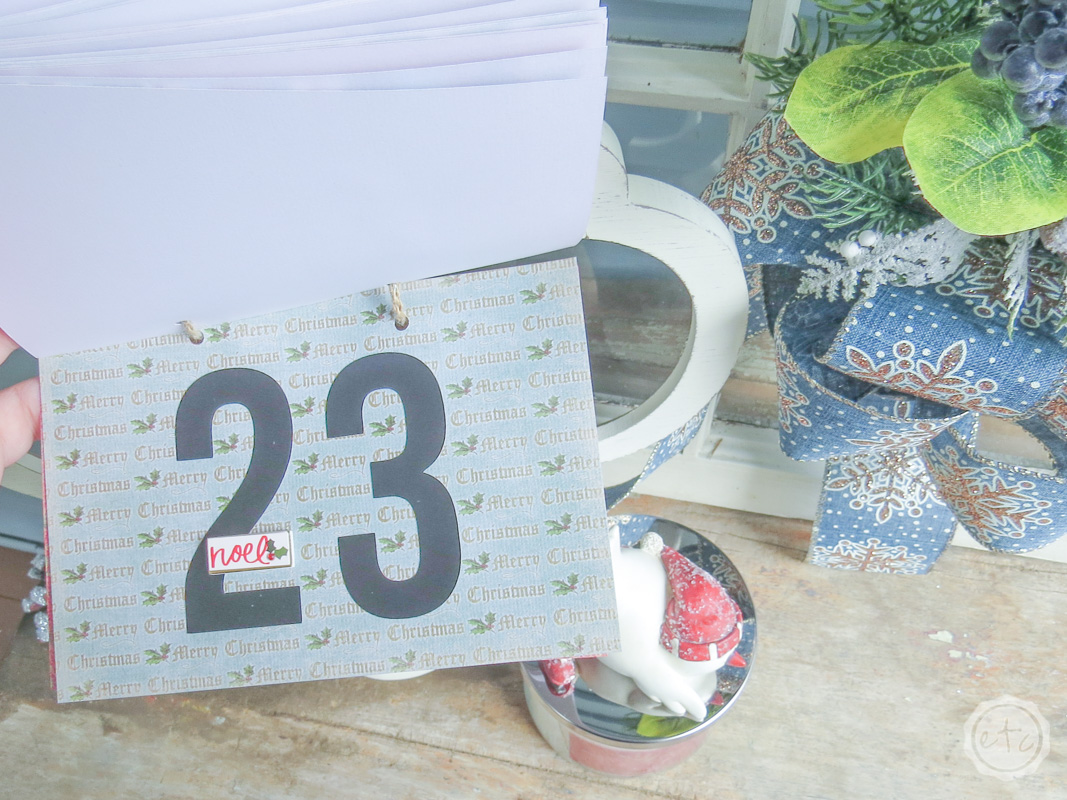
I could not find any rings of the proper size in my little town on the night before Thanksgiving so I gave up the ghost and used ribbon. Which works perfectly… I just wanted the pages to lay flat against each other as they flip.
Oh well… I’ll probably grab rings the next time I’m in town. In the meantime I need to research a good vice for my workshop… if I could hold these darn rings still I could have cut them open with my dremel.
Step 5: Enjoy!
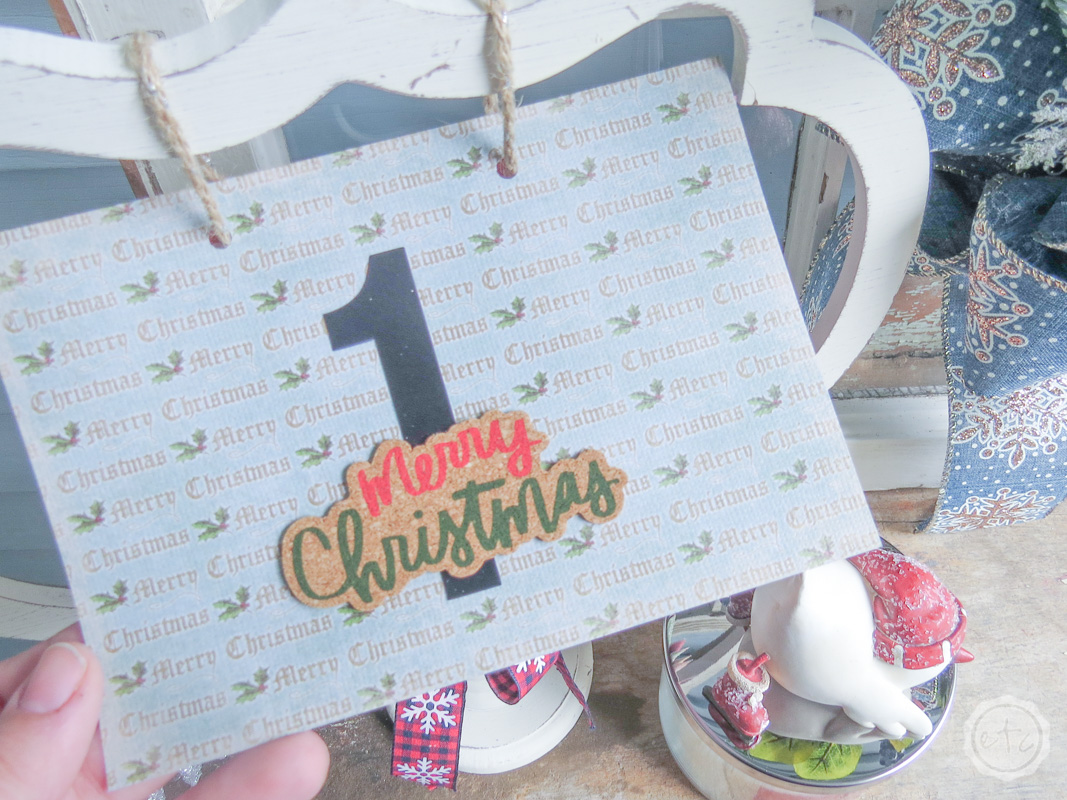
Now that my little countdown is hung we’re ready to go! I decided to hang mine 1-25 so that I could countdown the days of the week as we go but you may go the other direction and count from 25 down to 1!
Either way I am in love with how it turned out! Plus it looks so cute with a few of my other projects on the front porch… check it out!

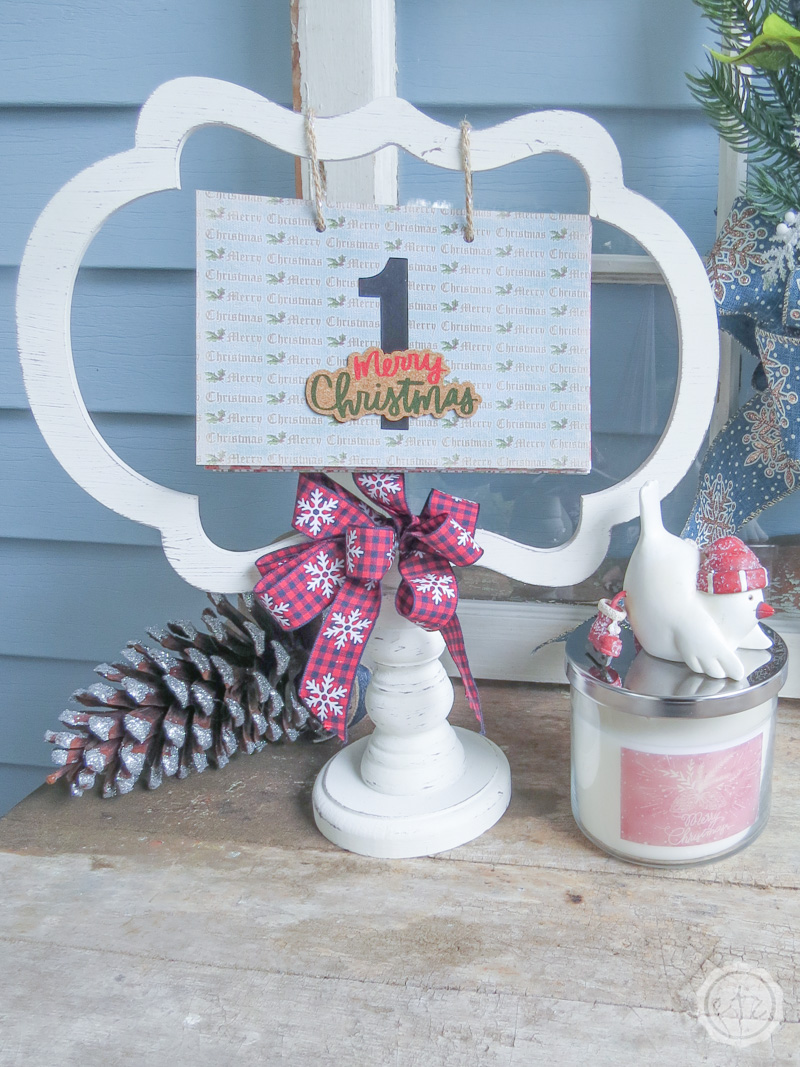
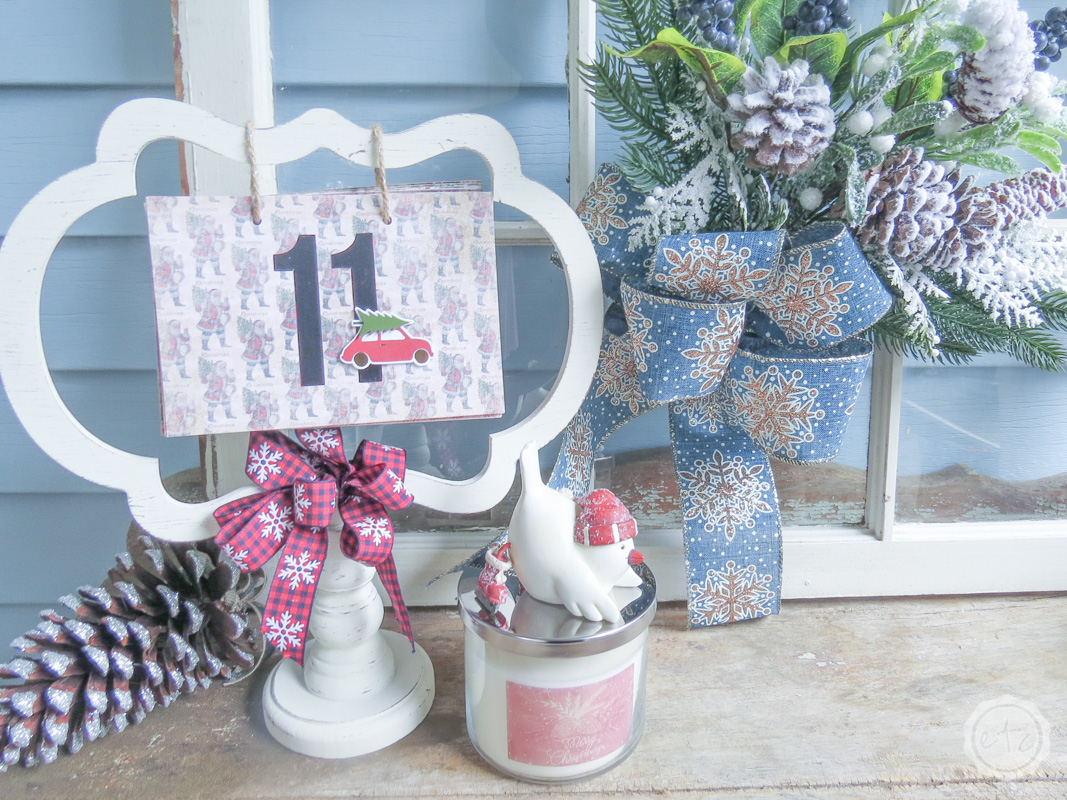


Love it!
Such a pretty Christmas Countdown idea that I’d be happy to have on display throughout the holidays and another without the holiday embellishments to have year-round! Pinned 🙂
Super cute! I love the idea of each day having a different piece of pretty scrapbook paper.
This turned out super cute!