
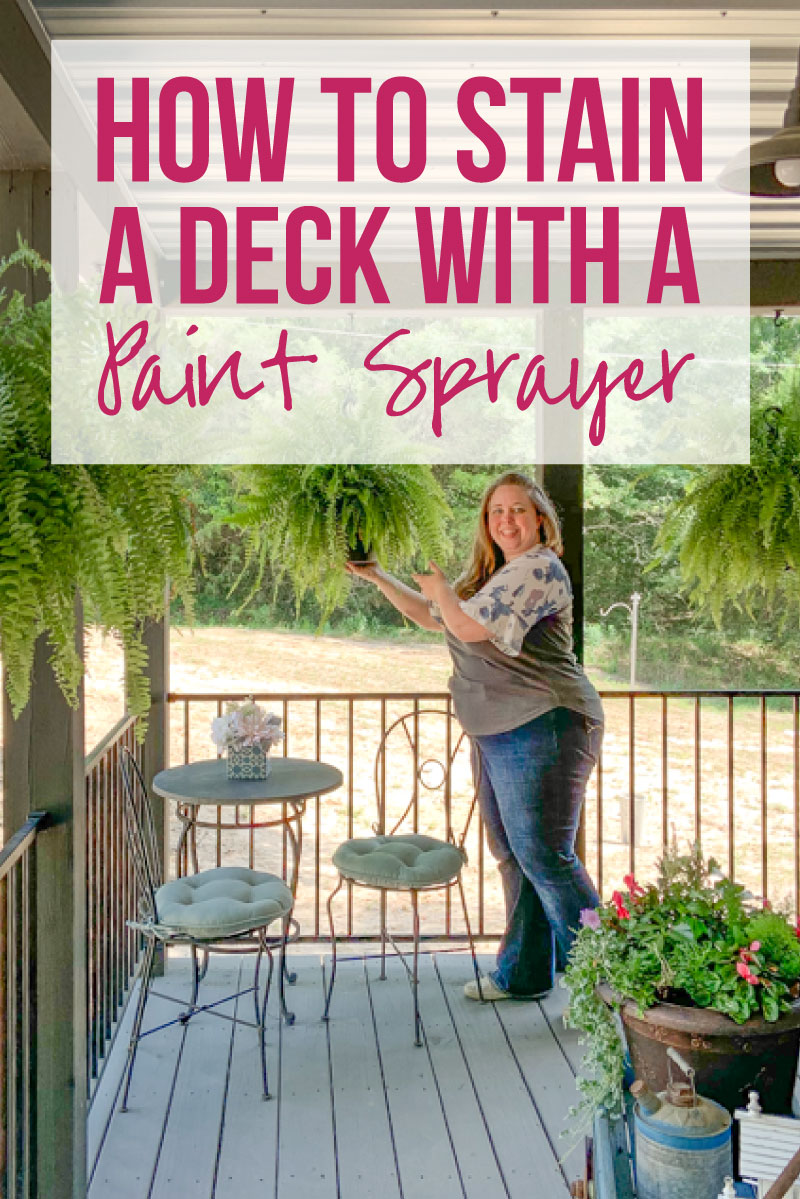
This post is sponsored by Wagner, as always all opinions and project ideas are 100% my own.

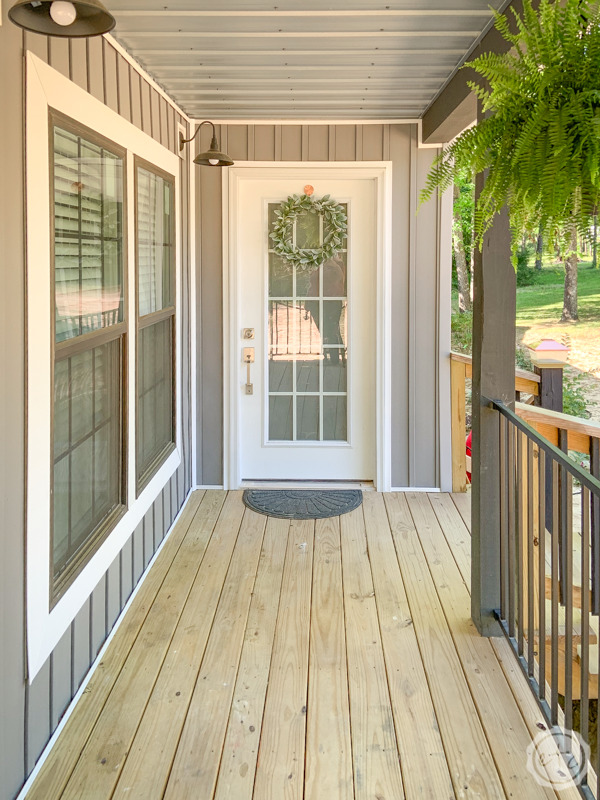
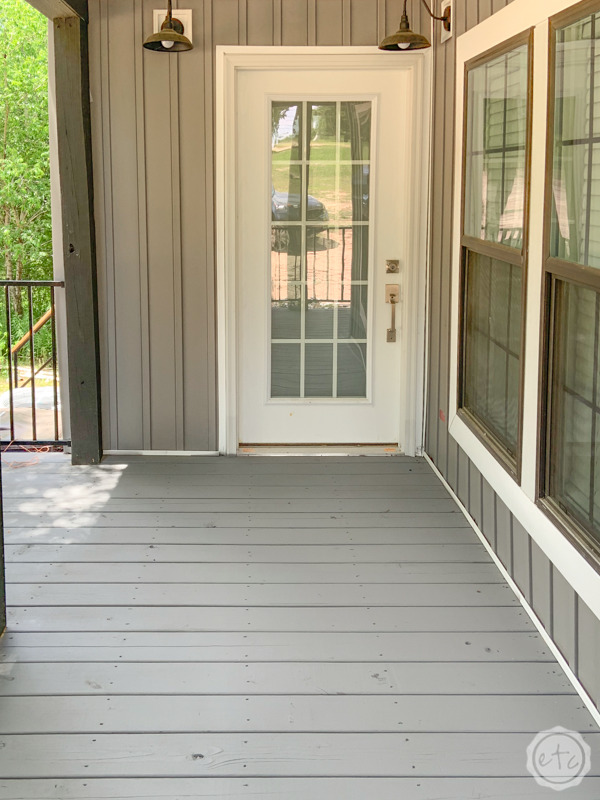
Since I bought my new house it’s been one project after another… as any new homeowner knows (even with a new house!) there is a laundry list of things to get done! One of the first items on my list was my new little porch… it’s a good size porch and even though the wood is new it was left completely un-stained or treated. Which means I would need to stain or paint the porch fairly quickly so the wood wouldn’t be left exposed to the elements for long!
I put that project at the top of my summer to do list… in hopes that it wouldn’t be toooo hot when I got started. Unfortunately the first week in Alabama’s May is still way to hot so that idea went right out the window. Fortunately if I can stain a deck in 90 degree weather and live to tell the tale so can you.
Ready to get started?
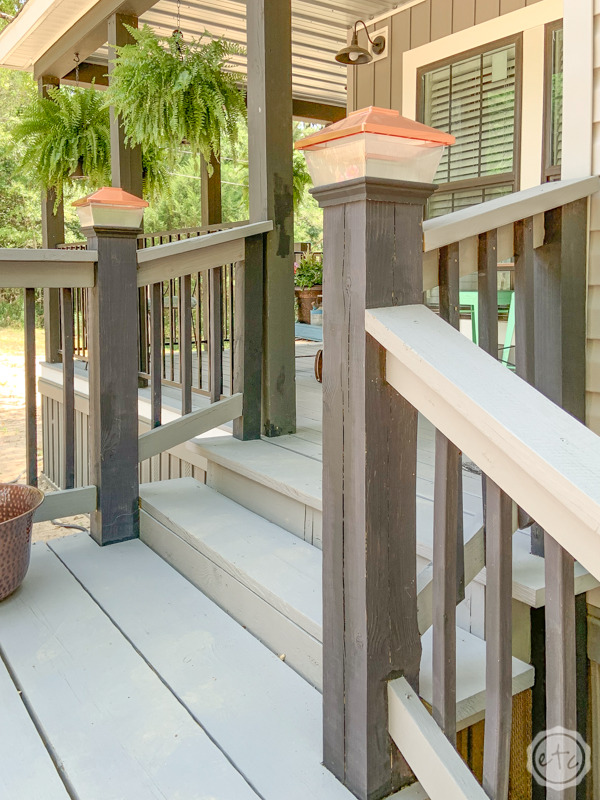
The very first step is to grab supplies… including your deck stain. I wanted a solid stain to unify the porch and the stairs that I had built next to the porch. Since the woods are slightly different I didn’t want a semi-transparent stain that would show the differences. I picked a solid waterbased Superdeck stain in King’s Canyon.
It’s a mid-gray tone that matched the samples of my siding when I stopped into the paint store, plus it’s a pre-mixed color so if I didn’t need the second gallon of stain I could return it (spoiler alert: I needed 2 gallons of stain). Best of all since it’s a pre-mixed gallon it comes in a IR Reflective formula which means it helps to reflect sunlight and keep your deck cooler under foot.
Score.
Plus since it’s waterbased I knew it would spray beautifully through my Wagner sprayer and be a breeze to clean up. Which is always important.
Supplies:
- Wagner Flexio Sprayer
- 2 Gallons of Deck Stain (Amount will depend on your deck)
- 2 Rolls of Pre-Taped Painters Plastic
- 2 Rolls of Painters Tape
- Paint Brush
- Grounded Extension Cord
Step 1: Prep your Space
Alright y’all let’s get down to the fun part… prep work. If you’re working with a brand new deck (like I am) then you’ll have a little less to do then someone with an older deck (especially if it has been stained before).
Basically your deck needs to be clean and the wood needs to be able to accept the new stain. If your deck was stained 20 years ago and the stain is all but gone then you’re probably good to go. If your deck was stained 5 years ago and you can still see the newish stain then you may have to remove that newish stain first.
But we’re going to move forward under the assumption that no one is staining a deck that was recently stained.
If you’re unsure if your deck is ready to accept stain or not there’s an easy way to double check. Take a small glass of water and pour a small amount (literally like 10-20 drops) onto your wood. If the water is soaked up into the wood then you’re good to go… the boards will accept new stain. If the water is NOT SOAKED up and remains sitting on top of the boards then your wood is still sealed and you will need to remove the old stain before starting on this project.
Now that we’re clear on what boards can or cannot be stained let’s clean our porch. For new wood (like mine) a good blast with the hose or sweep with a good broom is perfect. For older wood you’ll want to power wash the deck first to remove any old stain that’s still chipping off. Once your deck is clean make sure that it’s thoroughly dry (for a pressure washed deck that’s at least 3 days of drying)… then we can get to work!


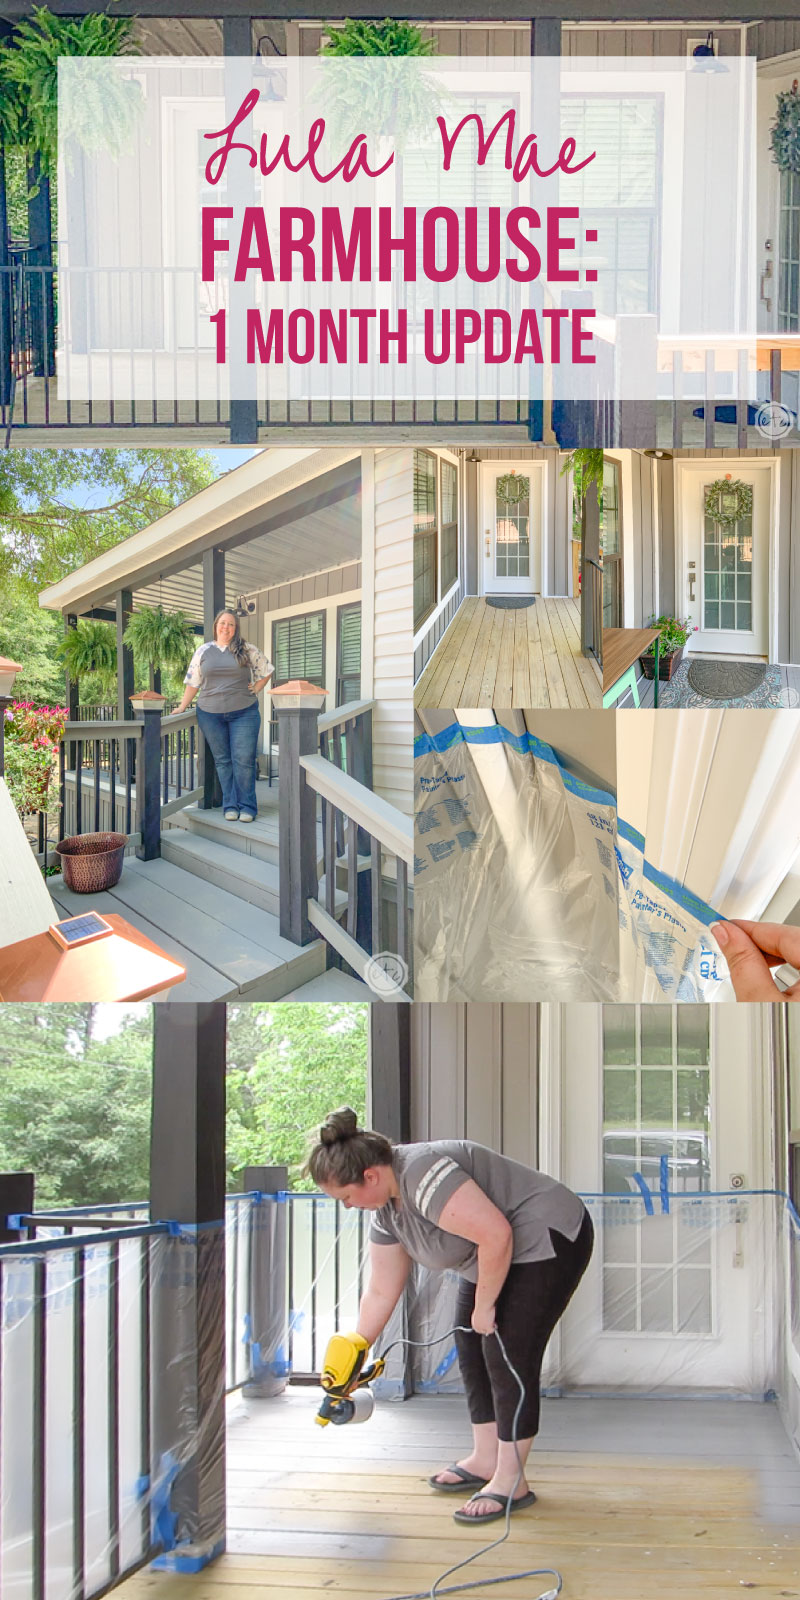
Step 2: Cover all Walls with Plastic Drop Cloths
Since we’re spraying we’ll need a little bit more prep work: in the form of painters plastic. Basically we’re going to cover anything that we don’t want to stain.
Especially since working with a paint sprayer guarantees a bit of overspray… even if it’s minimal.
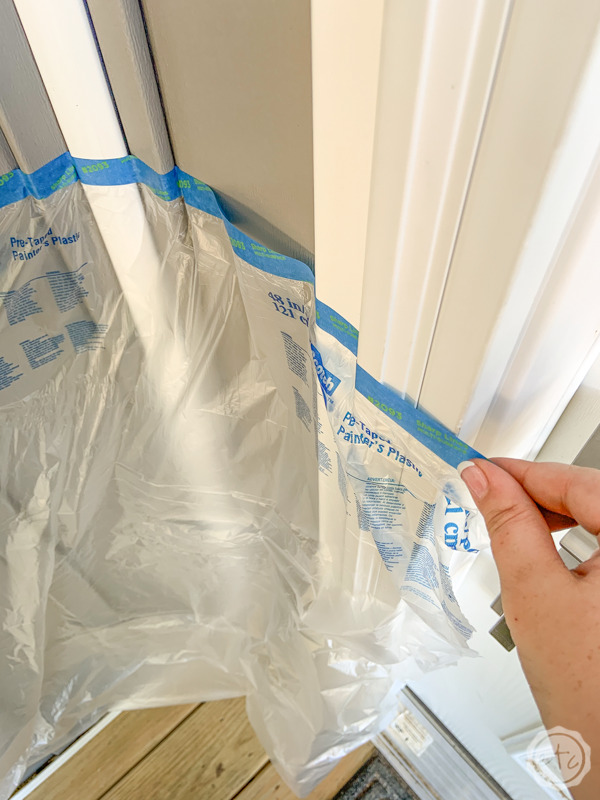
For most deck’s you’ll need to cover the house siding or walls that connect to the deck. In my case I had to cover not only the house siding but all of the metal railings and columns on my deck as well. Since I have quite a few railings I decided to use painters plastic that already had painters tape attached so I could just roll and go.
It makes the top portion of the drape super easy!
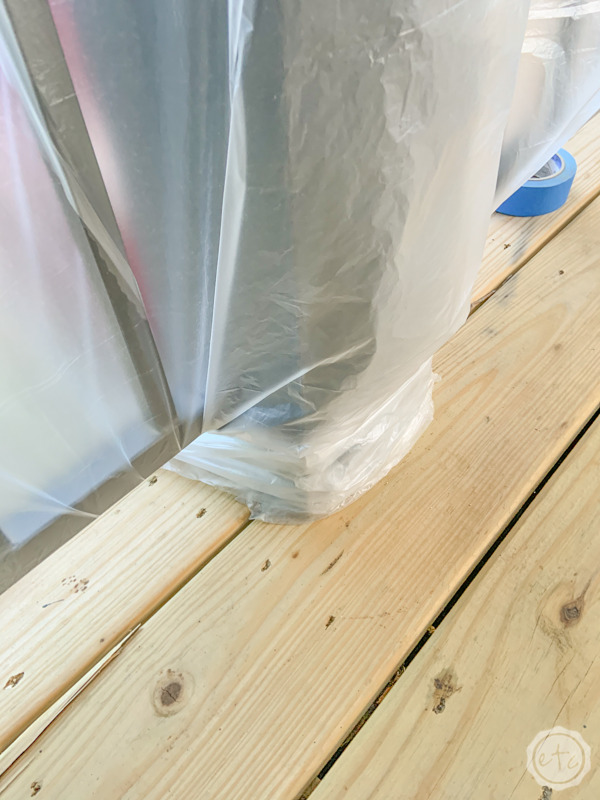
Once I had the top portion of the drape secured it was time for the bottom. For the parts attached to the house siding I was able to slide a portion of tape under the bottom trim and firmly seal the painters tape to the drape allll the way around the edge of the porch.
Bonus points if you have a cute cat helper. Lily rocked this project.


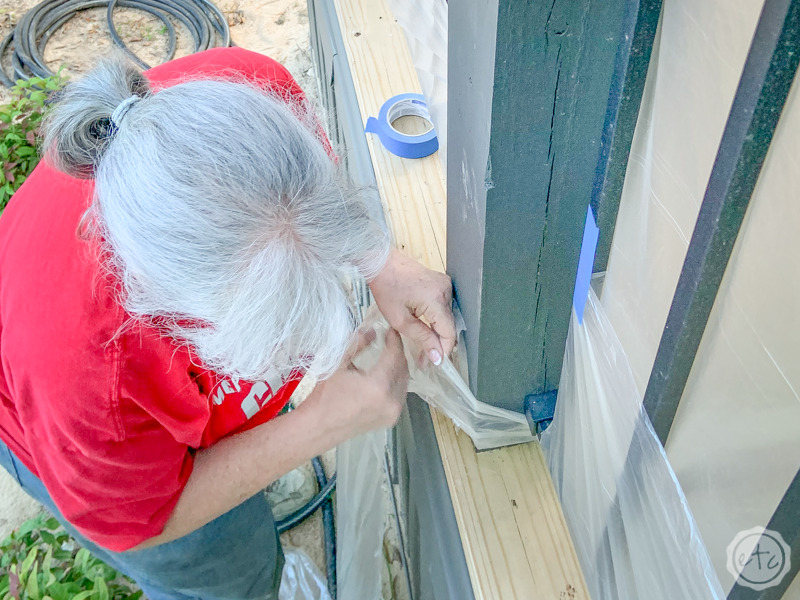
Of course, the edges and corners were a little bit tricker but it was easy enough to rip smaller bits of tape to seal those sections.
The railing and columns were a bit more *ahem* time consuming.
I started by pulling the bottom of the painters plastic up and securing it to the back of the railing. Easy peezy.
The bottom of the columns needed a bit more plastic. Mom actually wrapped these up like a boss by pulling plastic drape around them and then taping the bottom so that no stain would get underneath.
Honestly the taping and draping was the LONGEST and hardest part of this entire porch project… and if you’re lucky enough to not have eighty million columns and railings it will go much faster for you. It took a solid day of work but at the end of the day we had everything ready to rock.

Step 3: Start Spraying!
Ready for the fun part? It’s time to start spraying!
Double check your weather forcast and make sure you’re good to go before you start spraying… you’ll want a day without rain or a lot of wind. Ideally it shouldn’t rain for a few days after you’ve sprayed to give your deck time to cure but most stains will dry quickly and be able to hold up to rain in a matter of hours.
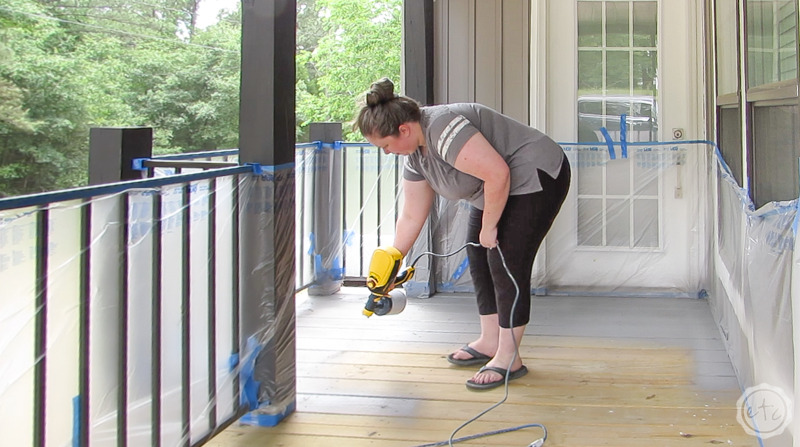
Then it’s time to break out your sprayer. Your Wagner sprayer has 2 nozzles: one for larger surfaces and one for fine finish. The larger surface nozzle can spray an 8×10 surface in a matter of minutes and can hold more paint/stain. It’s ideal for bigger projects like staining a deck.
I went ahead and filled mine up with stain and plugged it into my extension cord.
Now you can start spraying! Make sure that you have the front nozzle in the correct direction so that you can spray with the grain of the wood. In this case we’re going to be spraying along our boards and the spray fan from our little gun can just about cover one board a pass… which is super convenient.
Hold your sprayer 6-12 inches away from the wood and spray consistently along the boards of your porch. Make sure to stay in constant motion so that you don’t spray too long in one spot, if there are any paint drips grab a brush or paper towel and smooth them out before they dry. Honestly this little Wagner sprayer makes it super easy to see where you’re spraying and stay consistent… I didn’t have a single spot that needed brushing out on the entire deck.
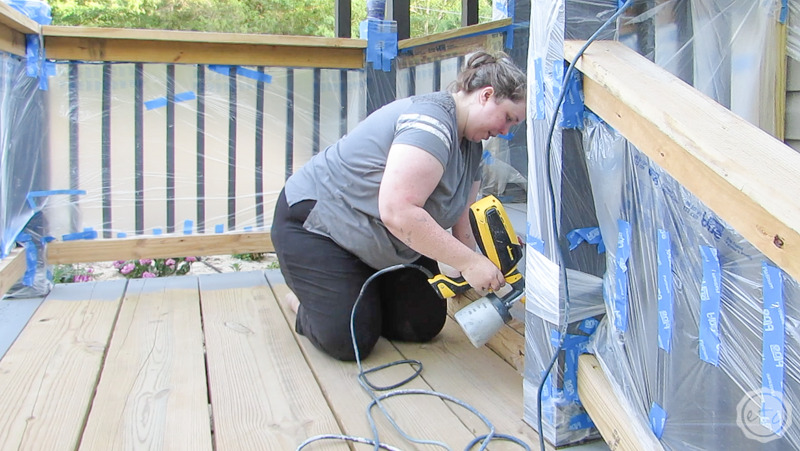
Keep working along the deck and down off the stairs. As you get to the stairs if you have any boards on the railing that need stained remember to start at the top and spray down. That keeps everything neat and tidy as you move through the spaces.
Once you’re finished make sure to leave your deck to dry the recommended amount of time for your specific stain. My stain can said it would be dry to the touch in 30 minutes and dry to re-coat in 2 hours. Which means we get a 2 hour break before we need to spray a second coat!
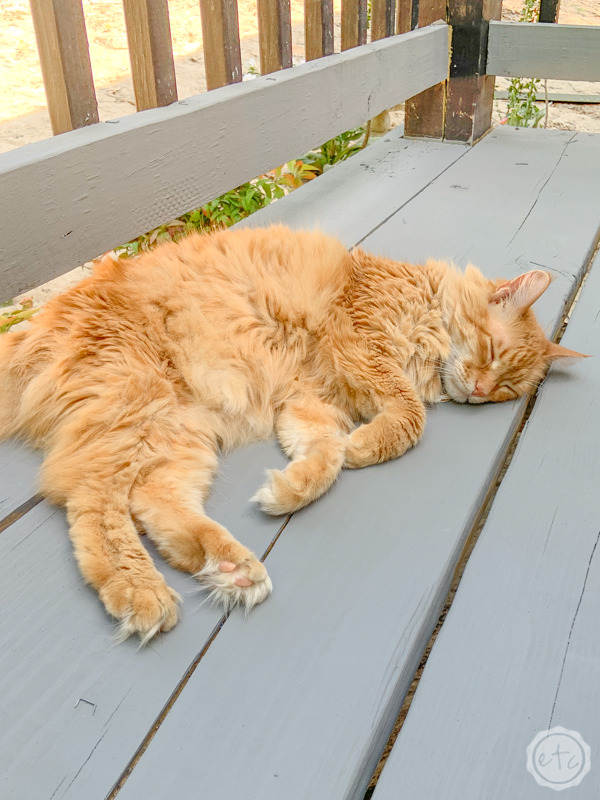
And if you’re not sure if the deck is dry enough to walk on yet you can always put a cat on it… although this was less a purposeful cat decision and more a the-cat-got-out-I-hope-the-deck-is-dry decision.
Luckily it was or Lily would have had a grey bottom!


Step 4: Spray a Second Coat
Once your first coat is complete you’ll have a better idea of how the project is going to look… and how many coats you’ll need! Remember that even if your deck looks great after one coat you’ll want to do at least 2 so that it stays looking great for years to come. 2 coats of stain will help your deck to hold up to the wear and tear of daily life.
That way you won’t have to spray your deck again for as long as possible.
Think people walking, dogs playing, kiddos running around and any *ahem* harder wear and tear like when my brother and I tried to move furniture up the stairs and into the house. It’s times like this I wish I had 2 brothers.
Remember multiple light coats are better than fewer heavy coats. Since my deck is new and ready to receive the stain it was easy to achieve an even coverage with two light coats, if your wood is older (and thirstier!) you may need to do 3 coats to achieve a even coverage.
After 2 hours you’ll be able to fire up your sprayer and apply a second coat. Make sure to keep track of where you’ve sprayed as it won’t be as noticeable on the second coat! Make sure to give the second coat 2 hours to dry and then you can move on to the next step.


Step 5: Remove the Painters Plastic and Touch-up
Okay y’all, if you’re spraying the entire area (including the railings) or you don’t have railings you might be able to skip the touch-up step. For those of us with a few harder to reach areas we’ll need a few minutes with a brush. For me I had to grab a brush and stain the ends of each porch board (or tape and drape the entire bottom of my house which seemed like overkill). It’s easy enough to grab a brush and finish the outside of the boards once we’ve finished spraying the entire deck.
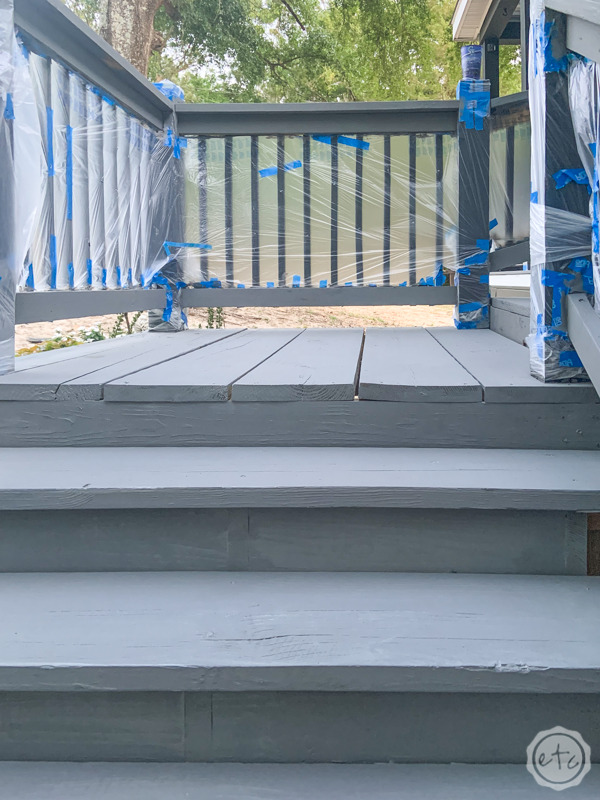
Then it’s time to remove the painters plastic! This is kind of the best moment since the plastic comes down so. much. easier. then it went up! Just grab and pull… for the most part the plastic should come right off. Once the plastic is off you can go around and double check all the bottoms of the columns and weird spots on the railings that might need touch up.
Hit those areas with your paint brush and you’re good to go!

Step 6: Let your deck cure
I know, I know… it looks dry and beautiful and you want to move your rockers or table back onto your deck right. this. second.
But keep in mind that it may be a few days before you can put furniture back on your deck. Just because it’s dry to the touch (or able to be walked on) doesn’t mean it’s cured! Make sure to read the instructions on your stain can so you know how long a cure time to allow.
In most cases you can walk on your deck almost immediately but it will be at least 48 hours before you can move furniture and decorations back into place.
Which was super fun for me since they were all right inside the side door (which happens to be my kitchen).


Step 7: Decorate and Enjoy!
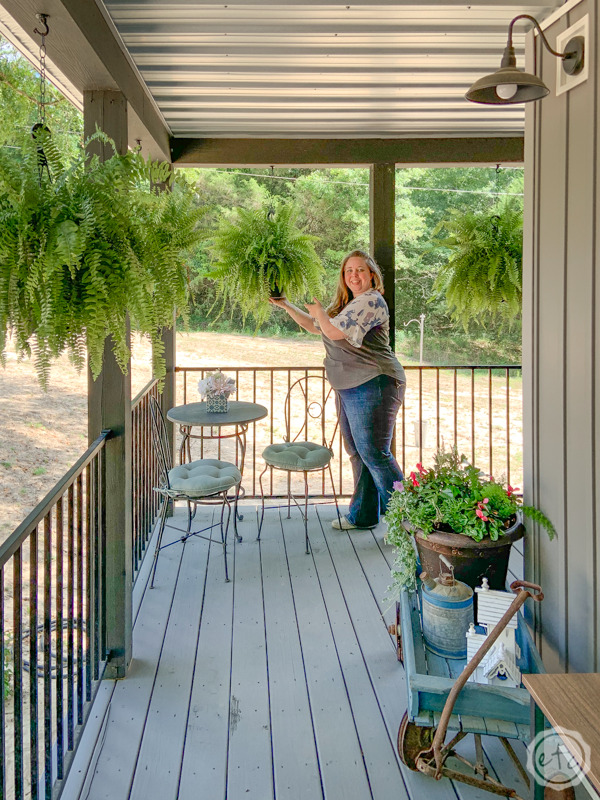
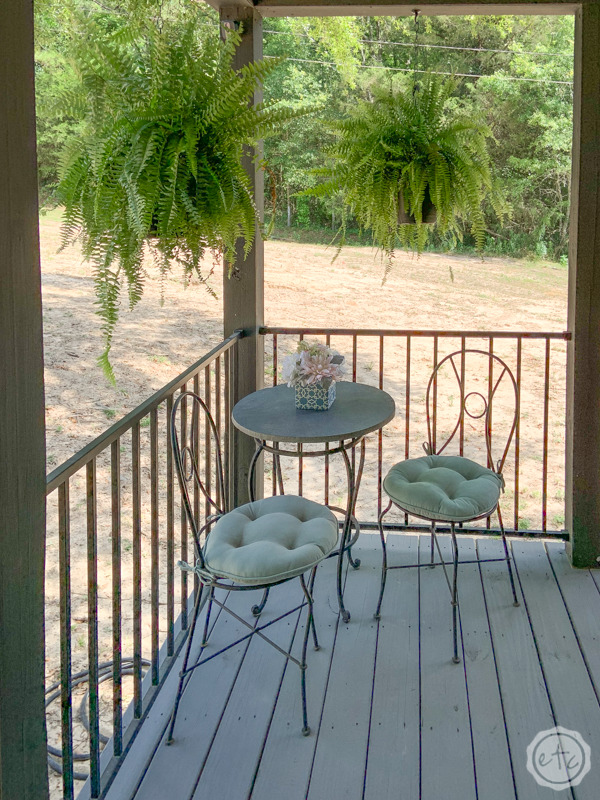
Now that your deck is stained and cured it’s time to put it back together! This is LITERALLY my absolute favorite part. We moved my lockers back and put up a few ferns… as well as the planters I had put together in preparation of this day.
It was so nice to see them in their new homes.
Even better I finally was able to put up my new copper post end cap solar lights and see how they looked with the whole space.
Overall… I ABSOLUTELY LOVED IT!
This porch project was so much fun, it took a total of 3 days (day 1: prep work, day 2: staining, day 3: putting things back!!) and I cannot believe how well it turned out. I am very proud of my work here!
Ready for the pretty pictures?

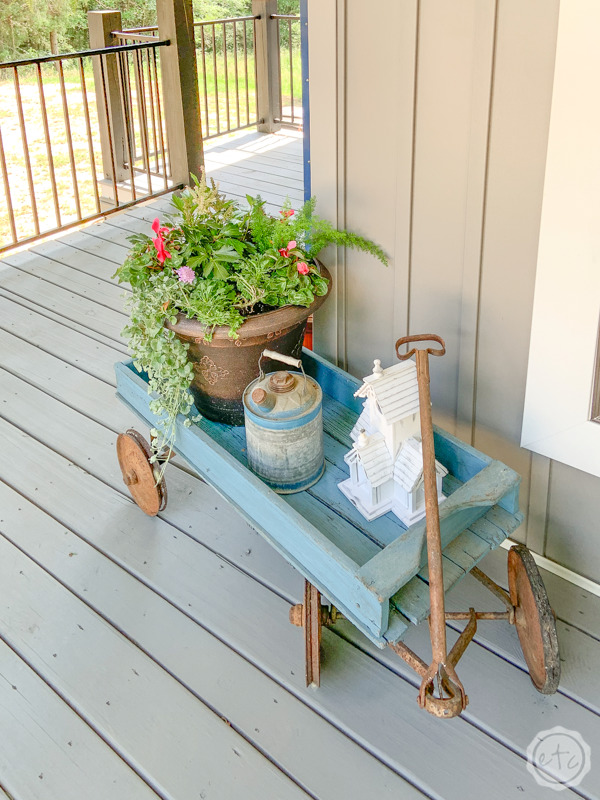
For anyone that’s followed along with me for a minute you’ll notice my beautiful antique blue wagon that I bought from Miss Mustard Seed herself at the Pike Road Market back in 2014.
I finally have the perfect place to display it! I’m so happy!


Leave a Reply