


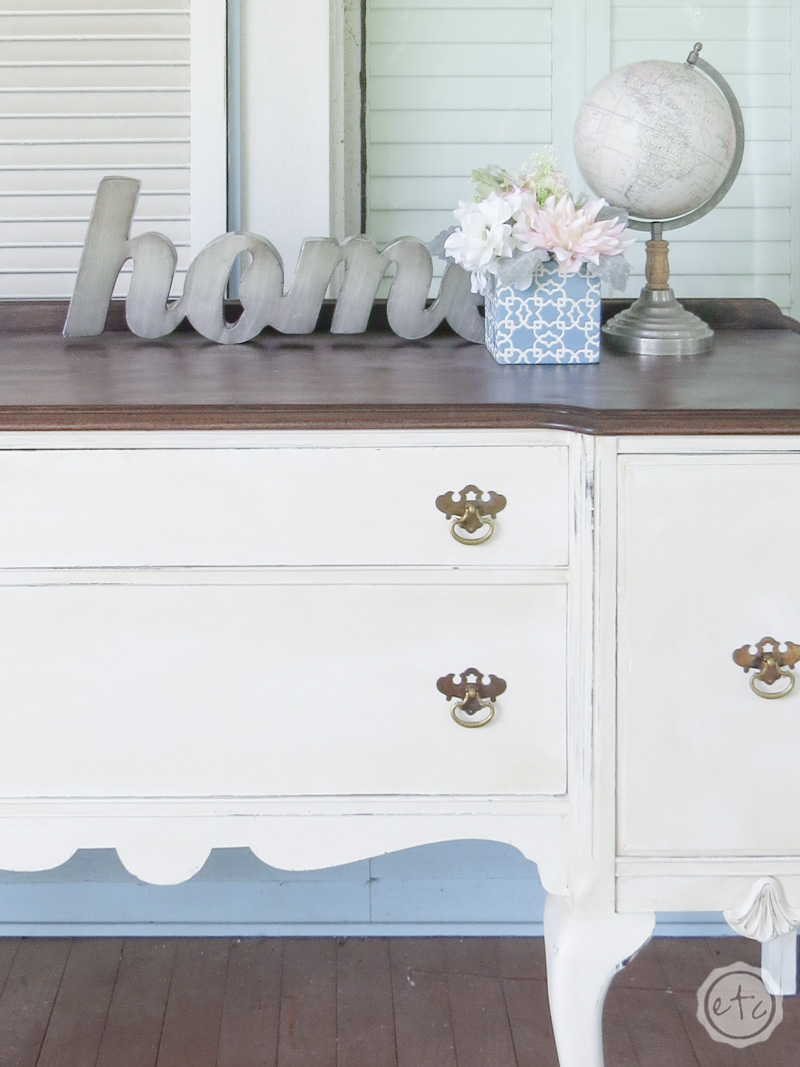
I recently spent a little time restoring the veneer on an old buffet… it took a couple days but when the buffet was finally pieced back together and painted a new pretty color I realized that there was no way I was putting rusty old hardware back on my pretty new buffet.
Nine times out of ten I replace hardware when I work on a furniture piece with something that’s more my style… replacing the hardware on a piece is a quick and easy way to give it a fun facelift. BUT when you have gorgeous antique hardware you don’t want to toss it aside for something new.
Sometimes old is a synonym for awesome.
So instead of new hardware I decided to break out the vinegar so that I could scrub these babies into submission.

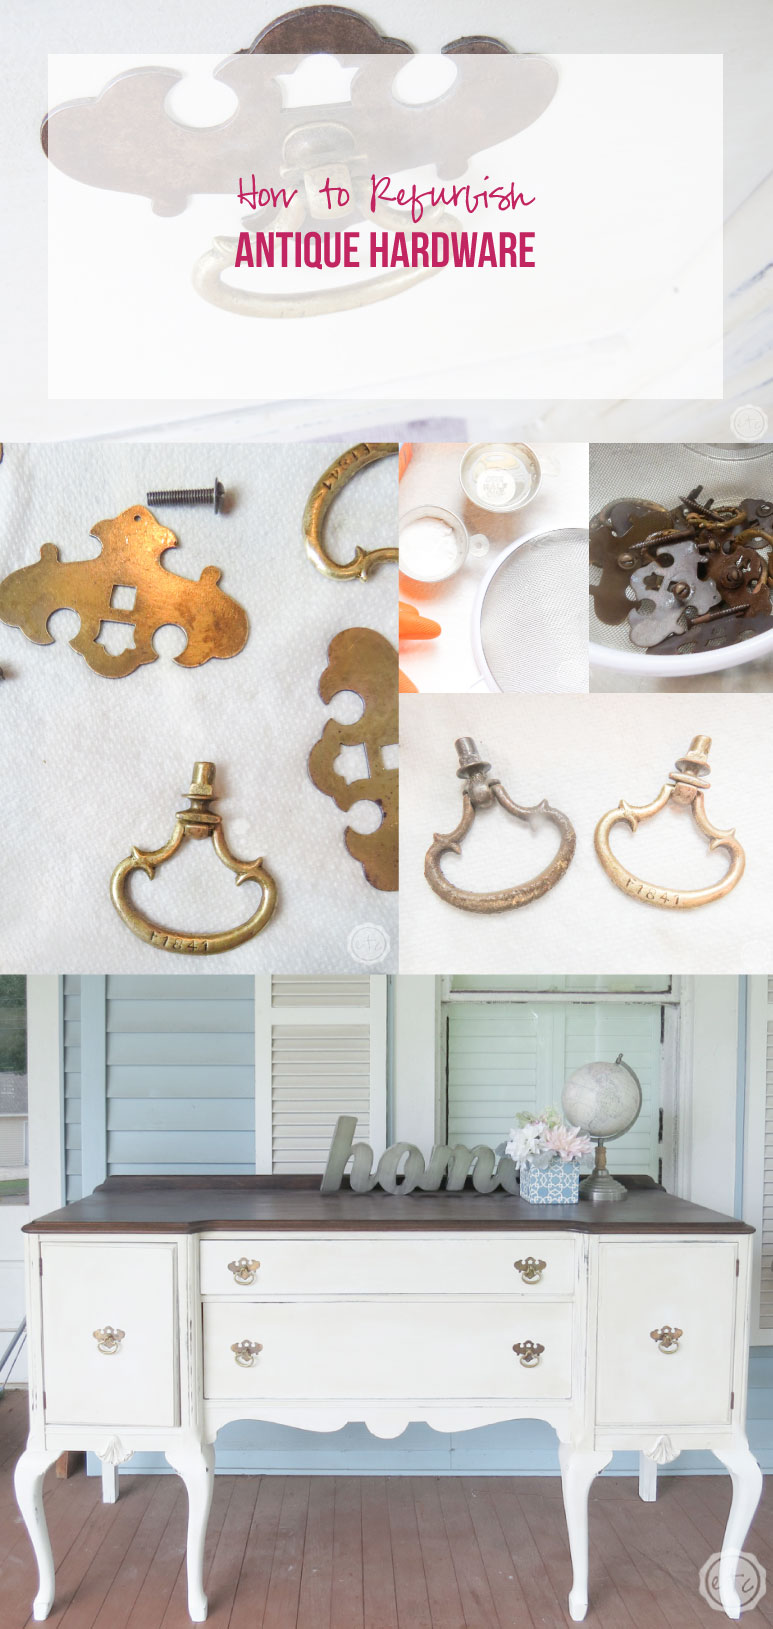
Step 1: Mix Your Paste!
Okay so we’re jumping right in! If you’re working on restoring a bit of antique hardware you likely have a bit of rusty, crusty, junky… hardware.
I don’t know what else to call it.
Luckily with a bit of elbow grease it’s fairly easy to refurbish back to it’s beautiful, former glory!
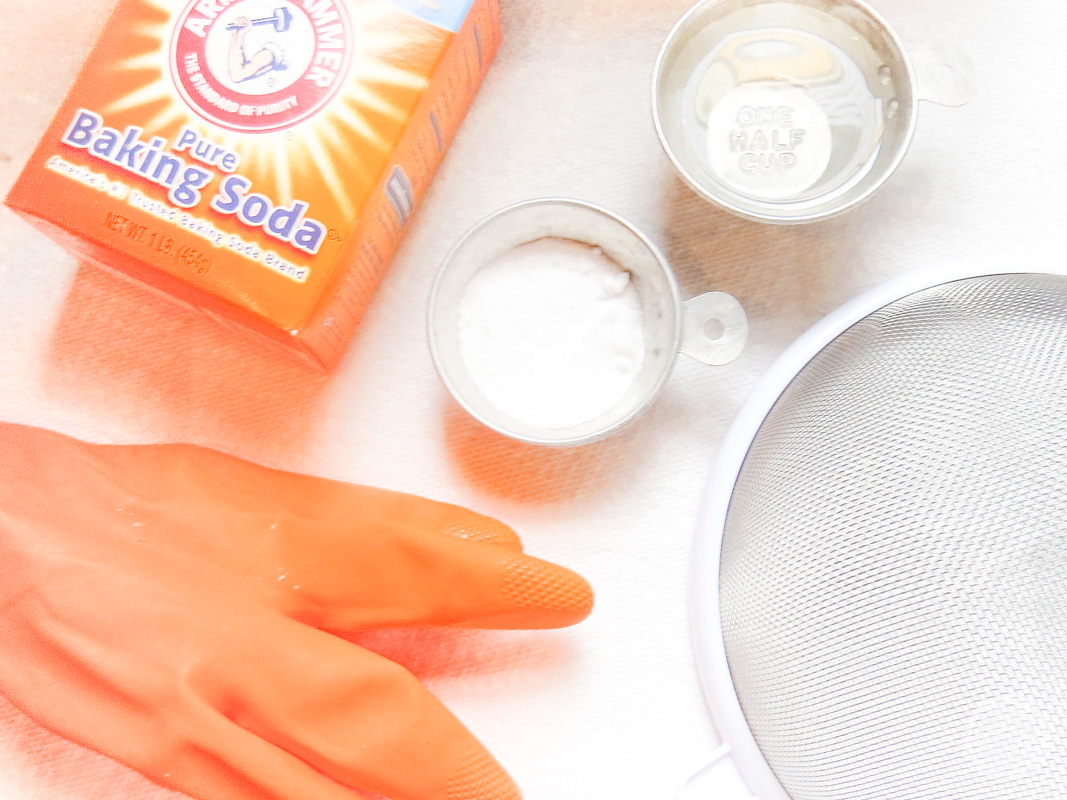
Here’s the scoop (aka the supply list):
1/2 cup baking soda
1 cup white vinegar
Toothbrush
Strainer
Pot for Boiling Water
Water
Start by bringing about 5 cups of water to boil on the stove… we want enough water to cover our hardware without overflowing onto the stove y’all. Once it’s boiling go ahead and your vinegar and baking soda. Then you can go ahead and toss your hardware in!
Let it boil for about 5-10 minutes to loosen all the rusty goop but keep an eye on it… you may have to stir it occasionally or remove it from the heat since the vinegar and baking soda mixture will lead your water to overflow very easily.


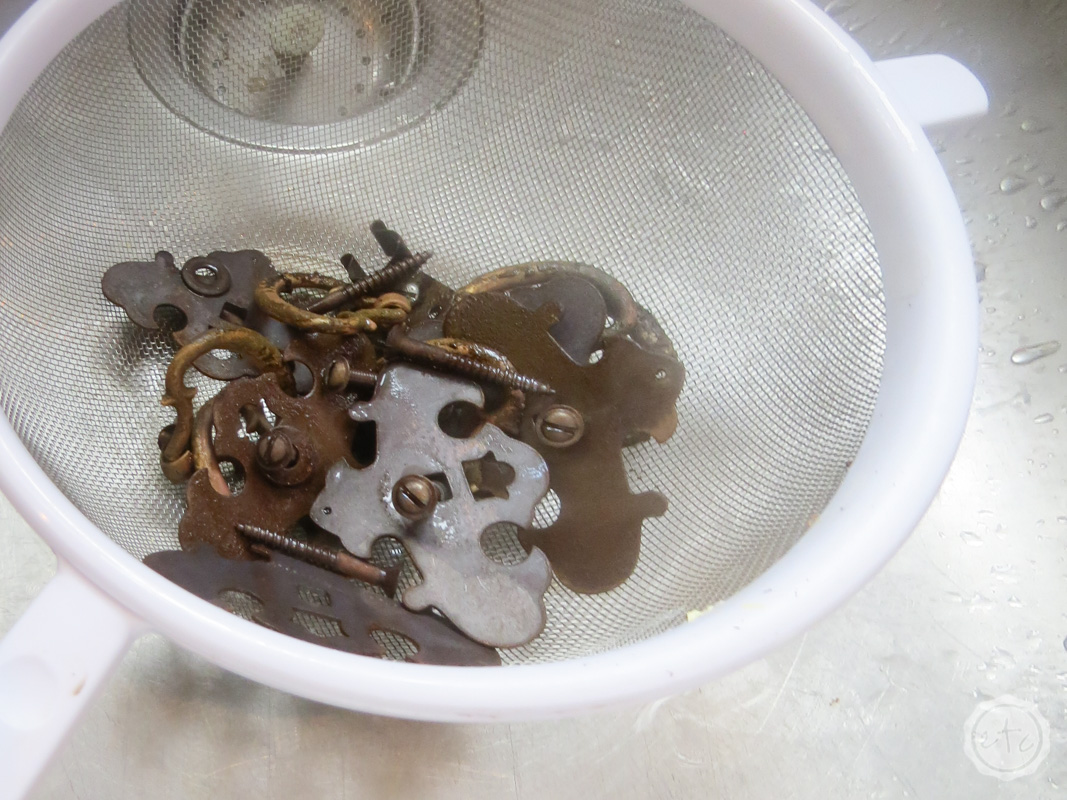
Step 2: Strain your Hardware
Okay this part isn’t absolutely necessary but after boiling your hardware for a while the water will be nasty… brown and rusty and full of years worth of grime. So I like to use a metal strainer and get rid of the old water mixture and start over. It’s not necessary to make a new mixture but I do find that the hardware is easier to scrub if I leave it in warm/hot water while it’s waiting it’s turn.
SO basically I take my pot off the stove and strain the hardware into a clean pot where I add clean hot water. Then it’s time to scrub.
Step 3: SCRUB
Alright y’all now it’s time for all the fun. I like to take a cup of white vinegar and 1/2 a cup of baking soda and make a paste to use while scrubbing the hardware. I’ve tried it with the paste and without the paste and the paste seems to help get the hardware cleaner, faster and with a bit less effort.
So I’m all for it.
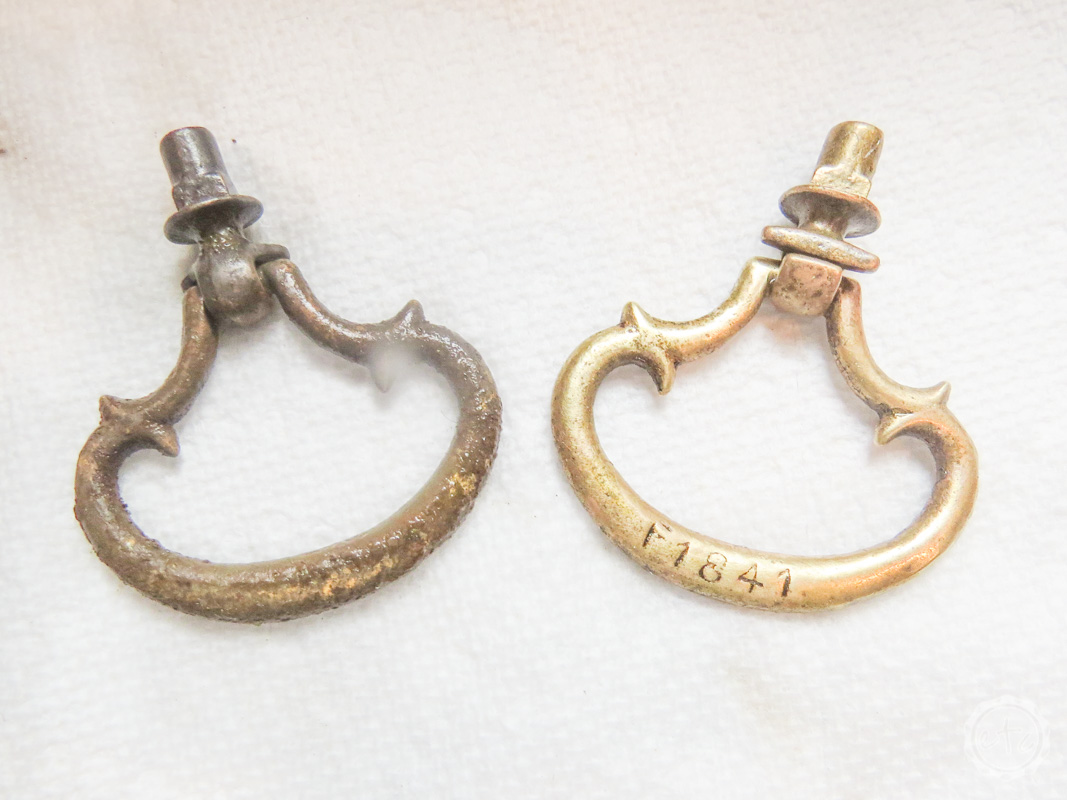
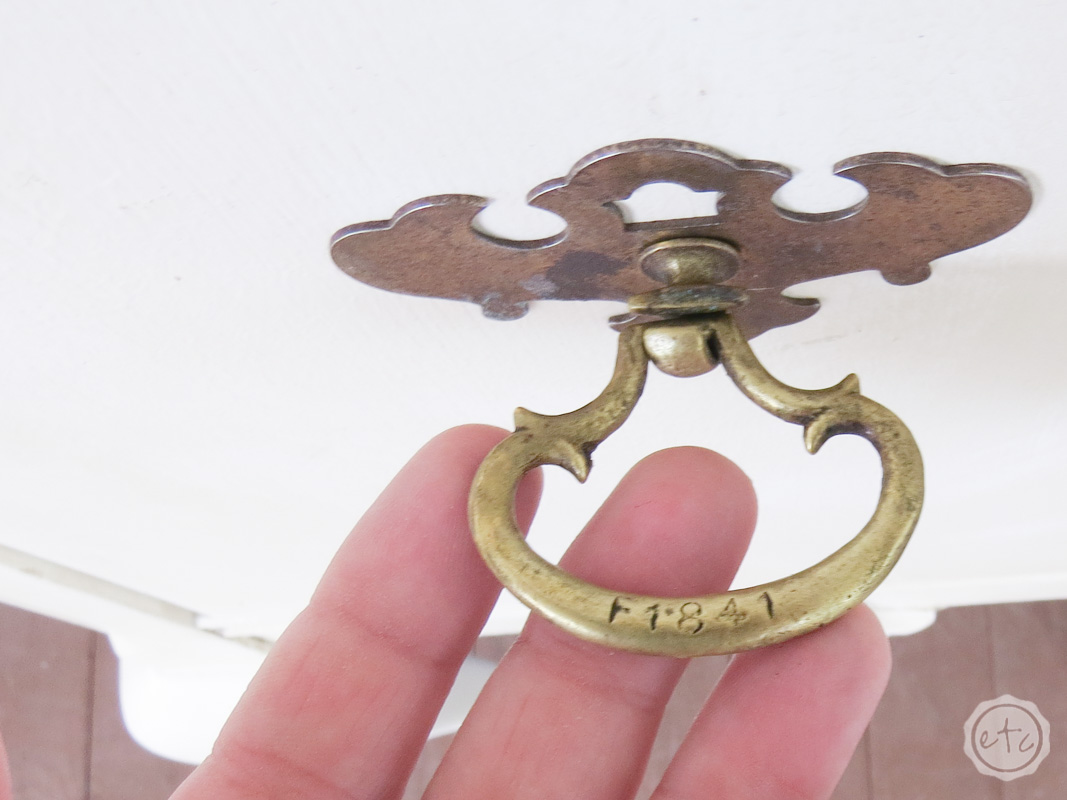
Basically load up your toothbrush with a bit of paste and brush… your hardware. Scrub it until it shines baby! Can you tell the difference in the rusted old hardware on the left and the shiny pretty hardware on the right?
You can’t even tell that there’s a gold patina under all that rust let alone engraved numbers!

Step 4: Dry it Off
Once your hardware is scrubbed clean your all set to put it back on your piece of furniture… just make sure to dry it thoroughly first so that you don’t leave your new clean hardware to form more rust! That would be sooo frustrating.
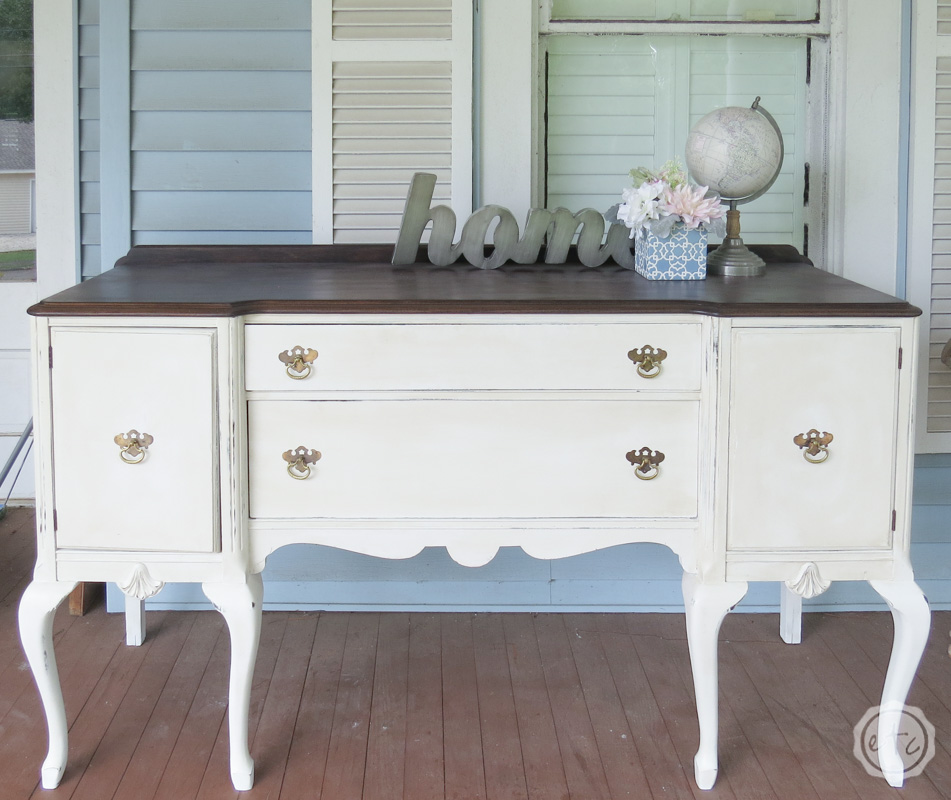
Step 5: Reattach and Enjoy!
Alright… now that our hardware is dry it’s ready to rock and roll. Reattaching hardware is one of my least favorite activities (go figure) but I absolutely love to stand back and look at it when it’s done.
It’s such an easy task to clean these drawer pulls up but they’re so pretty when finished that it’s definitely worth it!
Take a look!


Leave a Reply