

I am so excited to participate in this month’s Fab Furniture Flippin’ Contest… I absolutely loved participating last time but this round is extra special. Why? Because the theme is Mix and Match and I have the perfect project!
Looking for a bunch of posts on DIY & Crafts? I’ve got you covered!
Click here to see all of my how to DIY & Craft posts in one place!

Several of you know that the hubster works from home… which means he spends long hours sitting at his desk (either for work or for homework). The desk chair he has been using was not so comfy… honestly it was a hand-me down from his Grandpa and other than being a place to sit it was horrible! No support, way to small, no cushion… I don’t know about y’all but I wouldn’t want to sit there for minutes let alone hours!
Since we don’t have the budget for a brand new cushy chair we decided to make one!
Of course to start this particular story we have to start at the beginning.
Many years ago Mom pulled over to shop a yard sale… the sale was almost over and the poor lady was tired and hot. Just trying to close down for the day… which means she was willing to sell a few things for a really good price! Like this little red chair and it’s slipcover remnants… for only a dollar! I mean can you beat that? Sure it’s a little beat up and missing… well… all of it’s legs! But it was only a dollar!
Obviously Mom took it home… and then it lived in the garage while we moved around the country! I think that little red chair moved with us every year since I was about 8 years old… until now! Even Daddy was surprised when I told him the little red chair had finally moved out of the garage and was getting a make-over… he wanted to throw it away long ago! Don’t fear y’all… with a new base, slipcover and a bit of comfy foam this baby will be ready to roll!


Supplies:
Cushion Wrap
Upholstery Fabric
Chair!
Step 1:
Alright y’all first things first… if you haven’t noticed this little chair needs quite a lot of work! Not only does it need new foam and a slipcover it’s also missing one important component… feet!
Since this little chair is going to be the hubby’s office chair we decided to use wheels instead of legs… Mom was a little skeptical at first but it turned out pretty great if I do say so myself!
Overall this step was pretty easy… I just said “Honey take the wheels off of your old chair and attach them to this chair!”
See! Easy!


Of course if you wanted to do this step yourself it would be pretty easy as well. A simple screwdriver was used to take the wheels off of the old chair. If the new chair had a wooden base we would simply screw the wheels into the new chair and call it a day… as it was we needed to add a few pieces of scrap wood to make a secure base.
Simply cut the pieces to span the entire width of your chair and then screw them directly into the sturdiest part of your base. For us that was the outside border of our chair… a few screws and we were ready to rock and roll!
Once the scrap boards were secured the wheels were screwed into the middle of the chair base! Now we’re ready to roll!
Step 2
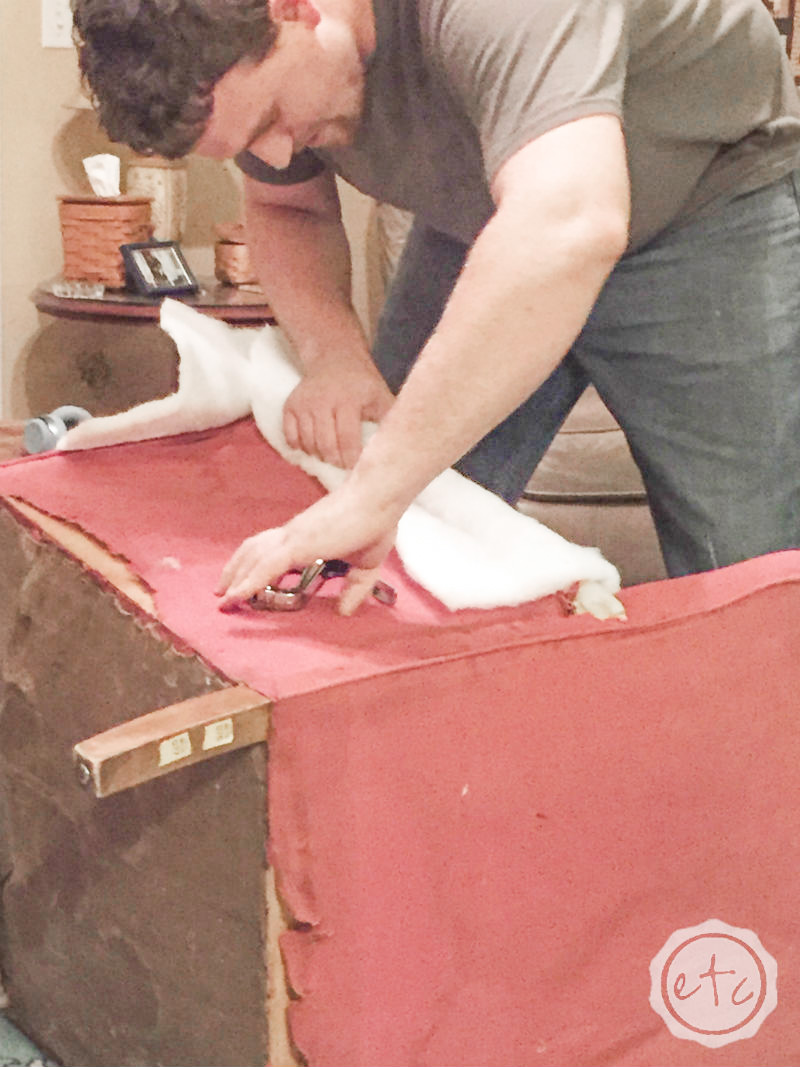
Alright y’all now that I have a chair with both a seat and wheels (you know… all the essential parts!) It’s time to add the good stuff… cushions! Since our chair is red we started by taking as much of the red off as possible. The cushion wrap will help hide most of the red but we didn’t want any of that saturated color to show through our newest slipcover.
Of course this is the chair of a million steps (I mean seriously some people just get to make a slipcover… we’re completely making a new chair! Or mixing and matching two chairs *wink wink*) we could only take the red fabric off of part of the chair… in other areas the red fabric was the only layer between springs and air.

Just look at all that goofy fabric coming off! We’re looking better already!
Step 3:
Now it’s foam time! Since Fairfield World has a whole bunch of super cushy foam products to choose from I knew they’d have something amazing. We decided on a roll of their fabulous cushion wrap to make our chair comfier… trust me this baby was not something you would want to sit at all day long!
Luckily the hubby is super handy with a staple gun (I mean just look at those arm muscles!) He helped me to staple the foam down as I held it in place! Teamwork baby!
If you’ve never applied cushion wrap before it’s super easy… make sure to pull it tight around all the little edges and staple directly into the wood. Other wise it’s fairly straight forward. This was my first time stapling it to a chair and it was super simple! The trickiest part was definitely the rolled arms… pull extra tight on those!
Once you’ve stapled all of the foam to the chair go ahead and trim the excess!


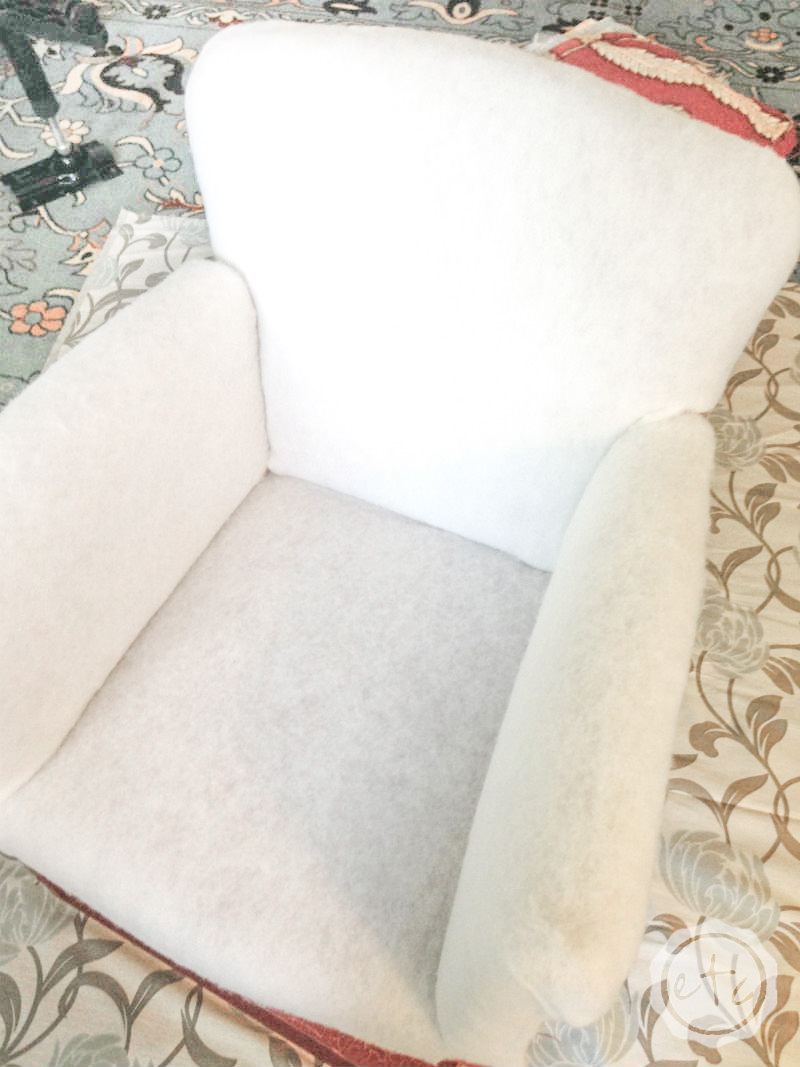

Our little red chair is looking pretty good! You can tell from this picture that I did my steps a little backwards… after a bit of trial and error I figured out that attaching the new wheels would have been way easier as the first step! Oh well, you live you learn you put Mom’s bread box back in the kitchen! 😉
Step 4:
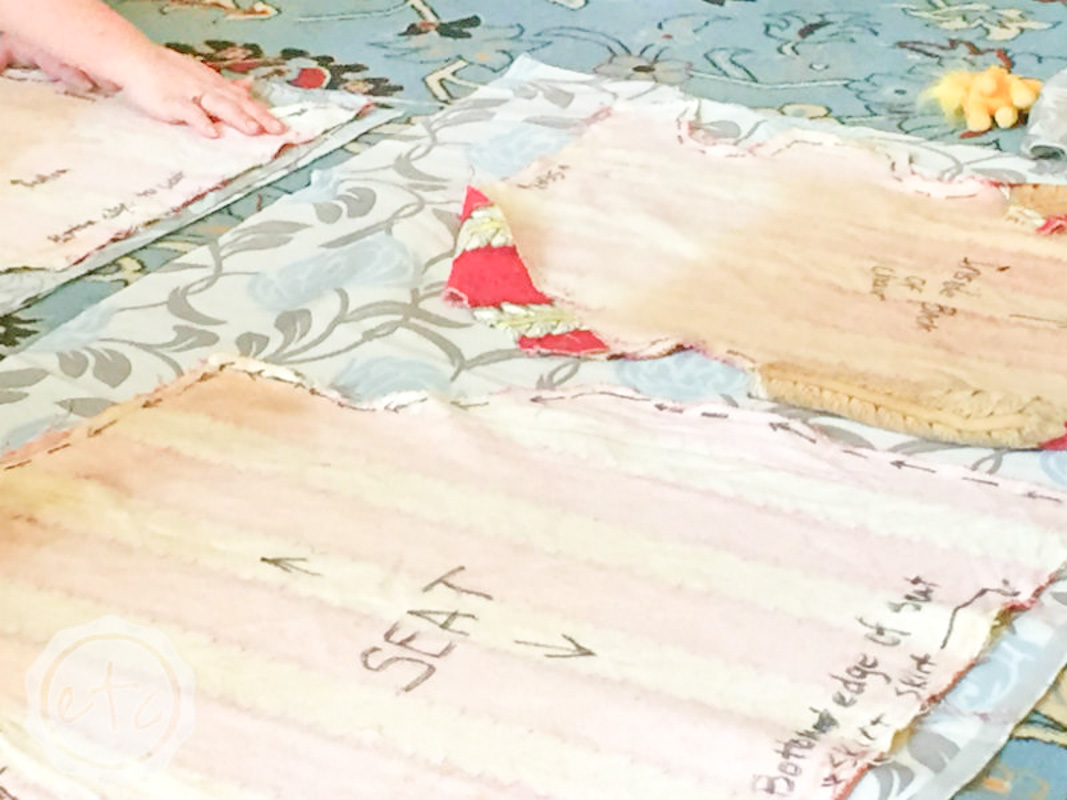
Alright y’all now that we have a cushy cushion wrapped chair and wheels it’s time to start on the slipcover! Luckily we had the remnants of the old slipcover so we were able to dissemble it and make a new slipcover using Mom’s super awesome method. So we’ll simply label Step 4 as Make a Slipcover! If you need the full walk-through head over to the tutorial I wrote for our dining room chairs!
Trust me… this step is super fun!

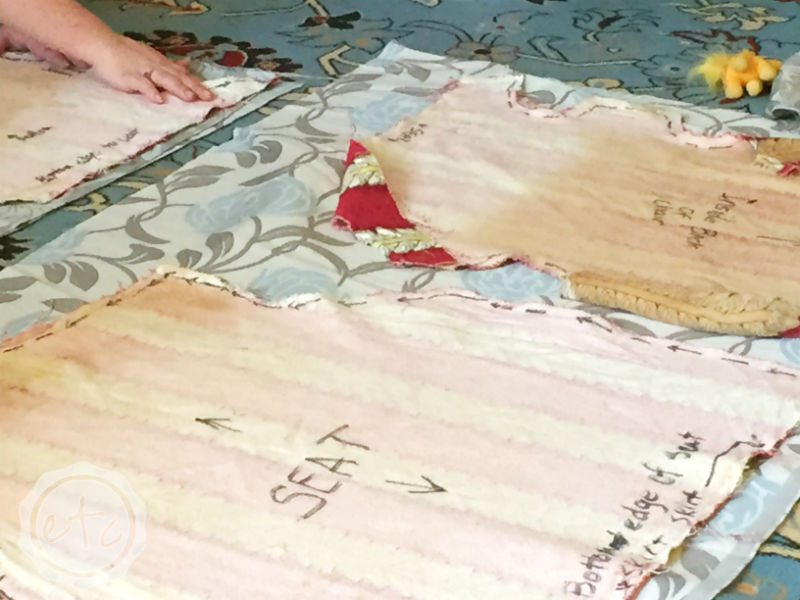


Sidenote: Mom spent hours and hours working on this slipcover (it really didn’t want to cooperate!) and this is the only picture I have of her working on it! She really doesn’t like her picture taken in the middle of projects! 😉
Step 4.5:
The cushion! This cushion was the simplest part of the slipcover… and the longest part here was definitely cutting the foam! Not because it was difficult but because it took a minute to figure out! Luckily y’all have me so you don’t have to figure it out! Here’s the skinny….
Obviously you can’t cut an entire 3″ chunk of foam in one go… insert your scissors about three quarters of an inch from the top and make a cut. Then go down another three quarters of an inch and make another cut. Keep going until you have cut all the way through one section of foam… then keep going! As you get deeper into the foam an extra pair of hands is super helpful. I had the hubby pull the two pieces of foam apart so that I could cut without my hand being swallowed!

Are you ready for this?
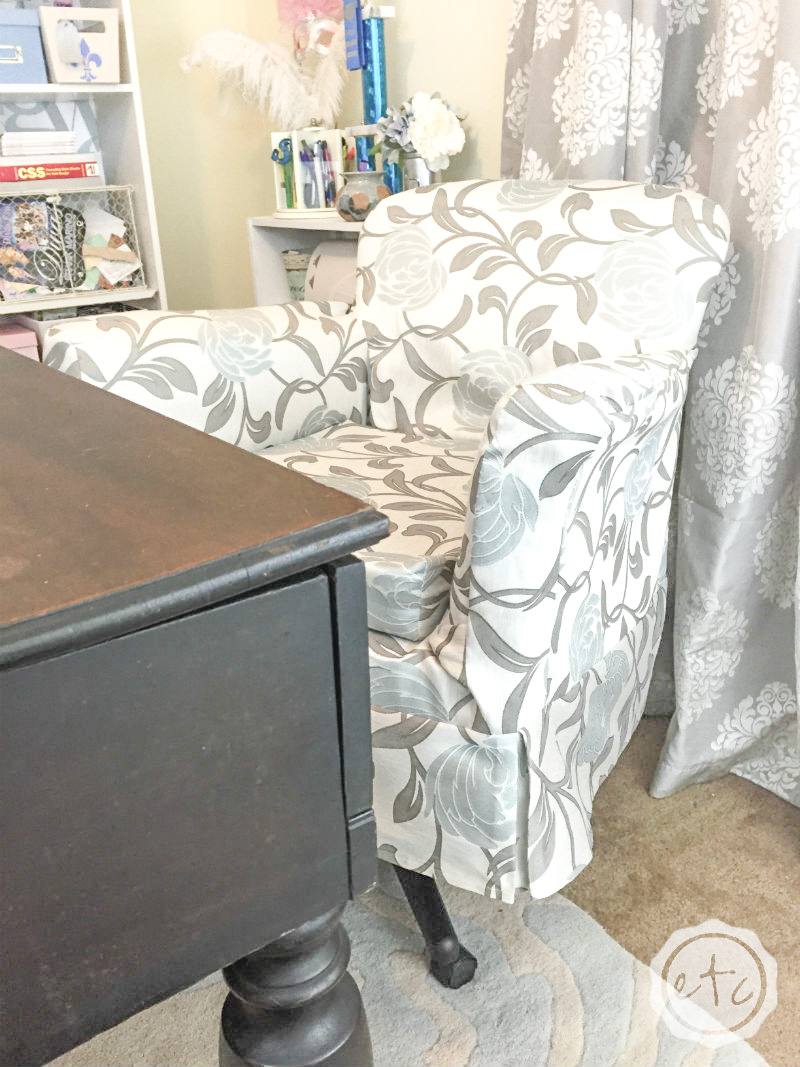
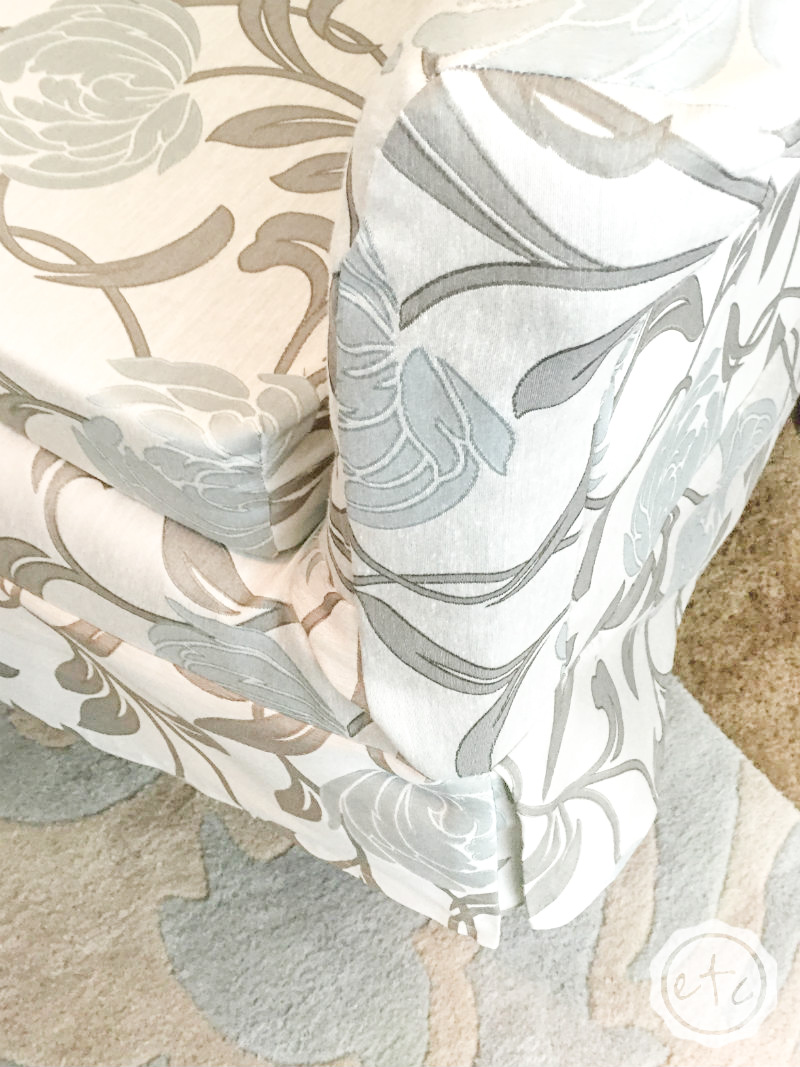
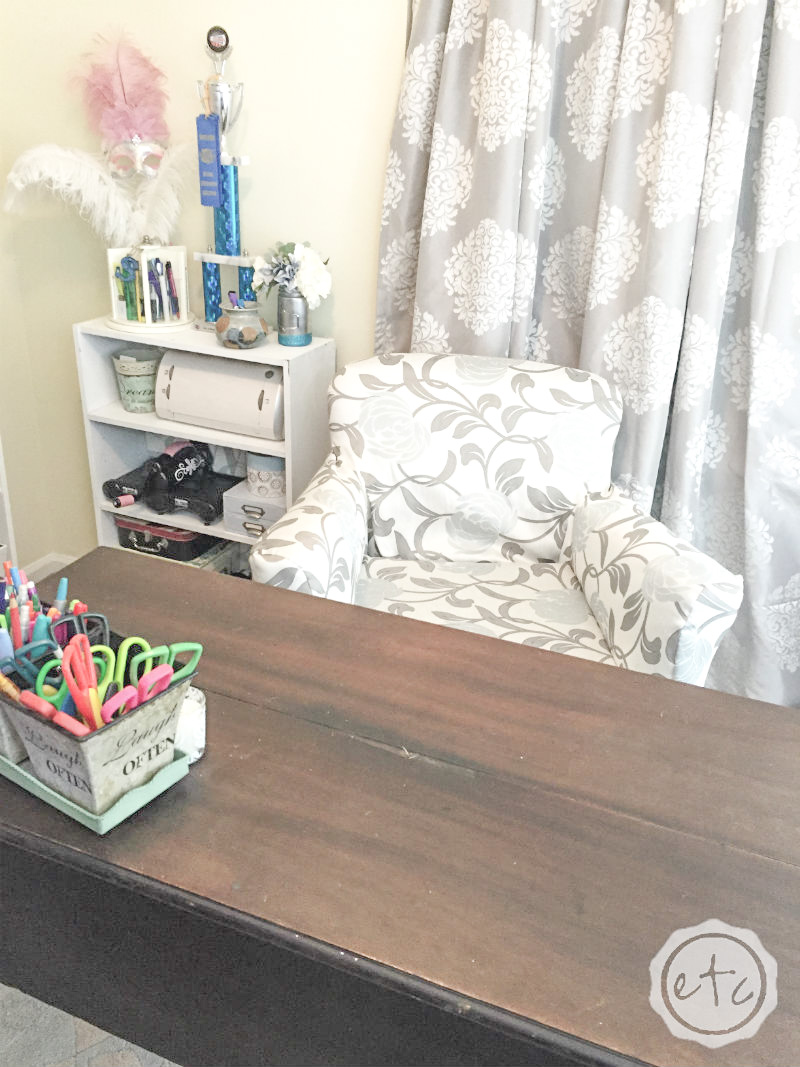


Can you even tell it’s the same chair?! I am absolutely in love! The best part? My hubby is so super cool that he didn’t even blink when I gave him the fabric samples. Even though there was a stripe in the same colors he picked the floral since it would go with the room! Isn’t he the best? One day I’ll reward him with a super awesome Broncos office chair (and steal this one for myself!) but until then this baby will be soooo much comfier then the green chair he was using!
Update: The hubby was way too rough on this little chair and broke it after a month! He reinforced the screws with anchors and it’s now living permanently in my craft room! After staging the photos it just belonged in there.. so there it will stay!
Don’t forget to Pin for later!


What a great transformation, it looks amazing! well done
Wow! Mom is my hero! Beautiful slipcover! This will be my next project!
I bet your husband works in a more comfortable way, love the fabric and the result.
What an amazing transformation-so great!
Great idea! I’ve been looking for a desk chair for my husband and found him a really cool antique one. But then he tried to use it and a wheel comes out every time he rolls a certain way. So it’s in the garage. Now you’ve given me great inspiration!
Love that fabric (and love your husband for loving that fabric!). And your tutorial is fantastic! Makes me think I might even be able to do it…Thanks for the motivation.
Wishing you a lovely Wednesday.
Hugs, Lynn
To cut foam cushion use an electric knife. Works great and lets you put a curve if needed in the corners and such.
Hi Margie, thanks for the tip! I’ve used an electric knife before to cut foam for my Dad’s model trains! It really does work like a charm… I just didn’t have mine on this particular day. Great tip though!