

This is a sponsored post written by me on behalf of Coca-Cola® and Dollar General. All opinions are 100% mine.

I have the cutest tutorial for you today… even the hubby loved these little ornaments! You all know that I have a Diet Coke habit… I know that most bodies are 75% water but I’m pretty sure I’m 75% Diet Coke.
It’s a problem y’all but I don’t even care! I love it!
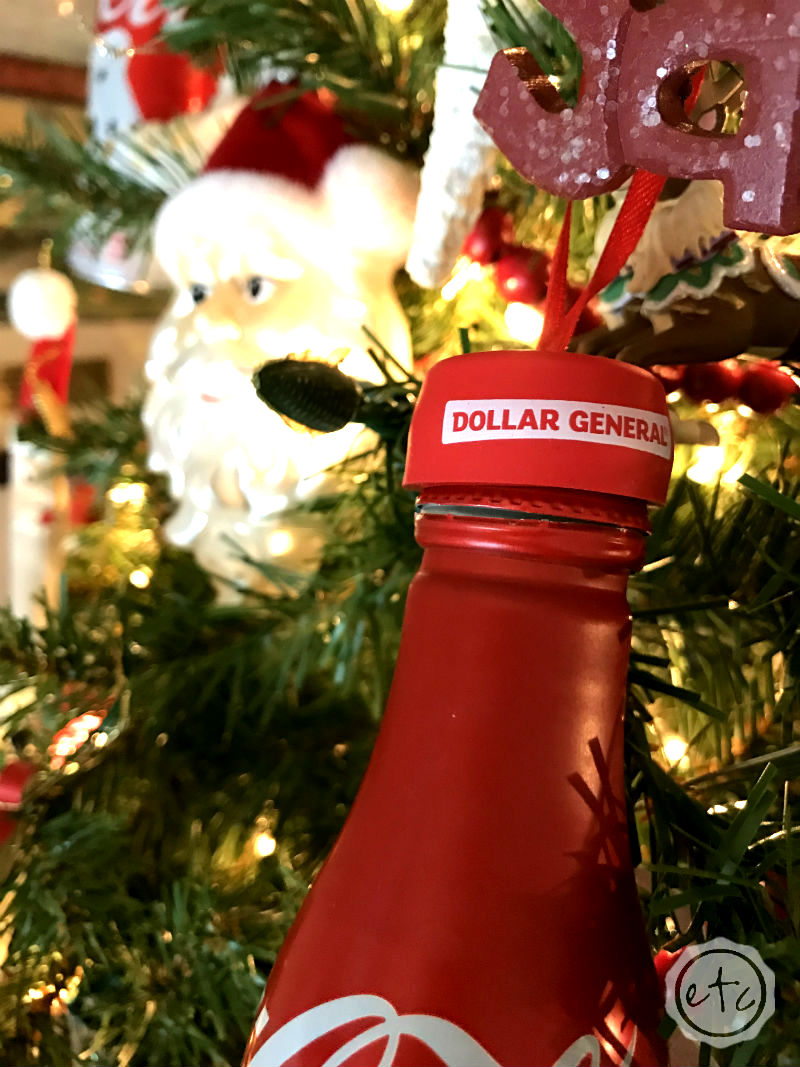
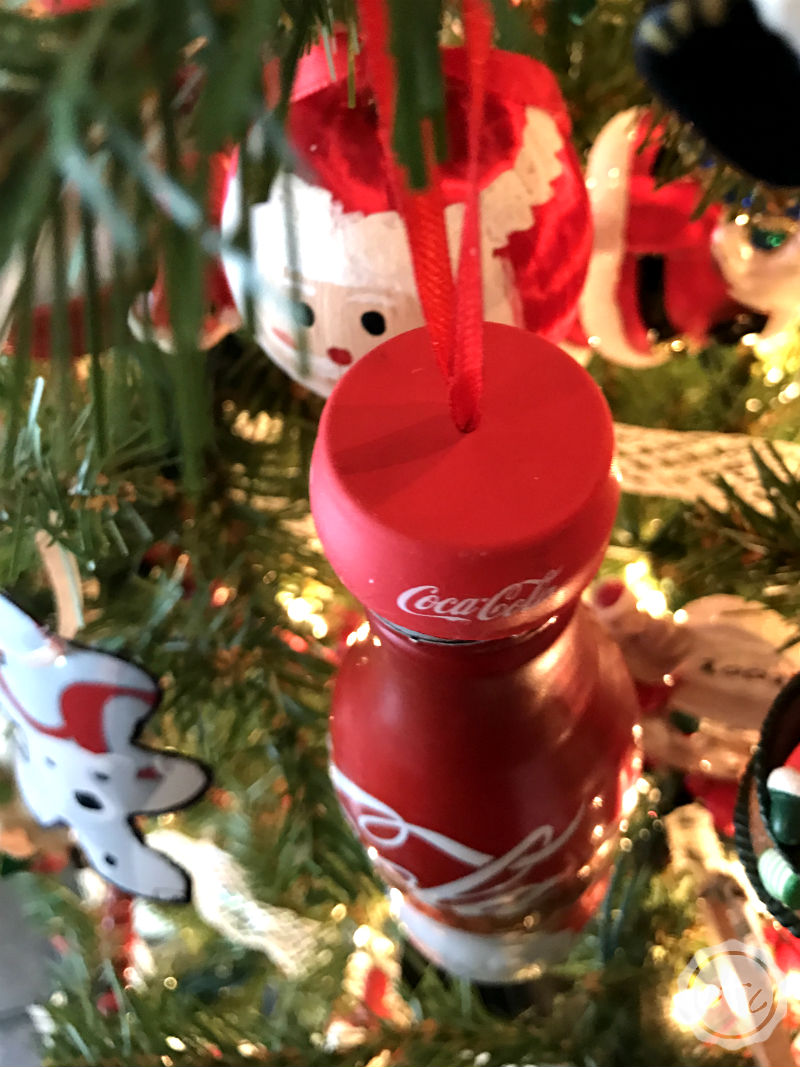
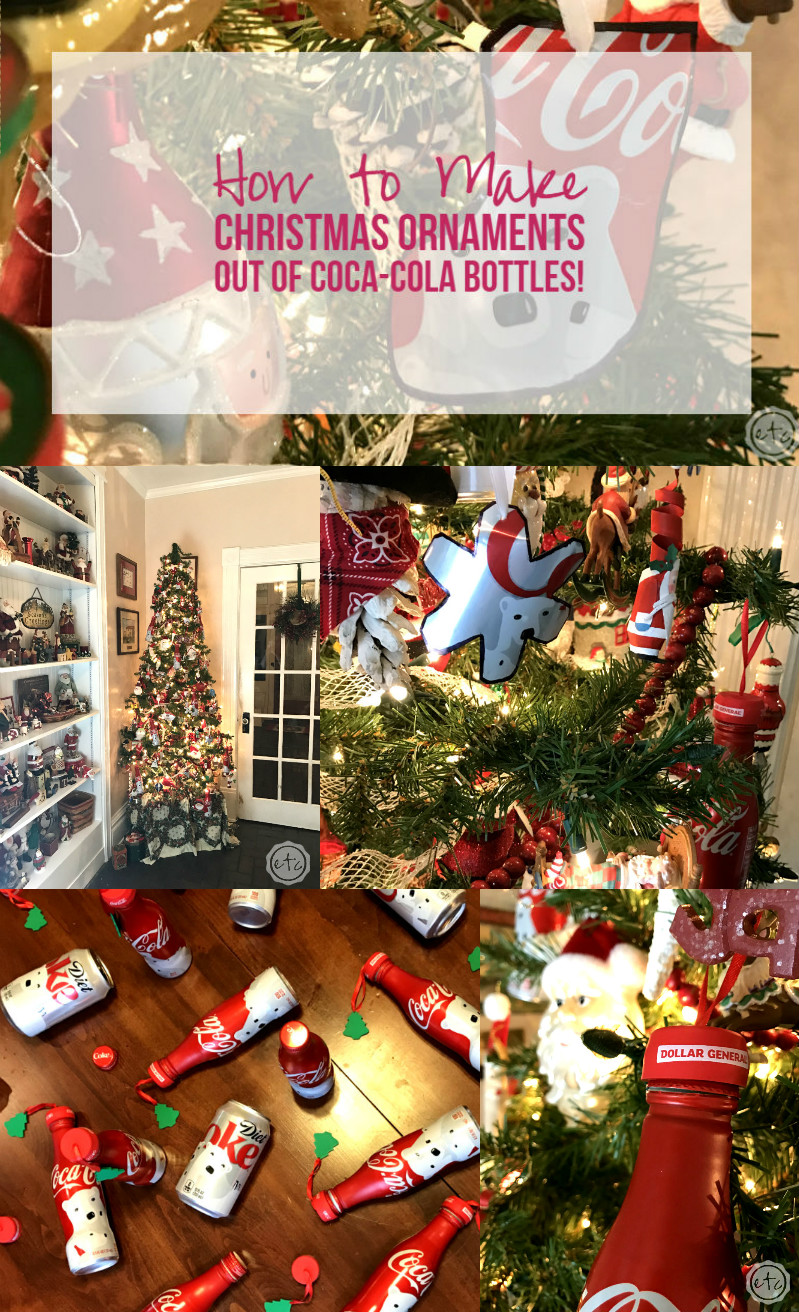
So when I found these adorable limited edition holiday aluminum bottles at Dollar General I knew I had to make a Christmas Ornament for my tree! Especially because these little guys come with their very own Bottle Cap Topper … which basically turn your little bottle into a Christmas ornament! Cute, huh?
Looking for a bunch of posts on DIY & Crafts? I’ve got you covered!
Click here to see all of my how to DIY & Craft posts in one place!
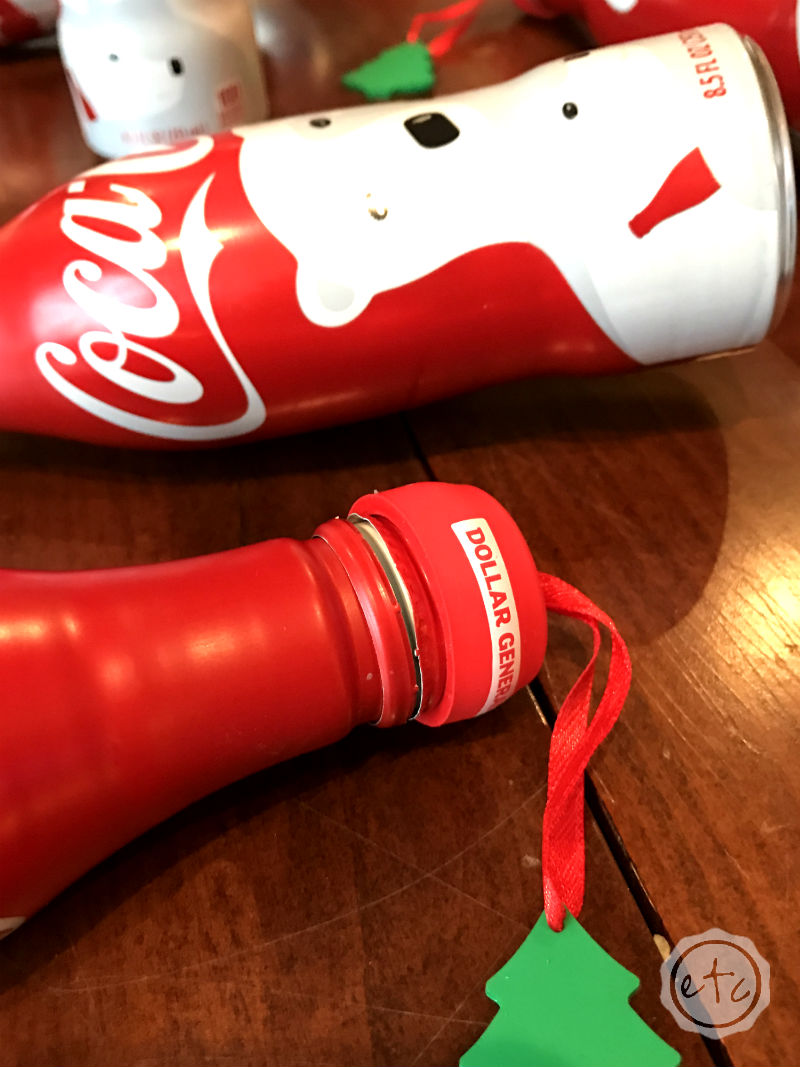
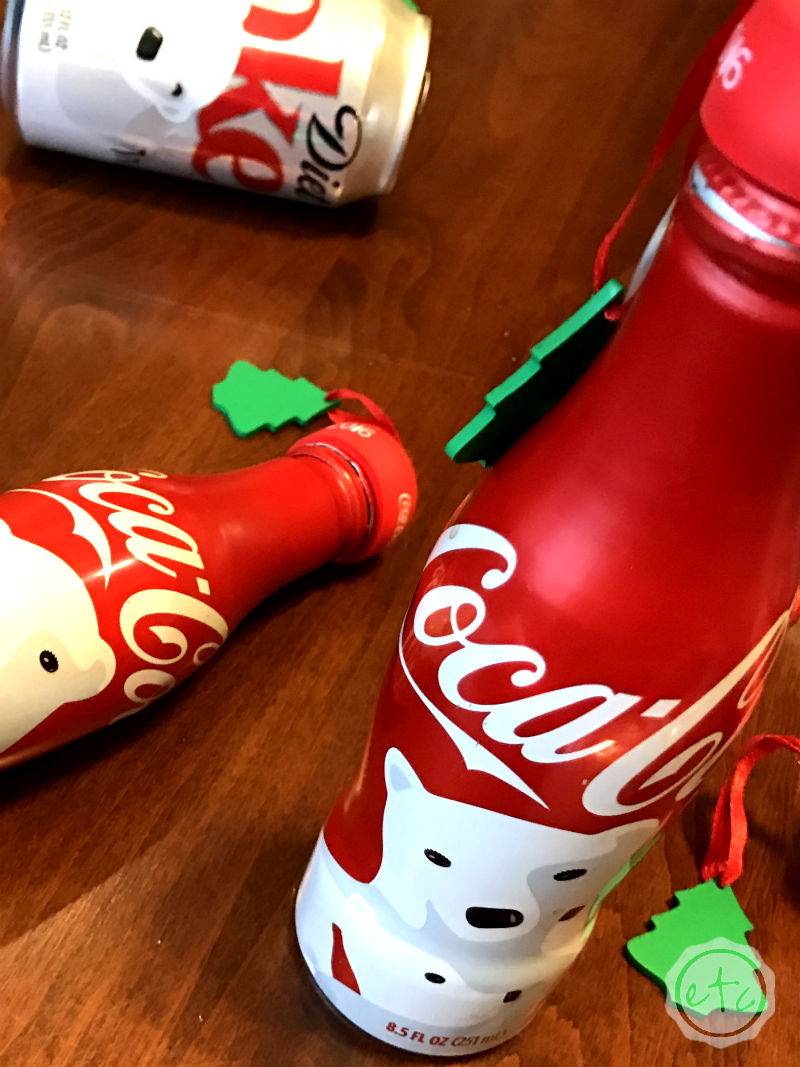
I mean just look how cute they are! I kind of love them! You can slip the rubber bottle topper on your empty soda bottle for an adorable pre-made ornament or you can grab a few cookie cutters and make a few cut-out ornaments for a fun mix of bottles and shapes!
Let’s get started!
Supplies:
Coca-Cola Bottles
Bottle Cap Toppers
Tin-Snips
Black Magic Marker
Ribbon
Nail and Hammer (or random piece of wood if you can’t find your hammer 🙂 )
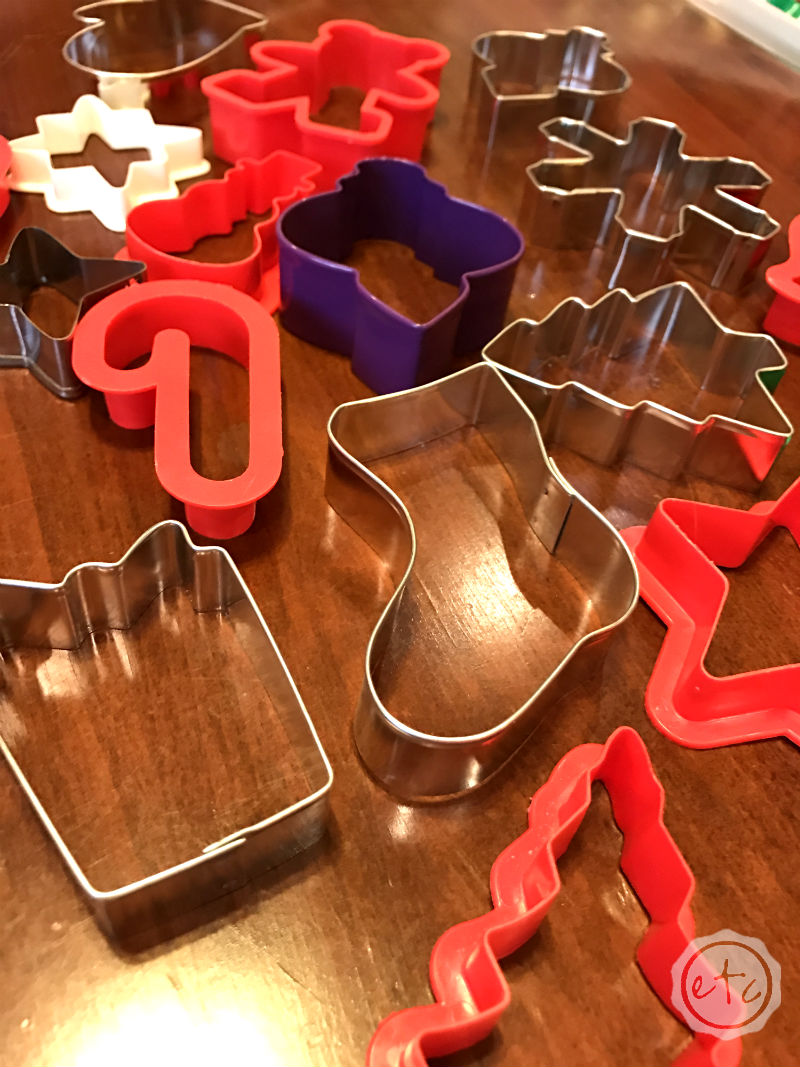
Cookie Cutters
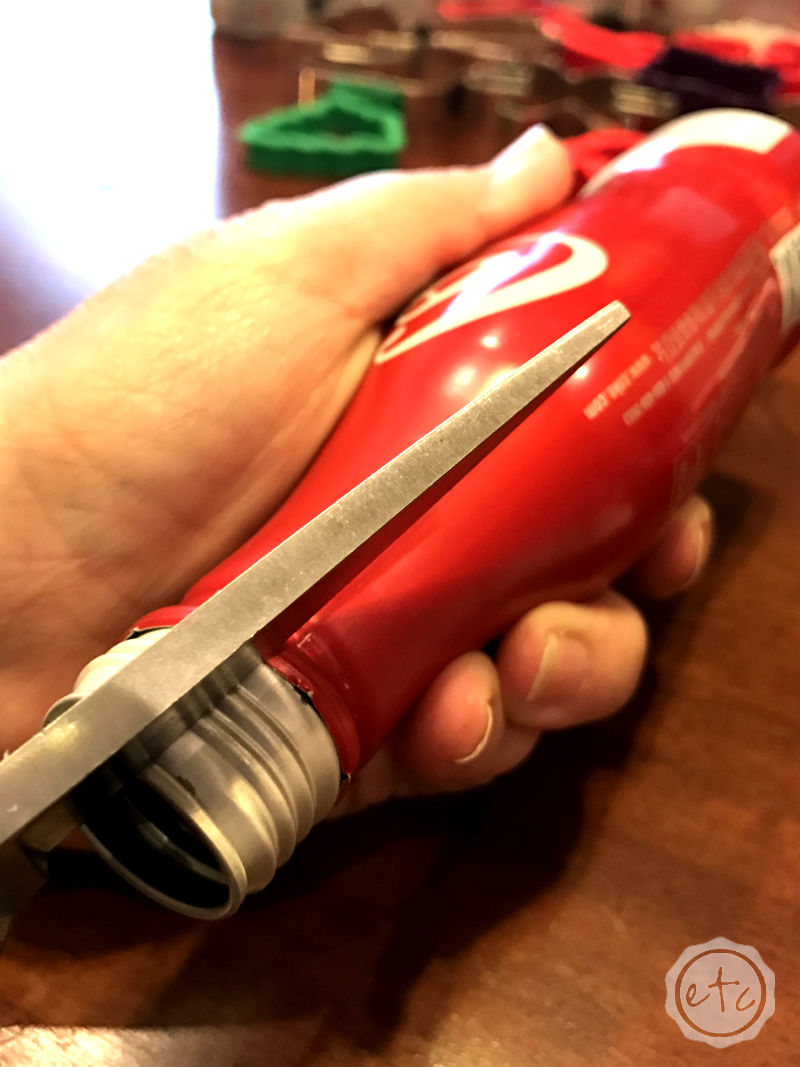
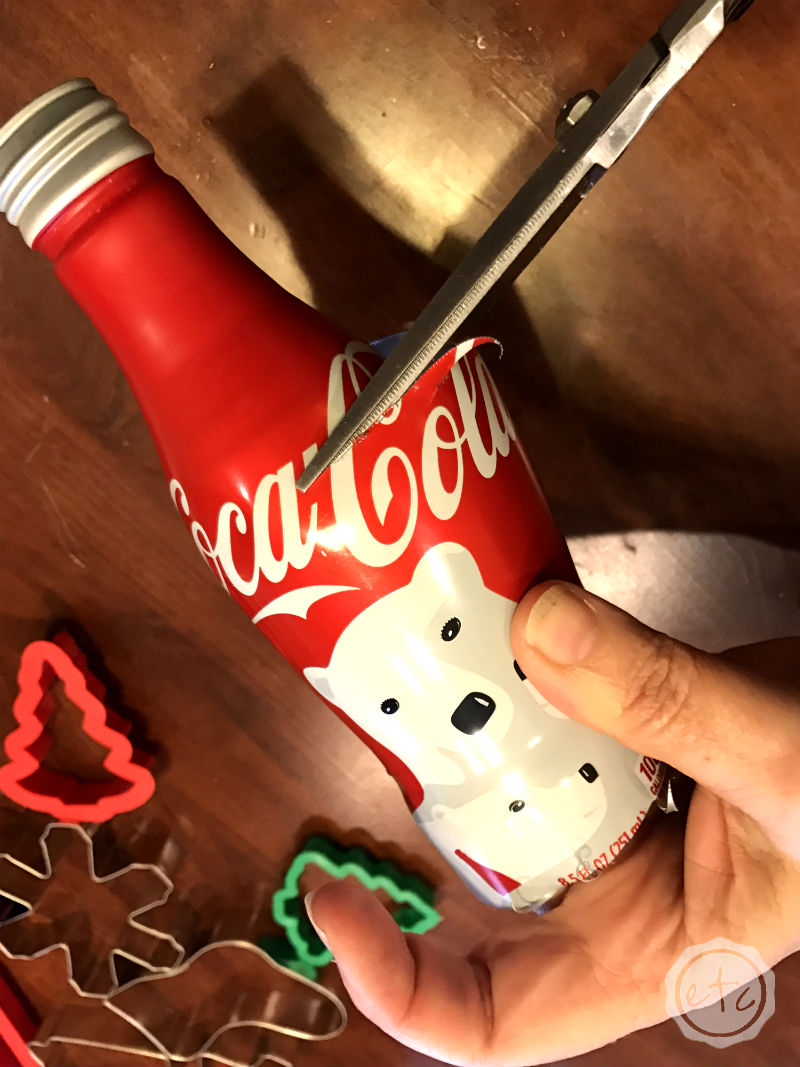
Step 1:
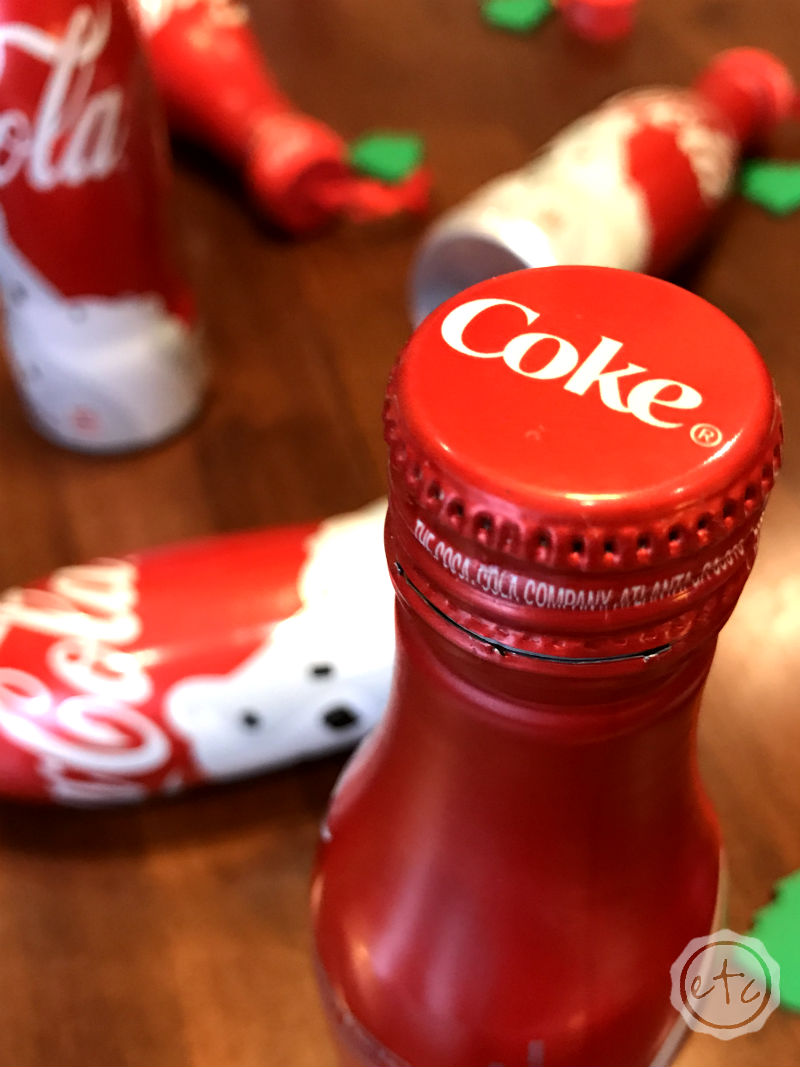
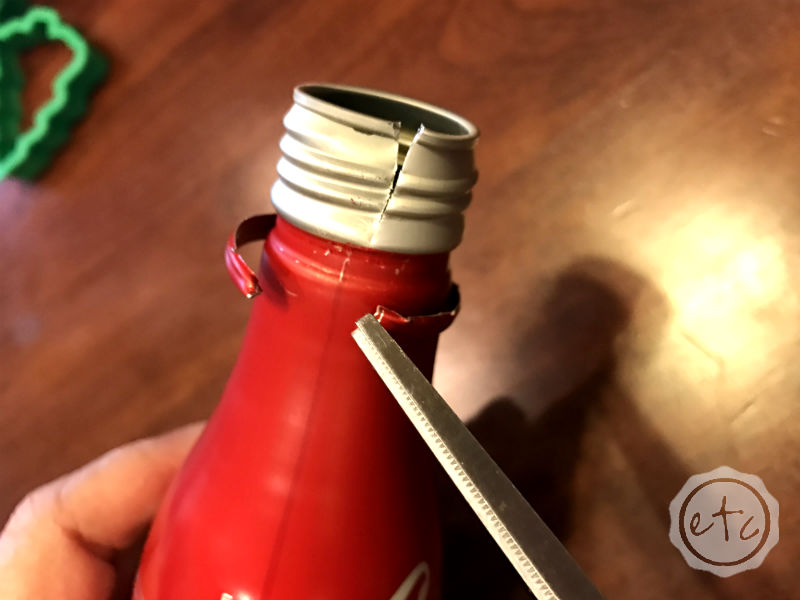
Cut apart your bottles! Start at the top and cut down the mouth of the bottle… once you get to the little ring of aluminum (where the lid use to attach) go ahead and cut that baby off. Without it your bottle will be much easier to cut through!
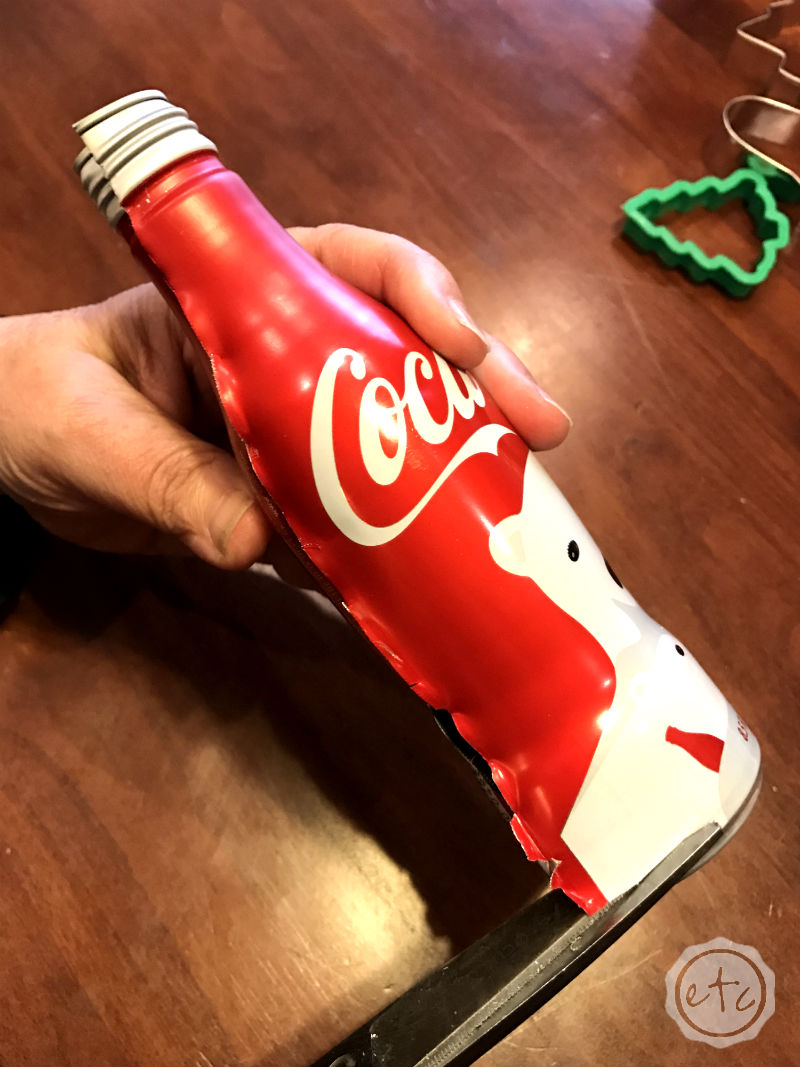
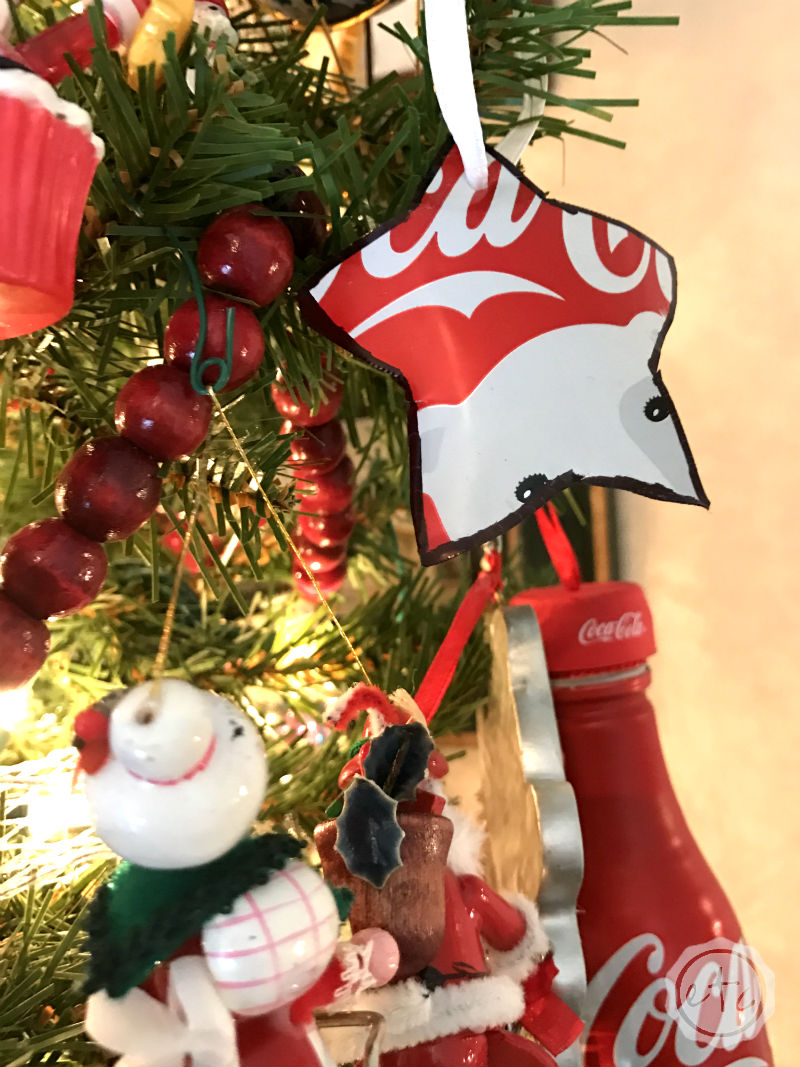
Now that that’s done go ahead and cut down the entire side of the bottle… make sure not to decapitate any polar bears! Now it’s time to flatten your bottle… in order to do that you’ll need to cut off the bottom of your bottle and the top of your bottle. Basically these little bottles are curvy so cut off most of the curves while leaving as much of the design as possible!
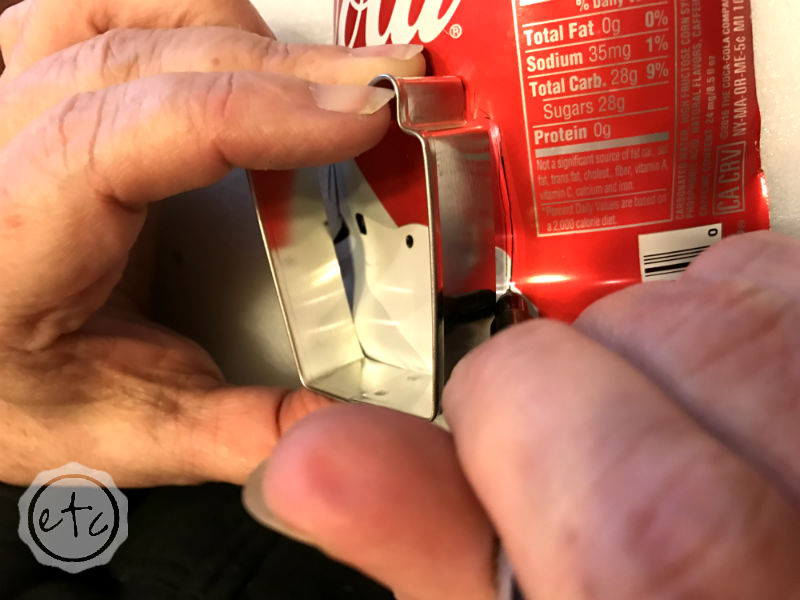
Step 2:
Now it’s time for the fun shapes! Take your cookie cutters and decide which shapes will be easiest to cut out… since the bottles will never truly be flat simple shapes are the easiest to cut out.
Go ahead and trace around your cookie cutter with a black marker… it may not be perfect but that’s ok we can finesse the shape later!
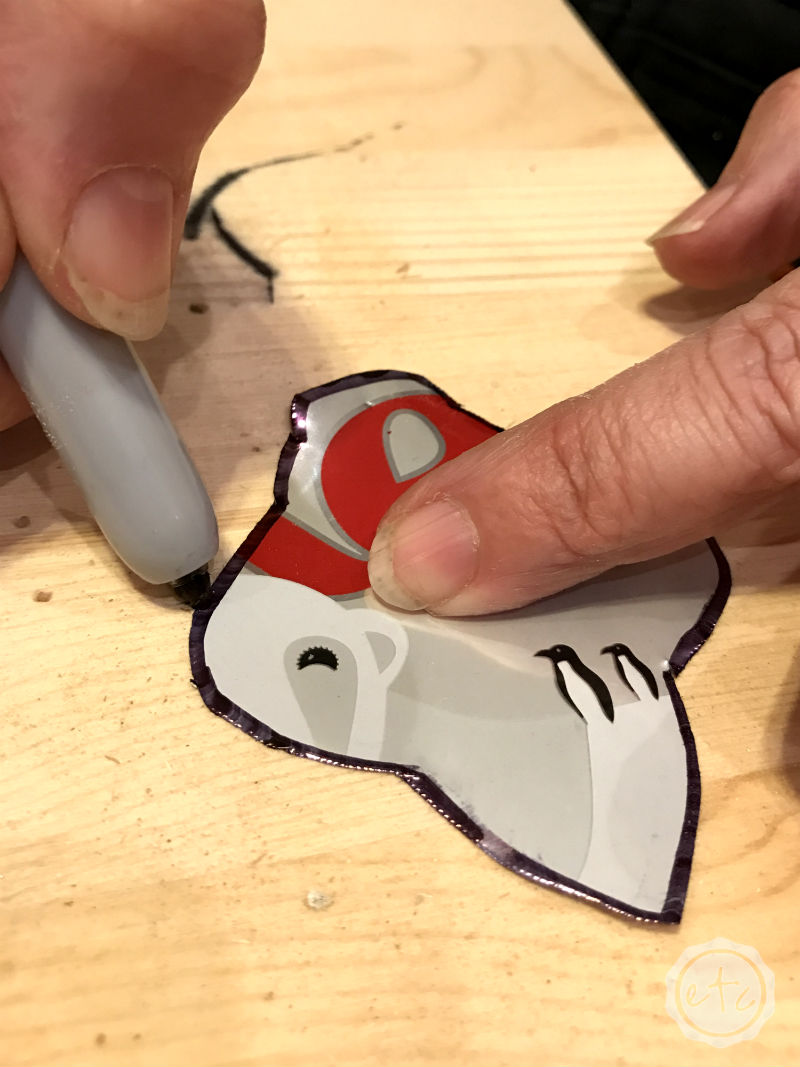
Step 3:
Once your shape is cut out go ahead and smooth out the edges. I usually start by cutting off the sharp edges and then if they need a bit of smoothing go ahead and sand them gently. Just be careful y’all… those aluminum edges are sharp!
The black outline from Step 2 may still be viable… so go ahead and outline your shapes with your black marker. This will even out the edges and give the ornaments a finished look, score!
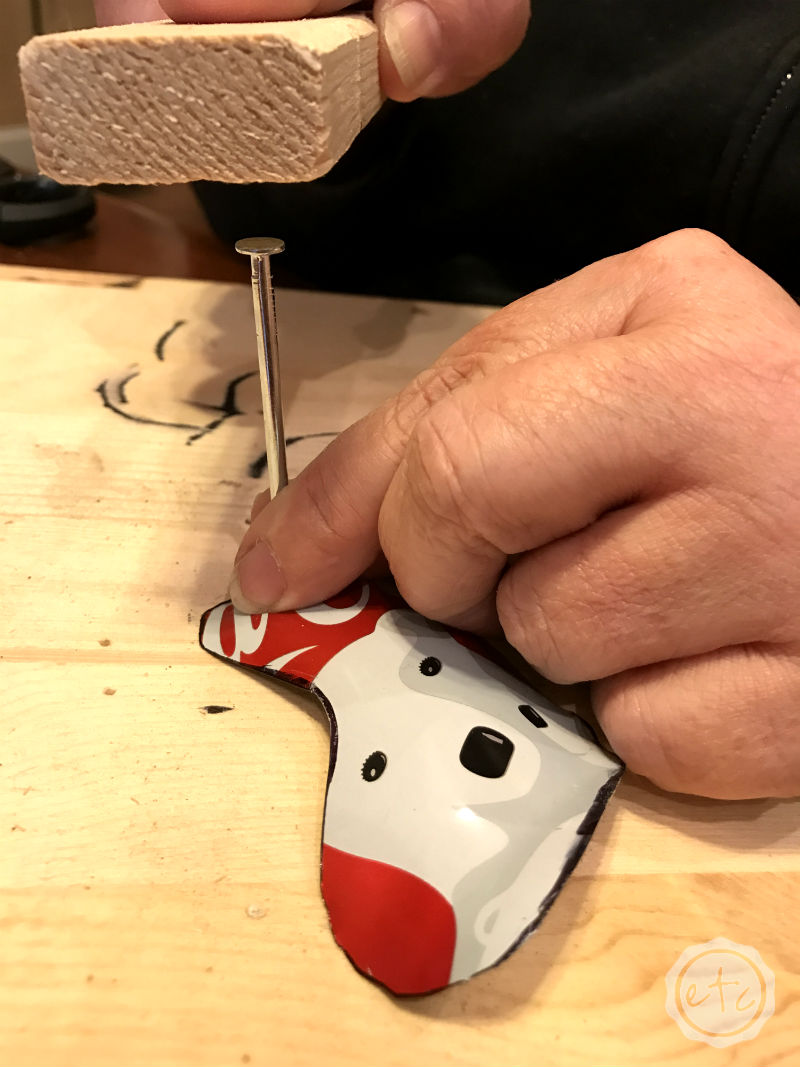
Step 4:
Now it’s time for the finishing touch… the ribbon! I picked white but these would look super cute with red or silver as well. Simply place your nail where you want a tiny ribbon hole and go ahead with your hammer (or your small piece of wood if your hammer is mystically missing). Once you have a small hole go ahead and thread your ribbon through the ornament and tie a knot in the end.
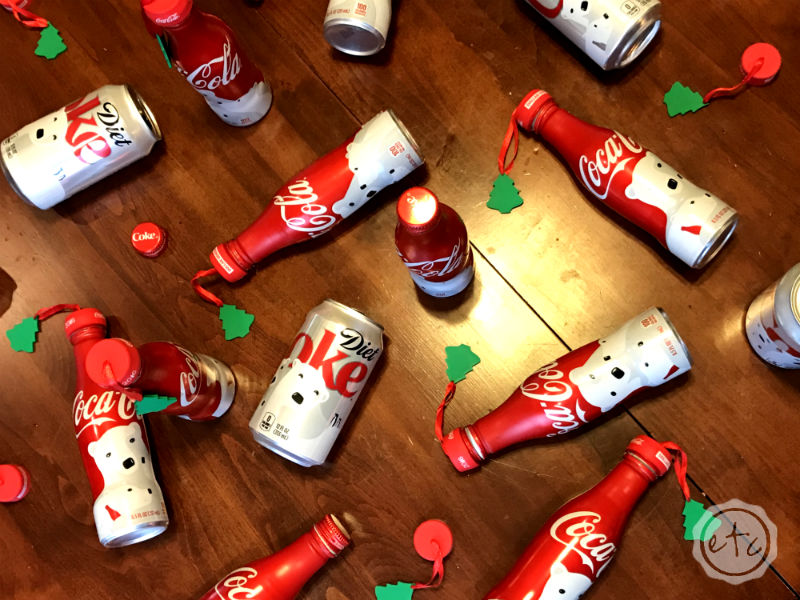
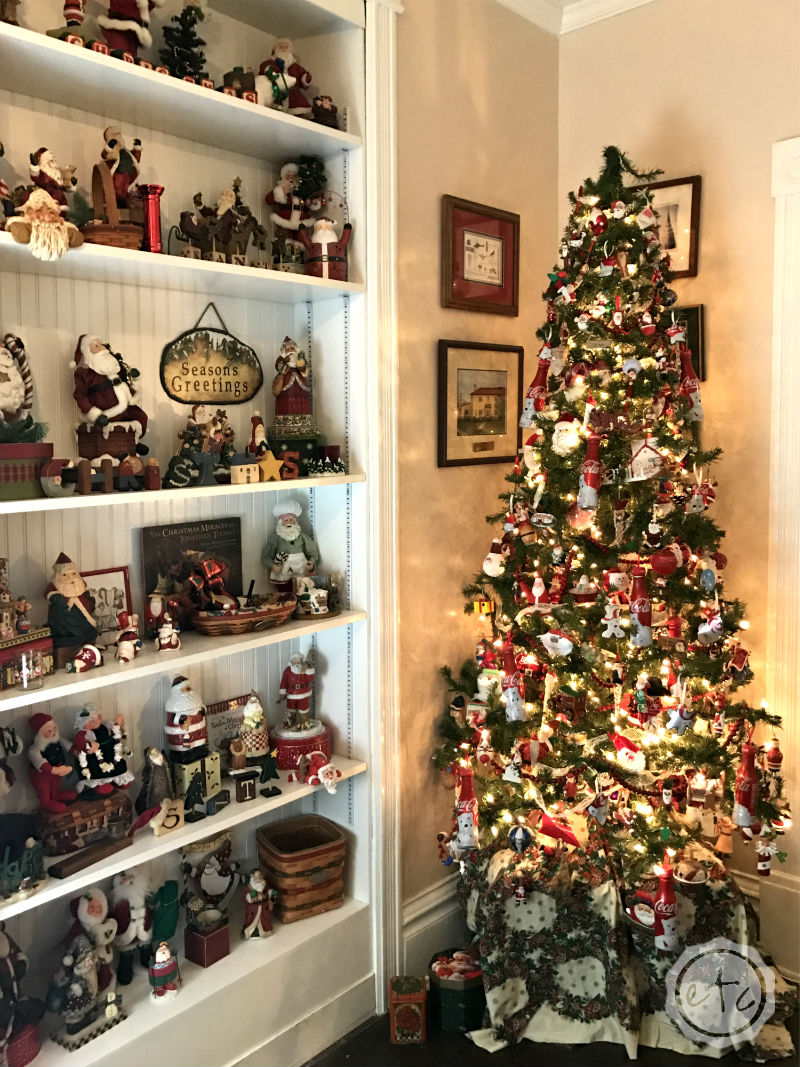
There you have it! A whole set of adorable Christmas Ornaments! We made more than a few beceause we kept finding adorable cookie cutters to try… what shapes are you going to use?
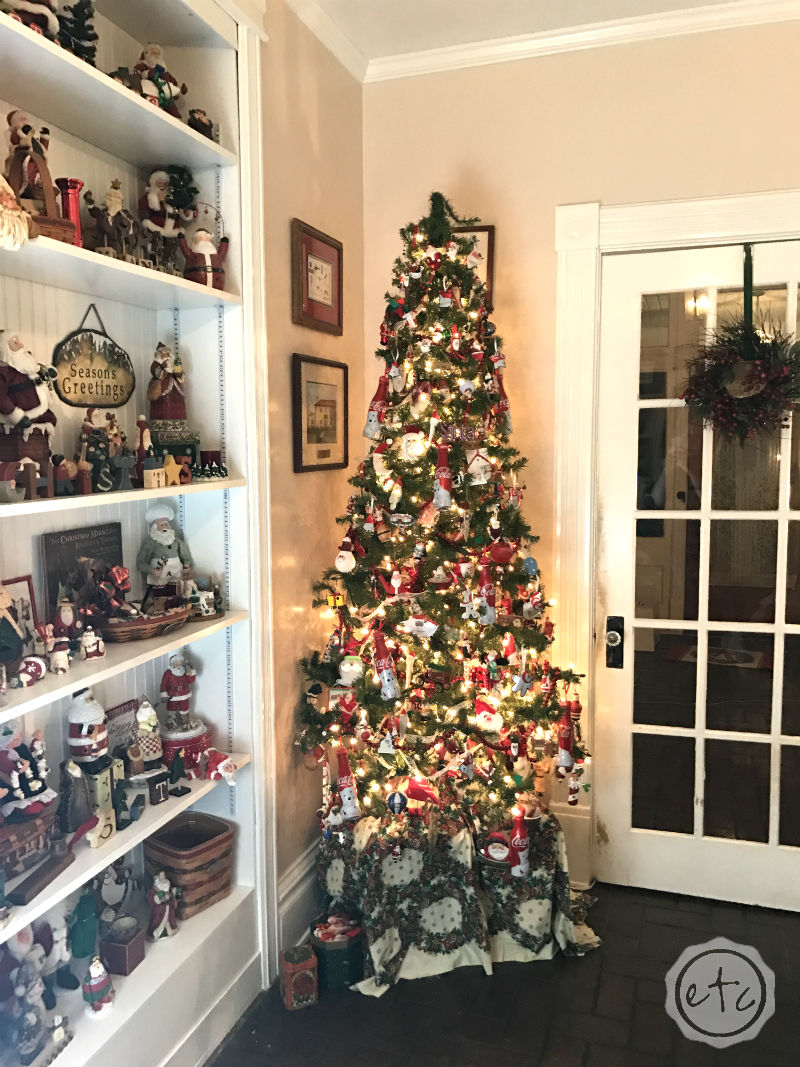
Now that we’re done go ahead and hang your ornaments on the tree… then step back and look! Oh! Don’t forget the aluminum bottles with their tiny Ornament Toppers!


Ha Ha,
Very nice!! Great way to recycle used Coca Cola bottles at this time of Christmas
Merry Christmas