This week I was on a cleaning binge I broke out the spray and we worked on just about every room! The kitchen is painted (and clean), the bookshelves for the craft room are built (and clean), the bathroom is put together (and clean) and the living room is coming together (and clean!).
See the pattern?
Looking for a bunch of posts on DIY & Crafts? I’ve got you covered!
Click here to see all of my how to DIY & Craft posts in one place!
I love decorating and working on home decor but clean is always the first step. Which is why I am loving this new Bona Hardwood Floor Cleaner! Of course, clean is the beginning but once I scrubbed the floors I felt the need to move on to the next part… finishing a few projects!
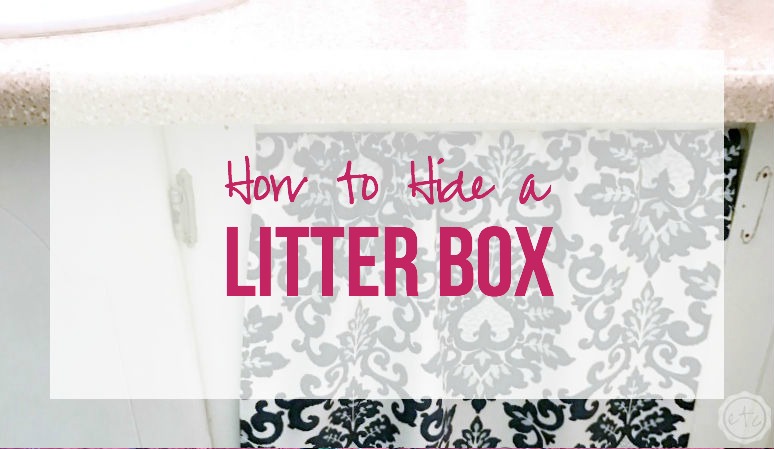
When I was scrubbing the bathroom floor I decided I had enough of the stinky litter box out in the open for everyone to see. Enough is enough. So I grabbed a screwdriver and took the third door off the cabinet! Of course that gets the litter box off the floor but it doesn’t exactly hide the thing.
Now it’s just in a cave… what we need is a curtain to hide the entire mess. In a quick easy fashion… no stitching. So I grabbed a roll of fabric fuse and spent 20 minutes whipping up this cute little litter box curtain!
Supplies:
1/2 Yard of Fabric
Scissors
Step 1:
This might be the easiest project ever… if you can use double sided tape you can use fabric fuse. Start with the bottom hem putting a long strip of fabric fuse along the edge. Make sure you leave about half an inch on both sides for this strip… otherwise you’ll have too much fabric at the corners.
Step 2:
Now go ahead and cut a little square from each corner… like I said we’re just trying to keep the fabric from building up at the corners.
Step 3:
Now it’s time to take the backing off the fabric fuse! It’s not hard just make sure the backing comes on and the clear sticky fabric fuse stays on the fabric.
Step 4:
Now it’s time to make your hem… fold your fabric over making sure to keep the edge straight. Press it down firmly so the pieces bond together.
Now repeat the process on the two long sides… you won’t need to cut a square out for the corners this time. Simply run a strip of fabric fuse and make a nice clean hem up the sides!
Step 5:
3 out of 4 sides are done! Now it’s time to do the top hem… and this one will be just a little different. We need to create a pocket for the tension rod at the top so after you lay your fabric fuse wait a second before folding over into a hem.
You’ll want to go a bit further down on this one (about 2 inches) so that the tension rod has room to side. Line up the edges and then you’re ready to seal your fabric fuse. Try to keep it straight but if it folds up a bit on the underside it’ll be ok. It’s more important to keep the edges straight.
Take a peek!
Step 6:
Now it’s time to hang this baby up, I can’t wait!
Now we’re all done! The litter box is hidden and the entire bathroom is coming together. Let’s just hope that the kitty cats can get in through the curtain ok… I think they’ll be just fine. They know how to use a cat door and push aside curtains so this should be a breeze!


One last note, my cabinet door took exactly half a yard of fabric. The only downside was after I hung the curtain for the first time I noticed that it was just a tad long. About 2 inches too long actually.
In order to prevent this you could measure before creating your top pocket to make sure your curtain hangs at just the right spot… or you could run a second line of fabric fuse and double up the hem.
Whatever works for you! 😉 I may have gone with the second option…
If you’re loving my cleaning solution grab a bottle for yourself… I even have a coupon for 3 dollars off.
Don’t forget to pin!


