
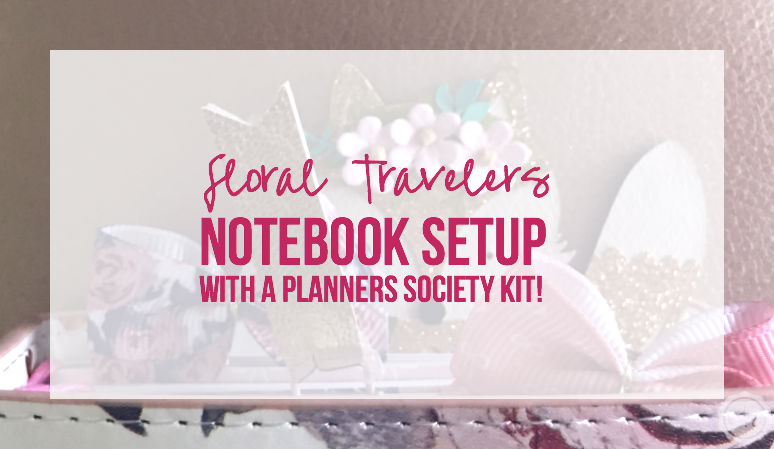


Well y’all I fell down the rabbit hole that is Travelers Notebooks… and I’m kind of in love. Since I’m just getting into this new system I’m learning right along side y’all. Either way I still wanted to share my sweet little floral travelers notebook setup.
I actually looked and looked and looked before I found the perfect notebook… this pocket size wide notebook by the Planner Society. Unfortunitely it’s not sold except in a subscription and the one I fell in love with was last available several months ago!
I really have all the luck.
The planner society has new kits every month so if you’re looking for a cute option go ahead and check them out but if you’re looking for this specific kit try eBay… that’s where I found mine! I paid a bit more than you would from the planner society shop but all in all less than other travelers notebooks I was browsing on etsy. Plus I purchased the entire kit for the same price so I was pretty darn happy with myself.!
I mean just take a look at how cute it is next to my Happy Planner!


I am in love with how the entire setup turned out! I still have a long ways to go (since apparentally adding extra die cuts and doo-dads is half the fun of a Travelers Notebook!) I need to add even more extra things… which means a trip to the Target dollar spot where cute rose gold things are always a dollar.
Since most of this set up is just adding bits and bobs this is more of a sharing post than a tutorial but I hope it helps someone who’s trying out the travelers notebook world for the first time (just like I was last week) there’s less information out there then I would like. I actually bought the wrong size inserts for my budget travelers notebook since it’s all so confusing… but that’s another post for another time.
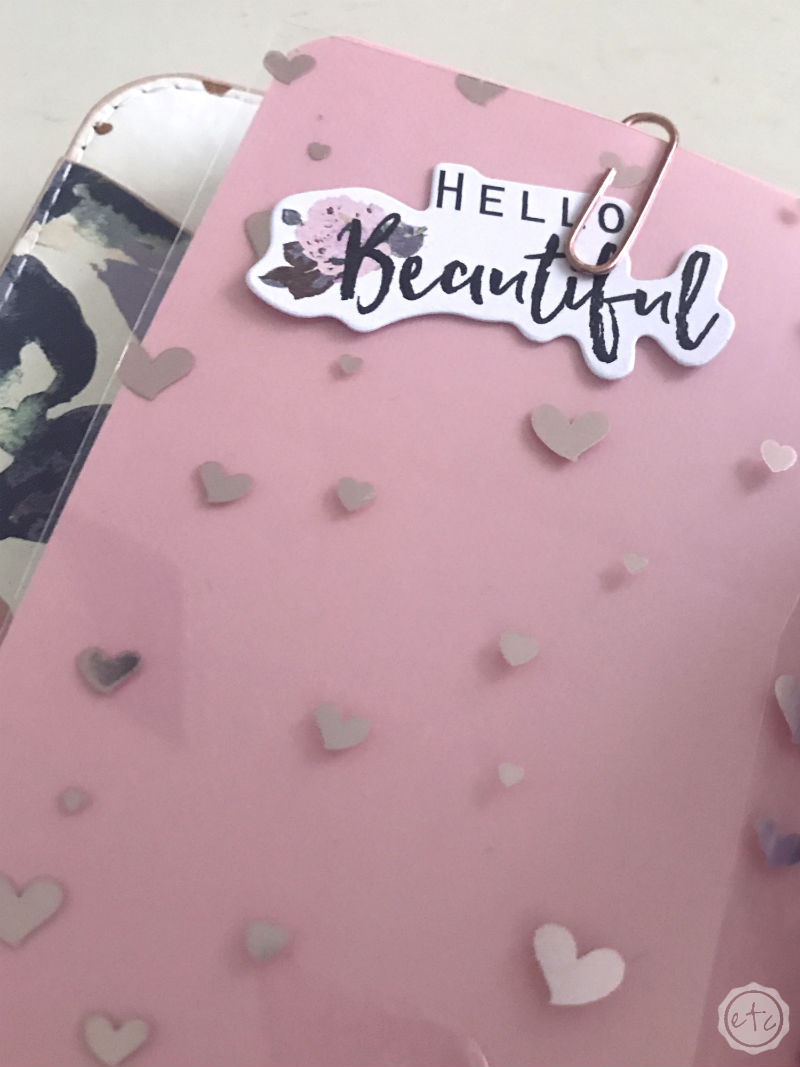
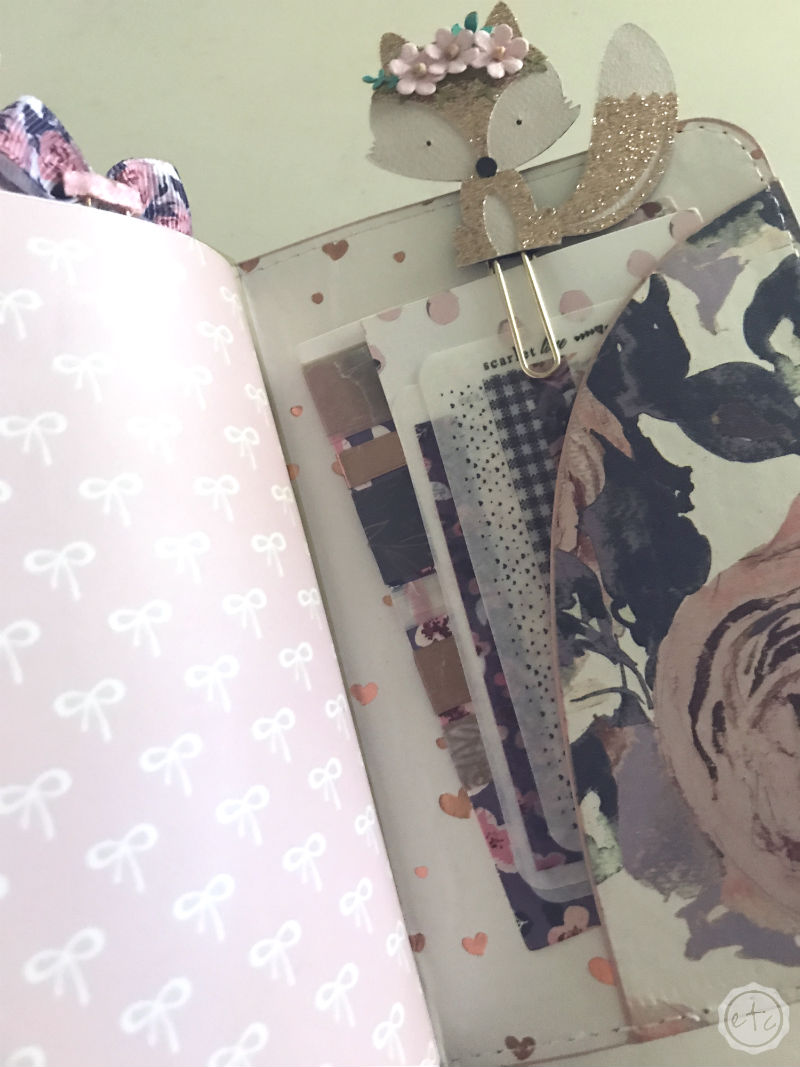
In the mean time take a look at how I set up each of the six books that came in this kit… and if you’re looking for the cute little fox paper clip it’s one of the few things that didn’t come in the kit. You can grab that little guy from the Creative Bee on Etsy! I actually have two because Melissa (who owns the Creative Bee) said that my fox clip was made with the wrong color leaves.
I wouldn’t even have been able to tell but she pulled the package, made me a new clip and included a second fox to make up for it.
Best. Customer. Service. Ever.
I will definitely be buying from her again.

The inside pocket is a secretarial style with a cute embossing of the Planner Society logo. I absolutely adore the rose gold hearts on the inside cover… as much as I want to load the pocket with fun little doo-dads I really want to see those darn foiled hearts!
So I’m dragging my feet on loading up the pocket. I’ll get there eventually but I need the perfect item and I haven’t found it yet… maybe a fox. I am in love with all things foxie these days.
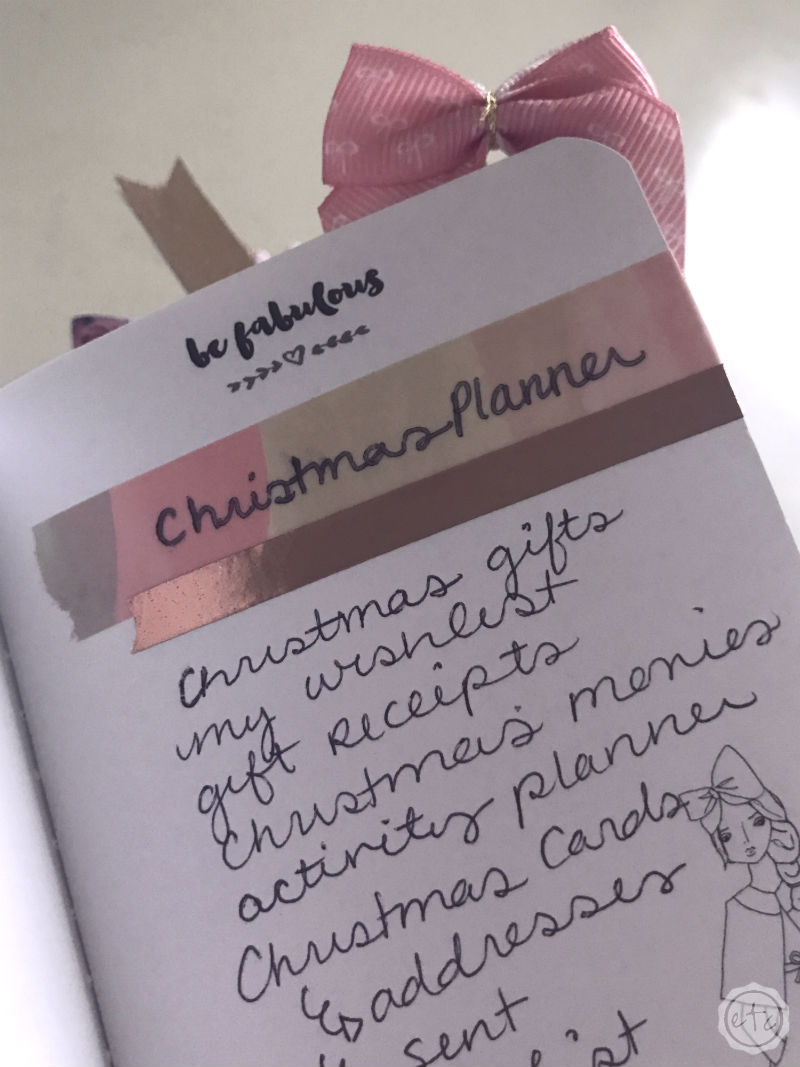
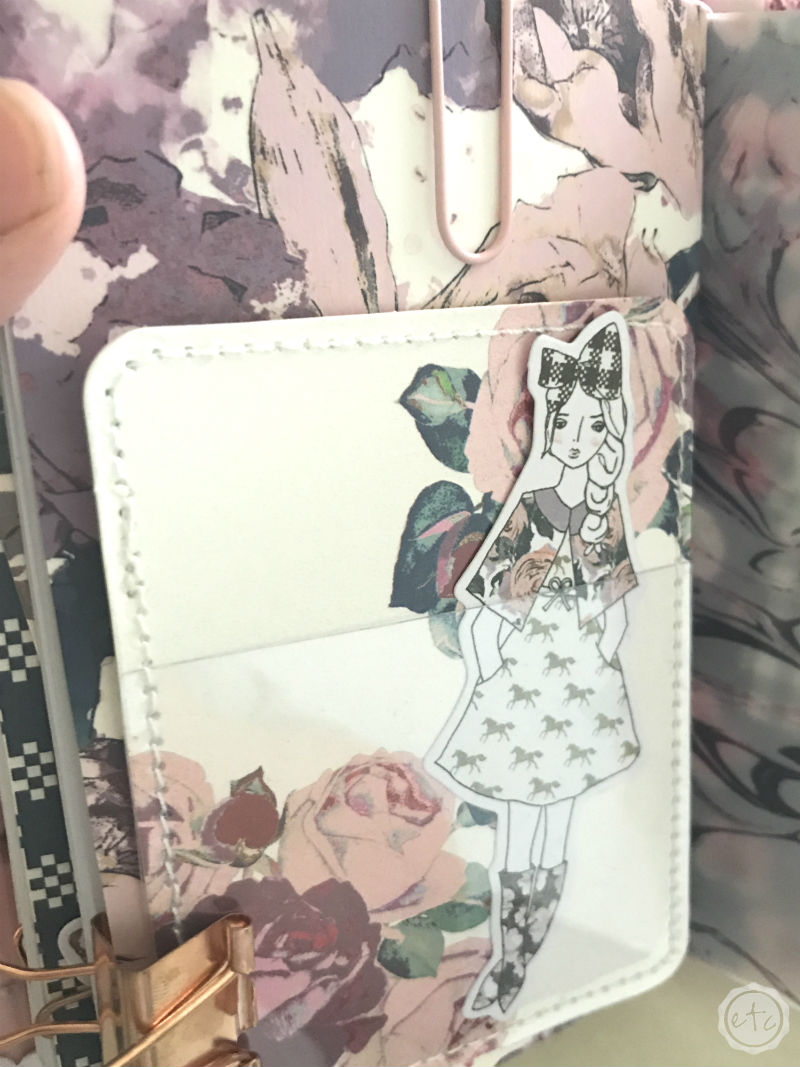
Here’s a look at the first little book in the notebook… with the rose gold acetate over top my little planner girl. One of the sweet little hearts hit her right over the eye like an eye patch… so she’s a little pirate girl.
If you watched the video you know that makes me entirely too happy.

I’ll have to do a little tutorial on this next section… because I made a DIY shaker card to go with my cute confetti from the kit! I don’t have a fuse tool so I just went for it with a little cello bag and backer card!
I kind of love it although I need a slightly bigger cello bag so there’s more room to shake… I mean priorities y’all! It’ll all come together in the end.

I’m not going to go wild with stickers in this planner like I do my Happy Planner every week… so I went ahead and put togetehr a little cordinating washi so that I can still spice up the headers without going overboard! I kind of love these rose gold accents… I definitely need to add more of those!
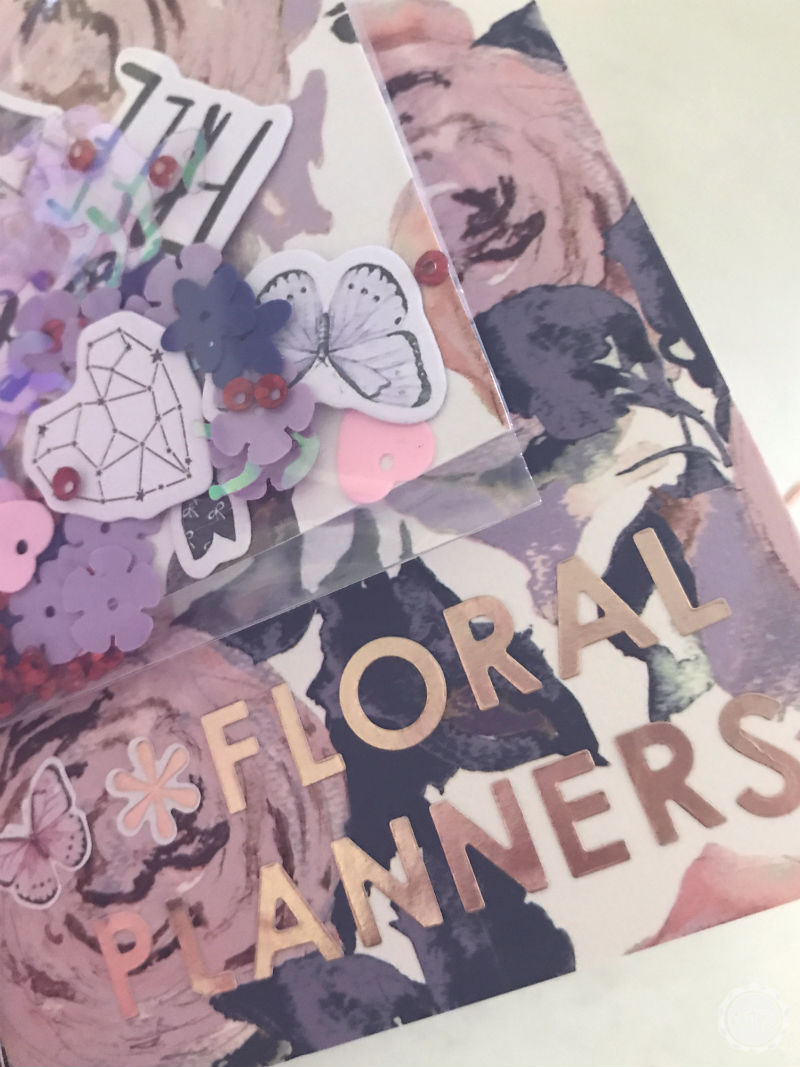
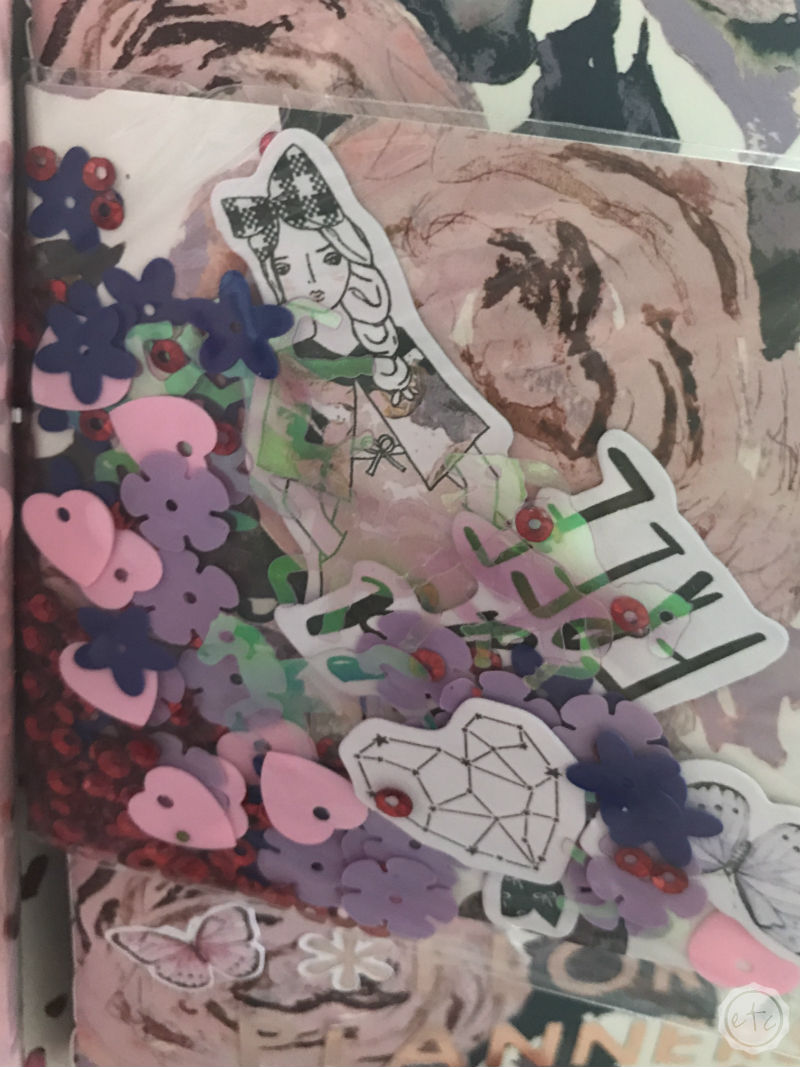
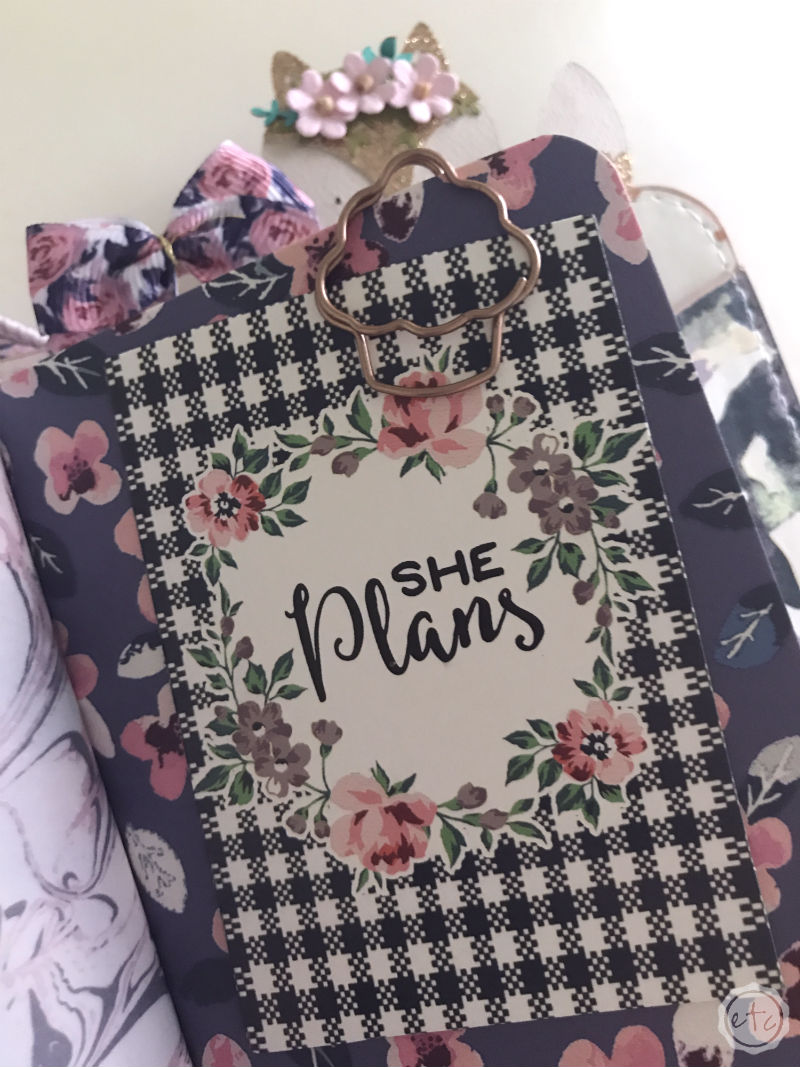
Ready for the rest of the notebooks? There’s six in all and EACH ONE IS PRETTIER THAN THE NEXT!
I absolutely love this kit.


I do adore pretty things!
I will definitely be adding more pretties into this little travelers notebook as we go along but for my very first setup I’m smitten. I love all the patterns and how it all cordinates… plus anything with rose gold on it is my favorite so I’m good.
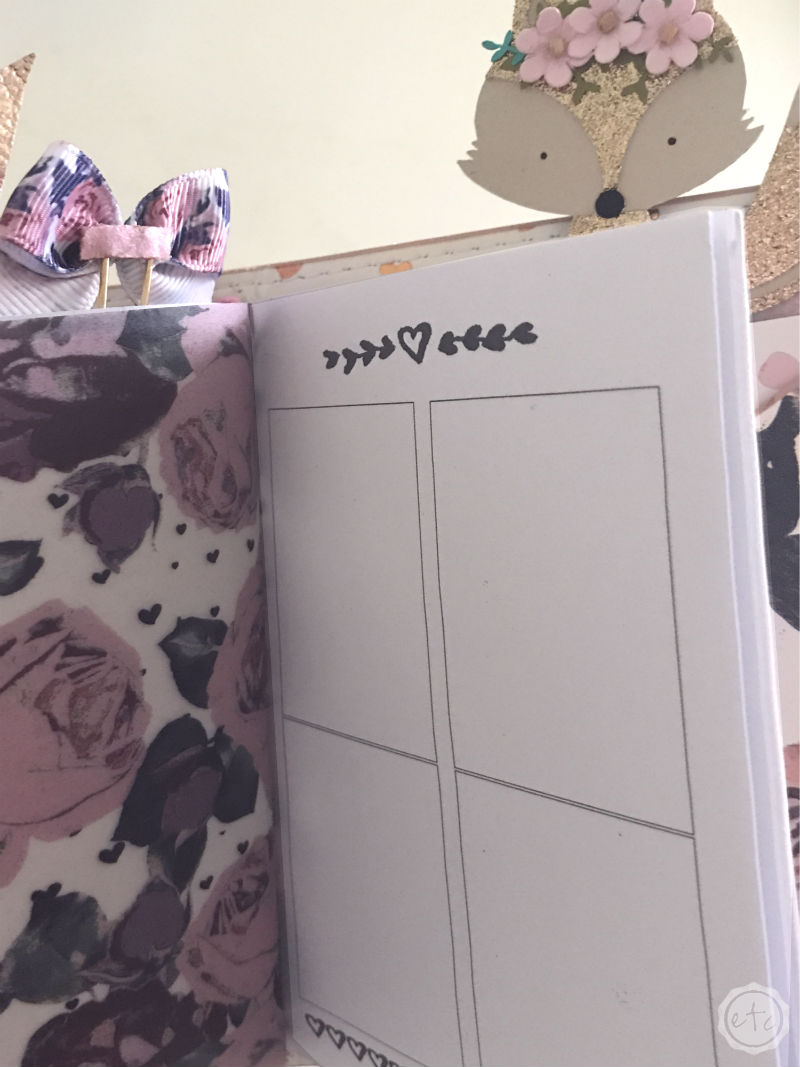
I want to add like 6 more pieces of vellum though… I feel like there needs to be a sheet in between every single notebook. If this is your first setup just remember to lay out all of your pieces before gluing anythign down.
That will help you make sure you love how it’s turnintg out. Then just remember that this is a marathon… not a sprint. So don’t feel like the entire notebook has to be finished in one sitting. It may take a while to be exactly what you’re looking for… and that’s ok!
I’ll definitely be putting together another one of these soon (I literally have another one planned for my budget planner) before I know it I’ll have gone travelers notebook insane and have fifty of them.
Heaven help me.


[…] where I do my weekly plan with me’s (and keep track of my weekly/daily schedule) and my tiny floral product travelers notebook for my shop so this little gray notebook is the perfect compannion to the other […]