Welcome to week 2 of the Thrift Store Swap… also known as the second item! Hopefully you’ve already seen the amazing wreaths that were transformed in week 1 but if not feel free to take a peek! I’m pretty impressed if I do say so myself!
If you haven’t checked out a swap before here are the basics: 14 crafty bloggers commit to buying and re-purposing 2 thrift store items for under $10! Our fearless leader (Lyn at MidMichiganMom) thought up the entire blog hop and although it sounds easy… there’s a catch!
Each blogger is buying for a different blogger on the list! That means each blogger gets a little bit of a surprise in their mailbox! It’s like Christmas but with thrift store items… it’s pretty awesome. So what happens when the unknown challenges 14 crafty ladies?
You get some out of the box tutorials!
Here are the geniuses behind these DIY Tutorials. Make sure to check out each one!
Happily Ever After, Etc.
What Treasures Await
Made in a Day
Sequins in the South
My Pinterventures
C’Mon Get Crafty
ReDo It Yourself Inspirations
DIY Just Cuz
5 Kids, a Dog and a Blog
The Small Stuff Counts
Kreativ K
Mid Michigan Mom
One Crazy Ride
Crazy Organized
I was lucky enough to receive two amazing items from the lovely gal over at Kreativ K! Y’all already saw my fantastic rope wreath turned spring pom pom wreath but check out my second item!
Honestly I’m not quite sure what it is… it has little feet so it’s a pretty cute little riser? Display? Pizza holder for dwarfs? I’m not sure!
Either way I knew exactly what I was doing with it… string art!
Supplies:
Board, platform or tiny dwarf pizza holder!
Craft Paint (or leftover sample paint)
Steps:
The first step is to paint your base in your favorite color… or whatever color you have lying around the house! I picked navy to coordinate with our guest room reveal.
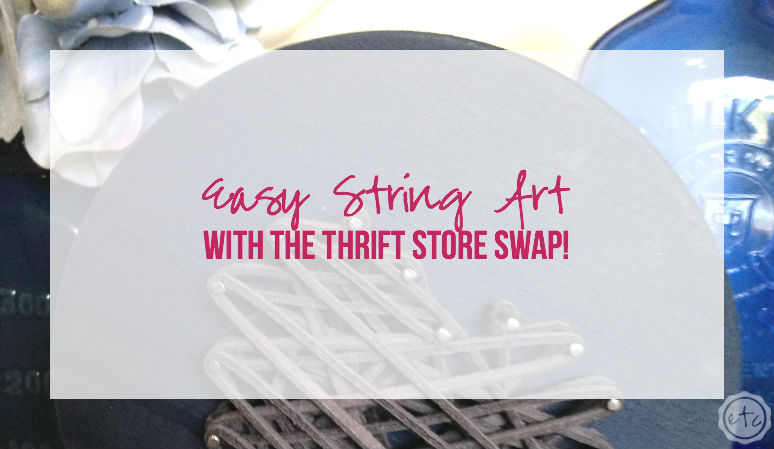
From here you can follow my step by step string art instructions but this little heart is super simple… I didn’t even use a template! I simply placed my finishing nails onto my little platform in the shape of a heart! The hardest part here was making sure that all the nails were even across the top.
For this piece of string art I wanted to experiment with a 3d effect so I picked larger finishing nails to wind my cord onto.
Once the nails are in place simply wind your cord around and around the nails!
Volia!


I don’t know about y’all but I’m kind of in love with it! Of course with all of the fun Thrift Store projects it’s hard not to find something to love!


