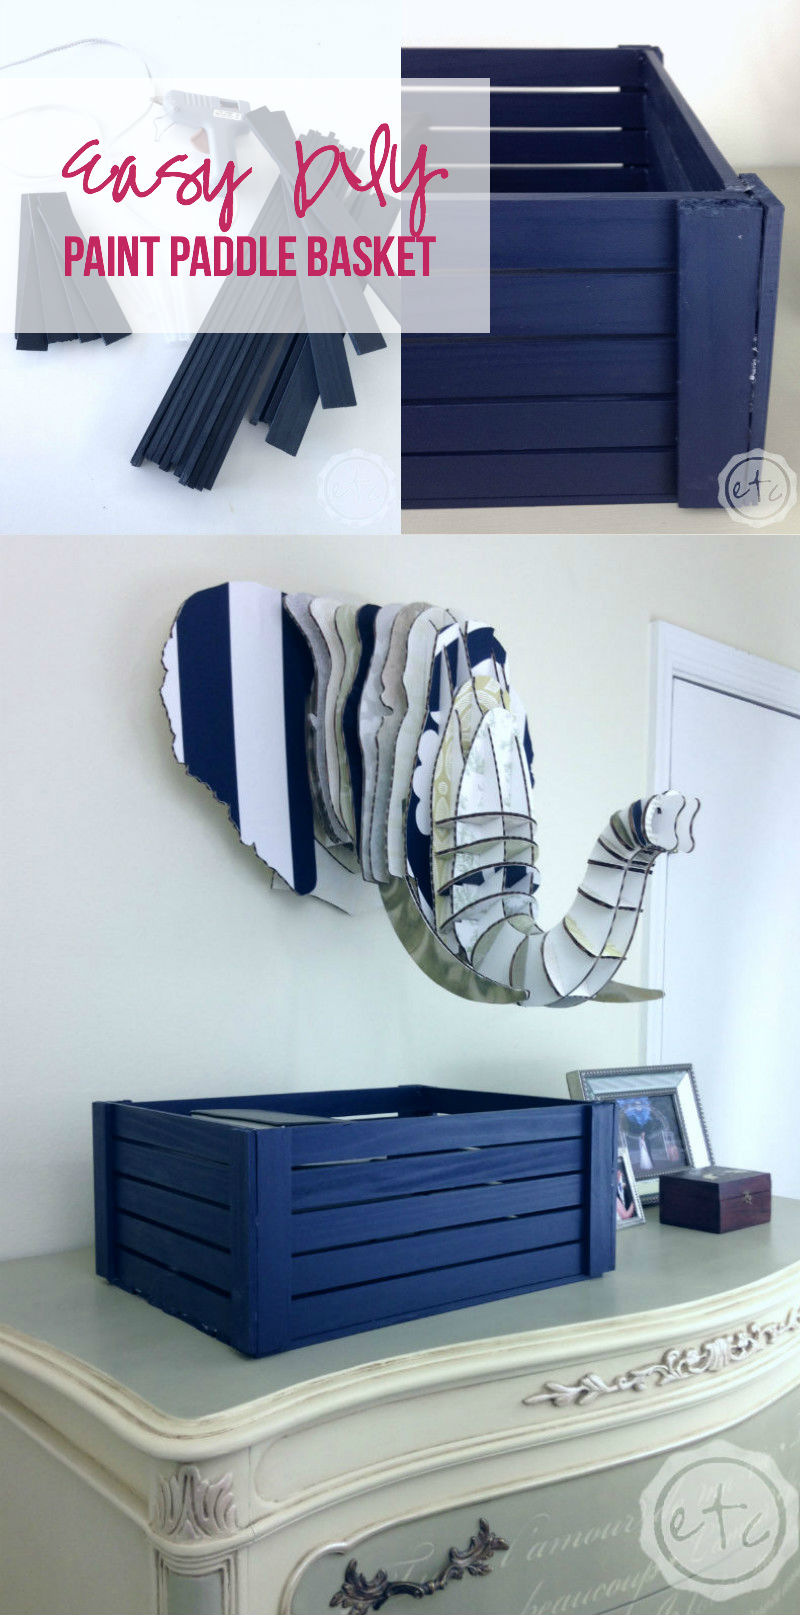
A few weeks ago I was driving back from North Carolina where I attended a little thing called the BP Blog Retreat… you might have read about it in my March Round-Up. 😉 It was an eight hour drive home so I might have stopped a few times… to stretch my legs. Or shop.
Whatever you want to call it.
Either way I stopped in Atlanta to shop at the local At Home store. I absolutely love that store… but the closest one is four hours away so I rarely get to visit! I was on a special mission to find the last few items for my guest room makeover. My shopping list included a little clock for the bedside table, a tray for the dresser and a basket to store supplies on the bedside tables little shelf. I found a tray in North Carolina and my Mom and hubby found a little clock for me at an antique store. So all that was left was a basket!
Looking for a bunch of posts on DIY & Crafts? I’ve got you covered!
Click here to see all of my how to DIY & Craft posts in one place!
I found a few that I liked but I couldn’t find any that were the right dimensions… but when I found this little basket I figured out the answer.
I would just make one!
I could use paint paddles and hot glue to create a basket that’s the perfect size for my space! For free!
The guys at the store all gave me a weird stare as I did a little happy dance but who cares? I was pretty darn proud of myself!
Supplies:
Forty 5 Gallon Paint Paddles
Paint or Stain
Foam Brush
Hot Glue & Glue Gun
Step 1:
So the first step definitely takes the longest… cutting down all of your paint paddles and then painting them! If you have a saw this step might go a little faster but all I have is an exacto knife so it took me the better part of the morning! Oh well… it was totally worth it in the long run!
To make a basket just like mine go ahead and cut your pieces down to these sizes:
19 Paint paddles at 14 inches long
10 paint paddles at 10 inches long
8 Paint paddles at 6 inches long
I know the supply list says 40 but that’s just in case you need an extra one!
Once your pieces are cut go ahead and paint them… since I picked a darker navy color my paint didn’t cover in one coat. So I had to do two coats on both sides… bummer! Since I wanted a small space in between each slat of my basket I took the time to paint the front, back and both sides of my paddle. If you’re not picky about the sides being painted you could put your basket together and then spray paint the whole thing!
Step 2:
Now it’s time to start gluing your basket together. I started with the corner pieces… which are the eight short paddles. (The 6 inch ones). Go ahead and run a bead of glue down one side of the paddle… and then placed it against the edge of a second paddle. This will form an L shape corner piece!
Here comes the fun part… go ahead and run a bead of glue down the inside edge of you corner pieces. This will reinforce the joint and help it not to move! The hubby and I joked that we were “welding” the corners shut… so go ahead and run a few glue welds! I don’t know about y’all but I found it a lot of fun! (Of course that might have been because I was a little loopy after all the cutting and painting).
Step 3:
Alright y’all now it’s time to put your sides together. Take two of your L shaped corner pieces and lay them out with 5 of your long 14 inch pieces. I glued down the top slat and the bottom slat first and then filled in the middle three slats… making sure to weld each of the joints shut as I went.
Go ahead and do both of your long sides before moving on… each side will consist of two L shaped corner pieces and 5 long 14 inch paint paddles!
Step 4:
Now it’s time to add your shorter side pieces (the 10 inch paddles). In order to do this I used the same technique as the longer sides. I placed both long sections up on their sides as shown in the photo above… then I added a 10 inch paint paddle to the bottom and top so that both long sides are connected.
Once you have the short sides framed out go ahead and add the rest of the short paddles… at the end you should have 5 short paddles on both sides.
Now you have a sturdy frame! The only thing left to do is add the bottom! Wahoo! This is the part where you can really start to see the project shaping up… feeling excited yet?!
Step 5:
Adding the bottom is fairly easy… use the 9 paddles you have left to form a sturdy platform! I laid down all 9 paddles across the bottom and then slowly glued them down one by one.
Once they were all glued down I turned the basket over and welded each of the joints from the inside. Now the bottom should be super sturdy!
Now we’re finished! The only thing left to do is to pull off all those funny hot glue webs… yuck!
Isn’t it purdy?!


I love love love how it turned out! Part of me was afraid I’d end up with one big messy pile of sticks! Even the hubby looked at it and said “It turned out better than I thought” which in hubby talk means “it’s pretty darn awesome!”
I’m going to make a bigger version with casters to hold extra pillows and blankets! I think I’ll even add little casters to the bottom of the big one… so that it’s lifted off the ground a bit. This little one doesn’t need to be on casters… it will look adorable on the bedside table all by itself!
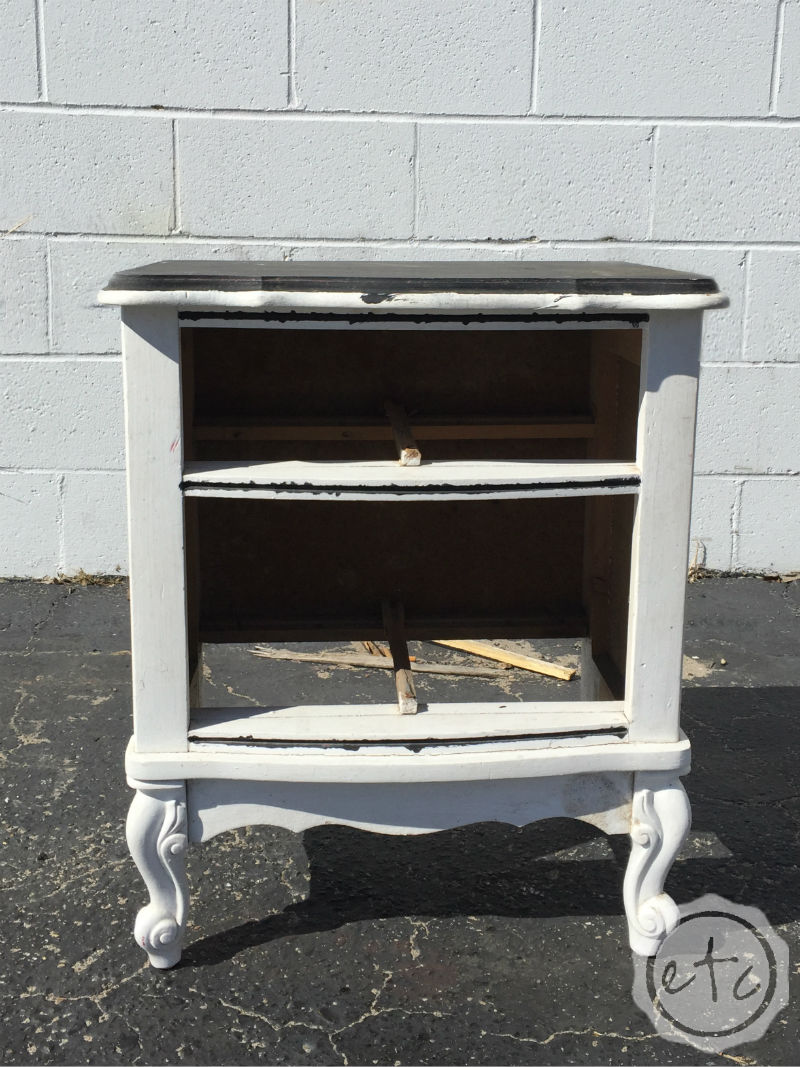
The bedside table is actually almost finished! It’s been cleaned up and painted… I just need to finish adding shelves! Won’t this little basket look cute on the bottom shelf?
FREE 6 Day E-Course

Looking for the perfect paint color? In several minutes a day I'll guide you from swatches to done in 6 days.


