


It’s beginning to look a lot like Christmas! I can’t believe that Thanksgiving has come and gone… tomorrow is the first day of December! You know what that means… Christmas Decorating, Christmas Carols and sending out your favorite annual Christmas Cards!
This will be the hubby’s and my second year as Mr. and Mrs. and therefore our second family Christmas Card! Last year we bought super cute cards with our wedding photos on them. They were absolutely adorable but this year photo cards just aren’t in the budget.
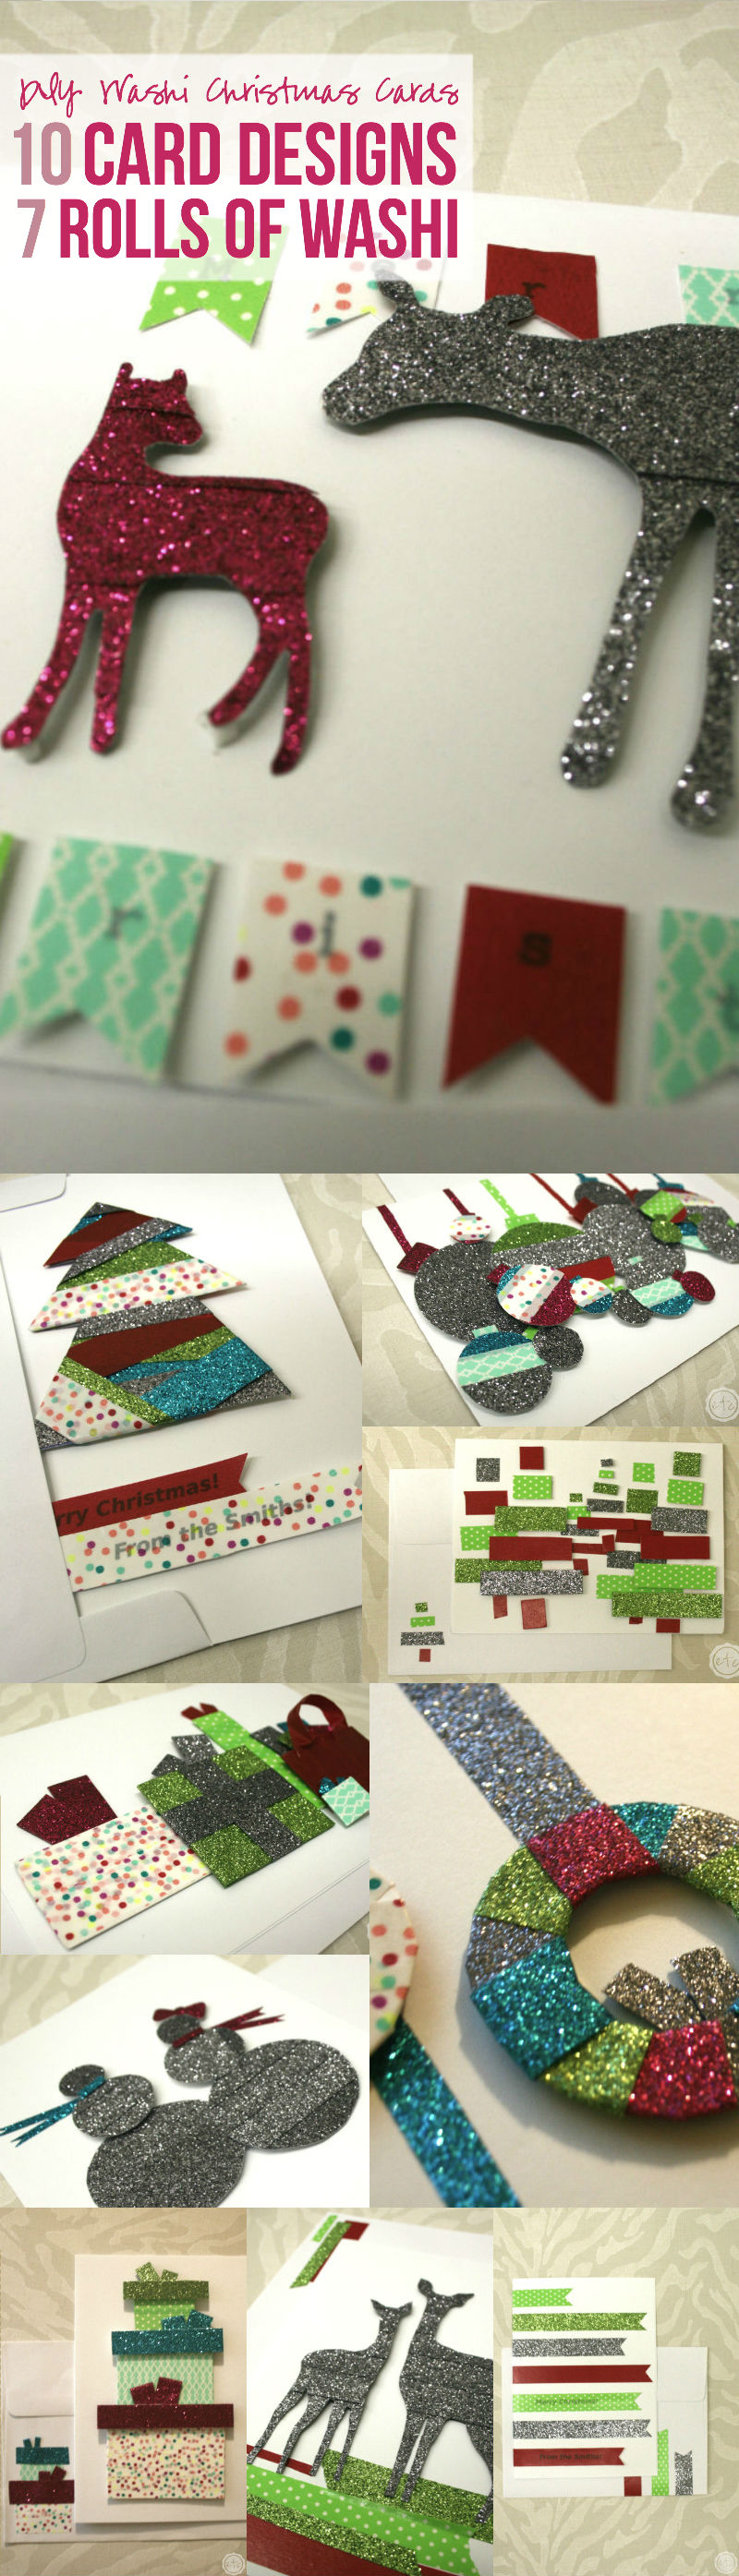
So I’m getting a jump on my cards early this year… and I’m keeping the cost down by using Washi Tape! That’s right Washi Christmas Cards!
DIY Washi Christmas Cards!
Looking for a bunch of posts on DIY & Crafts? I’ve got you covered!
Click here to see all of my how to DIY & Craft posts in one place!
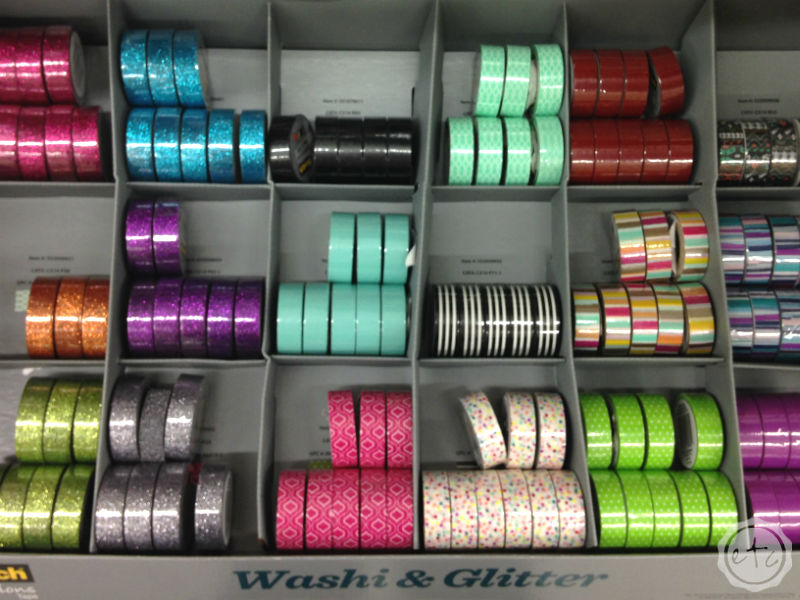
I hit my local Walmart to pick up my supplies… we don’t have a craft store in my little town so Wal-Mart has to work for all of my crafting supplies!
Supplies
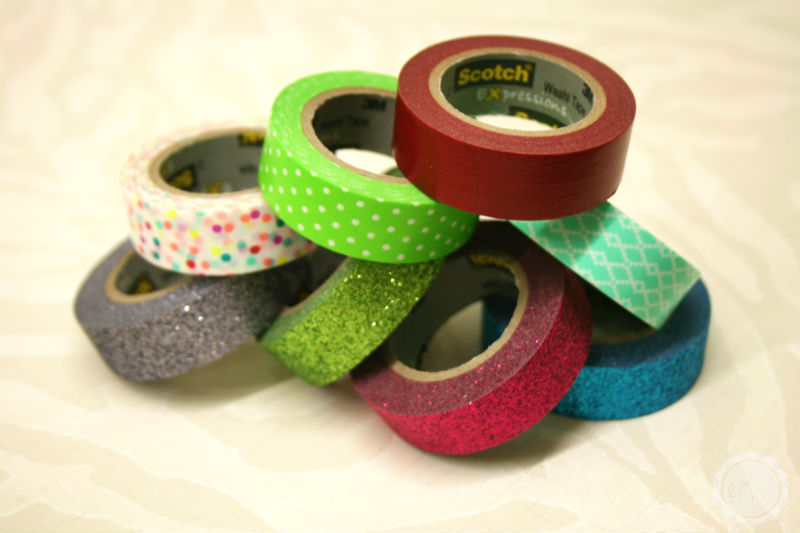
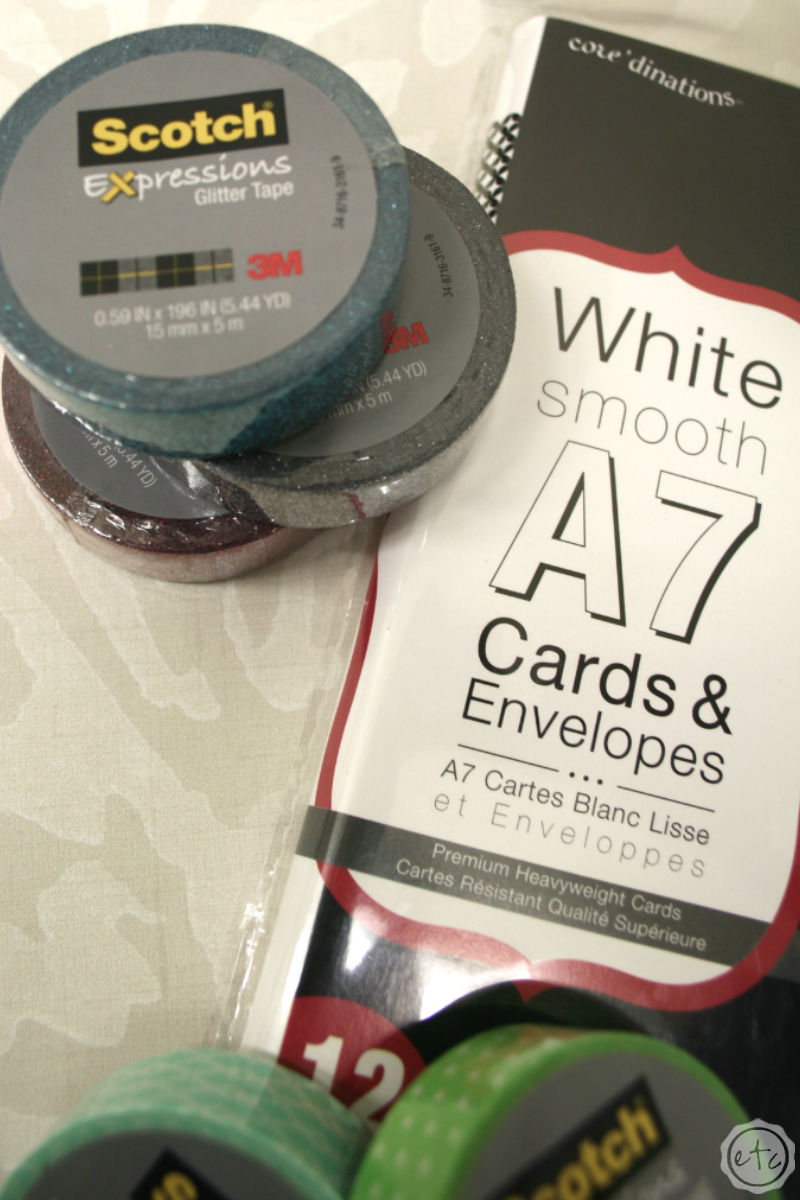
7 Rolls of Washi Tape in assorted colors
Cards and Envelopes… I picked up a 12 pack from my local store for only a two or three dollars. If you’re looking to make more than 10 check out the fifty pack online… it’s way cheaper than buying 5 packs at the store!
That’s it! All I bought for these cards was washi tape and cards! If I could find my blank cards from the last project I wouldn’t even have had to buy that much! Haha!
Optional:
Poster tape or puffy tape… I had a few rolls of poster tape lying around (the puffy kind that looks like Styrofoam) so I used it to add dimension to certain cards. If you don’t have poster tape you could leave this step out!
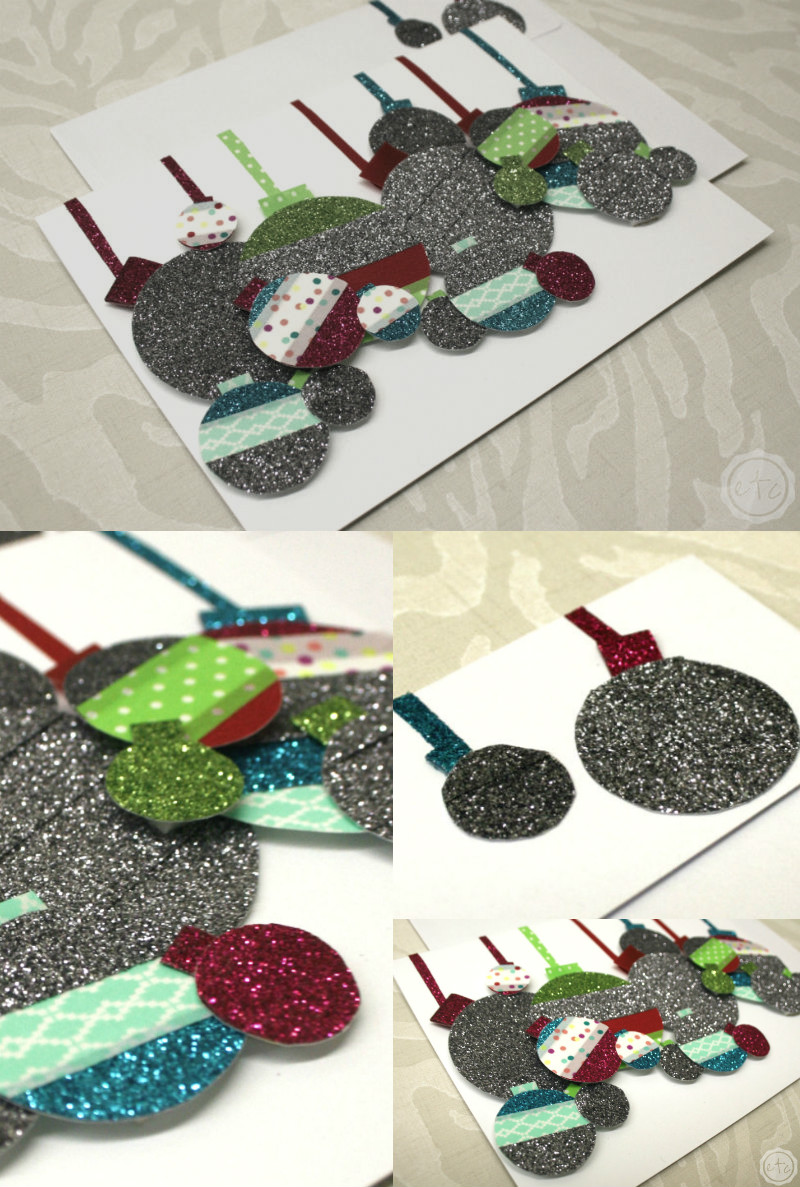
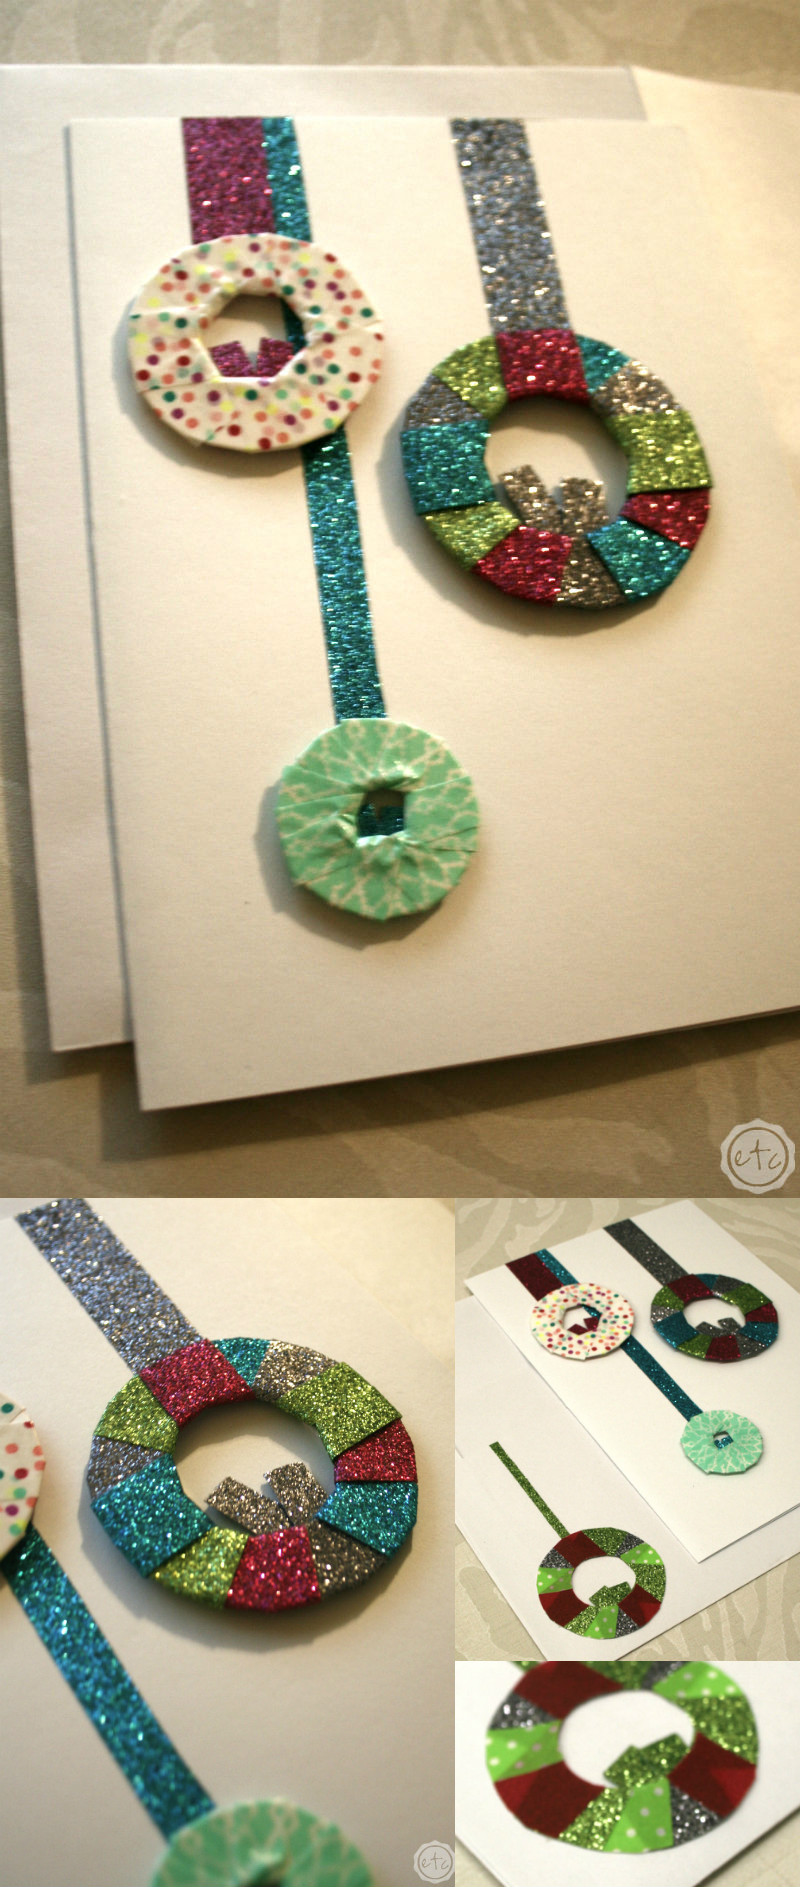
Christmas Ornaments:
I absolutely love all of the layers on this little card! Plus it was super easy… if you can cut out a circle you can put this guy together! Better yet… snap up one of these handy dandy circle punches! Every single time I do a project that requires a circle cut out I swear I’m going to buy one…. but I never do! Of course I could use my Cricut machine but I wanted to work on these at my Mom’s house… so my impatience won over easy cut circles!
Tip: Tape has a hard time sticking to glitter… and the same is true of glitter washi tape! Make sure not to overlap your glitter tape too much… it won’t stick to the glitter beneath it! Place your glitter washi tape over solid paper for better results!
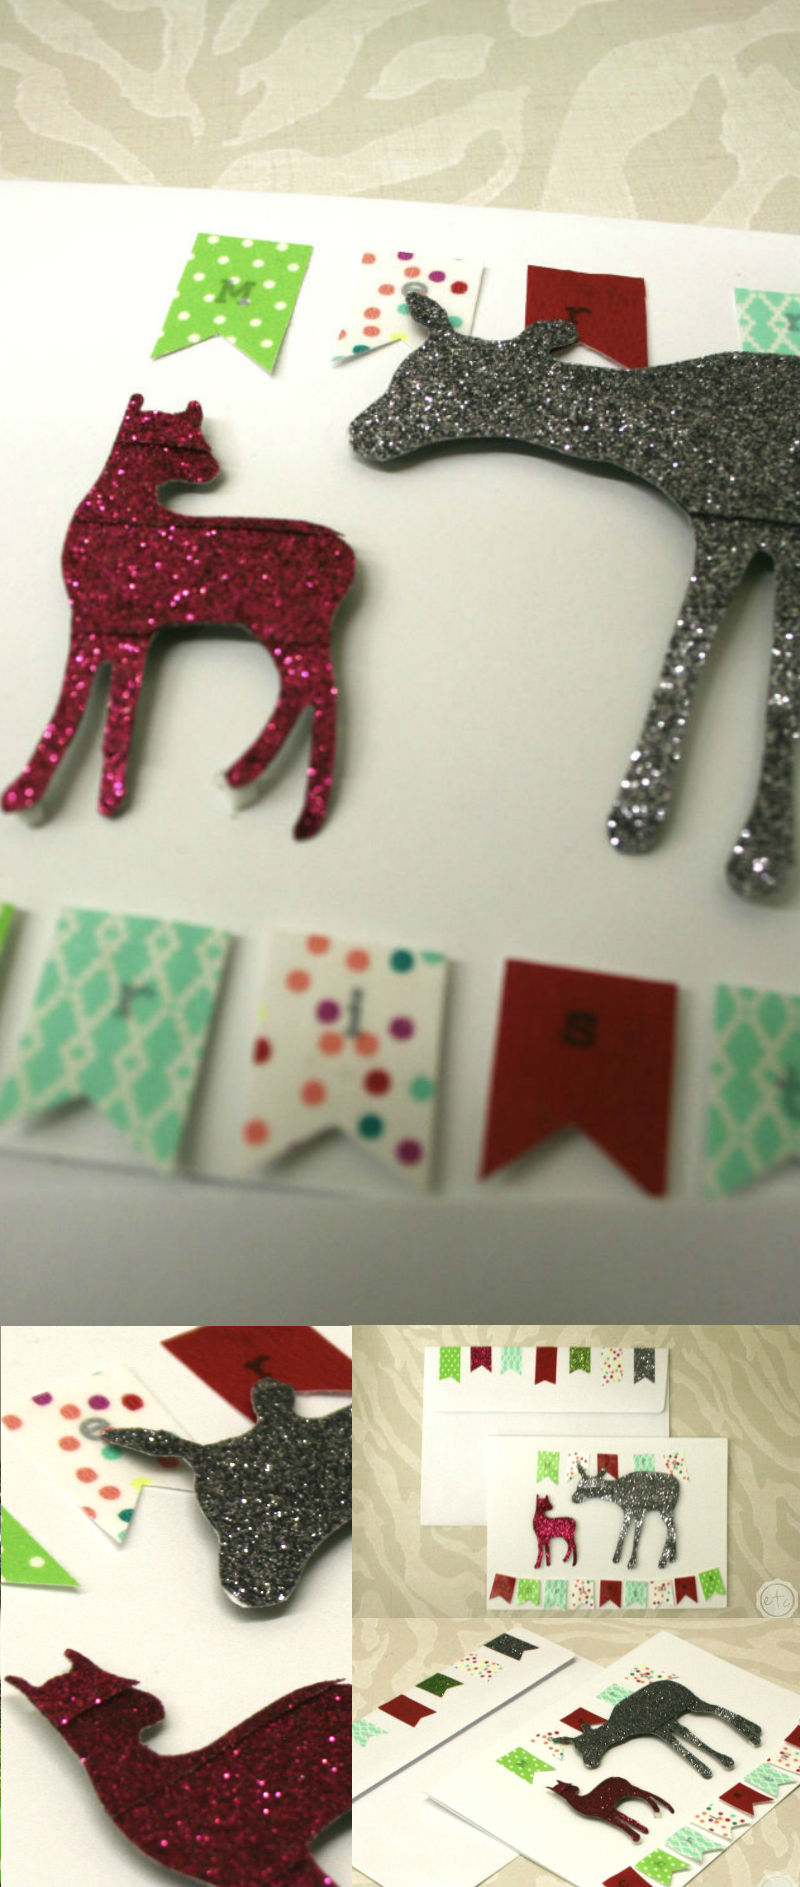
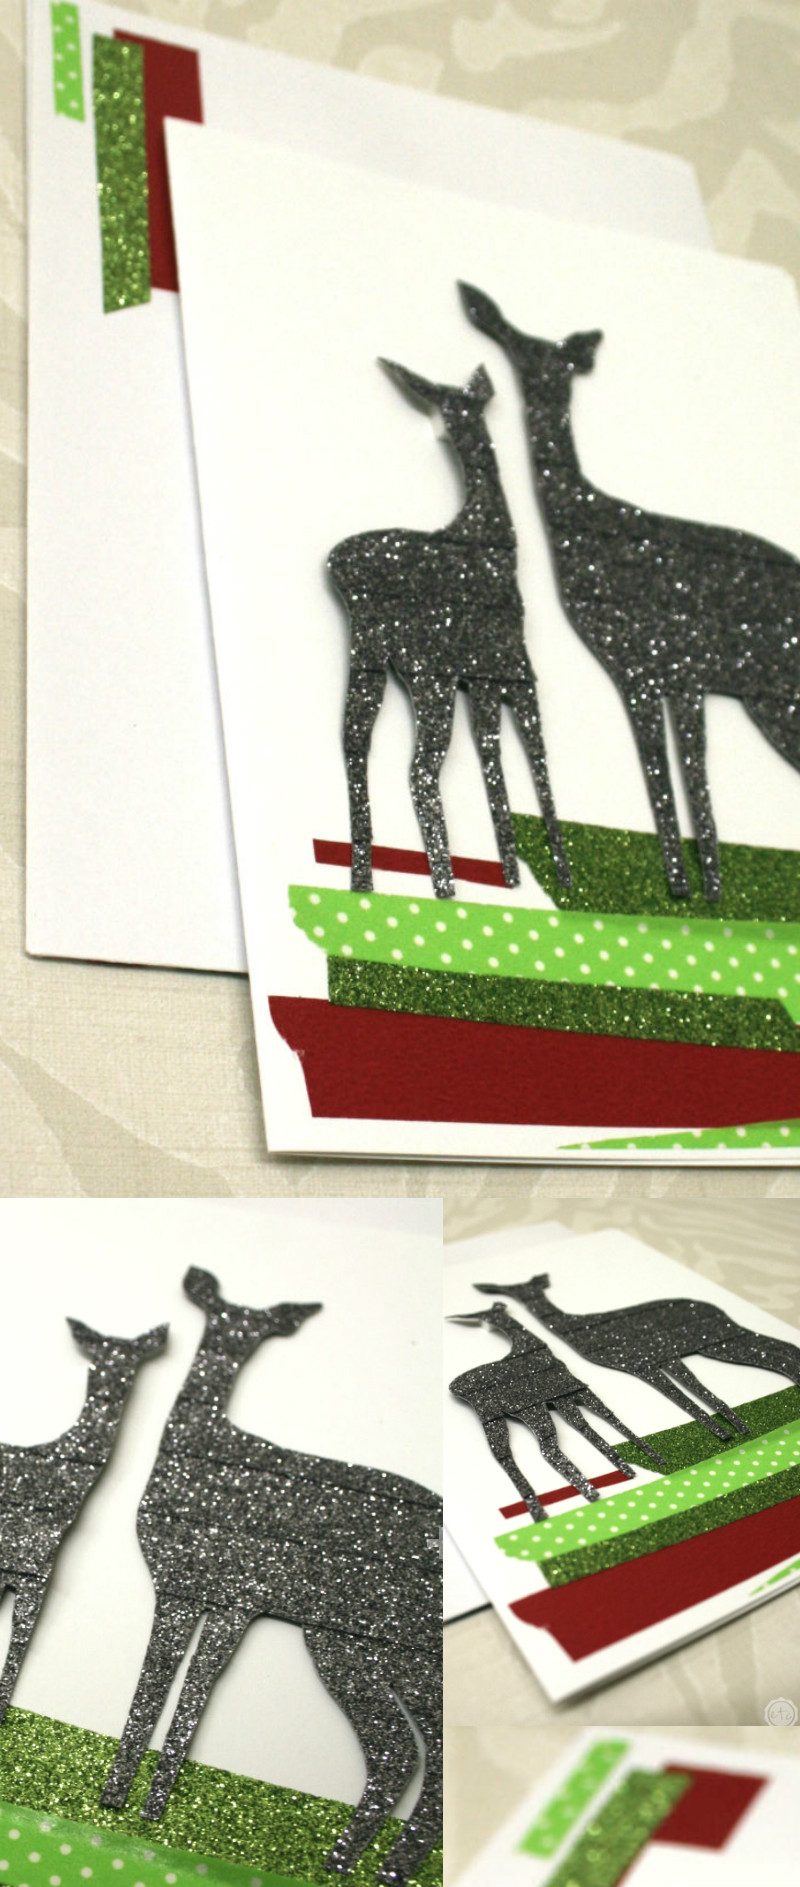
Little Deer:
Bunting might just be the cutest accessory to any card! Plus it’s super easy to cut out!! I printed out the words to Merry Christmas on plain computer paper and then placed transparent washi tape over each letter to make this holiday bunting. With this method you can put any letter or phrase directly onto your washi!
Of course the bunting is fun but the little deer steal the show on this card. The little pink gal is my favorite! Stick around… next week I’ll be back with a tutorial on how to cut ANY shape out of washi! If I can cut out a mama deer and her baby you can cut guarantee just about anything is possible.
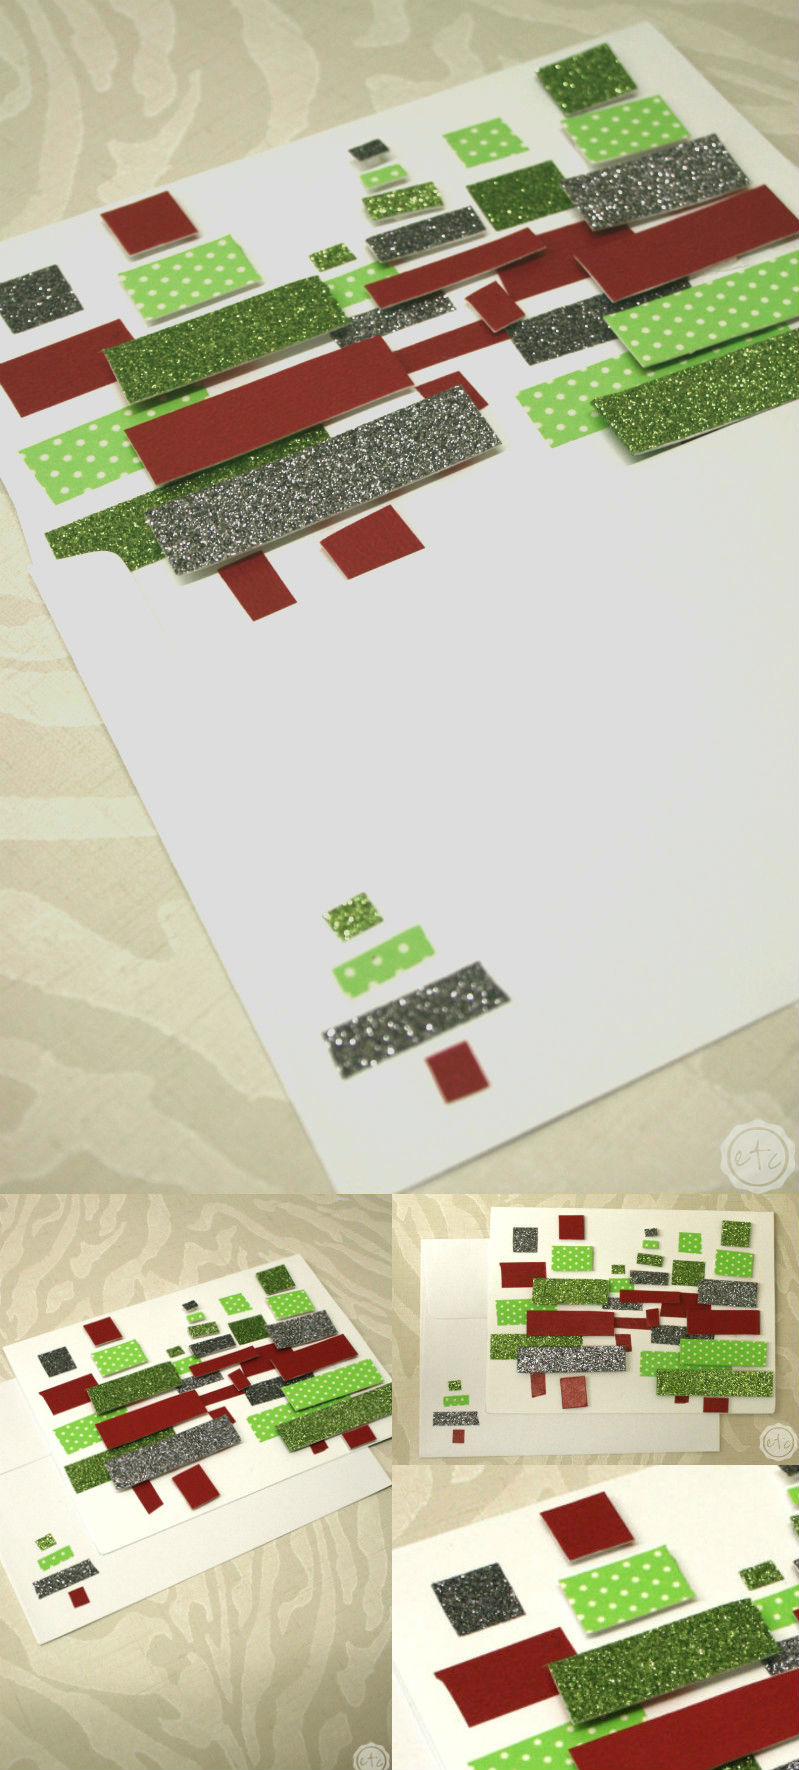
A Field of Trees:
If you want a card that’s quick and easy to put together this guys for you! I started by ripping strips of washi to form the three trees in the background… then I used my poster tape to make the top layer of trees stand out from the background! I love the 3-D effect it creates… like you’re lost in a field of trees!
Tip: Glitter washi is stronger than transparent washi but still not quite stiff enough for this 3-D effect. Try taping your washi to a sheet of paper (or card-stock) first… cut your strips of tape off the paper and now you have a sturdy strip of washi that will pop!
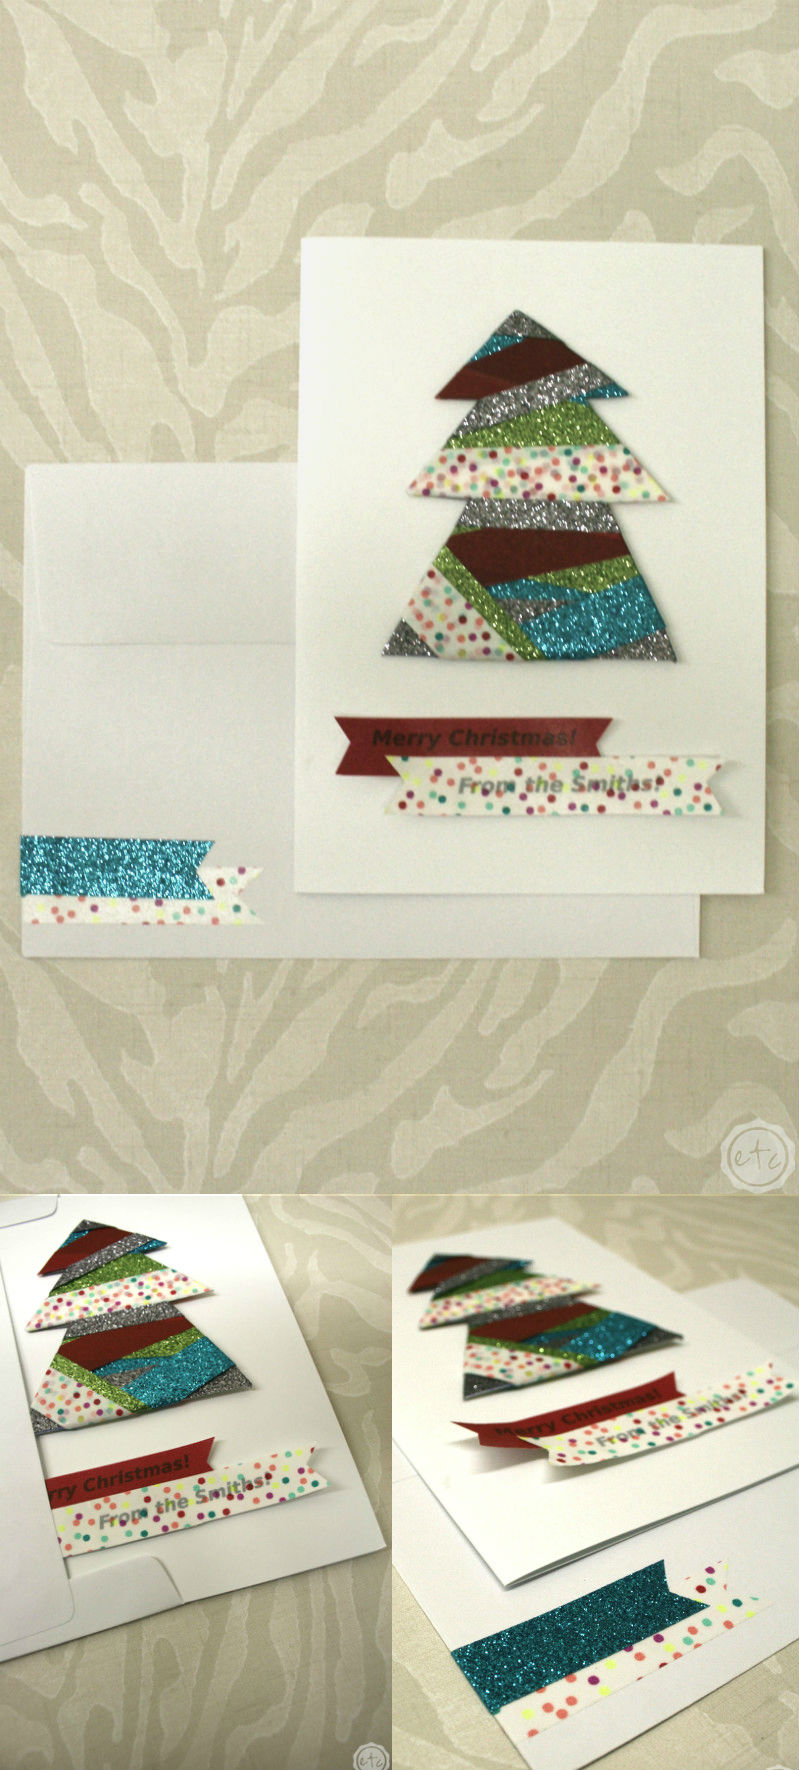
Oh Christmas Tree!
This little tree is super easy to put together. Just cut a shape out of card-stock and then wrap it with washi! If you’d rather use printer paper then tape your washi down first… then cut your shape out of the washi! I prefer card-stock because it’s sturdier and easier to wrap but computer paper works just fine!
Tip: Don’t forget to cut your tape at the corner of each point… then you can wrap the tape around to the back just like a present! Not sure how to cut? Think of each point as the edge of a bunting flag… cut a triangle out of the edge of your washi! Now you have two triangles to wrap around to the back of your tree.
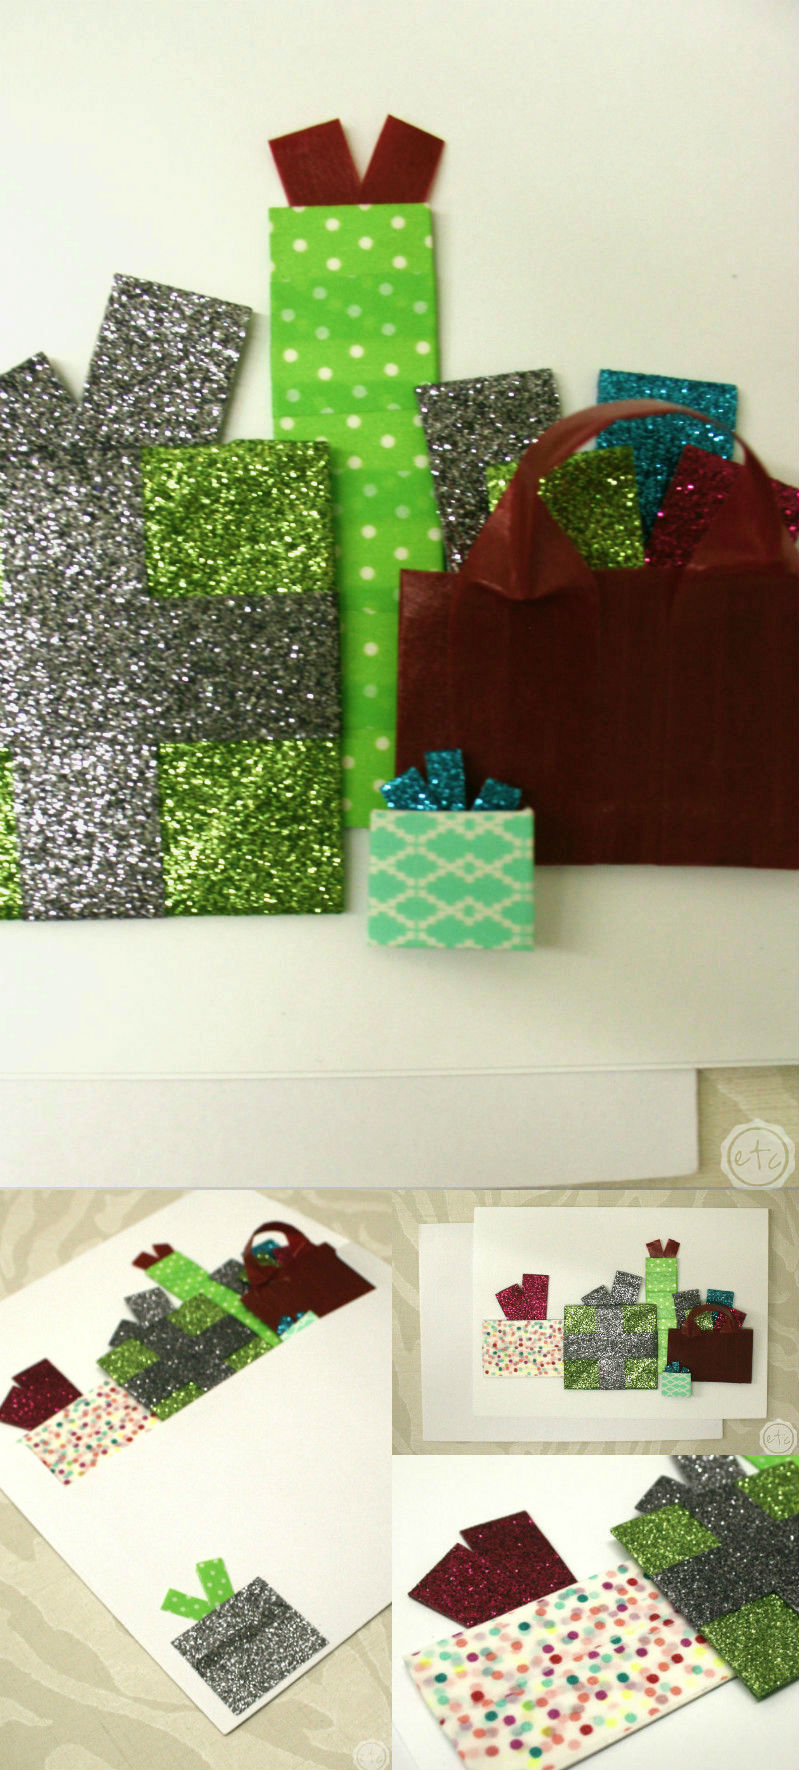
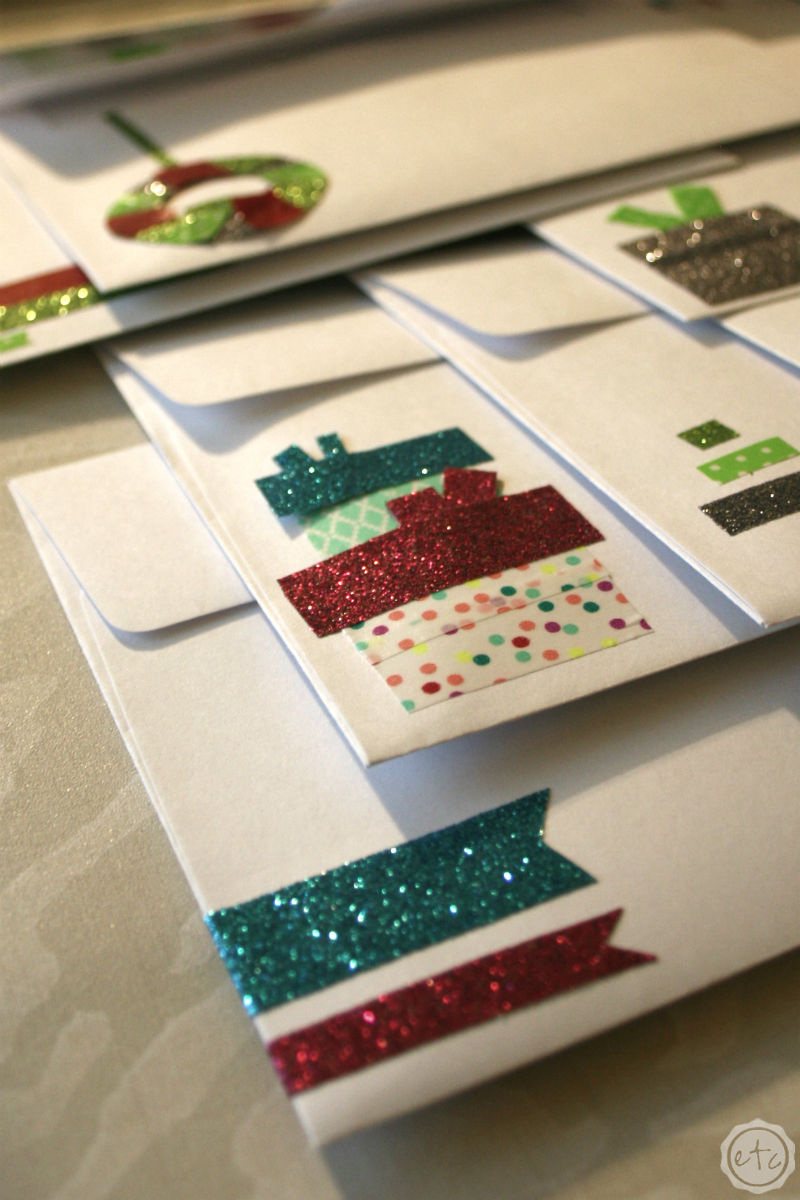
Boxes and Bags:
This card might just win the title of most creative! The boxes were easy to create using the same technique as the tree on the last card… except squares are much easier to wrap than trees!
The tricky part comes with that little gift bag… complete with handle! Stick around… I’ll share how to make this guy next week!
Oh Deer!
I love how simple this card is… plus it’s one of the few cards I made with all Christmas colors!
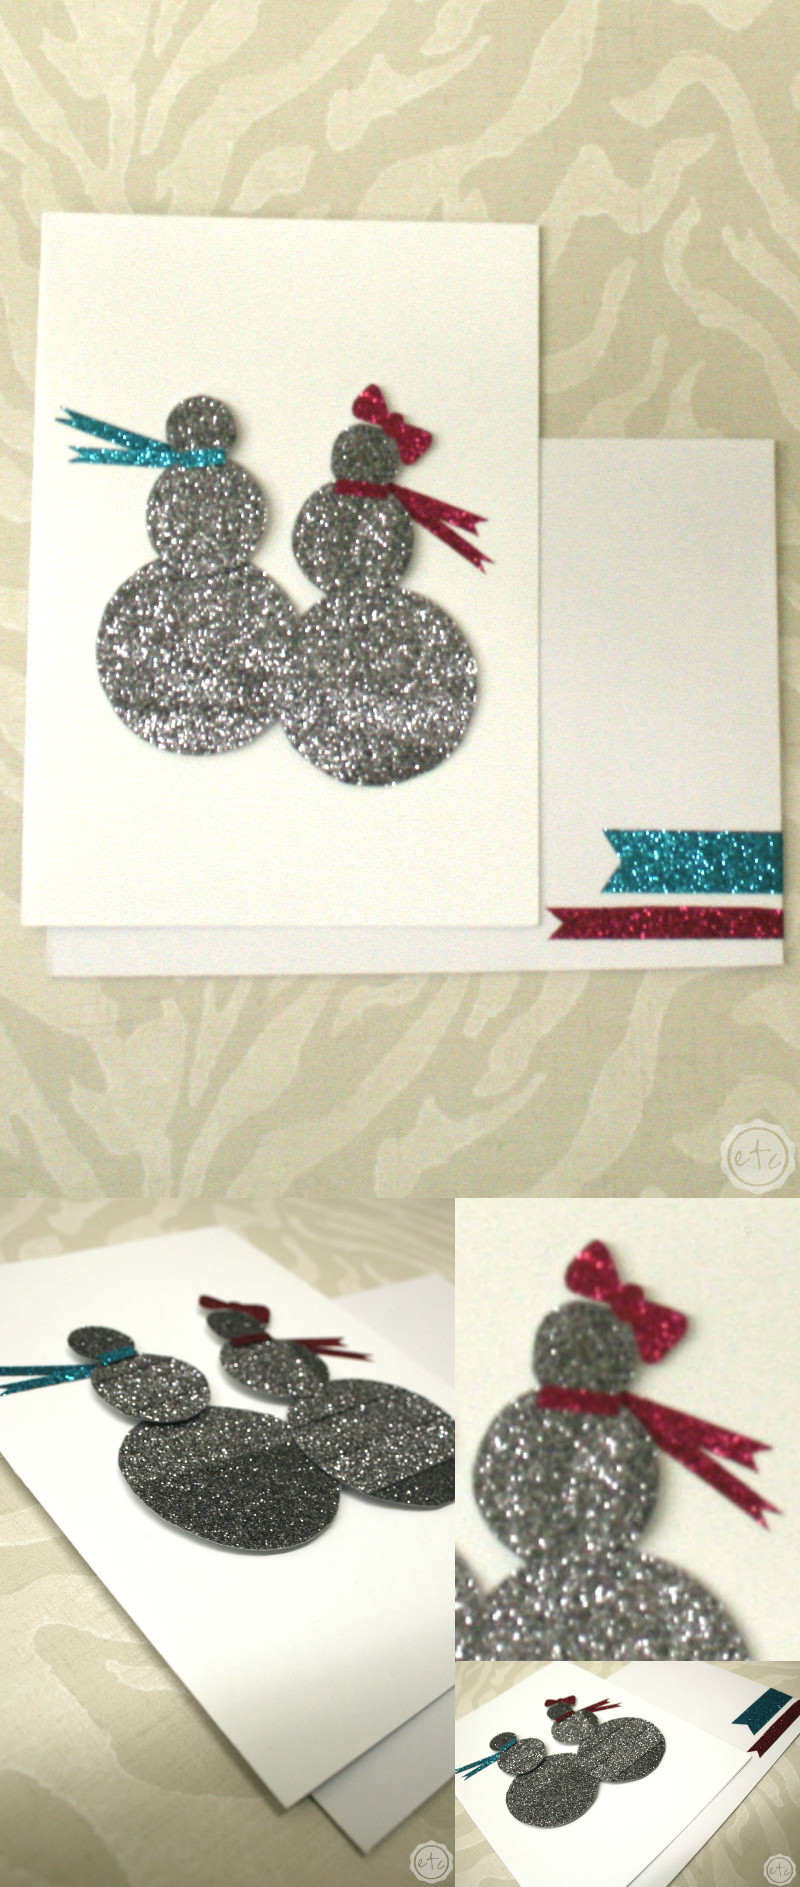
Frosty’s got a Girlfriend!
If you thought the last card was simple check out this one! If you can cut circles and bunting this guys for you… the hardest part is the sweet little bow in the snow girls hair!
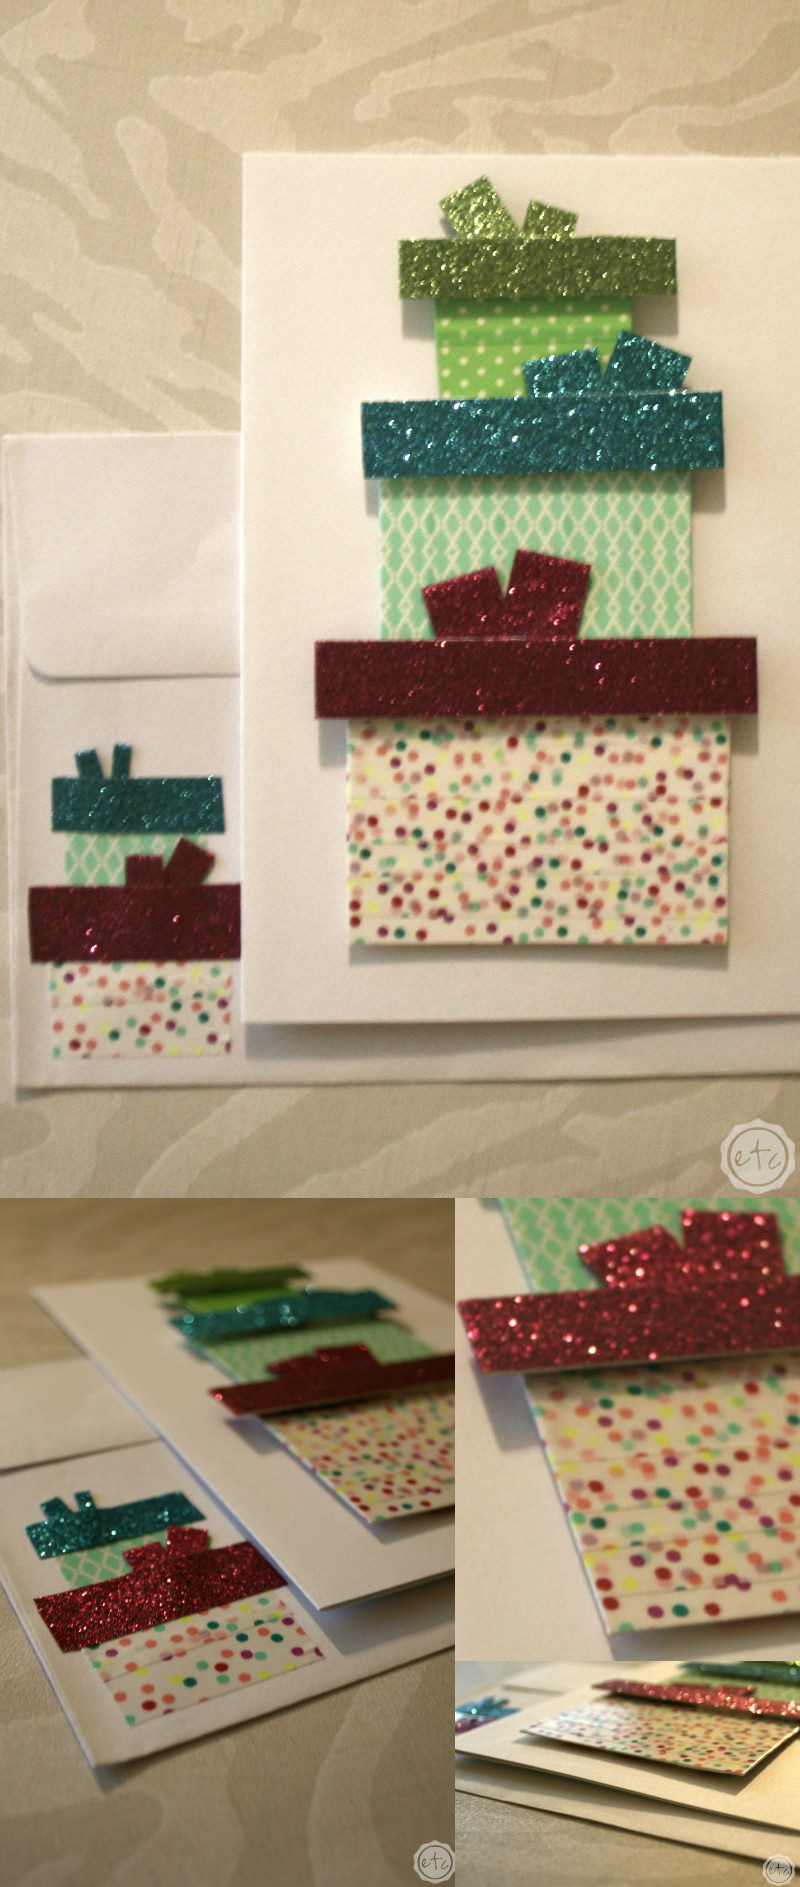
Stacks of Presents:
This little guy hardly needs an explanation… it’s just strips of washi in various lengths! I love how all of the colors coordinate! Although you could get wild and crazy and mix and match your washi for a crazy bunch of presents!
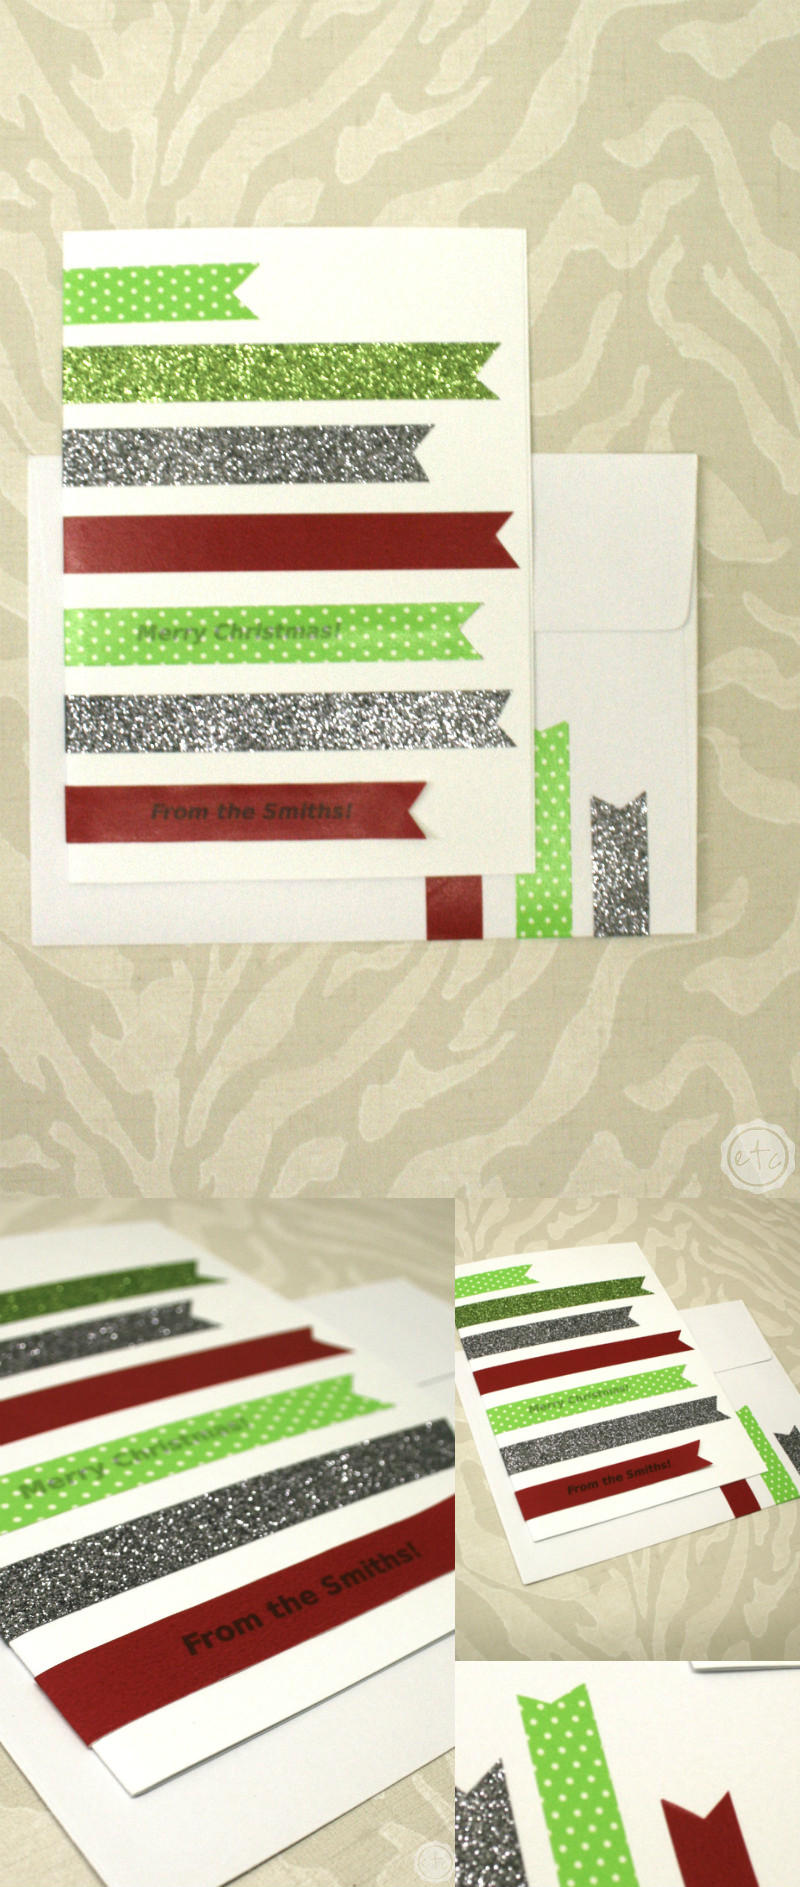
Merry Christmas Bunting:
This guy might just be the quickest on the list… the hardest part is adding letters to two of the washi strips! If you need a Christmas Card in a hurry this guy would be so easy to whip up… in a really tight fix? Skip the computer and hand write the words! Easy peezy lemon squeasy!
A Trio of Wreaths:
Is it just me or do these little wreaths remind you of life savers? Nope? Just me? Alrighty then… moving on!
For these bad boys I cut the wreaths out of card-stock and then wrapped washi around all three. That seemed to work just fine with one small exception… the glitter wreath! Remember my first tip? Washi does not stick to glitter very well! That means that the top layers on the large wreath were trying very hard to come off! I simply added a few drops of elmers glue to the back and used a paperclip to hold the washi in place until the whole thing dried! Super easy!
Of course no card would be complete without a super cute envelope… so I added a little something extra to each cards mate.
Can you tell which card goes with each envelope?
This post contains affiliate links to products I used for this project!
Which card is your absolute favorite? Is there something you’d like in next weeks tutorial post? I’ll be sharing a few tips and tricks from today’s post that were a little more technical… so make sure to speak up if you’d like something covered! I’d love to show you in further detail!
Until then I have a special treat for you!
This project is part of a Creative Christmas Blog Hop! I’ve teamed up with several other bloggers to bring you a few fabulous holiday projects!
Check out the Creative Christmas Blog Hop!


I love all the cards you created. Washi tape is so fun to work with and I can see you had a lot of fun 🙂
You’re completely right… I really enjoyed making all of the cards! Now I just have to decide who what card! Haha!
These look fabulous! I wouldn’t have believed that it was Washi tape if you didn’t show the rolls. I look forward to the tutorial on cutting out shapes because those Deer are too cute!
Thanks Lyn, you’re so sweet! I can’t wait to show y’all how to make the little deer… it’s so easy!
I have to say that I think my favorite design is the Reindeer! They’re all super cute though! I can’t believe they were made with Washi tape!
Thanks Teresa… The reindeer are definitely the cutest 😉 I haven’t done too much with washi tape which is why I was so excited to try this!
Holy, crap! I am blown away by how many cards you make. I am really having trouble picking my favorite but I would have to go with the first, the ornaments. I love the different dimensions you have shown and also the styling is on point (followed closely by the deer, that one is adorable). I completely know what you mean about being impatient…most of the time I am just really to get started and don’t want to waste time (which sometimes works, other times it bites me in the butt). I’m pinning this – right meow!
Betsy these are so great! I’m sure your wedding photo cards were super sweet but these are pretty special too. I love the deer!!! Pinning now!
Betsy, these looks so amazing! I can’t believe how many you made!! I love washi tape anyway but you did a really beautiful job with those cards!
You’re such a sweetheart… you’re making me blush! Thanks for stopping by Jennaa… I’m glad you like them!
These cards are awesome! I have only recently been introduced to washi tape (I apparently live under a rock…) and have only been using it in my planner, but I’m definitely going to have to try this! Thanks for the tutorial – I’m loving being a part of this blog hop!
We must live under the same rock Tiffany because I haven’t done too much with it in the past… a little scrapbooking here and there! Nothing like these cards… I am definitely a convert! I love it! Thanks for stopping by… can’t wait to check out the rest of the blog hop!
I am seriously impressed with how many cards you made — at that there are so many different styles! I would have been stuck on ideas after about 2, lol. The ornament one is very cute!
I thought I would get stuck but I really didn’t… it was amazing! The ideas just came coming! Thanks so much for stopping by Lora… you’re so sweet!
Betsy these are really great ideas. Washi tape is so virsatile. I love these cards you have made.
These are so darling! I love washi tape and handmade cards! I’m going to have to make these!
These are ADORABLE!!! I have so much washi, and never know what to do with it. This is a perfect idea, and so festive!
Hi, Betsy!! I’m stopping by to tell you these washi Christmas cards are featured this week at our party http://sweethings.net/two-uses-tuesday-58/. Don’t forget to grab your button!
Congrats!!
Pili