

Y’all it’s been a while since I was this excited about a project… but this one turned out sooo cute! It all started when the hubster asked to make trash bag ghosts… we were decorating the front of the house for Halloween and he was convinced ghosts were needed! Of course, we made a few ghosts out of cheese cloth last year so I wasn’t convinced that new ones were needed. Ours are still pretty cute. 😉
So instead I decided to make little ghosts… for the top of our bookshelf! These would be pretty cute along a porch overhang as well… but I would need a longer strand of lights!
Looking for a bunch of posts on DIY & Crafts? I’ve got you covered!
Click here to see all of my how to DIY & Craft posts in one place!
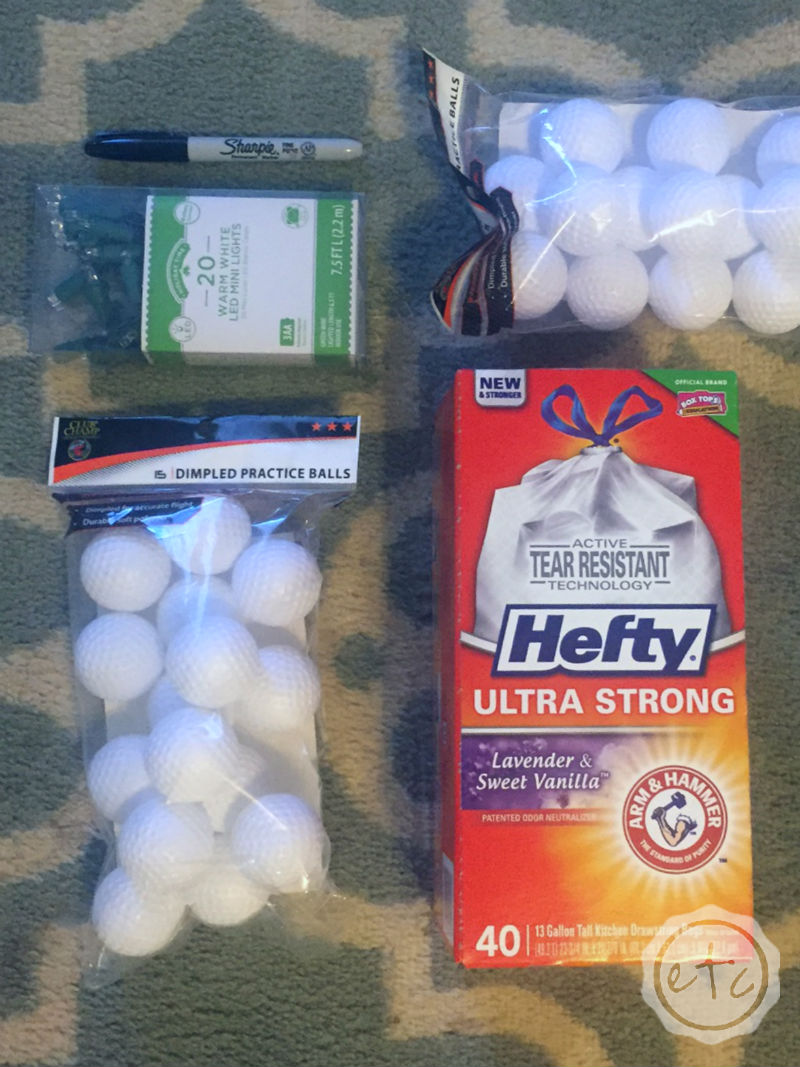
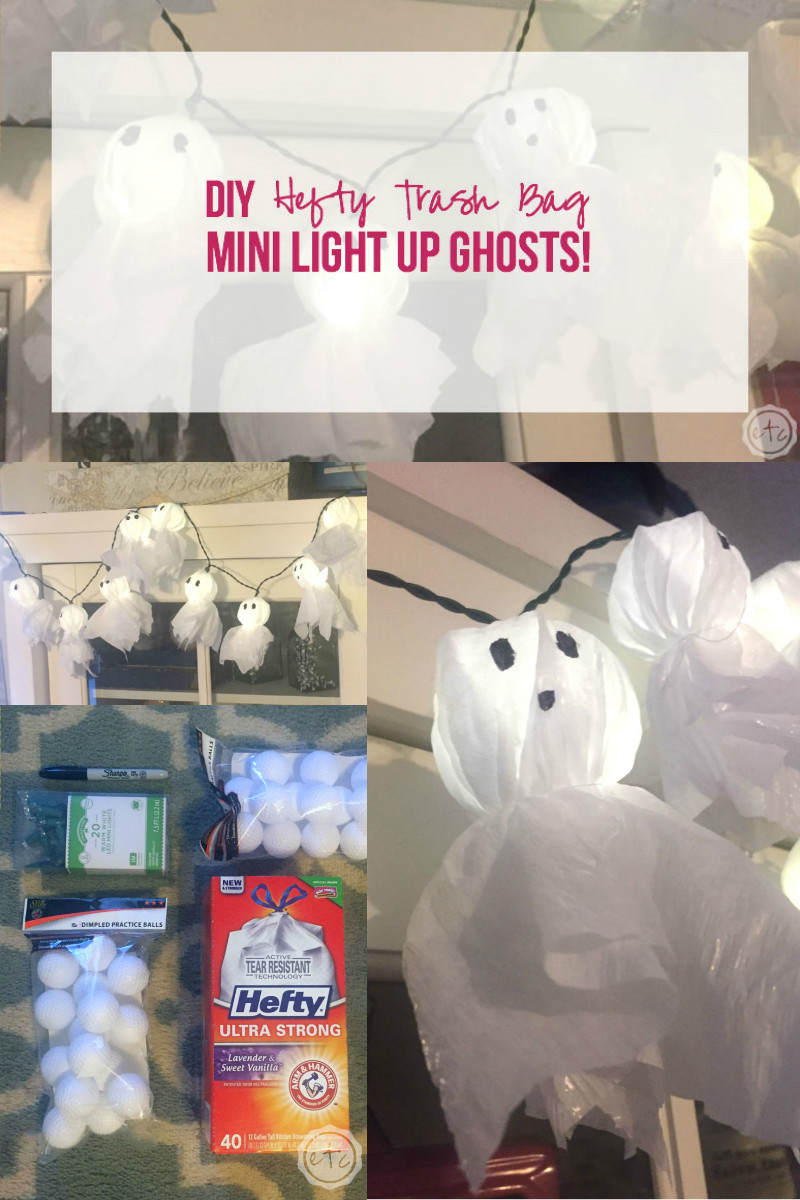
Supplies:
Strand of Christmas lights (battery powered if you don’t have a plug)
Practice Golf Balls or Ping Pong Balls
Sharpie
Hefty Ultra Strong Kitchen Bags (in white! very ghostly)
White (or light colored) thread

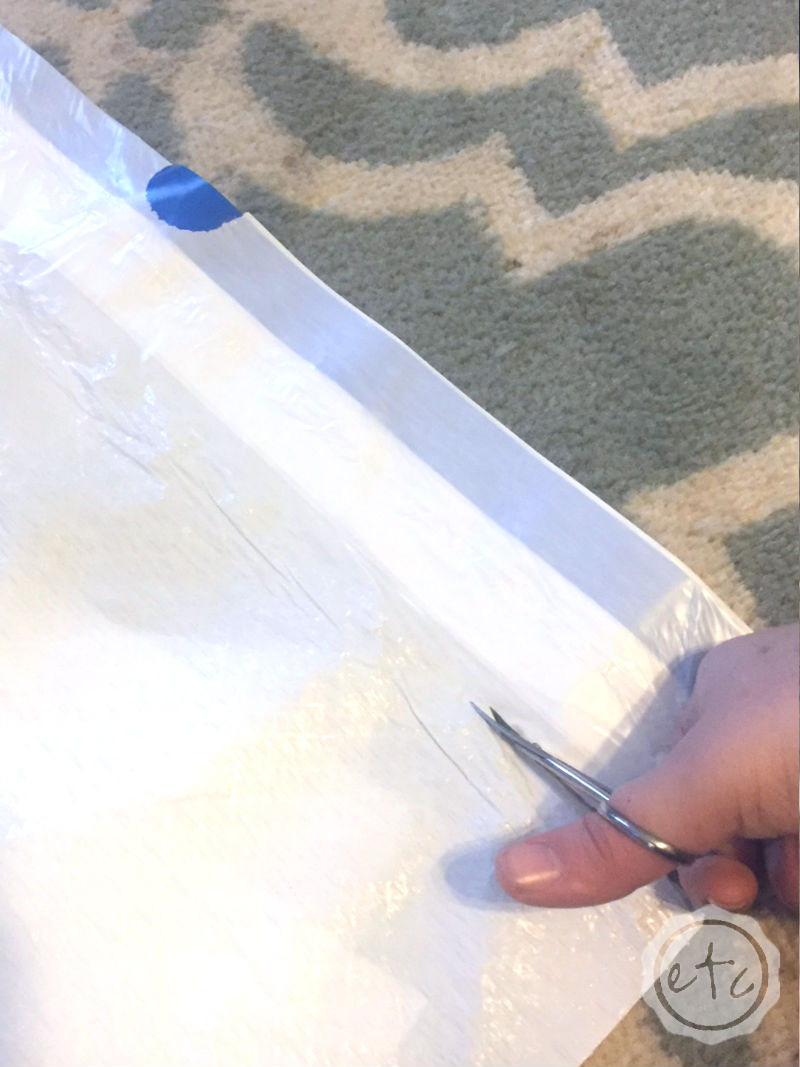
So first things first… I decided that the very first step would be to cut little ghosty outfits out of my trash bags. For 20 ghosts I needed 2 and a half bags… my squares were between 3 and 4 inches each so I was able to get 9 squares out of one bag.
Remember these are ghosts… so your squares don’t have to be perfect! I didn’t measure or try to cut in a perfectly straight line. I figured the more ragged the edges the better!
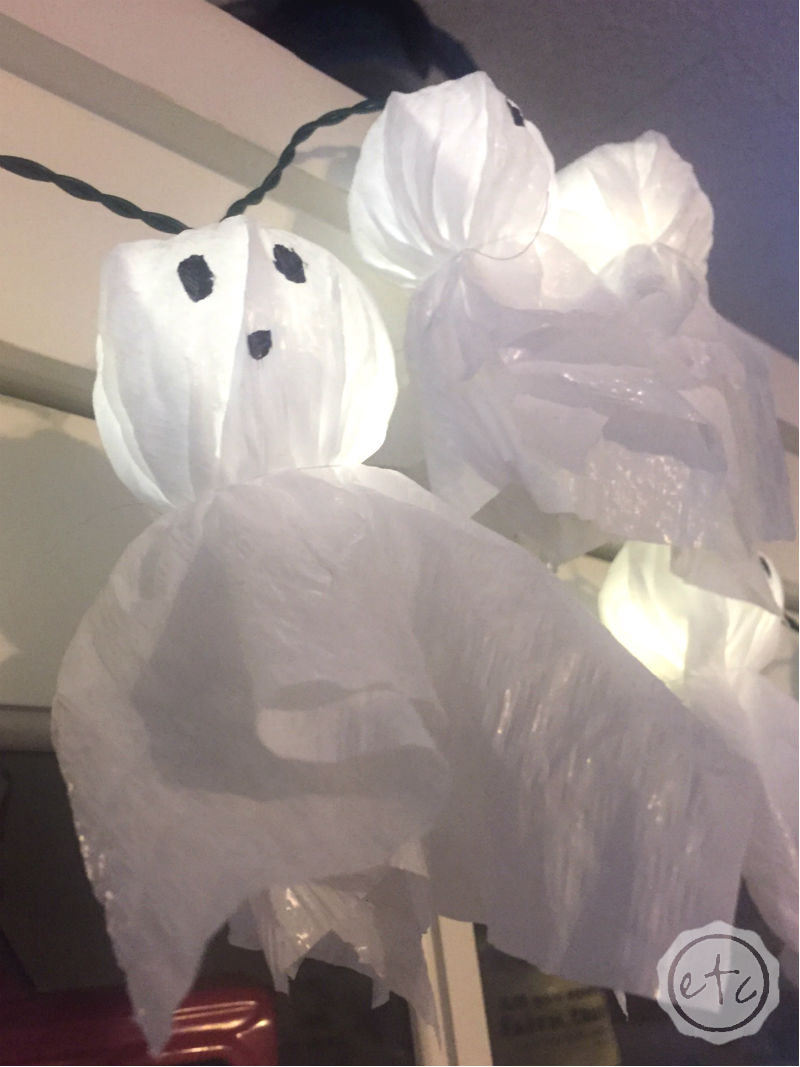
After cutting out 20 squares I separated the pieces so that I actually had 40 squares… these trash bags are very clingy since the force flex is very stretchy! It makes pulling the bags apart tricky but the ghosts are super cute with their wavy skirts.
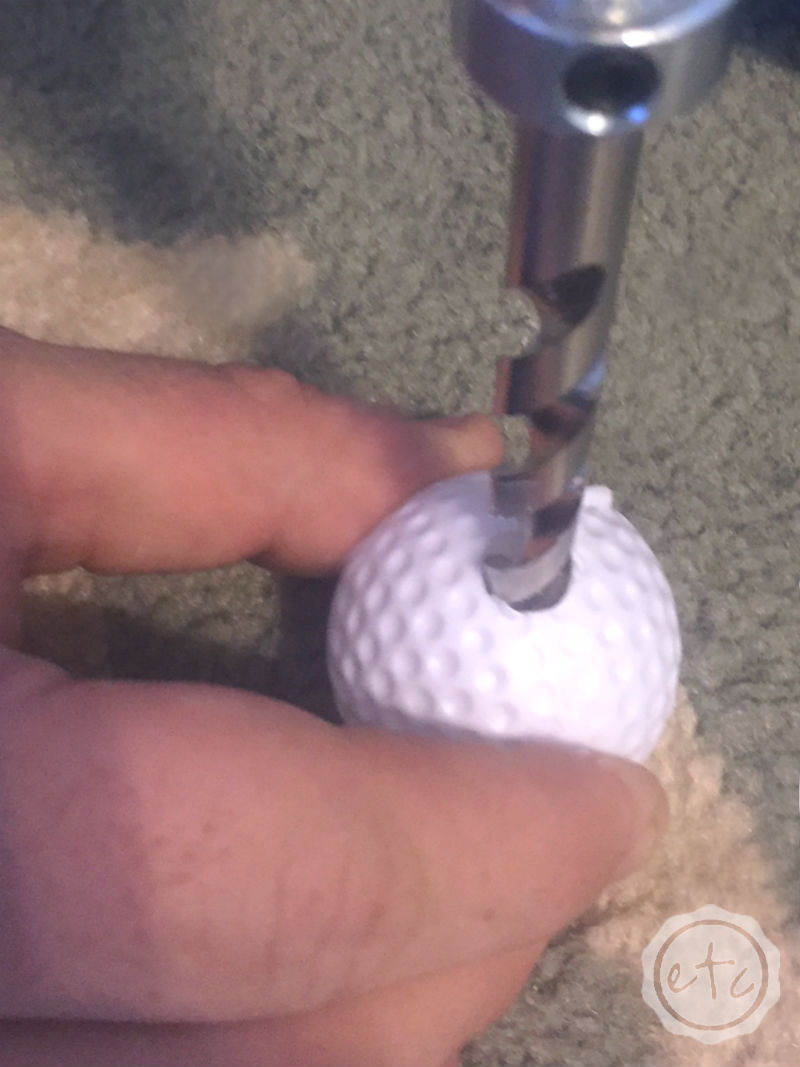
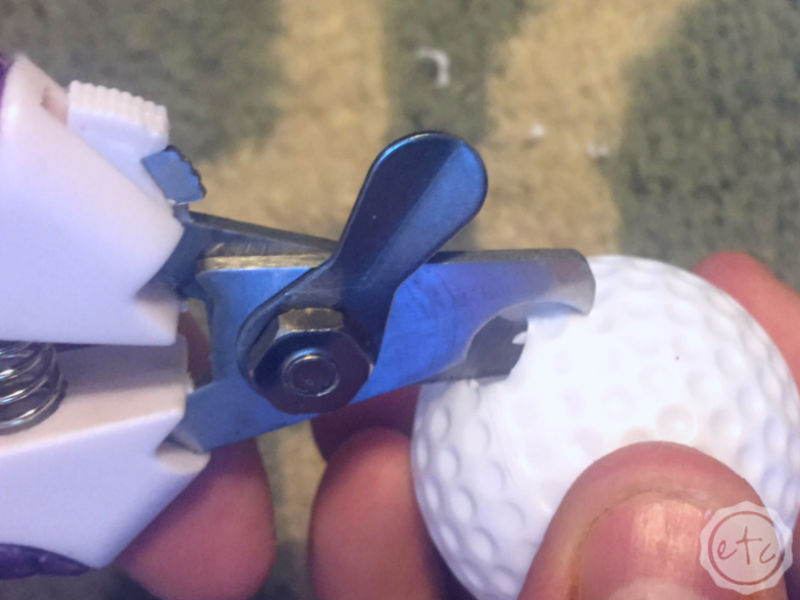
The second step is to make a hole in your practice golf balls… these little guys are light plastic so they’re easy to drill into. Honestly you could probably just use a sharp knife but we couldn’t find ours and the drill was right there….
Since the hubby just got this drill he takes every single opportunity to pick it up… so we drilled a hole first and then widened it with a pair of scissors *cough cough* okay they’re dog nail clippers. We couldn’t find the scissors.
Just go with it y’all, it works!
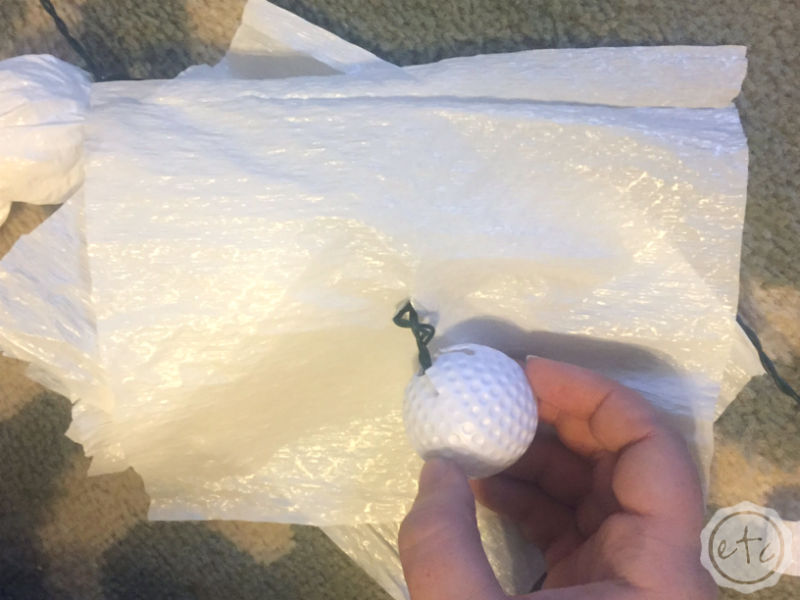
The next step is to put your ghosty squares onto your strand of lights, pop a practice golf ball on after 2 sheets of white and you’ll be good to go!
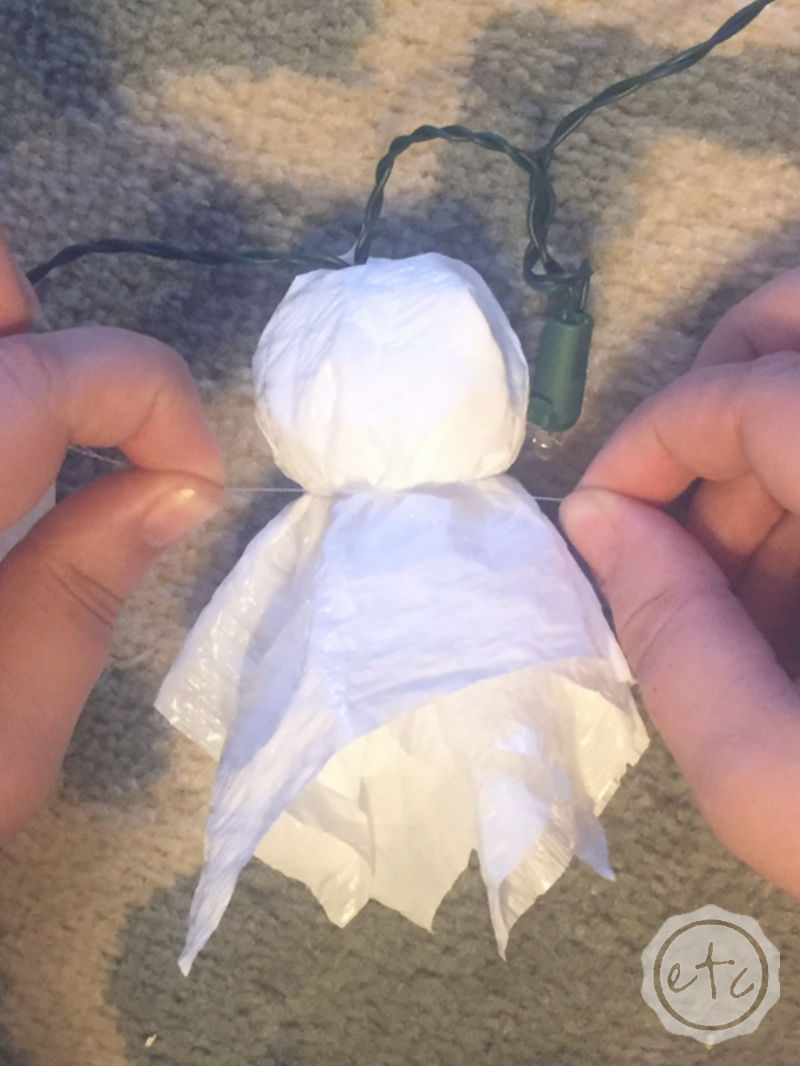
You can skip this step if you like but after putting our practice golf balls on the lights we decided that the skirts were a little too lifeless. They didn’t quite make the right “ghostly” shape.
So we took a piece of thread to tie each ghosty’s little skirt in place. Use a light color and they’ll blend right in! Just tie those threads as close to the practice golf balls as possible!
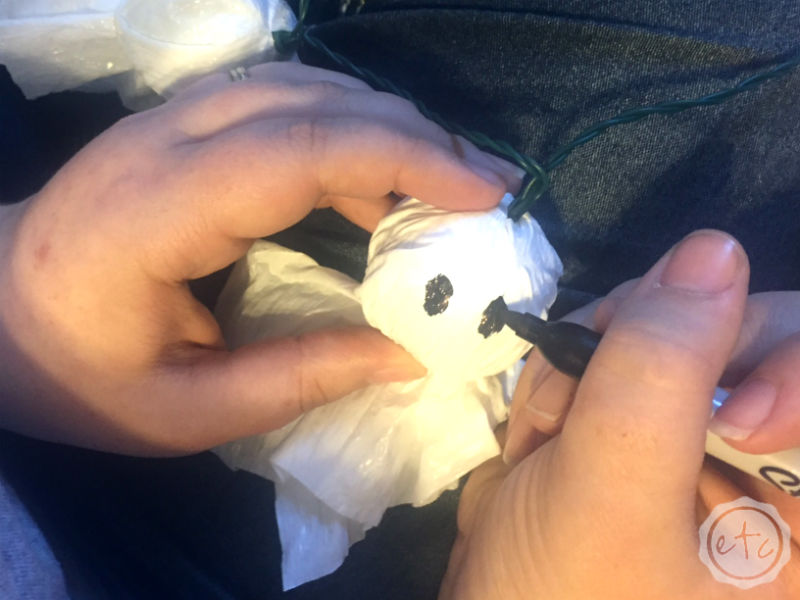
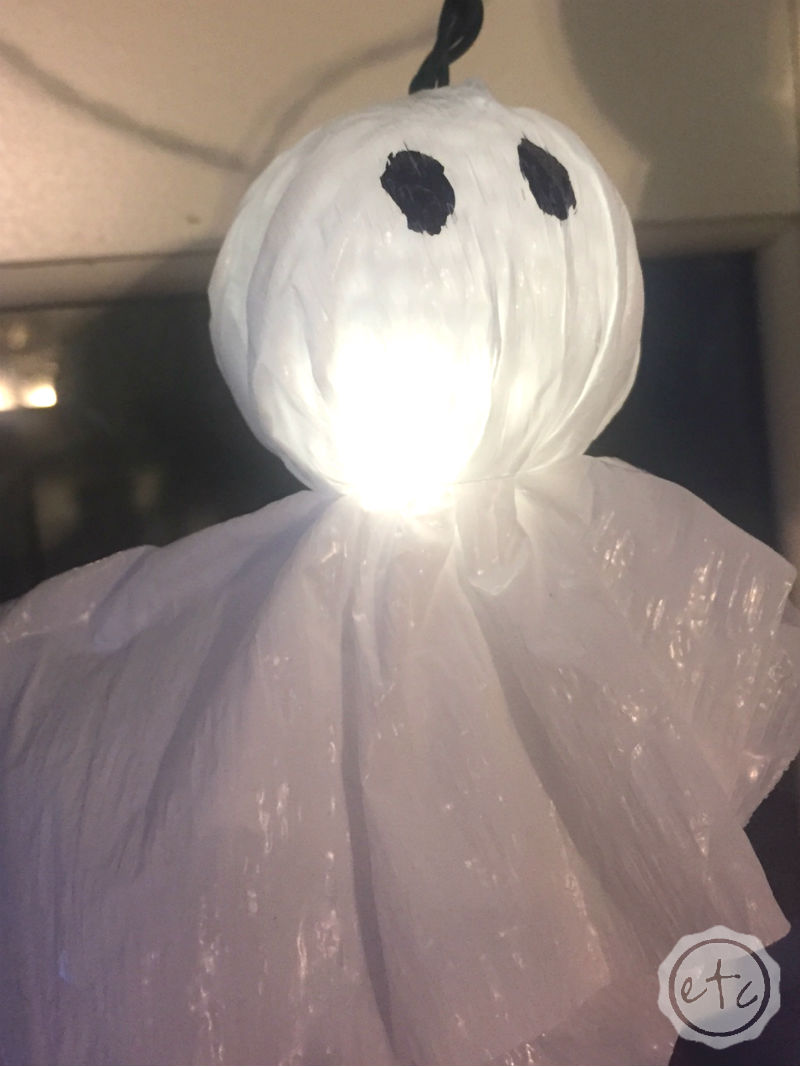
We’re almost done! At this point you could really call it a day but I decided each little ghost needed a face… so I picked up a sharpie and drew little eyes and a mouth on each one! Soooo cute!
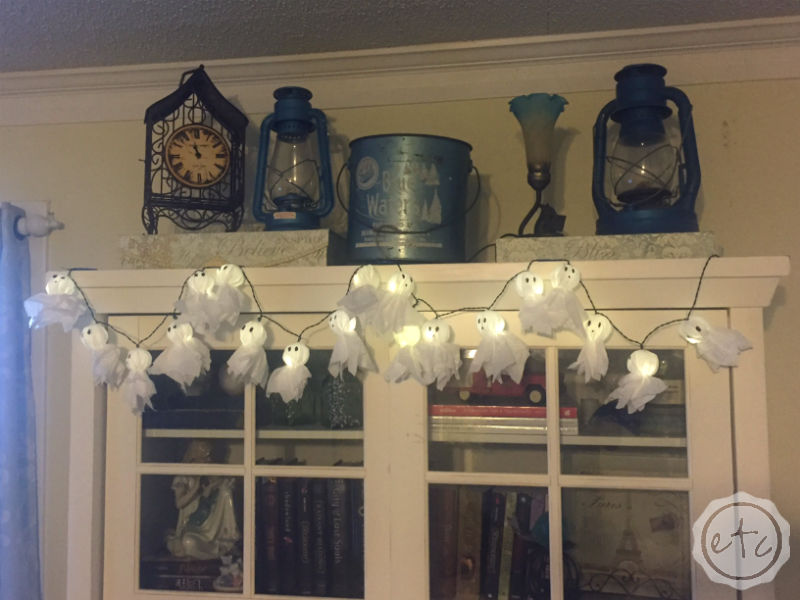
Just take a look!
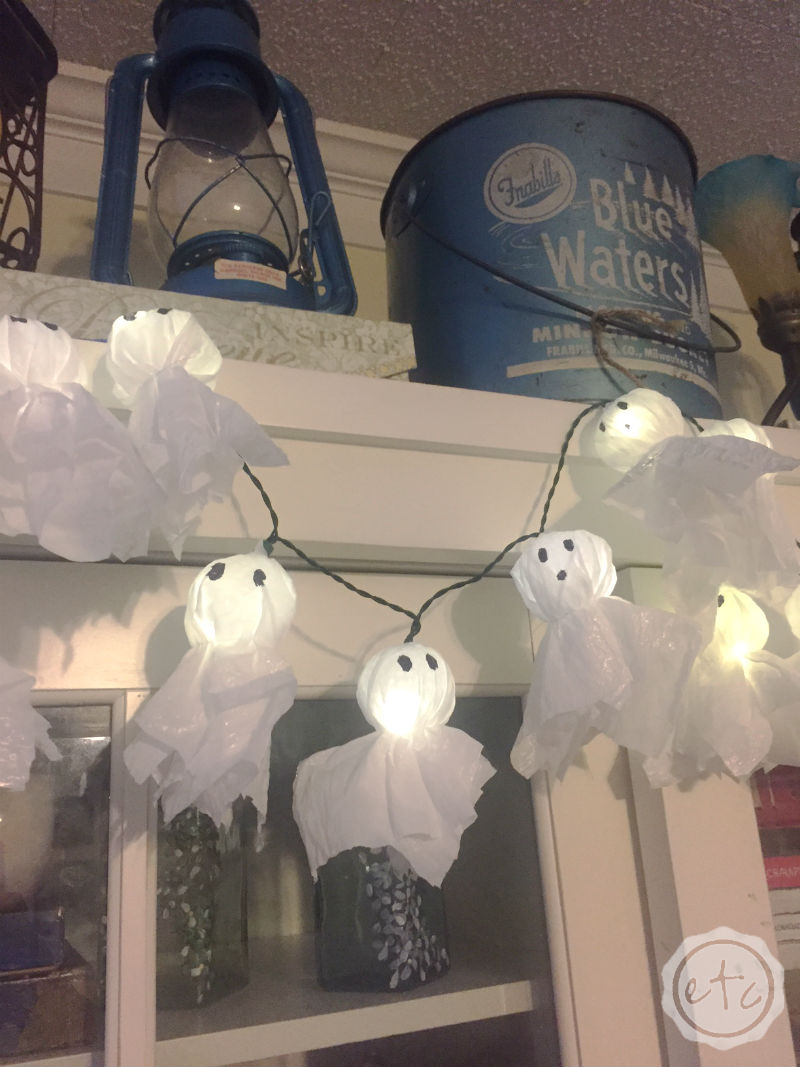
They’re just the right touch for Halloween… fun but not too spookey! Plus the hubby loves the lights… they look adorable in the dark!
The best part? iBotta is running a Hefty coupon right now… so these babies are super cheap to make! Between the trash bags, string of lights and practice golf balls we spent $14 on this entire project!


Those are really cute.
How fun! These are so adorable. They would look so cute framing a doorway or window, and they look pretty easy to make. Thanks for sharing how to make these cute little ghost lights. Pinned!