
This is a sponsored post by Kreg Jig, all thoughts opinions and adorable puppies are mine!

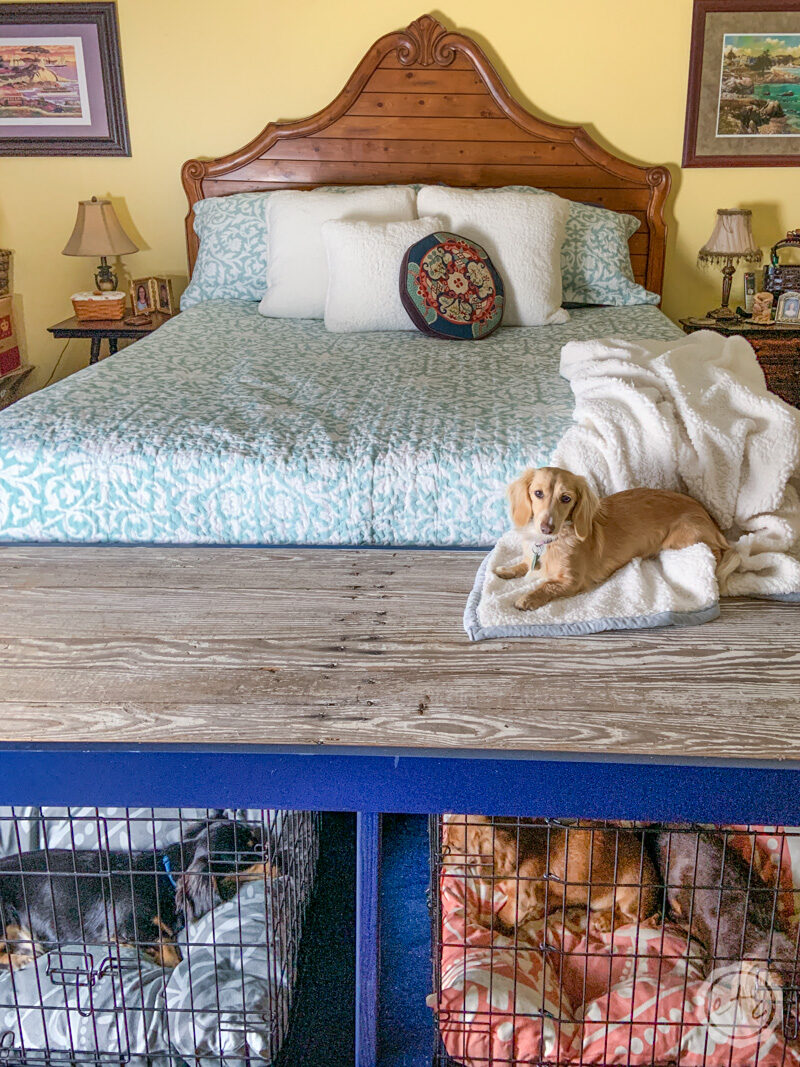
I have a fun project for you today! If you follow my blog you know that between my Mom and I we have quite a few dogs (I have 2, she has 4) and with dogs come dog cages. My Mom has two large cages at the foot of her bed where all four of her dogs sleep… they take up a lot of room, they aren’t very attractive and they aren’t sturdy enough to hold anything.
We’ve seen quite a few custom dog kennels on the market but at several hundred dollars a piece it just wasn’t the right solution. So we decided to take matters into our own hands and make a custom dog crate cover that was beautiful, sturdy enough to use as a bench and didn’t break the bank.
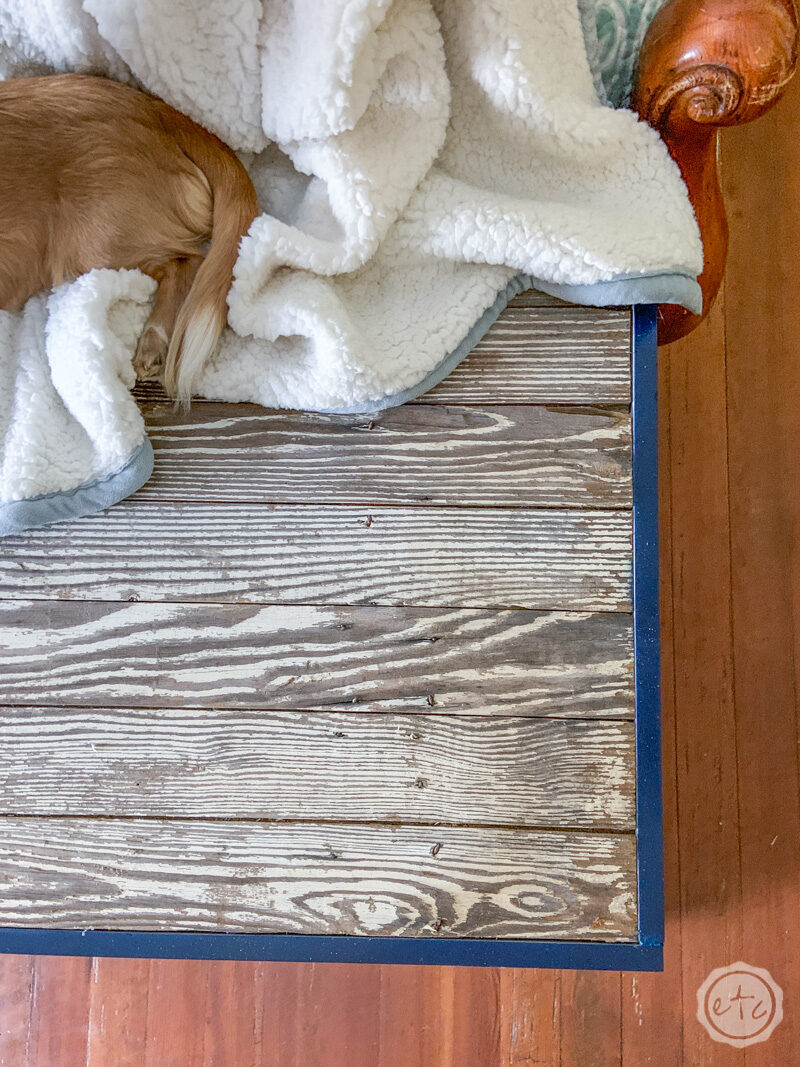
For this project we used an antique door that we had in the barn… it really helps the entire project look absolutely beautiful but you could easily use new wood for the top slats instead. The rest of the supplies were fairly inexpensive (about fifty dollars for the wood) and the dog kennels are standard sizes!
Ready to build a dog kennel cover?
Supplies:
- 2 30″ Dog Crates
- 1 Antique Door
- 1 Piece of Plywood (3/4″ to 1/2″ thickness)
- 5 8 foot long 1×3’s (preferably white for painting)
- 2 8 foot long 2×2’s
- Kreg Jig (I used the K4 which has a $15 rebate right now!)
- Clamp
- 1″ long pocket screws
- Power Drill
- Countersinking Drill Bit
- 2″ Screws
- 2 Sawhorses/worktable
- Miter Saw
- Circular Saw
- 3 Cans of Spray Paint
- Spackle/Putty
- Sanding Sponge
- Work Gloves
- Eye Protection
- Brown Paper
- Painters Tape
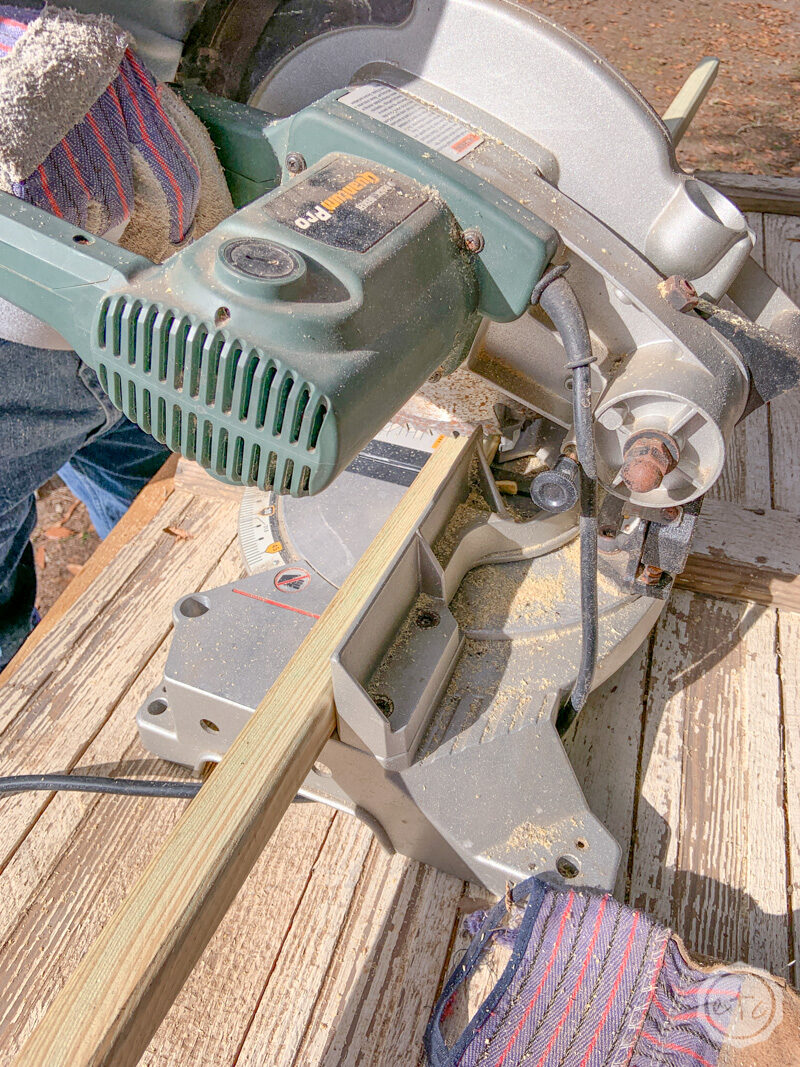
Step 1: Cut your Boards
Let’s get started! The cut list for this little project isn’t actually that bad. First I used a circular saw to cut my antique door down to 23 inches wide by 73 inches long. Make sure if you’re using an old door like mine that you pay attention to where the old nails are as cutting through an old nail can be dangerous.
Go ahead and use the circular saw to cut a matching piece of plywood for the bottom. 73 by 23 inches and preferably 1/2 deep.
NOTE: 73 inches long is a bit longer than the dog crates… but it’s the perfect length to span a king sized bed. If you aren’t putting this kennel cover at the foot of a king sized bed you can make your kennel cover a little shorter. The two kennels are 60 inches long when placed side by side so this kennel cover gives us about a foot of space in between the kennels.
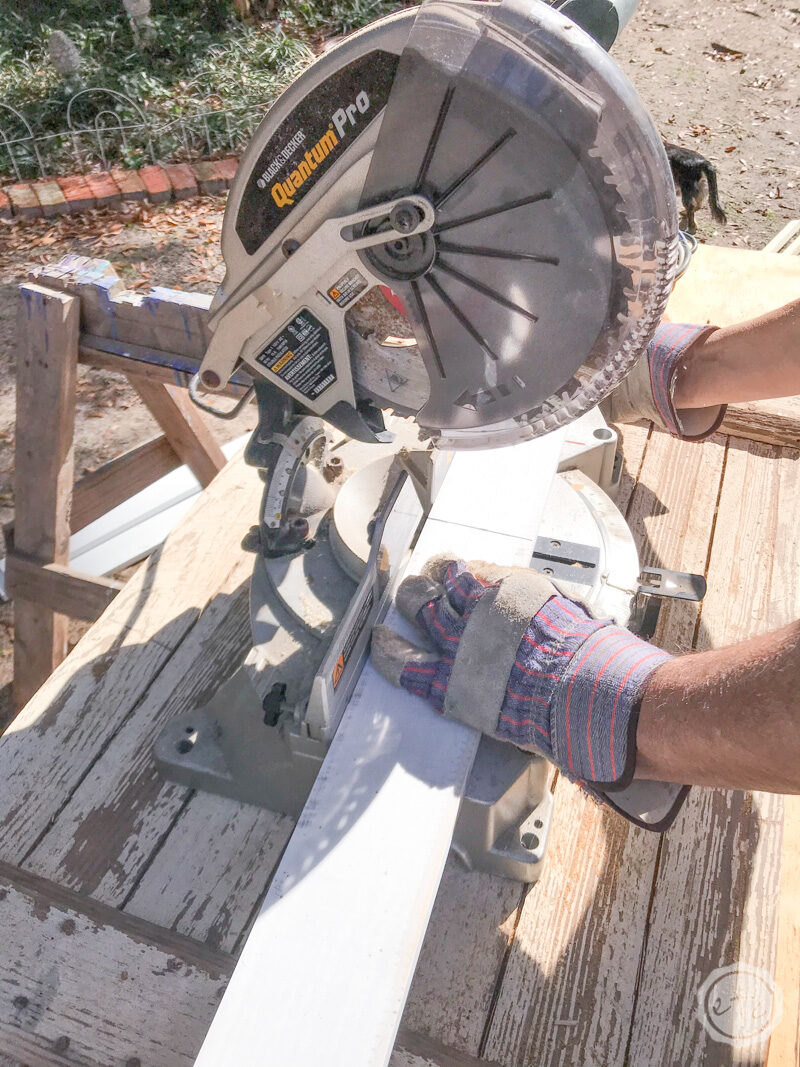
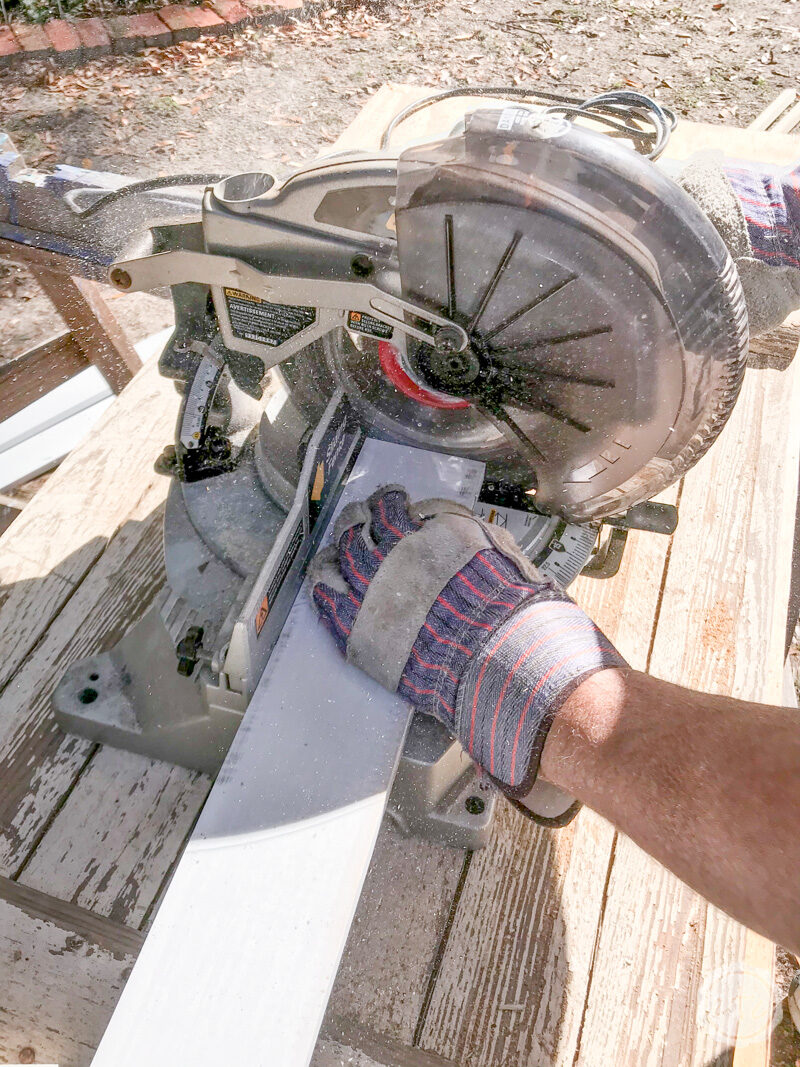
Next we pulled out the miter saw (or as my Mom calls it, the chop saw) to cut our boards. Cut your 2×2’s into 6 23 inch long sections… these will become the legs of your kennel cover.
Now take your 1×3’s and cut the end pieces for your door and plywood. These should be 23 inches wide to match your door however measure it against the actual door since the antique wood doesn’t always sit level and cut properly.
Next you’ll need to cut the long boards. These should go all the way across the front of the door encompassing the entire 73 inch front as well as the ends of both 1×3’s after they’re added to the door. So instead of 73 inches we’ll cut 4 long boards at 74.5 inches long.
You can cut the long boards now but because I wanted to be absolutely sure the boards fit my antique door (which can be a little warped) I waited to cut my long boards until after step 3 when the short ends were attached with pocket screws.
Step 2: Drill Pocket Holes
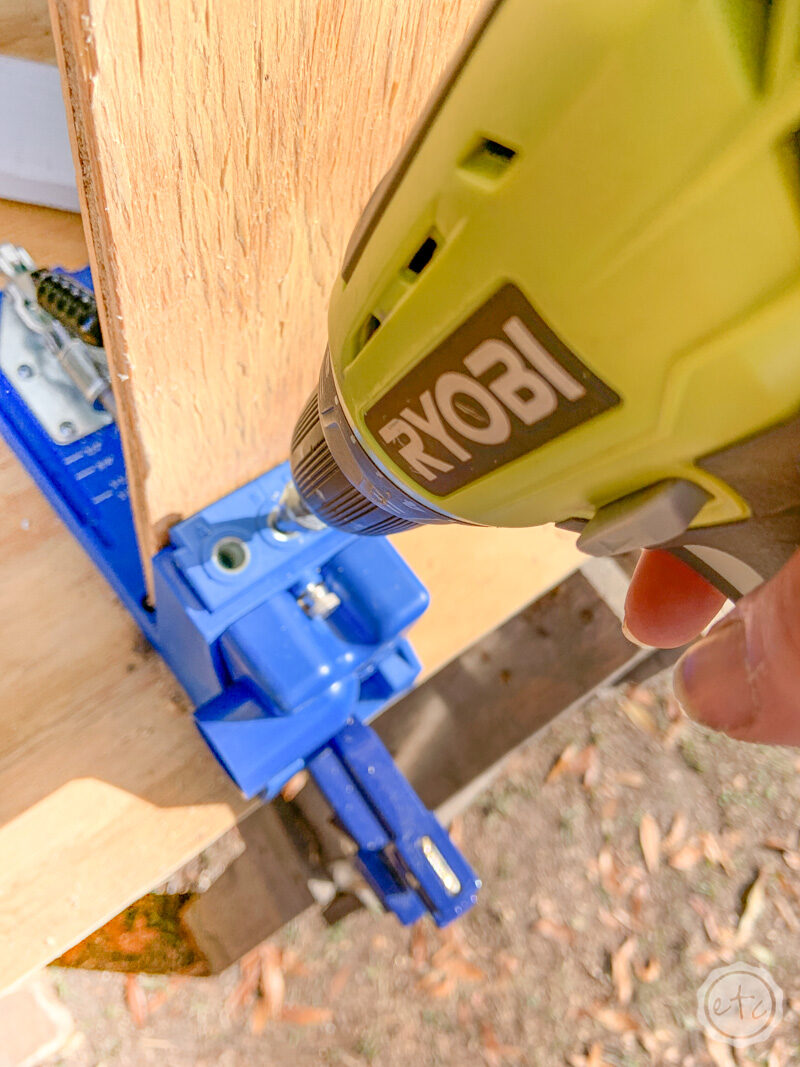
Okay y’all let’s get to the fun part! Adding pocket holes! Go ahead and clamp your Kreg Jig down to your work table so that you can add pocket holes to all. the. things. I have a K4 Kreg Jig which is super easy to use (you simply set the clamp once and then add your boards in, drill, take the board out, repeat) but you can use a smaller kreg jig if that’s what you have.
Bonus Tip: The K4 currently has a rebate promo going on… you receive $15 back when you purchase this bad boy! Which is the best thing ever!
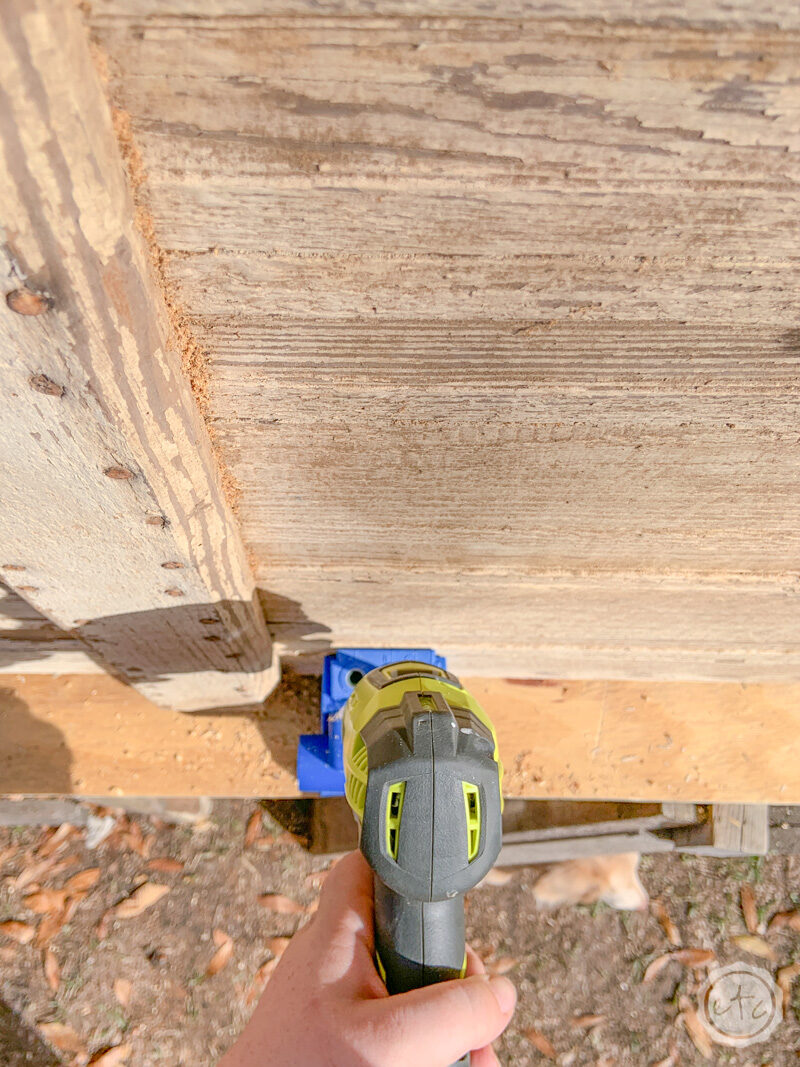
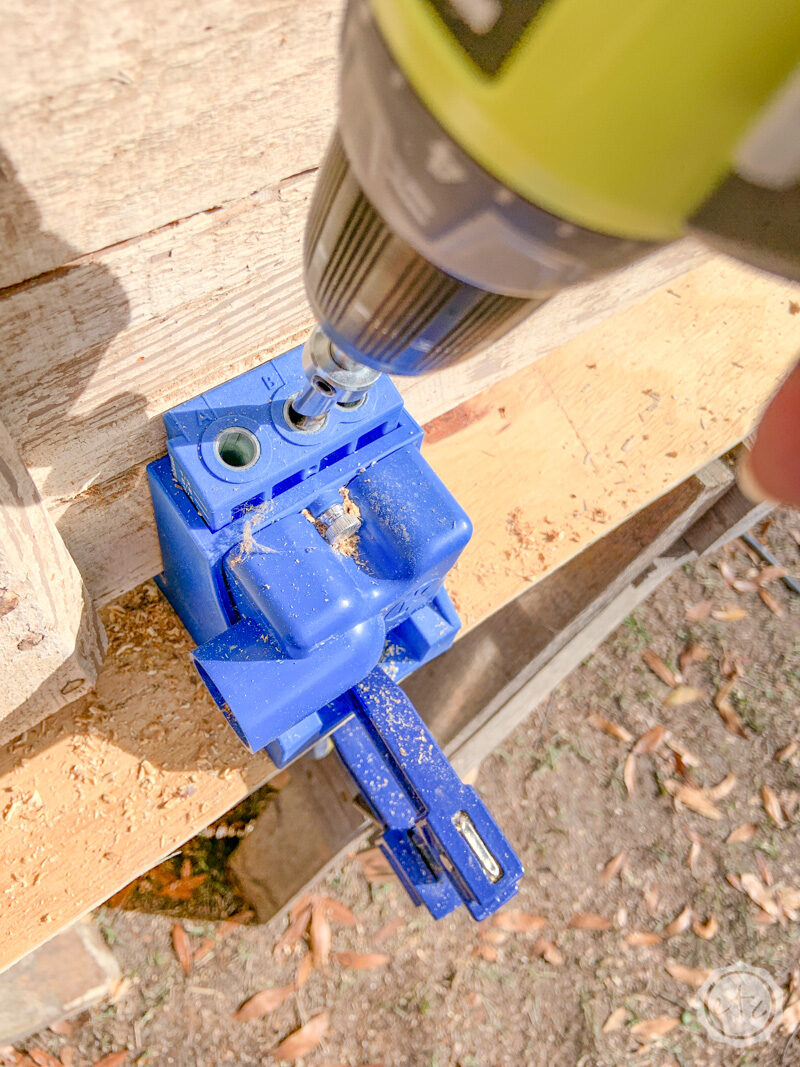
Once you have your little kreg jig set up and ready to go it’s easy to add pocket holes to everything. Or in this case our antique door and plywood pieces.
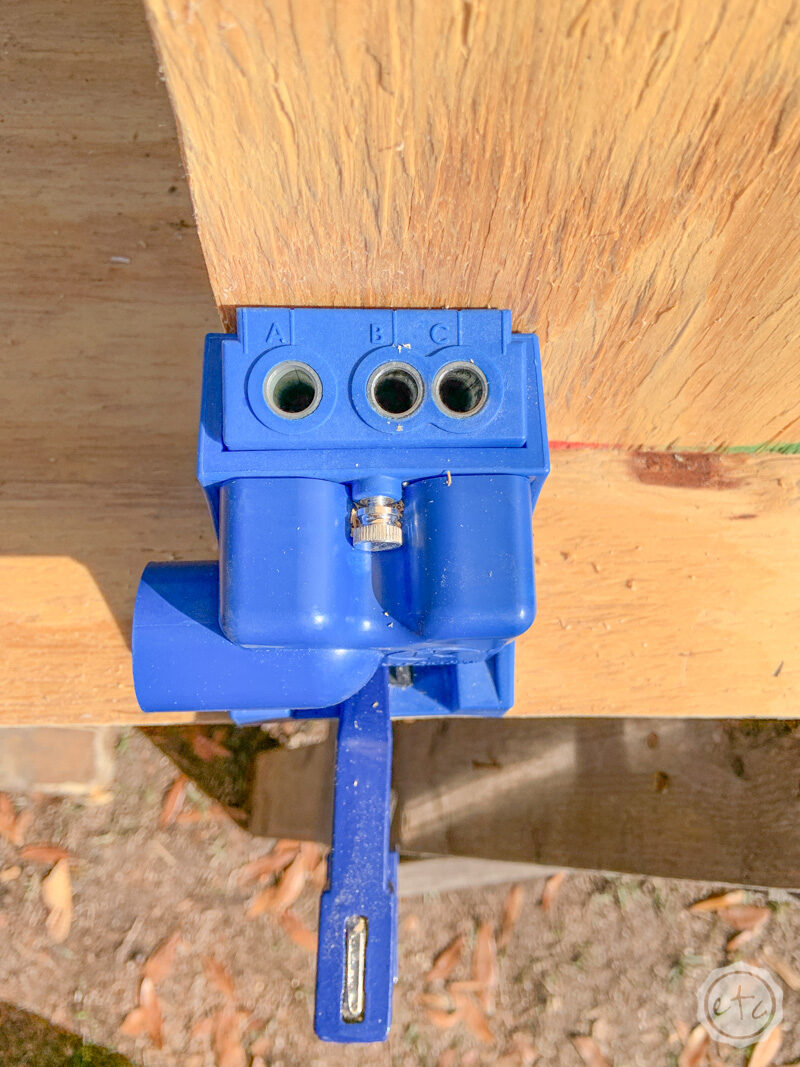
Set your Kreg Jig to 3/4″ deep (the width of our 1×3’s) and the corresponding drill bit to 3/4″ deep and then we’re ready to rock. I added four pocket holes across both long sides of my antique door and bottom plywood piece. Then I added 2 pocket holes to the short sides of the antique door and bottom plywood piece.
Since the antique door and bottom plywood piece are 73 inches long these babies needed a little help to stand up in the Kreg Jig in order to be drilled. I simply grabbed a few friends and had them hold the large boards in place.
The little clamp on the back of the Kreg Jig is pretty strong and will hold the area directly in the Kreg Jig in place.. it will not hold up a 73″ by 23″ antique door.
Step 3: Attach Boards with Pocket Screws
Ready for a few pocket screws? Now that we have both our top and bottom ready to go with pocket screws we’re going to add our boards around the sides.
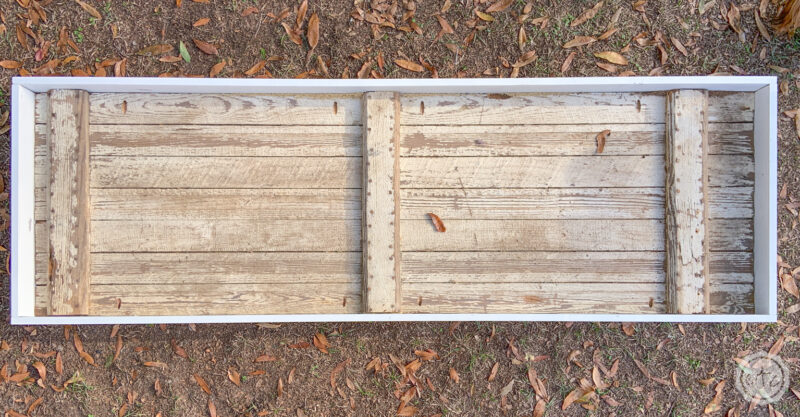
Start with the 23″ sides and secure them with a pocket hole screw on each end. Then you can add the long boards (this is where I double measured and finally cut my long boards so that they were the perfect length).
Four pocket screws across the front and back of this antique door and you’re good to go! The 1×3’s should be firmly in place and your top antique door and bottom plywood pieces are finished. Now we just need to add the legs that connect these two together!

Step 4: Attach Legs
Alright y’all now that we have the top and bottom put together it’s time to put the legs on this little guy!
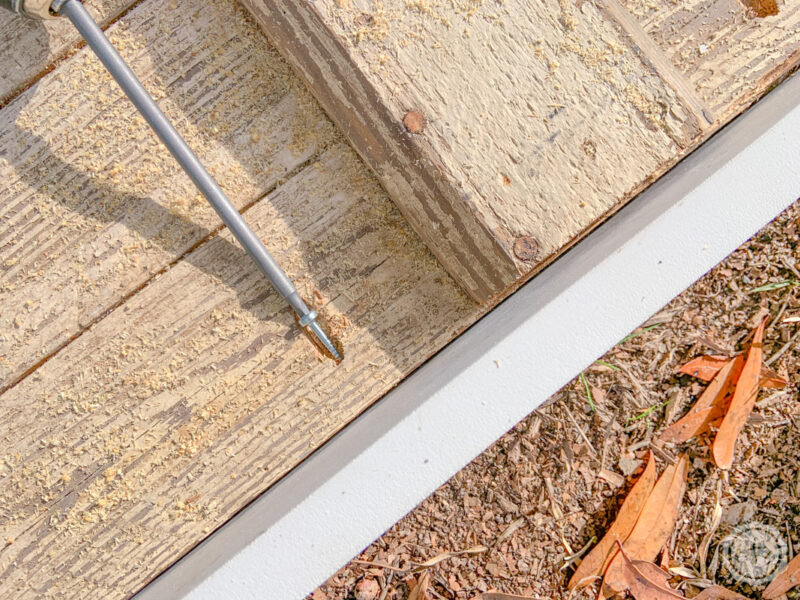
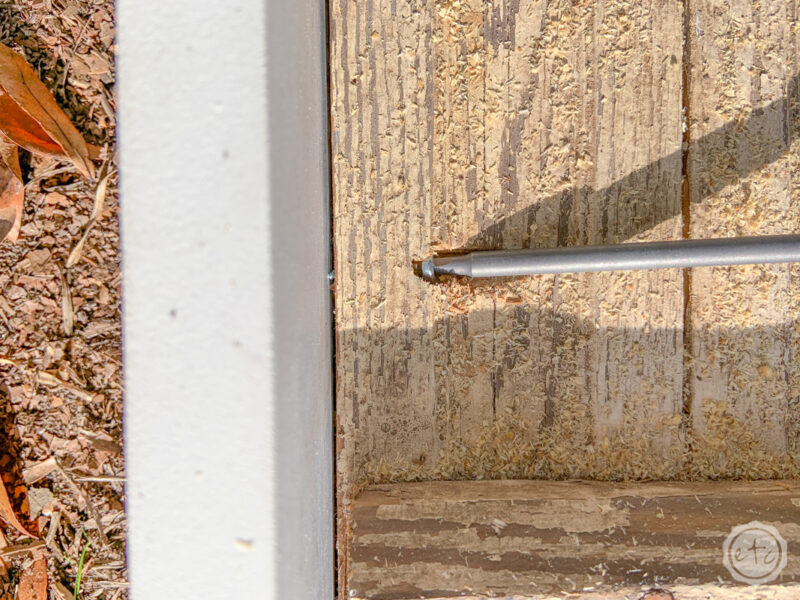
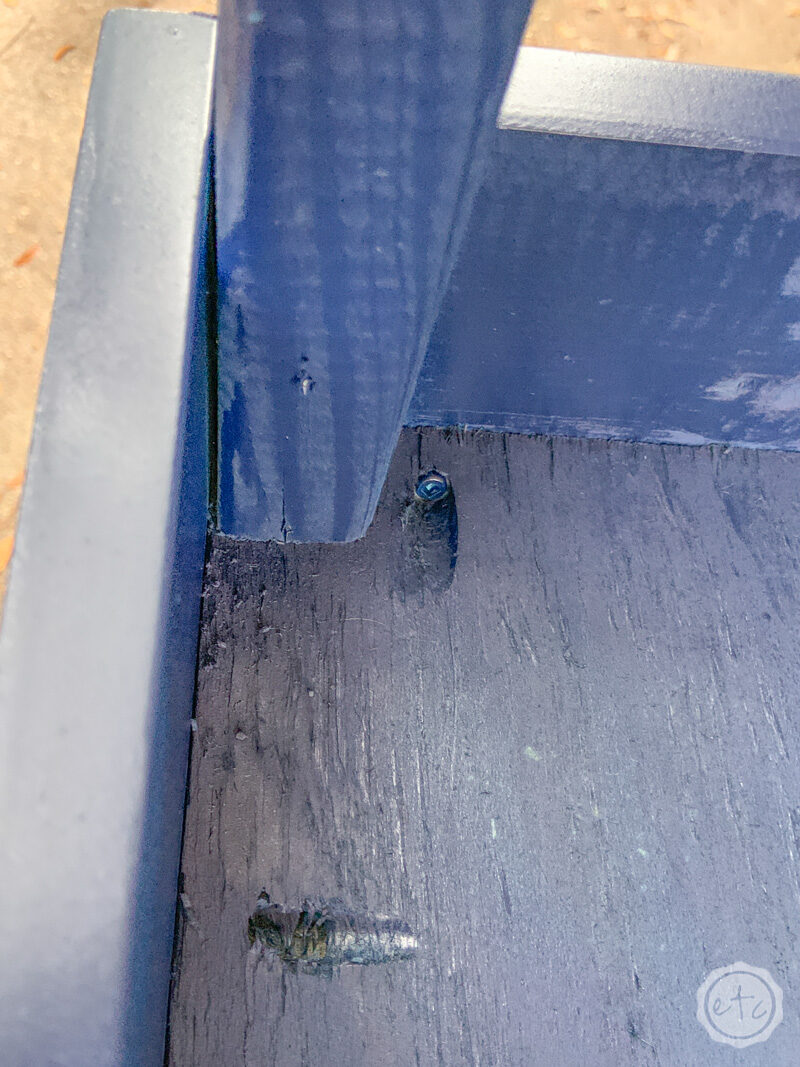
It’s a pretty simple process… I simply used a countersinking drill bit to drill two pilot holes through the front of the bottom 1×3 board, through the legs and then secured everything with 2″ long screws.
The legs in the corners received 2 screws on the front and 2 on the sides so that they are really sturdy.
The two legs in the middle could only have 2 screws from the front so I added 2 spare pieces of board to either side of the leg to brace it and give it a little extra stability.
I wasn’t thrilled about drilling into the face of my boards when the pocket screws had kept everything neat and tidy up until this point but with the 2×2’s being so narrow I wanted to make sure they were sturdy enough to hold up the heavy antique door as well as anyone who may sit on this little kennel cover.
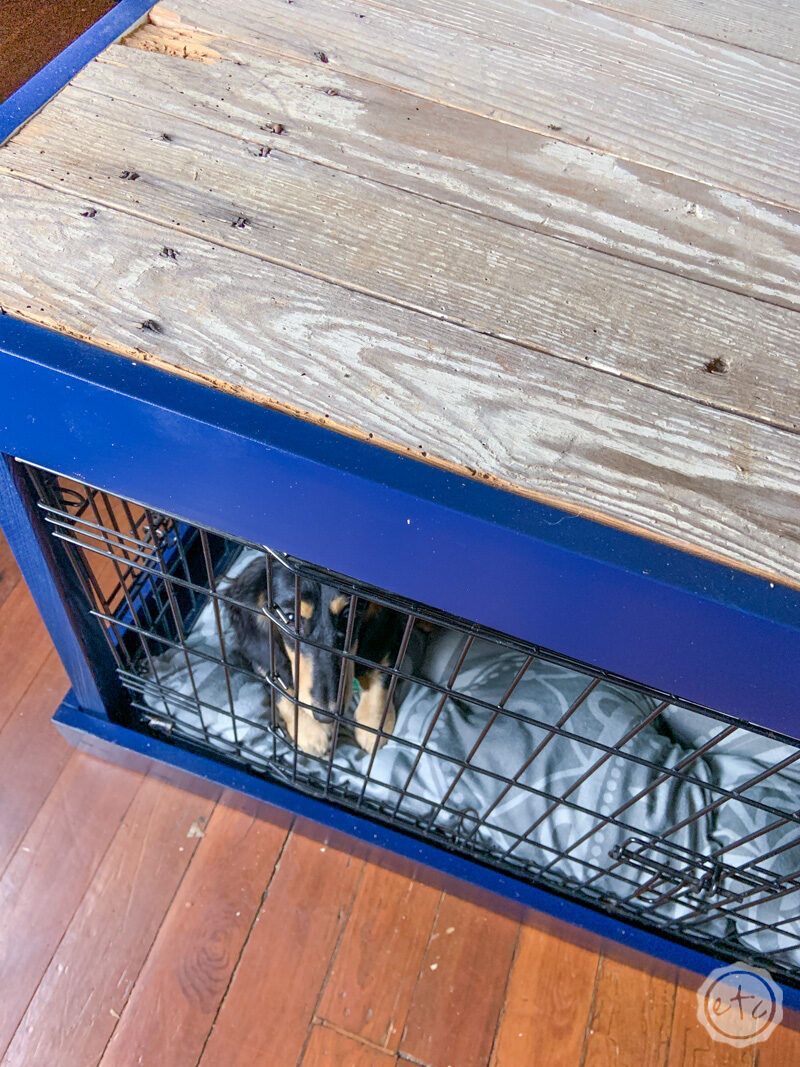
Once the legs were secure to the bottom board we simply placed the top antique door section on top. It fit snugly over the legs and the door is pretty heavy so it’s not going anywhere. We decided to leave the top as it is (without screws) so that we can take the top off if we need to remove the dog crates for cleaning.
Step 5: Cover the Top
Now we’re getting down to business!
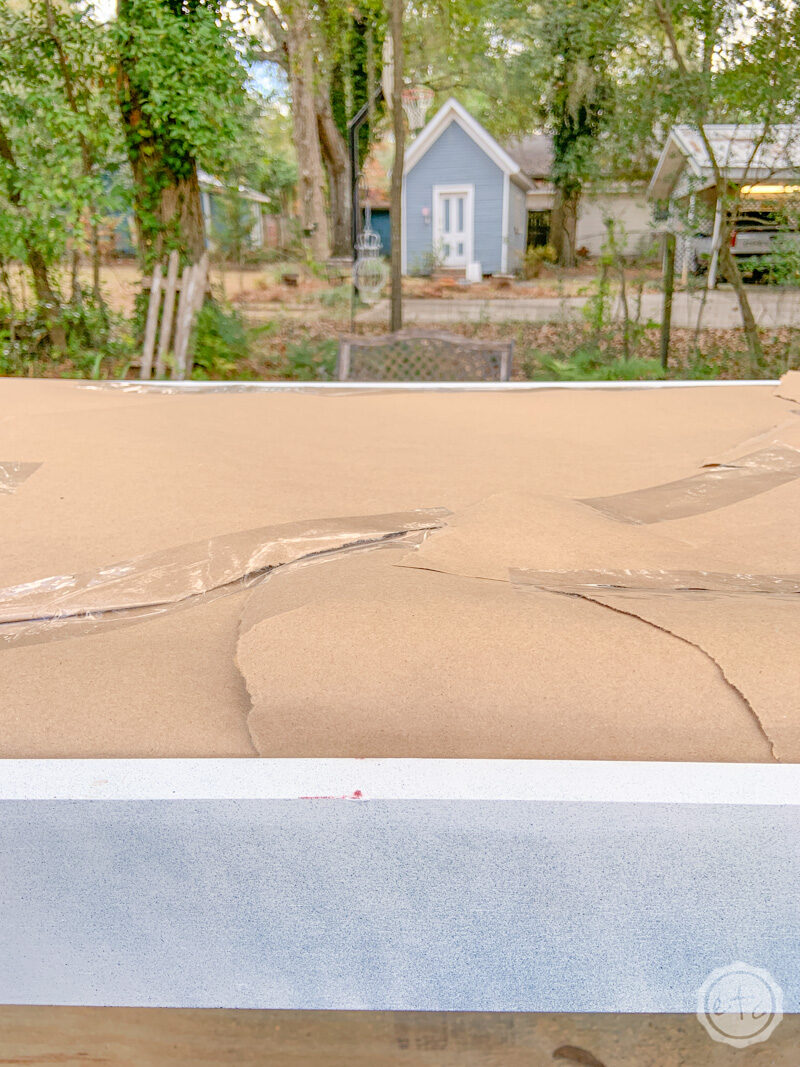
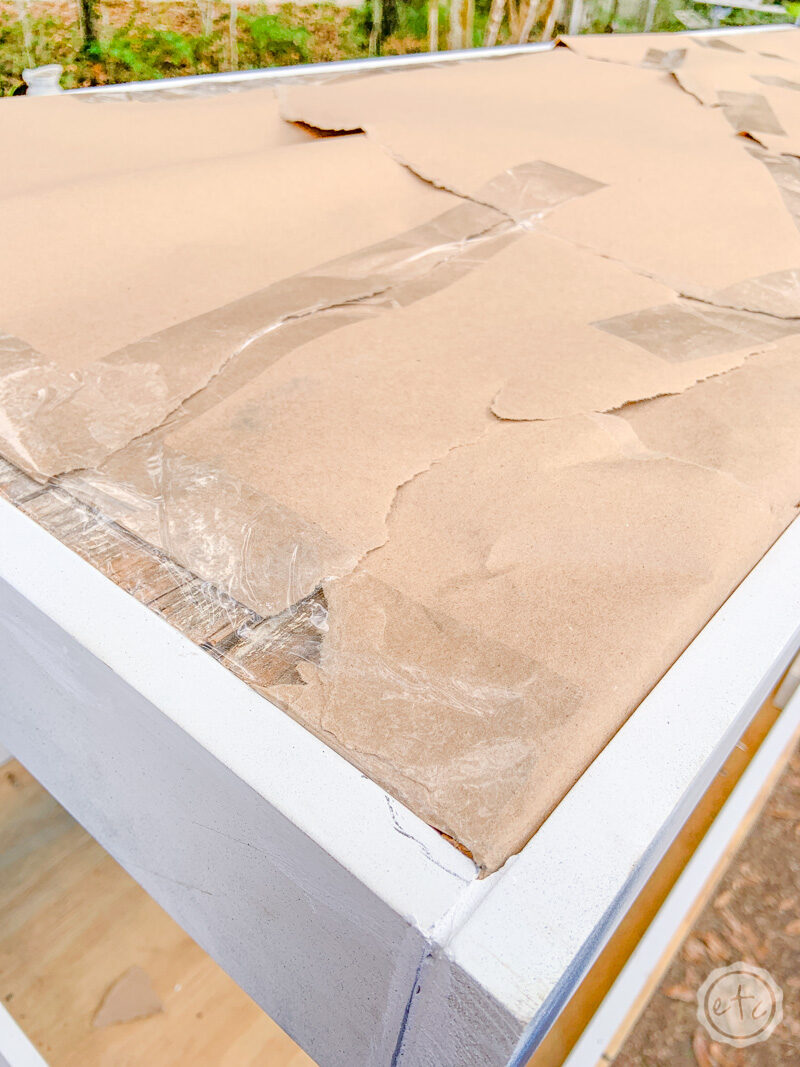
Since the entire dog kennel cover is getting painted a beautiful navy blue except for the top we need to cover the antique door with a bit of brown paper.
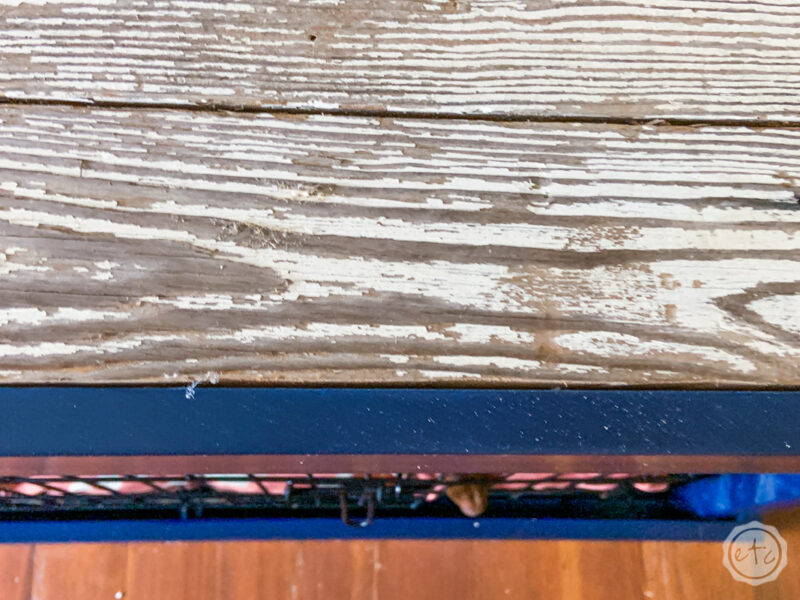
I simply ripped pieces of brown paper and fit them down in the little groove between the 1×3 and the antique door. Then I folded the pieces of brown paper over and secured everything with tape. Since we’re using spray paint you want to make sure the entire top of the door is covered in paper and there are no areas where a little spray paint can sneak through.
On the areas where the door and the 1×3 were too snug and I couldn’t fit the brown paper down in between I simply taped off the door so that it was covered by tape and wouldn’t be painted.
Step 6: Putty and Paint
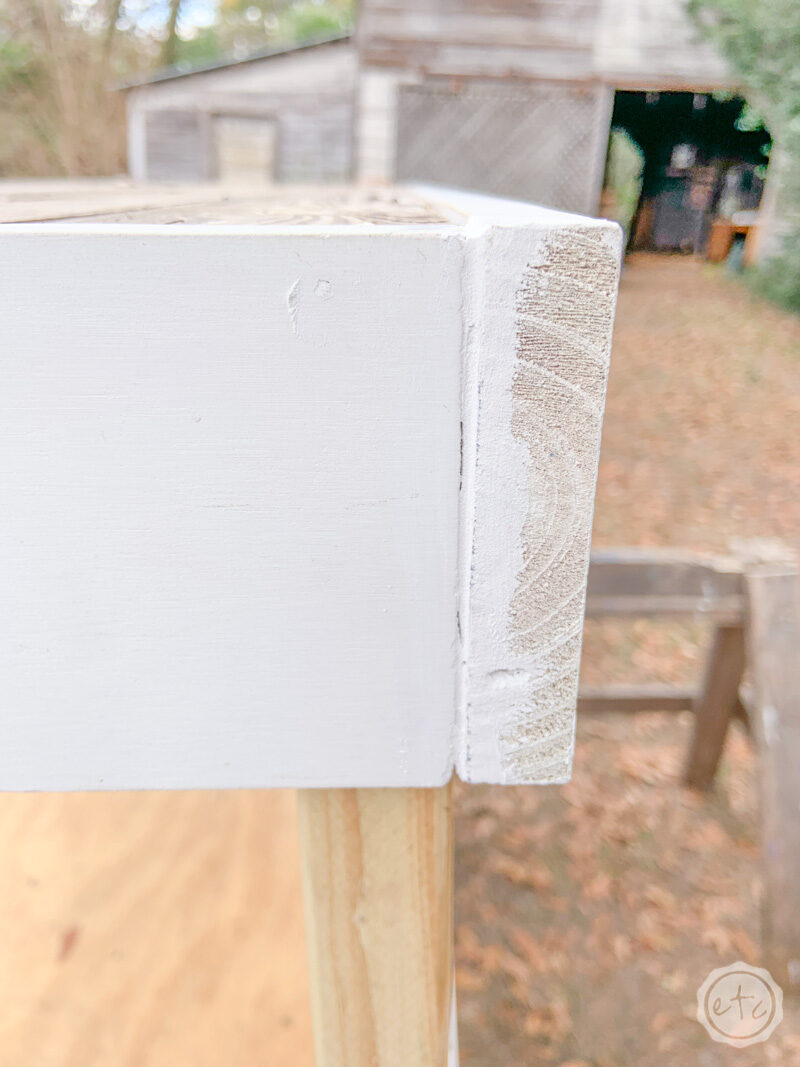
One last step before we can paint! A little painters putty! Not only do we need to fill in the screw holes in the bottom of our legs so that they’re smooth and unnoticeable once we paint I also wanted to putty any of the seams that weren’t perfectly flush.
There weren’t too many but this antique door isn’t 100% level enough after we cut it with the circular saw so a few of the gaps looked better once bridged with putty. Simply fill the holes with putty, let them dry for an hour or two and then sand them smooth. Now you’re ready to paint!
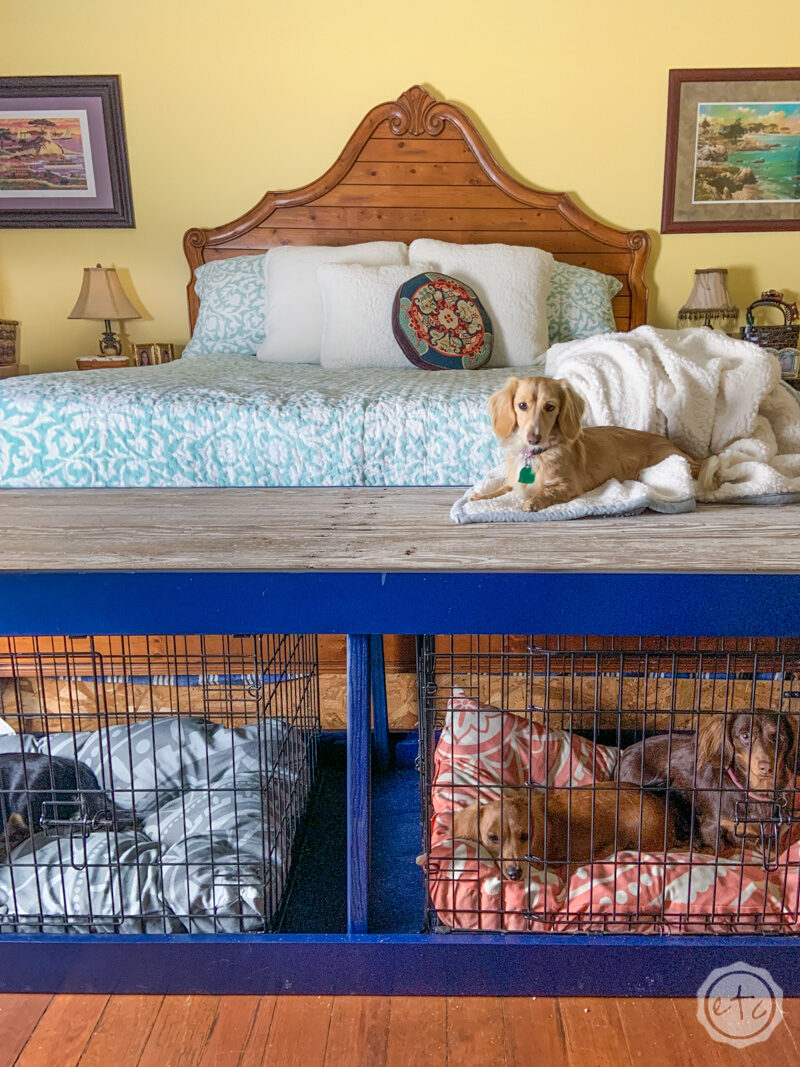
Since this is going in my Mom’s bedroom my vote of white was outvoted and we ended up painting the entire dog kennel cover classic navy. It actually ended up looking absolutely beautiful with the dark black of the dog crates! Go figure!

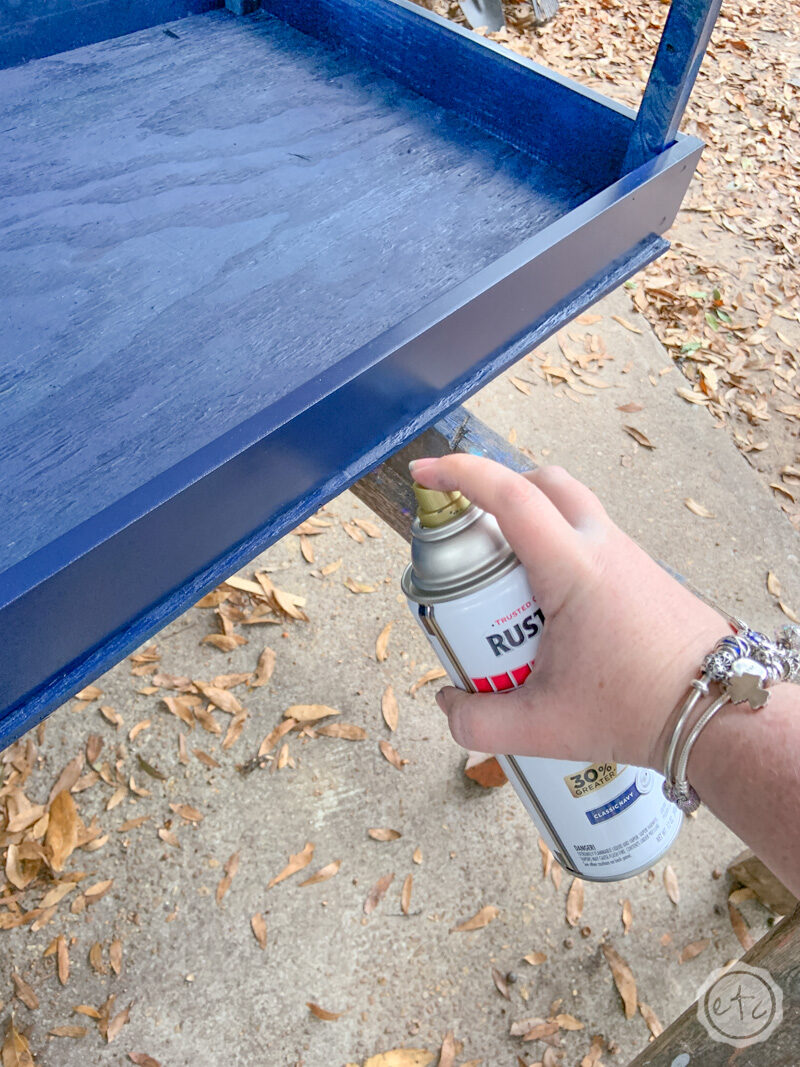
I gave all of the visible parts of this little guy 3 good coats of spray paint so that it would be evenly covered (navy doesn’t cover super well) and absolutely beautiful.
Step 7: Enjoy!
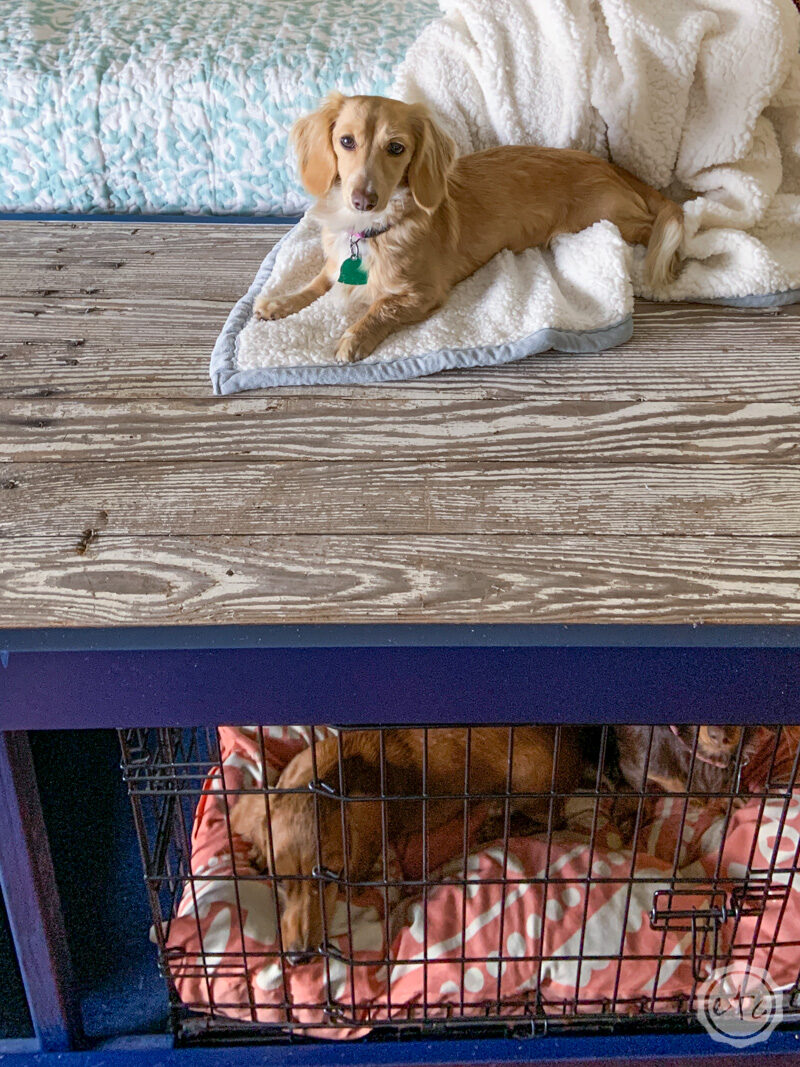
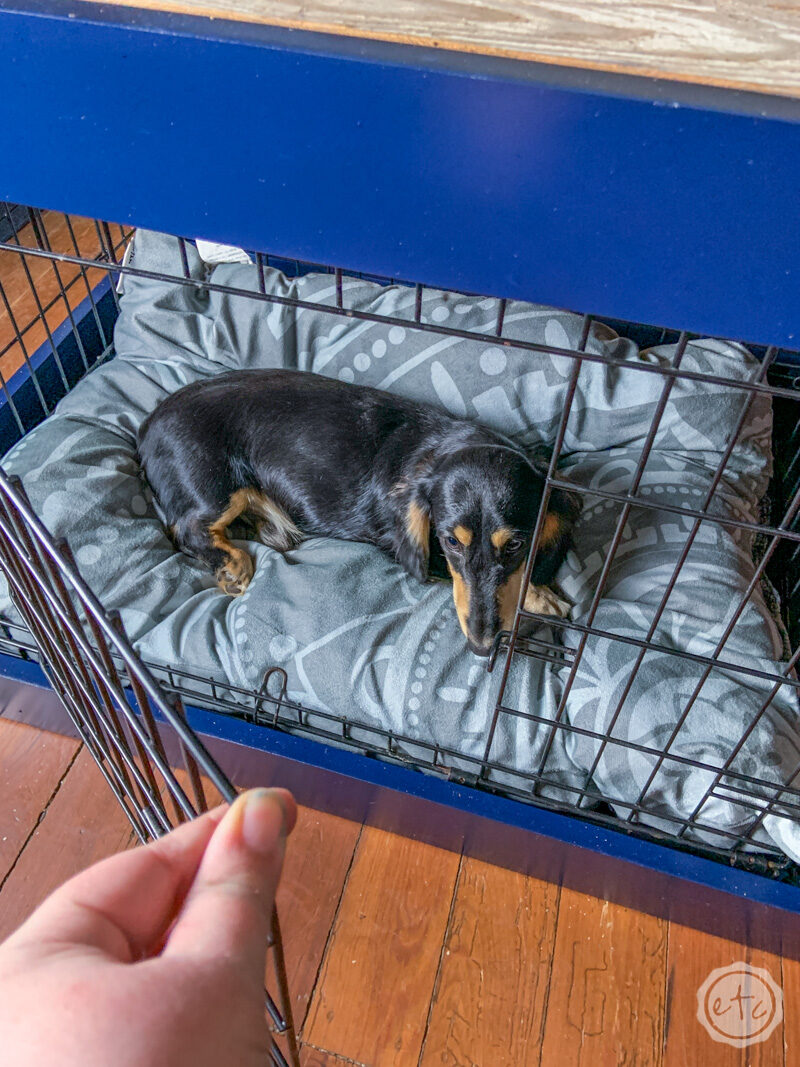
Now all that’s left was to let this baby dry before bringing it into Mom’s room and adding the dog crates! It fits perfectly at the foot of her king sized bed (just what we wanted!) and looks like a beautiful bench with that antique door as the top.
Her dachshunds seem to like it as well!


Leave a Reply