

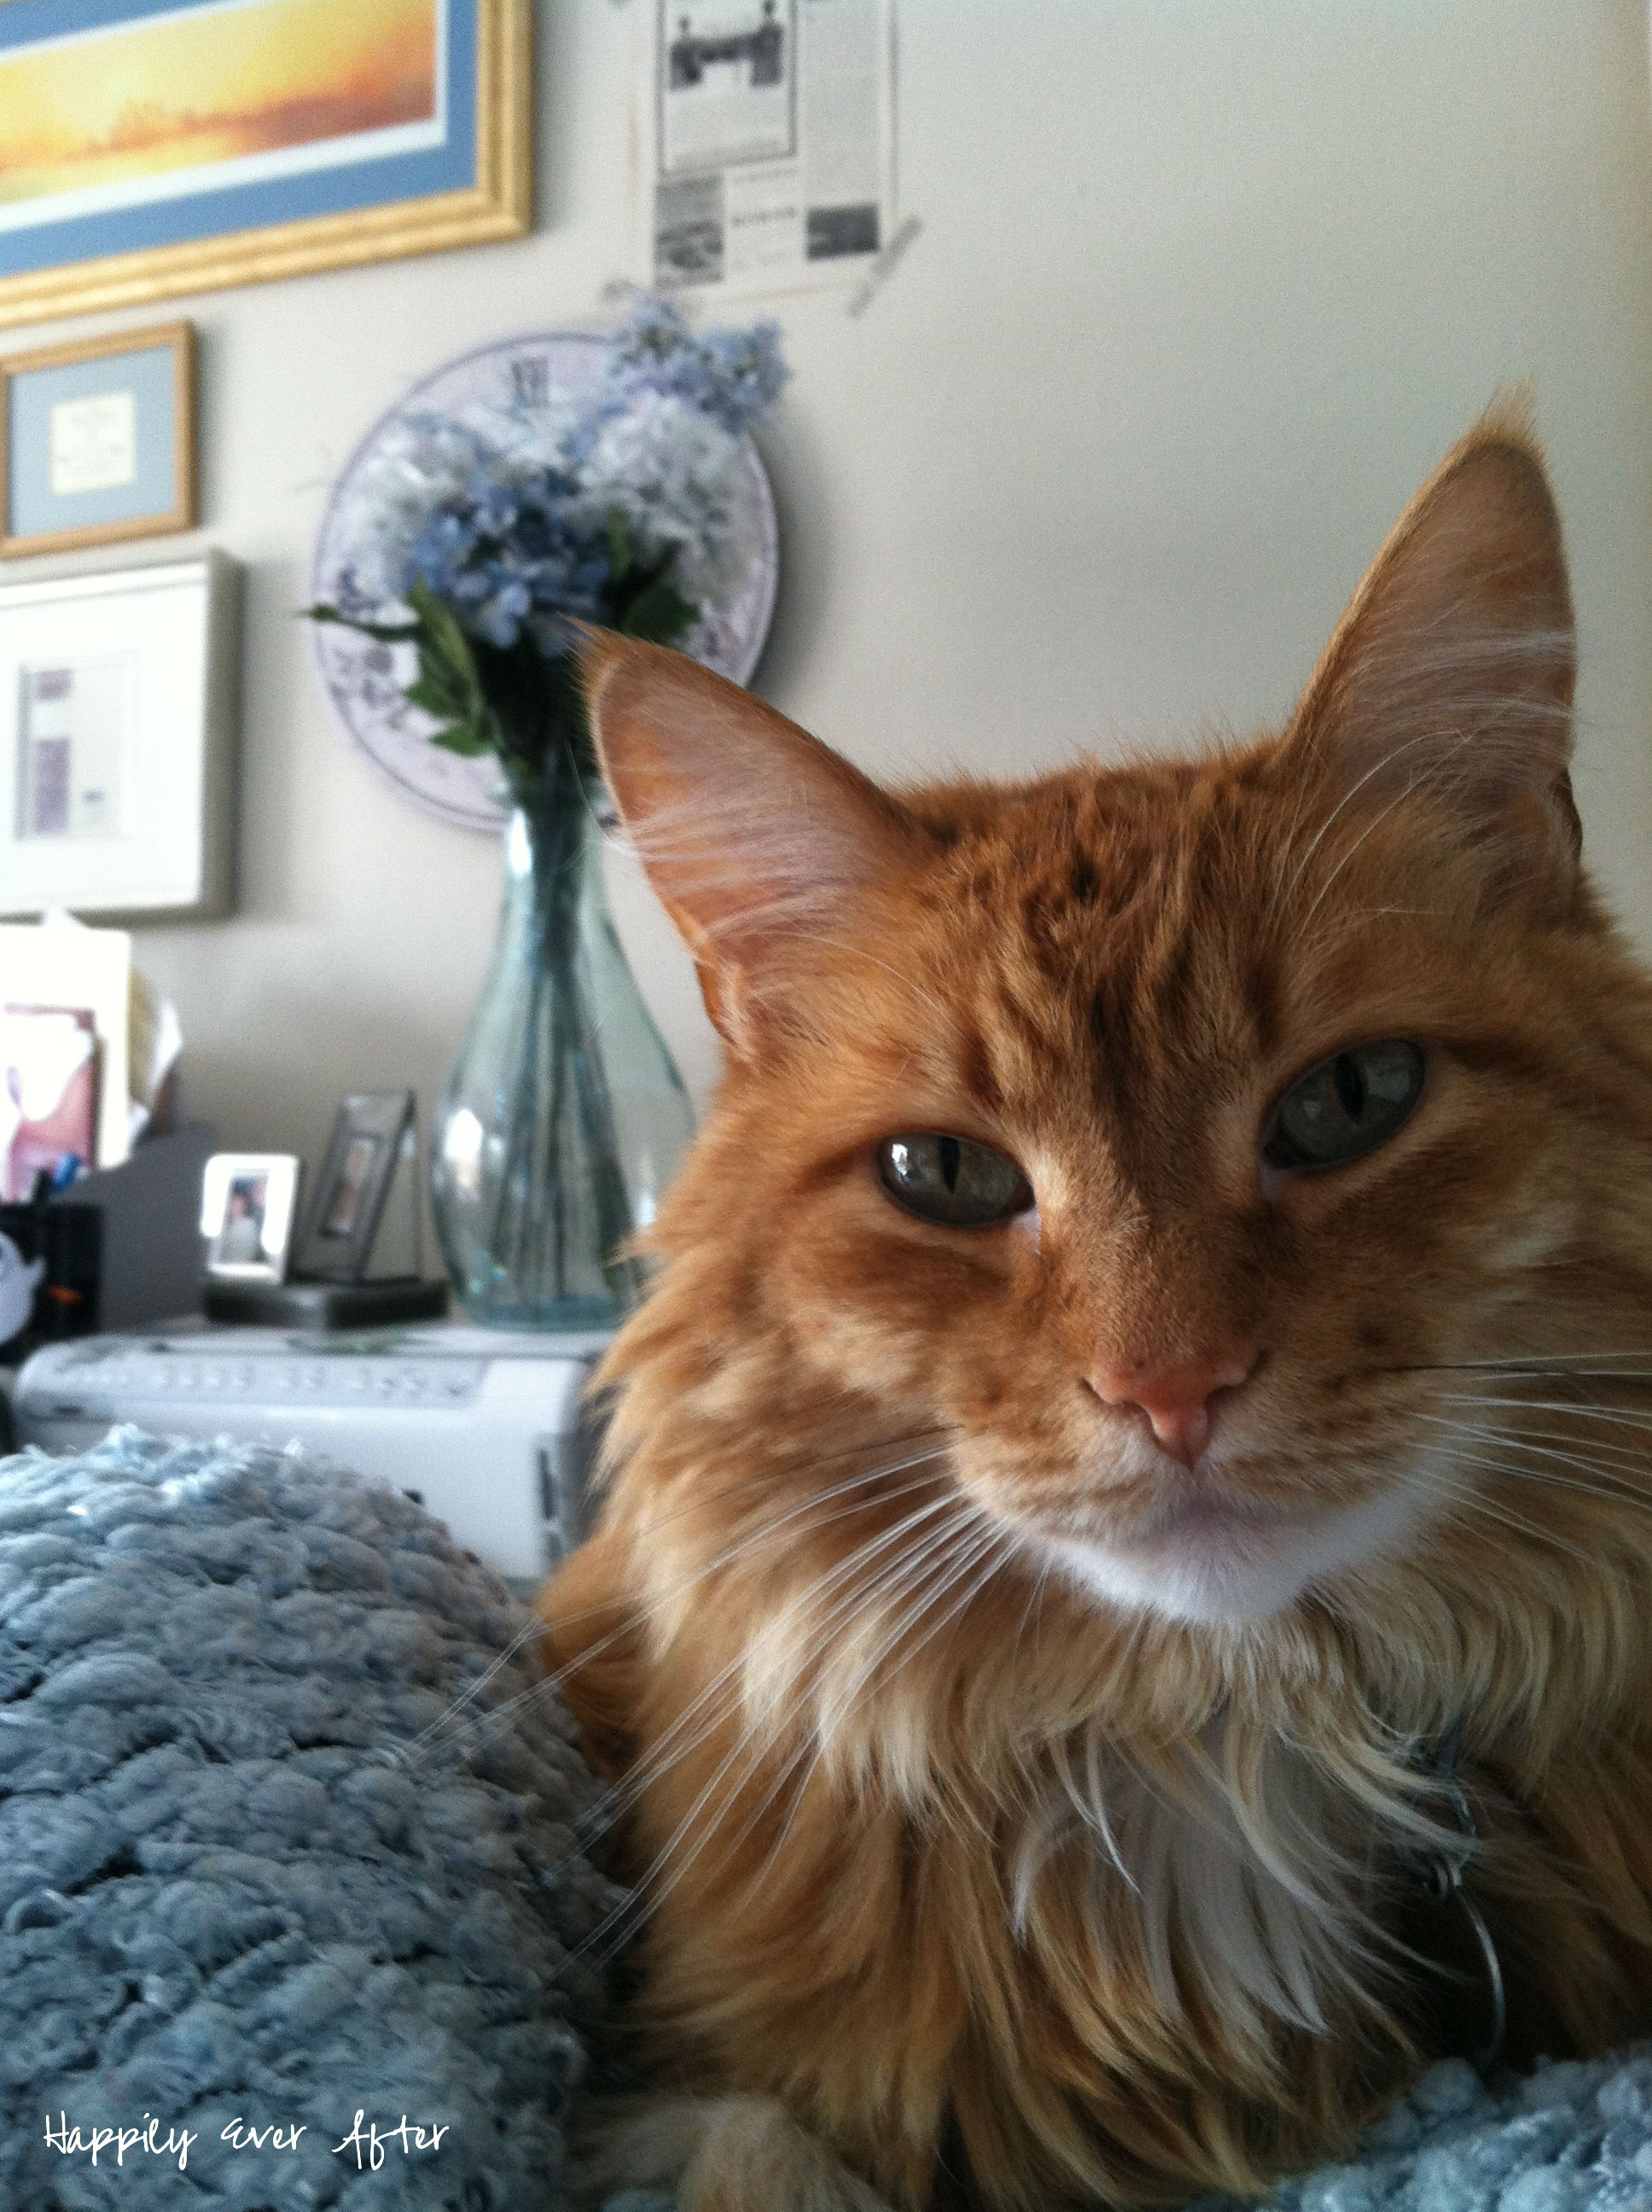
If you’ve hung out here a time or two you might have seen our adorable little fur babies! Lily is the reigning Queen… I’ve had her since I was sixteen so you can only imagine 😉 Short of revealing my true age (ha!) let’s just say she’s the oldest of our little trio.
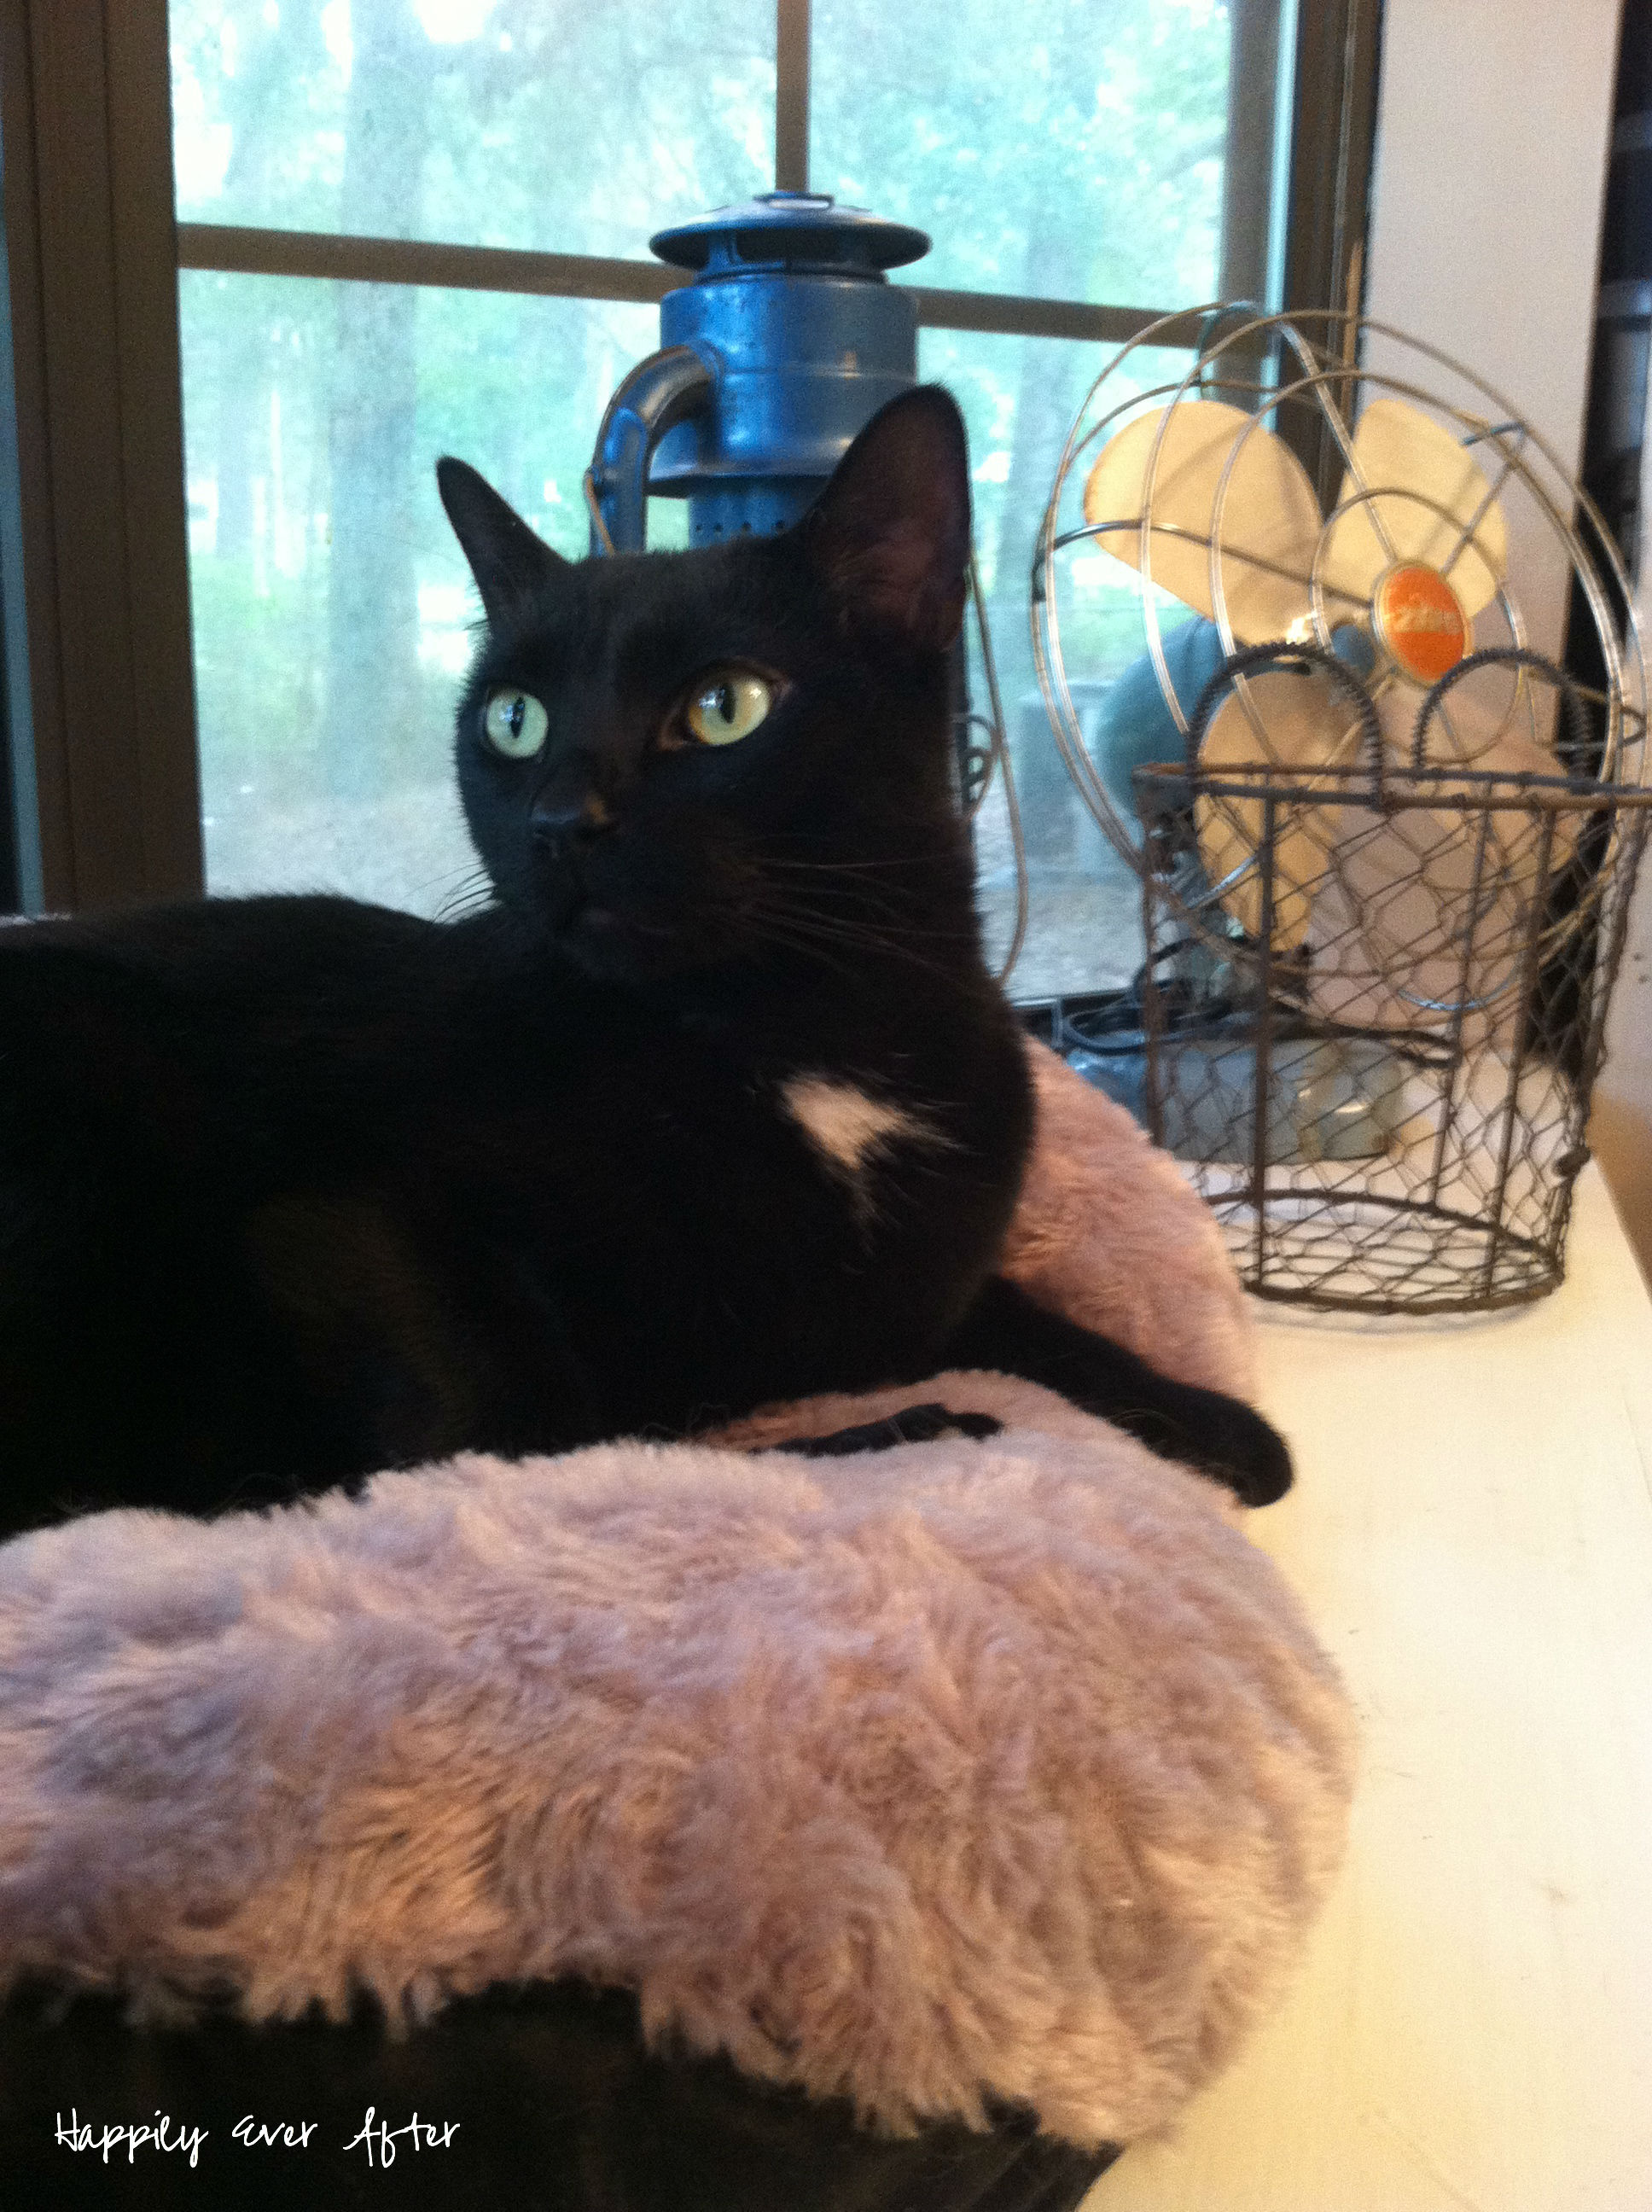
Jasper is our funny little man… and the only boy of the house (besides the hubby 😉 ) Of course if you’ve read my about page you already knew all of this.
Looking for a bunch of posts on DIY & Crafts? I’ve got you covered!
Click here to see all of my how to DIY & Craft posts in one place!
Of course the one thing you really need with adorable little fur babies is storage… so you don’t see all their little fur babies things out and about!
They really come with A LOT of things don’t they?
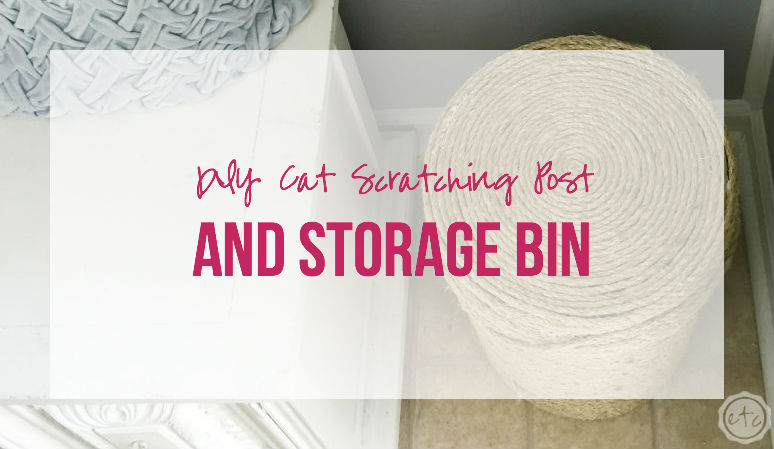
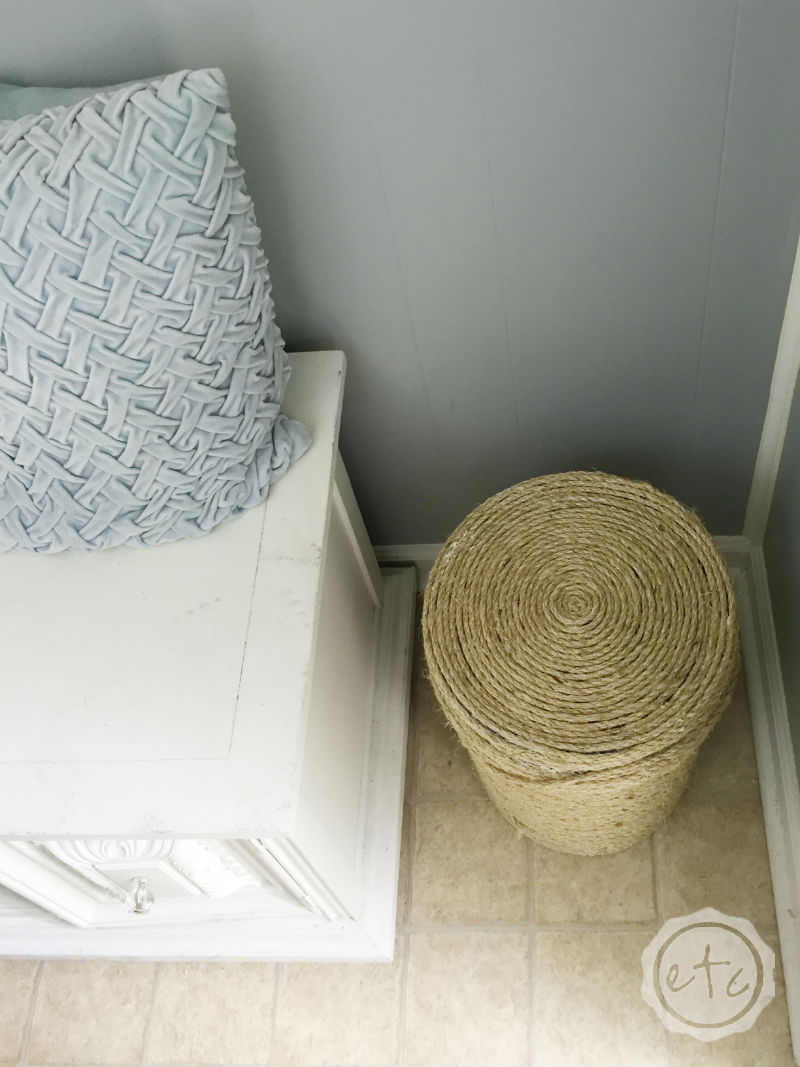
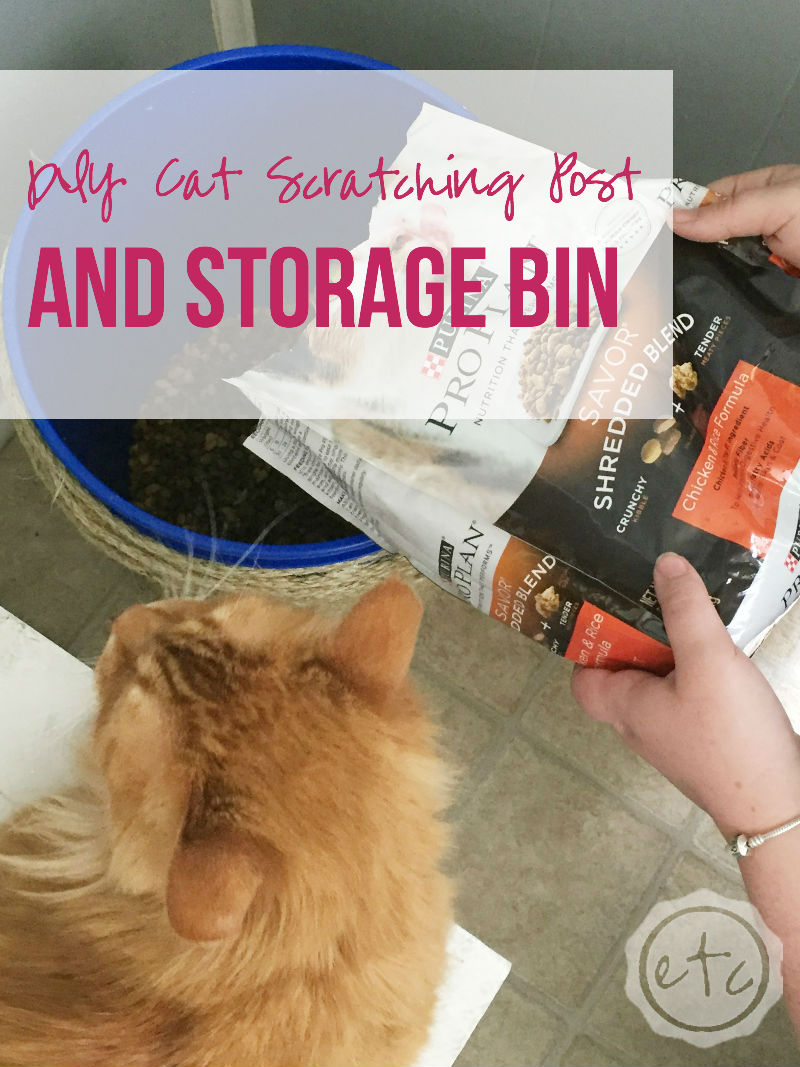
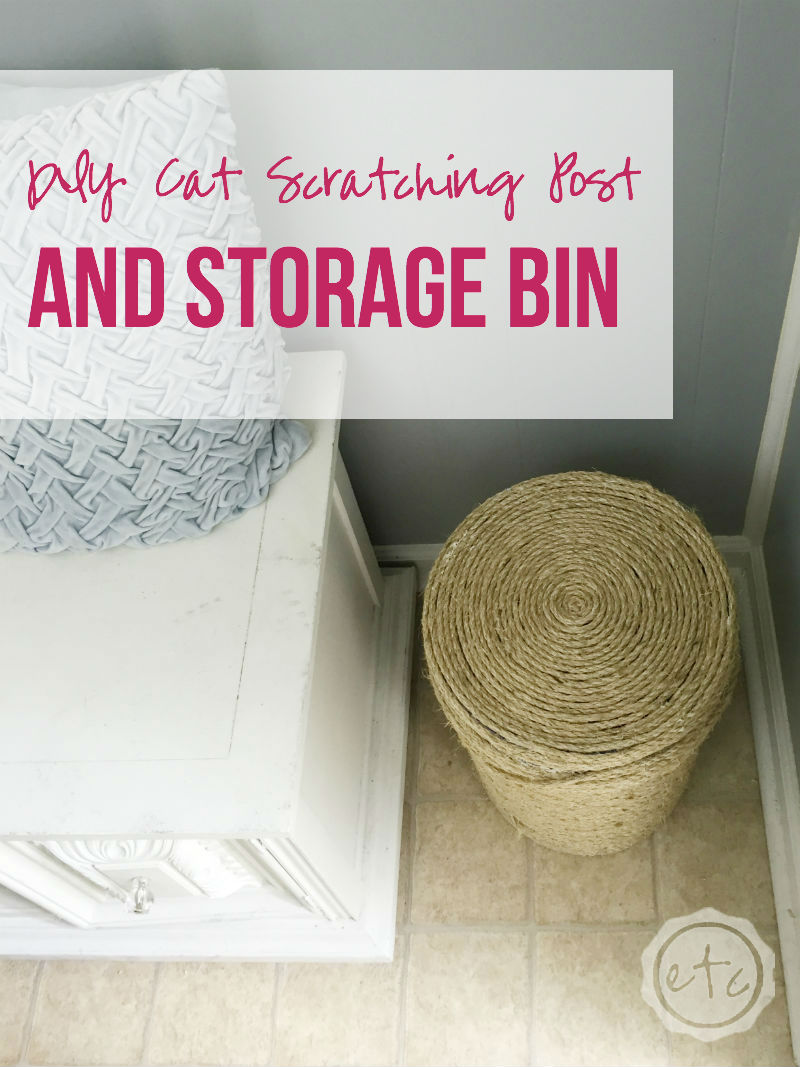
Of course the best part of any project is if it does double duty! So I decided that while the inside of my fun little storage container would hold cat food the outside would double as a cat scratching post. Trust me… this was a total light bulb moment for me! It was like the clouds opened up and the angels started singing.
Especially because Lily demolished their scratching post at the last house and I’ve been wracking my brains for a new scratching post idea ever since! Our poor chair arms were starting to look a little worse for the wear.

Supplies:
Blue Bucket and Lid
2 Rolls of Sisal Rope (Jute or hemp would work as well but sisal rope is definitely the least expensive)
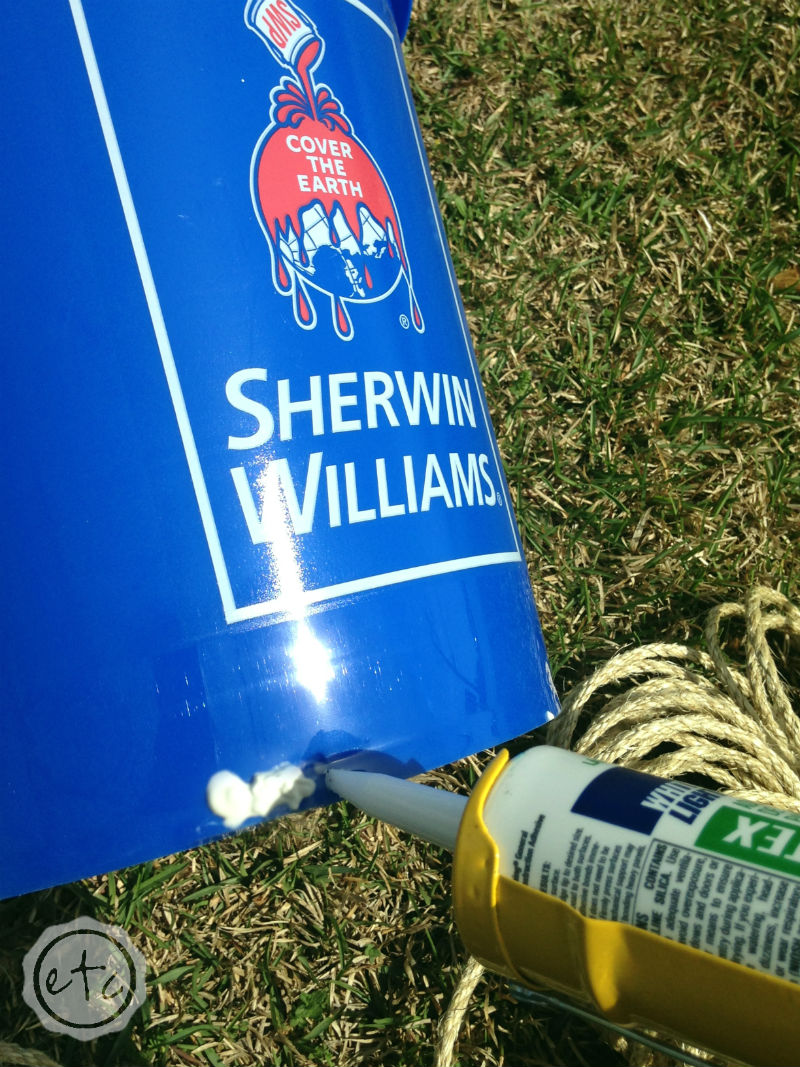
Super Grip (after using hot glue on our last scratching post I knew I wanted an adhesive with a little more grip for this scratching post… Lily was able to tear down our last one too easily. I decided to use Super Grip adhesive which is a new Sherwin Williams product… this stuff applies like caulk but dries super hard. We used it to glue two bricks together at the store and they’re still going strong!)
Step 1:
Okay y’all this project is so easy that it really doesn’t deserve steps! Here’s how it went down…
First I attached the end of my rope with a bit of hot glue… the super grip will be the better adhesive in the end but it takes two hours to cure so short of holding your rope to the bucket for two hours go ahead and attach the ends with a bit of hot glue. Easy peazy! Once the end is attached I went ahead and ran super grip in rows up and down my bucket… nothing fancy just every few inches I ran a stripe of glue. The end result was vertical stripes of glue all the way around my bucket! Super classy!
From there I simply wound my rope around and around my bucket! If you have a counter top to place your bucket on that makes it super easy… just spin the bucket while holding one end of the rope! Your bucket will be completely covered in no time! Once you reach the top of your bucket simply cut the end and hot glue it to the top. I reached the bottom lip of the lid before I ran out of my first roll of rope…
Bonus Tip: Make sure to pull your rope tight as you go… and squish all the rope strands together so there’s no bucket showing through! Once the glue sets that’s it… so you don’t want to be trying to adjust the rope once you’re finished.
Step 2:
The top section was just as easy as the bottom… I simply placed a whole bunch of hot glue in the center and worked out from there! Make sure to place super grip all over your bucket lid so that every inch of rope has a bit of adhesive to hold it down. Once you reach the bottom go ahead and glue the end down with a bit more of hot glue!
Bonus Tip: Place your super grip and then wait about 10-15 minutes before placing your hot glue and attaching your rope. The super grip is very liquid at first and has no hold… it takes a couple minutes before it gets sticky enough to hold down all of those little bits of rope! Since I only have two hands I used a stapler to hold down the sections of rope I wasn’t working on and worked from there.
Volia! That’s it!
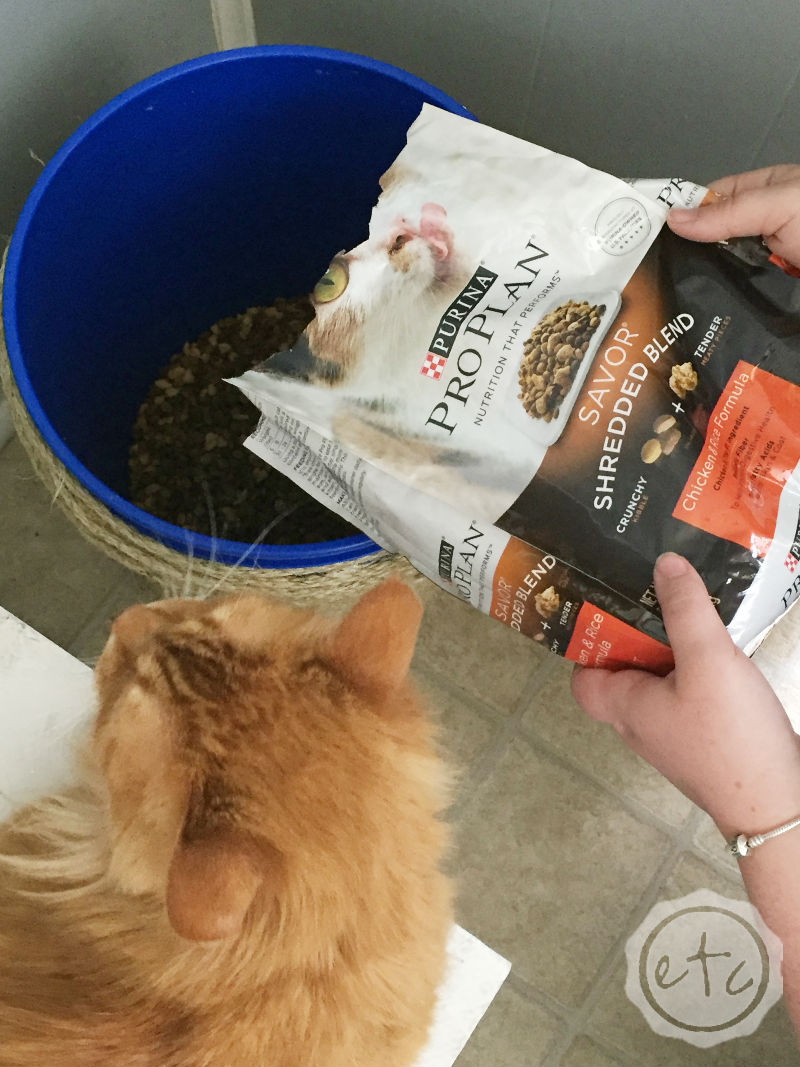
Your bucket is ready to be filled! We decided to keep our kitty food in this particular bucket… since it’s going to be located in the kitchen! Of course Lily came running as soon as she heard me open that bag of Purina Pro Plan’s Shredded Blend! I swear you think we hadn’t fed her in days! She’s been looking super thin these days and while a girls got to keep a stylish figure (or at least that’s what she tells me… I like cookies) this gals getting a little too thin. She needs a little bit more meat on her bones!
Since this particular bag is packed full of 40% protein (including chicken as the #1 ingredient) I’m hoping she starts to look a little more like her old self! Jasper on the other hand was raised on the mean streets of Colorado… we went to the shelter to adopt a kitten and the hubster fell in love with this ferocious 8 month old little Jazzy cat…. not quite a full grown cat but not an itty bitty baby he had been on the streets his whole life. All of that means he scarfs down food faster than a starving man eating his last meal! It took us several months to help him understand we were going to feed him every single day… and he still has a hard time believing it.
Plus he’s had a recent brush with fleas *shutter* so the Vitamin A, prebiotic fiber and linoleic acid in this particular brand of Purina should help him regain a bit of that healthy skin and coat he’s been lacking for the last month or so.
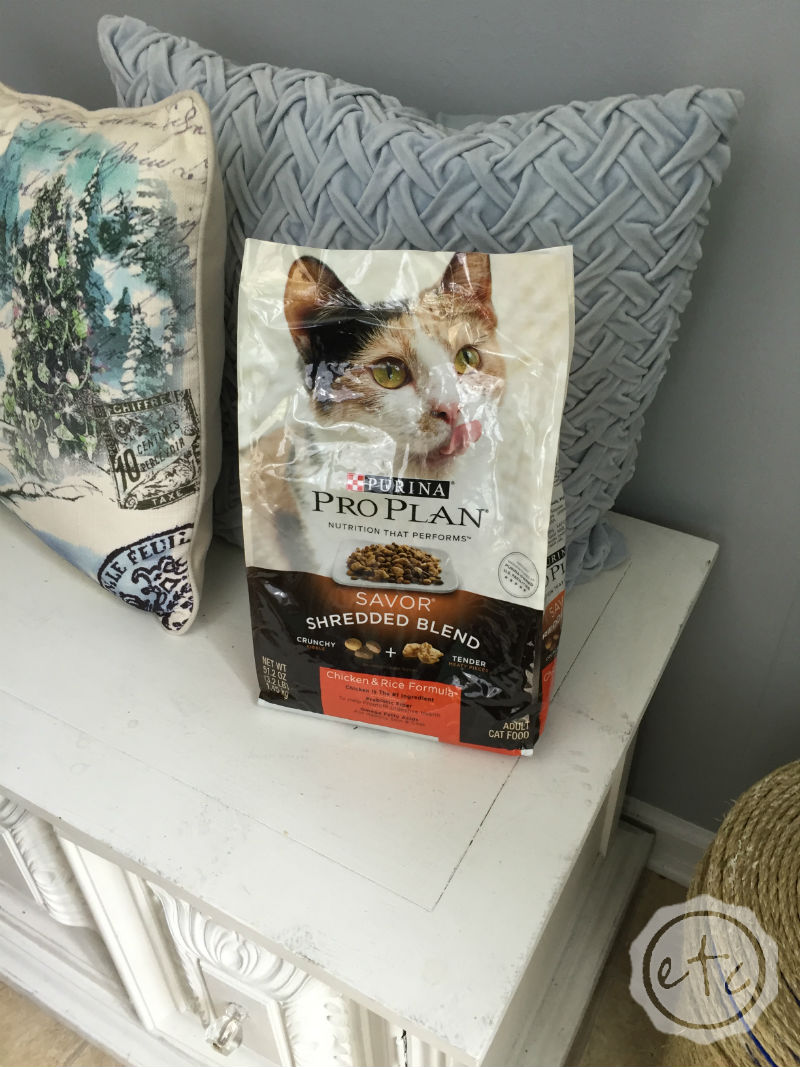

He looks like he’s really enjoying it doesn’t he! Of course Jasper’s never met a food he didn’t like (I’ve caught him stealing pancakes and he once ate an entire pound of ground beef I had cooling on the stove! This was when we first got him… before I knew to hide all food when he’s around!) but Lily’s a little diva and she only eats the finest foods. She dove right into this bag of crunchy kibble and tender, shredded pieces… she loved the new blend! Of course if you don’t take their meow for it you can check out these other kitties opinions!
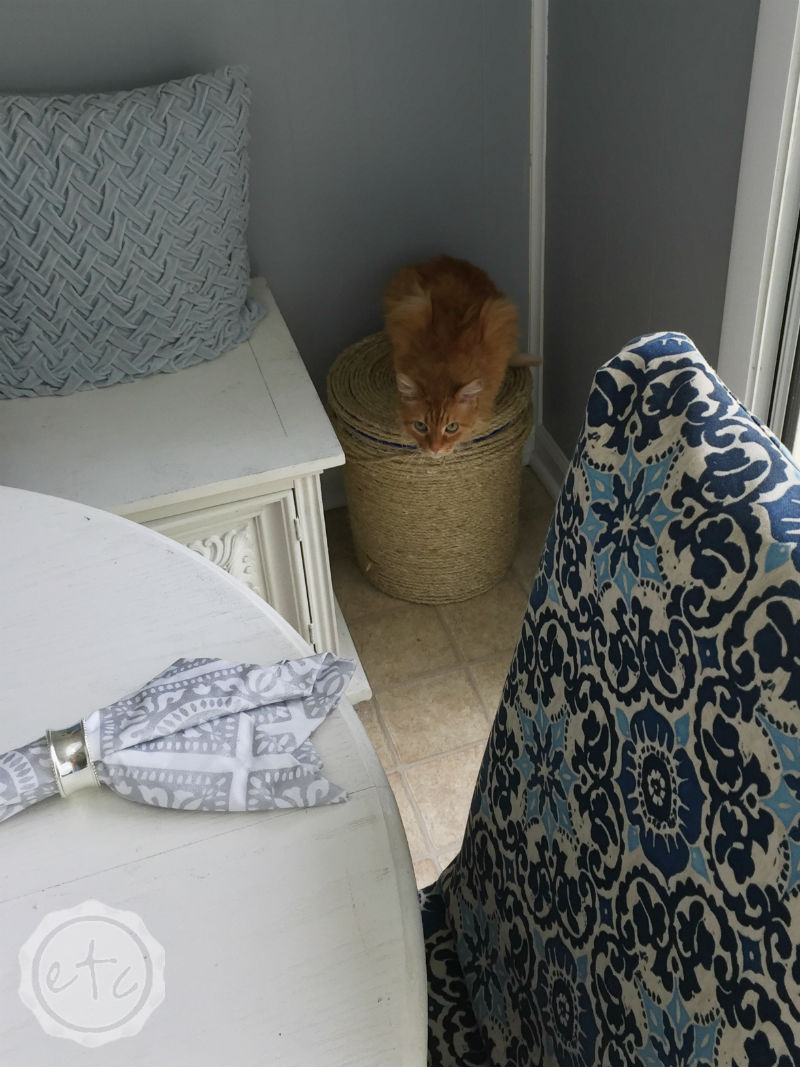
After meal time I closed up their new scratching post storage bin so I could clean up the kitchen… and when I turned around I found Lily sitting on top of her new piece of real estate! I’m not sure if she’s trying out the scratching post or protecting her new food… either way I think she likes it!


That is a neat idea. Seems like your cats love it. Thank you for sharing with us @ #HomeMattersParty. We would love to have you again next week.
You’re so sweet, thanks for stopping by! I love your part… I’ll definitely be back!
Awesome tutorial! My cat has a scratching post that has a great base, but it only lasts 2-3 months before it begins to unravel. I’m going to try to repair it this time instead of replacing it. Thanks so much for sharing!
What a great idea! I have two cats that I’m sure would love a scratching bucket.