• House Tour
    • Reveals
  • About
    • Smith Life
    • Disclosure and Privacy Policy
      • Terms and Conditions
      • Store Affiliates
  • Contact Me
    • Want a Button?
  • Shop
    • Floral Printable Planners
    • Paint eBooks and Packages
    • Wedding Binders & Extra Printables!
    • Planner Bundles
    • Planner Accessories
    • Home Decor Printables!
  • Cart
    • Bloglovin
    • Facebook
    • Instagram
    • Pinterest
    • Twitter
    • YouTube

Happily Ever After, Etc.

Creating Our Own Fairytale

  • Happily Ever After, Etc.
  • Home
  • Home Decor
    • My Home
    • Paint
    • Before and After
    • Tablescapes
    • Mood Boards
    • Furniture
  • DIY & Crafts
    • New to Cricut – Start Here
    • Cricut
    • Resin
    • Scrapbooking
  • Organization & Planning
    • Organization
    • Planner
  • Holidays
    • Christmas
    • Halloween
    • Thanksgiving
    • Easter
  • Wedding
    • Cricut Wedding Projects
    • Free Wedding Binder
    • Bride Bag- The Ultimate Wedding Planner

$100 Room Makeover: Phase 1 Storage for the Craft Room

Hey y'all,

Remember the little craft room makeover I’m right in the middle of? Well it’s week two and let me just put it out there… I think simply cleaning this room is going to be the biggest transformation. *wink wink* Of course, once I clean the room adding a little bit of storage for the craft room will be a big bonus!

I mean do you remember the before photos from last week? They’re basically giant piles of crap! I really know how to pick a room!

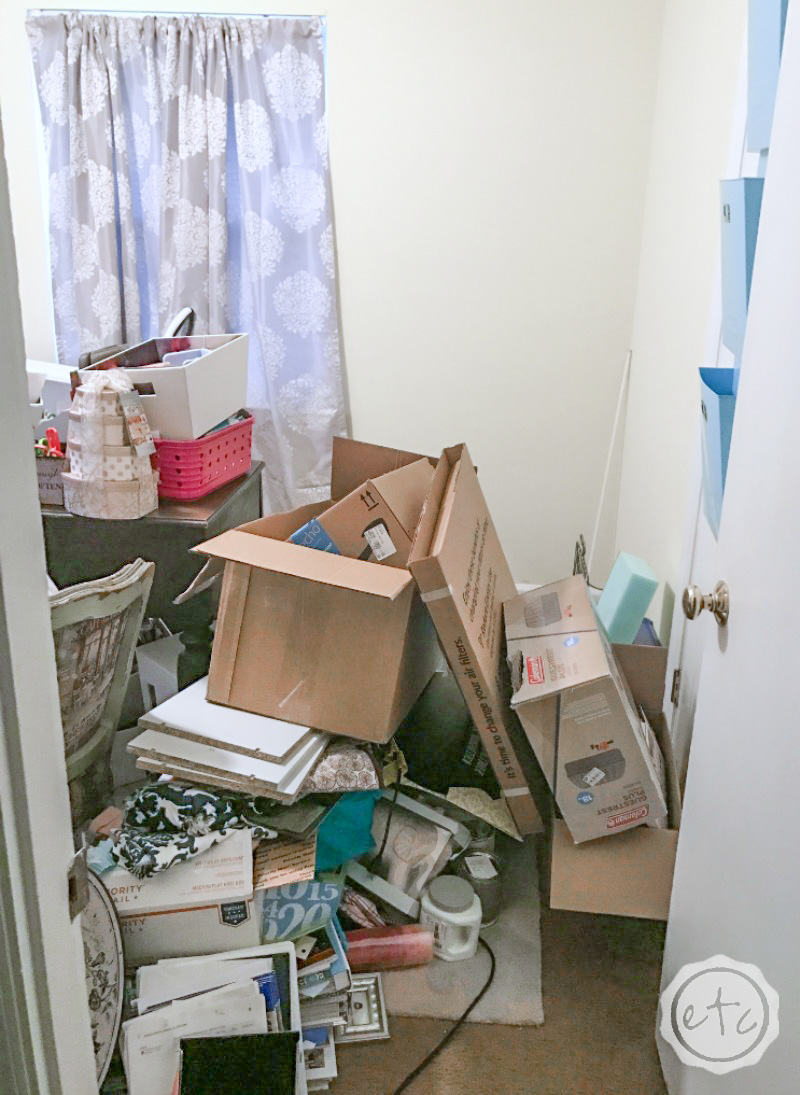
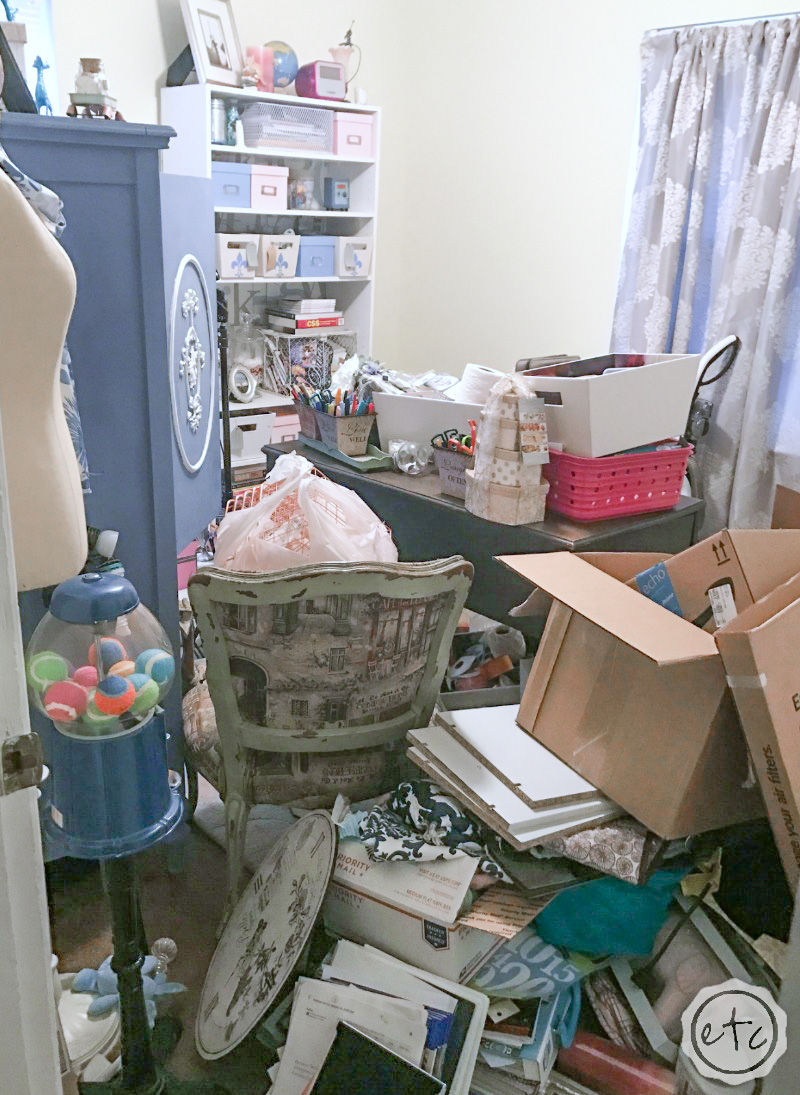
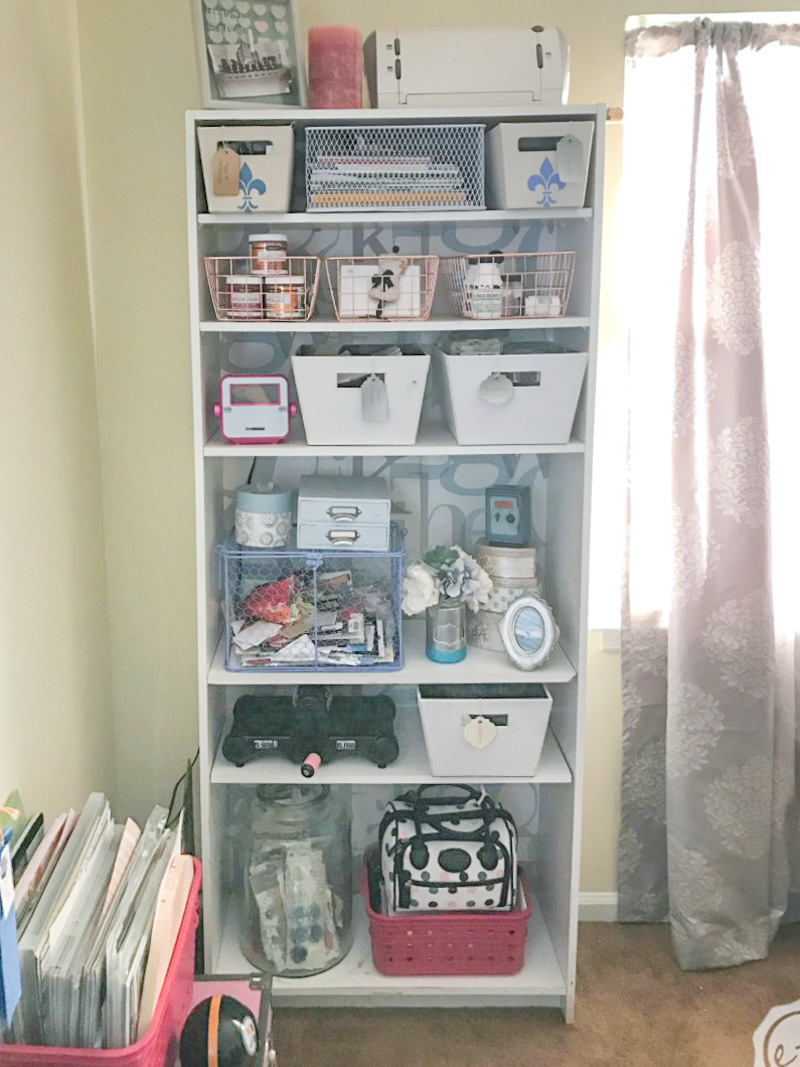
The very first step in taking on this room was getting organized. So I started by pulling that giant pile of crap out of the room. I put away anything that didn’t belong (I mean there’s a roll of toilet paper on the tippy top of the pile… why?!) and then once I had the pile whittled down to craft room items only I got started on the organizing portion.

By building the second bookshelf I picked up months ago! I got this little guy from a second hand store for $7… still in the box but missing a few pegs. Luckily I happen to have a few pegs so this guy was a steal.

Of course, if you don’t happen to find a bookcase in a random second hand store for $7 you can still find one rather inexpensively (I’ve seen them for about $30-40 over the last couple weeks, 7 is better but still). I would love to add crown molding but for now I settled for the same wallpaper backing that I applied to the first bookcase.

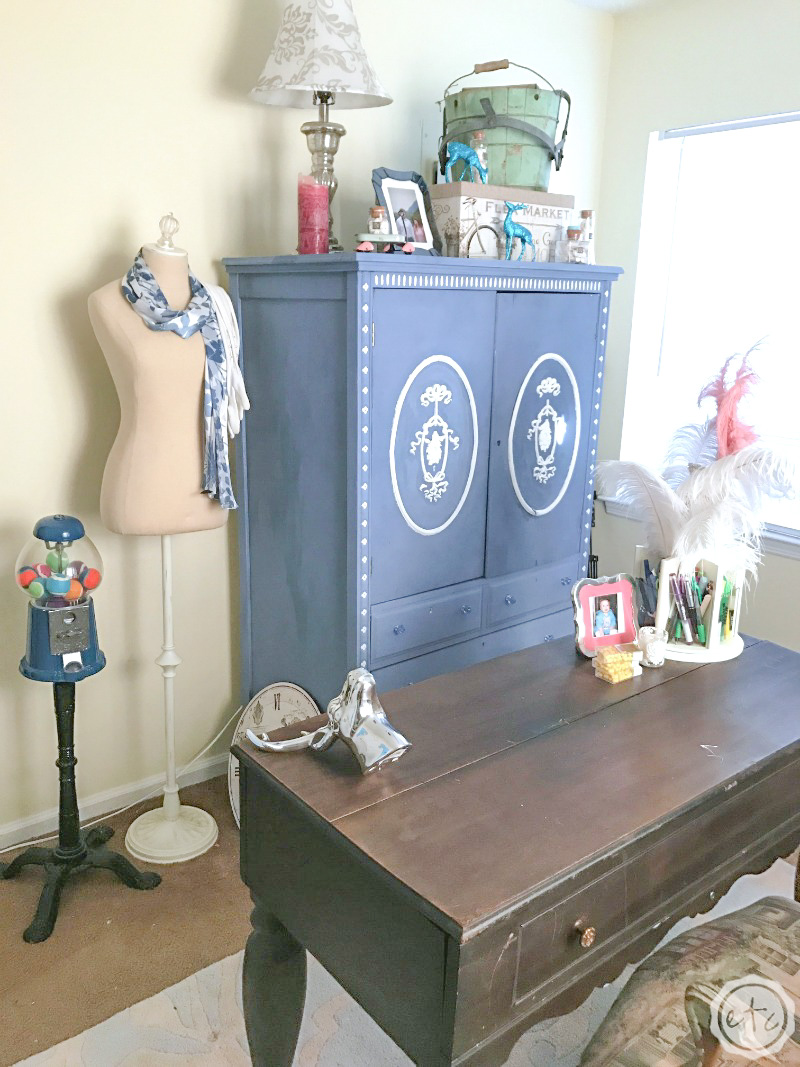
With a bookshelf on either side of the window we’re finally cooking with gas! I mean just take a look at how much better the room looks already!

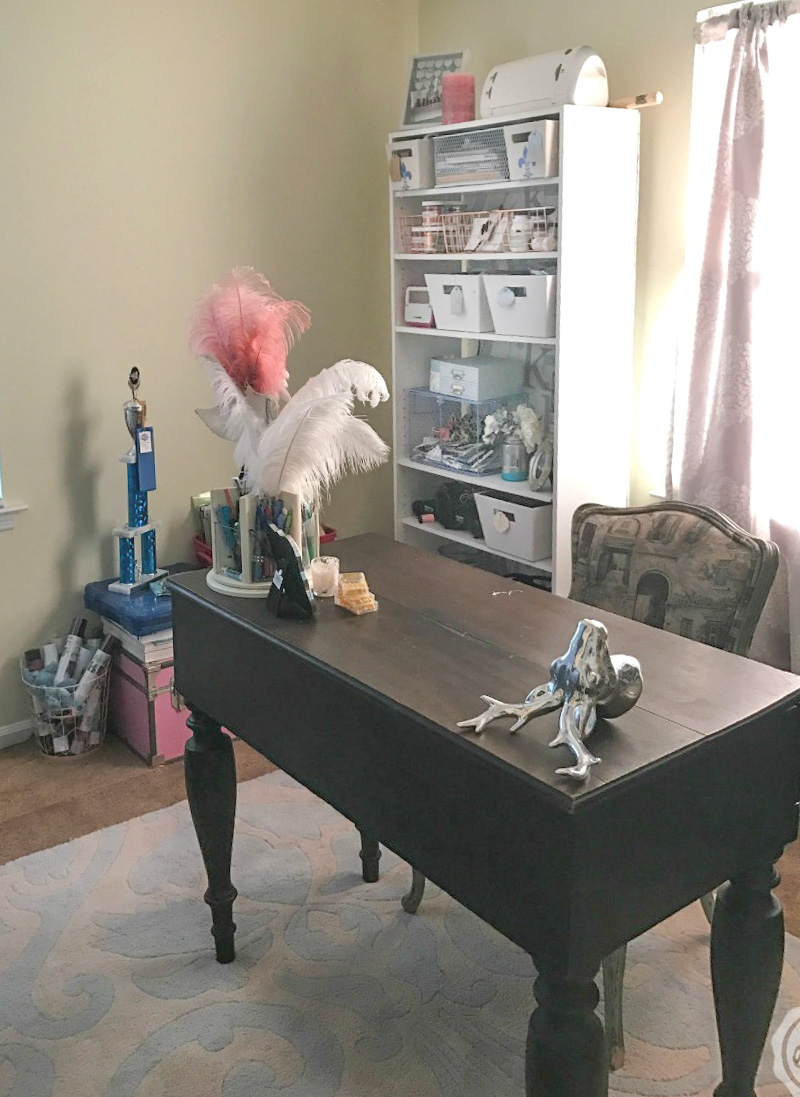
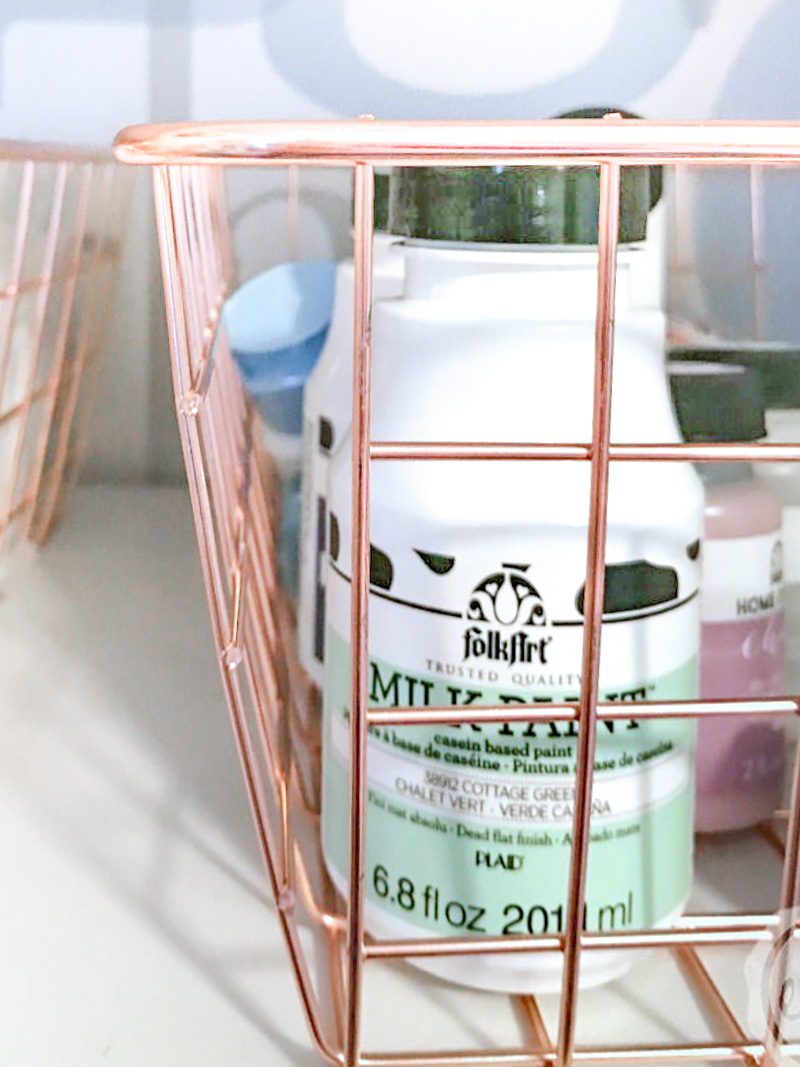
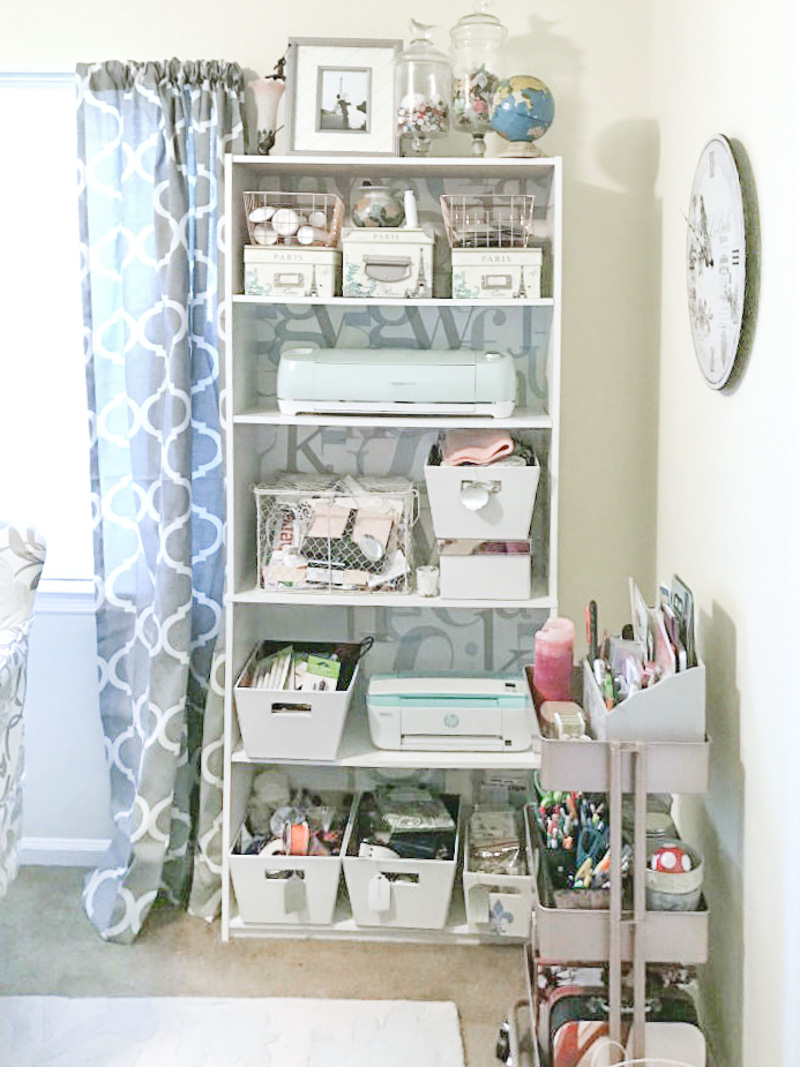
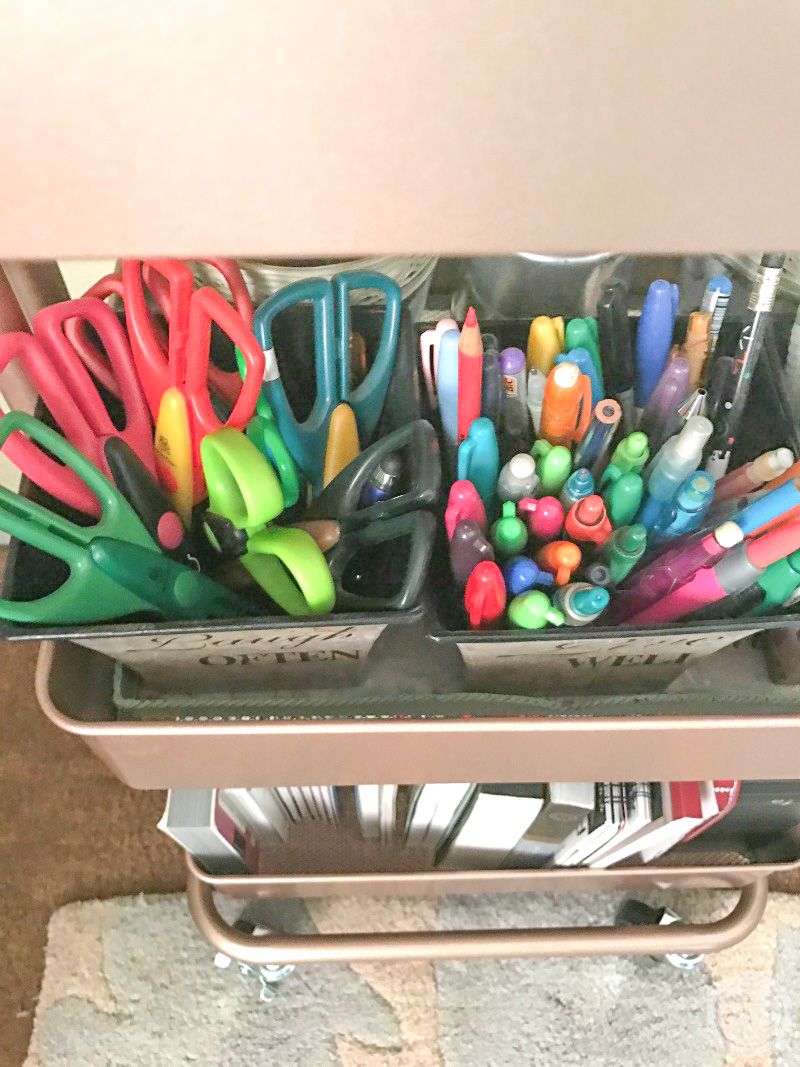
I absolutely love how the space is coming together! It’s amazing the difference a simple round of reorganization can make. I changed out a few of the blue and pink boxes for a set of rose gold baskets I had in a different room… they match my brand new rose gold storage cart :).

I originally wanted a cart with a flat top but Michaels sold out of the one I was looking for :(. I was pretty upset as I tried to decide between white and teal… when I realized that this pretty little cart comes in rose gold. Now I don’t know about y’all but rose gold is my current obsession… if I could paint the world rose gold I would be happy.

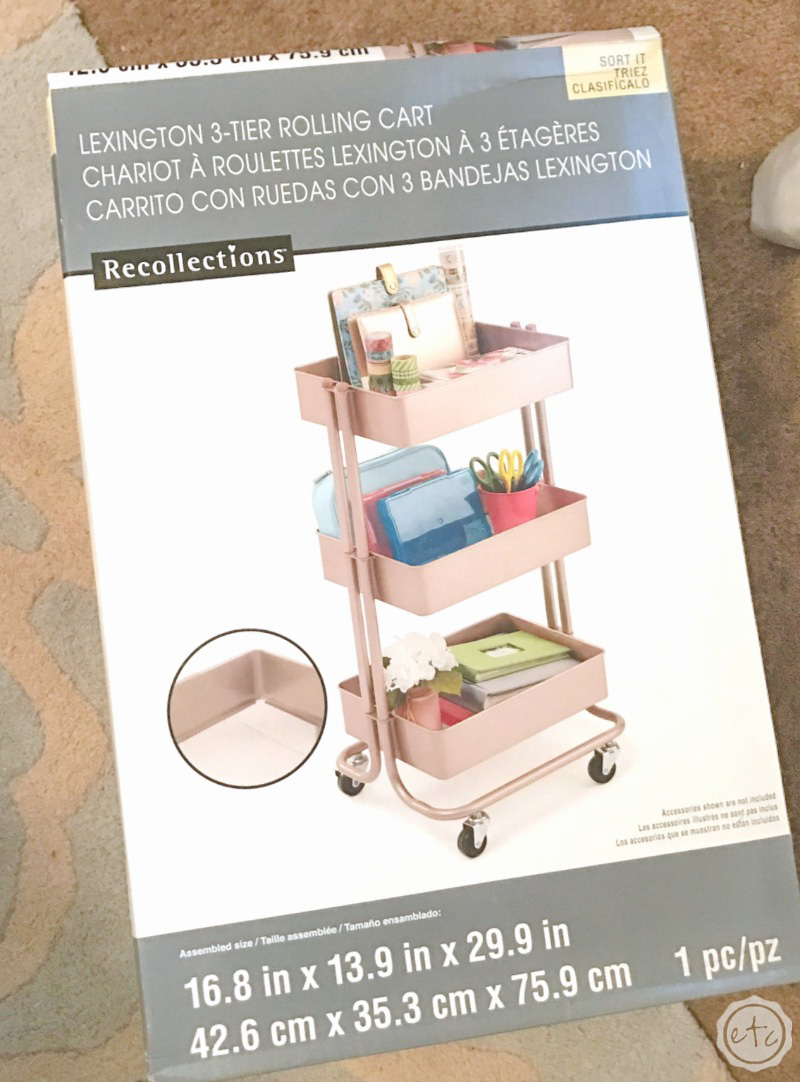
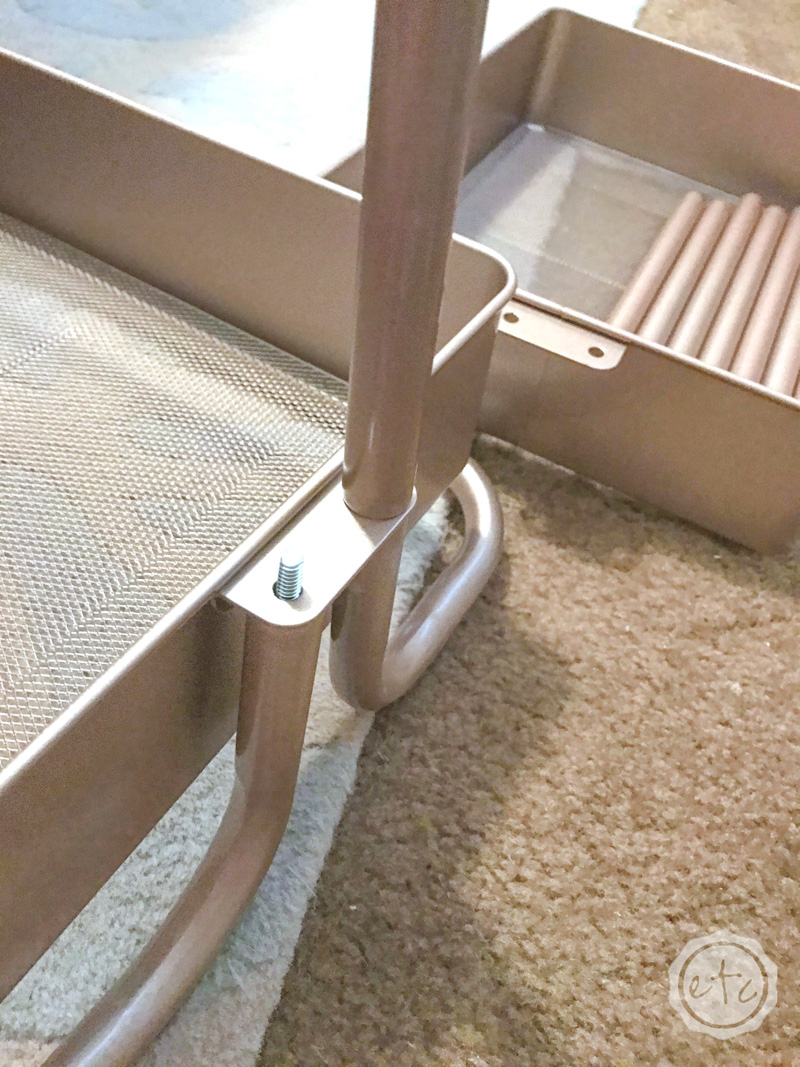
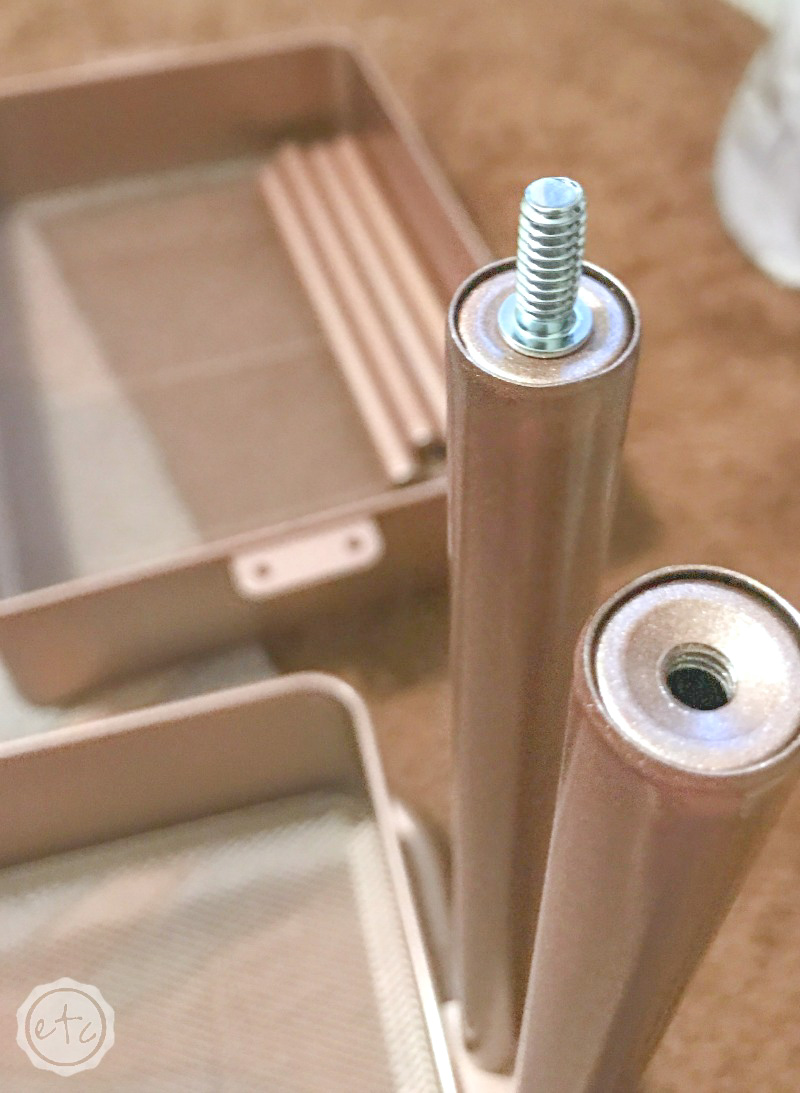
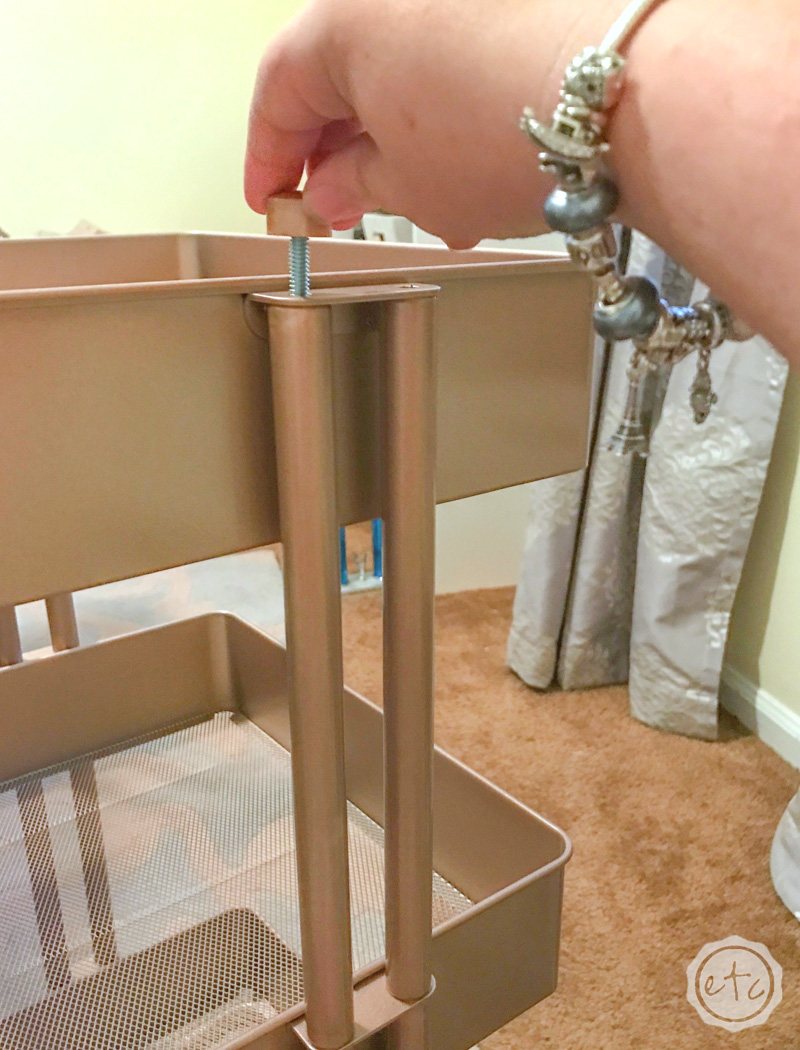
So I snapped this guy up from Michaels and ran home! At 40% off he cost me thirty five doubloons (or American dollars… your choice). I almost asked the hubby to put this guy together for me but I’m glad I did it myself! It was quick and easy to put together… and it’s super sturdy now that it’s done!

I know the little guy comes with instructions but I was having so much fun putting it together I decided to take pictures for y’all. Now you just need your own rose gold cart to follow along!
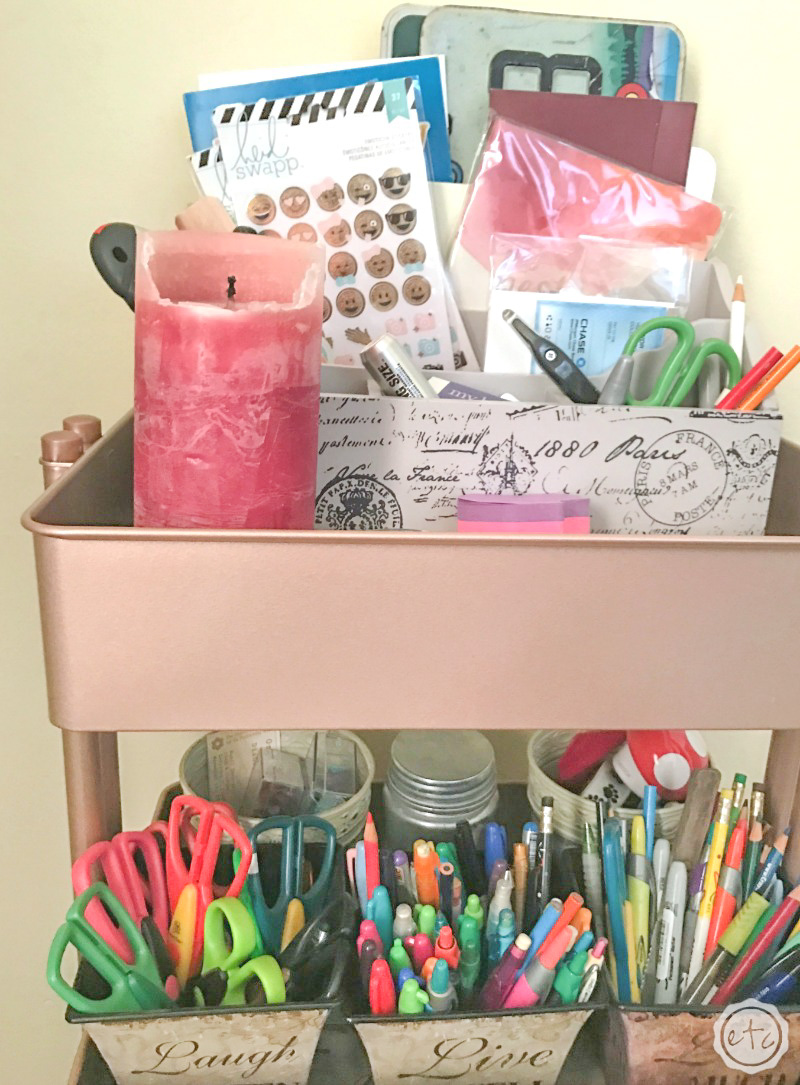
Ta-da!

I decided to use this little guy to hold pens, pencils, tools… all the things I use regularly. That way I don’t have to pull these guys off the bookcase everytime I need something. I can roll it in the other room if I’m working in the living room or at the kitchen table.

It’s kind of the perfect solution!

I’m not sure about the books on the bottom shelf but for now I like having them in easy reach. I suppose I can change it out if I decide I’m reaching for something else more frequently.

All in all I’m pretty happy with how the room is turning out!

I have two more big projects: painting my desk and adding a peg board! I mean just look at that big empty wall space just waiting for a pegboard. I can’t wait! Check back next week to see how things are coming. In the mean time don’t forget to check out the rest of the rooms in the $100 Room Challenge… some of these ladies are really making progress!

Craft Room Breakdown as of Now:

Bookshelf $7
Rose Gold Craft Cart $35

Total: $42

If you’re following along with the $100 Room Makeover Challenge check out everyone else’s weekly progress here:

An InLinkz Link-up


Save

You made it through the entire post? That means you're one of my new favorite people! I'd love to be friends and see what else you would like to read about! Leave me a comment and then sign up for your very own FREE paint planner.... so that you can keep track of every single paint color with ease!
Welcome back! I'd love to be friends and see what else you would like to read about! Leave me a comment and then sign up for your very own FREE paint planner.... so that you can keep track of every single paint color with ease!

Show me some LOVE y'all:

  • Click to share on Facebook (Opens in new window) Facebook
  • Click to share on Pinterest (Opens in new window) Pinterest
  • Click to share on X (Opens in new window) X
  • Click to email a link to a friend (Opens in new window) Email

Related

«
»

DIY & Crafts, Home Decor 4

Trackbacks

  1. $100 Room Makeover: Phase 2 Painted Desk Makeover - Happily Ever After, Etc. says:
    March 24, 2017 at 5:58 pm

    […] The best part of this little painted desk makeover is that it’s week 3 of our little room makeover… which means it’s almost over! Of course the vision board from week 1 was the perfect bit of inspiration for the entire challenge… and last week we tackled storage for the craft room. […]

    Reply
  2. $100 Room Makeover Craft Room Reveal - Happily Ever After, Etc. says:
    March 29, 2017 at 7:50 pm

    […] The first step of my craft room reveal was to add storage! […]

    Reply
  3. How to Style a Bookshelf for Form and Function - Happily Ever After, Etc. says:
    May 28, 2017 at 5:00 pm

    […] our craft room the bookshelves look a bit different… with so many little tiny craft supplies the name of the game there is […]

    Reply
  4. Ways to Mix Blush and Rose Gold - Happily Ever After, Etc. says:
    March 21, 2018 at 12:54 am

    […] Three tiered carts are all the rage but it wasn’t until I spotted this rose gold beauty that I hopped on the band wagon. Of course, it’s a band wagon for a reason… they’re super cute and very functional. I put it together for my craft room and if you need help I wrote down the instructions! […]

    Reply

Leave a Reply Cancel reply

Your email address will not be published. Required fields are marked *

sidebar betsy I'm Betsy, Home Decor Enthusiast, Yorkie Mama, Crafter, Blogger, Picky Eater, Chief Mess Maker, Antique Hoarder and Graphic Designer. You can generally find me working on (attacking with a paintbrush) the 3 bed, 2 bath home we are currently renting! Our home might not be perfect but it is ours & if you hang out long enough you'll see that what we lack in know-how we make up for in passion!
Shop My Craft Room

Shop My Home

Featured Articles

15 Fabulous Ideas to Organize your Laundry Room
25 FREE Printables For Your Home!
What to do with EXTRA Paint with Happily Ever After Etc
10 Ways to Make Your Bed EXTRA Comfy with Happily Ever After Etc.
Ready to Pick your Perfect Paint Color? We'll help you with our 6 Day FREE E-Course

Hey y’all,

Profile

I'm Betsy, Home Decor Enthusiast, Yorkie Mama, Picky Eater, Chief Mess Maker, & Graphic Designer...

A Little Note!

Many of the links on Happily Ever After, Etc. are affiliate links. If you purchase a product after clicking an affiliate link, I receive a small percentage of the sale for referring you, at zero cost to you! How awesome is that? Purchasing through affiliate links is an easy, painless way to help out your favorite bloggers. Thank you so much for your continued love and support! Read the full disclosure here!

Instagram

Follow on Instagram

Copyright © 2025 · Darling theme by Restored 316

Copyright © 2025 · Darling Theme on Genesis Framework · WordPress · Log in · Privacy Policy