I seriously haven’t been this excited about something in a long time… and I cannot WAIT to share it with you! I have been a planner girl for a long time… since middle school probably. I had the same pink leather planner through last few years of high school and all four years of college.
Of course, back then my decorative planning consisted of doodling in the margins, color coding my notes or the random sticker.
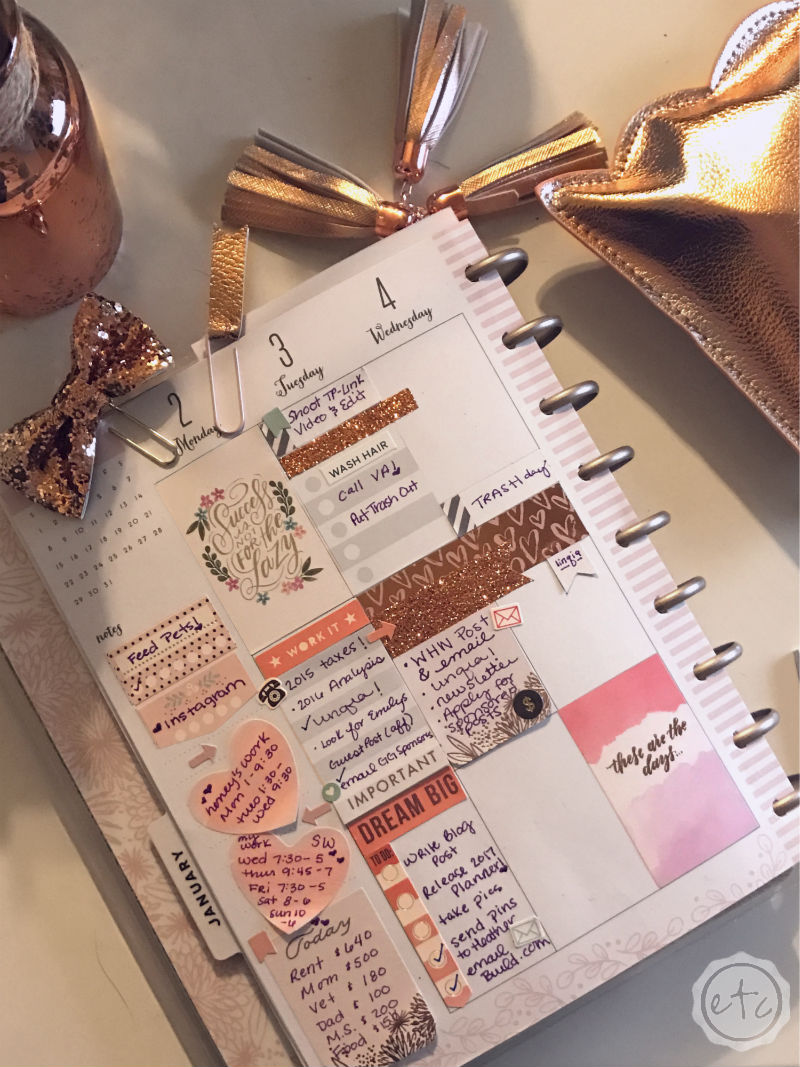
So when I found out about scrapbook planning I kind of went insane… I am SO EXCITED y’all! Since I’ve scrapbooked for years I have plenty of washi tape and a quick trip to Michaels outfitted me with a sticker book and planner sticky notes!
This is an entire thing y’all (the planner phase) is absolutely amazing! I can’t wait to learn how to use my brand new Cricut machine so I can make as many stickers as possible.
Looking for a bunch of posts on organization & planning? I’ve got you covered! Click here to see all of my organization & planning posts in one place!
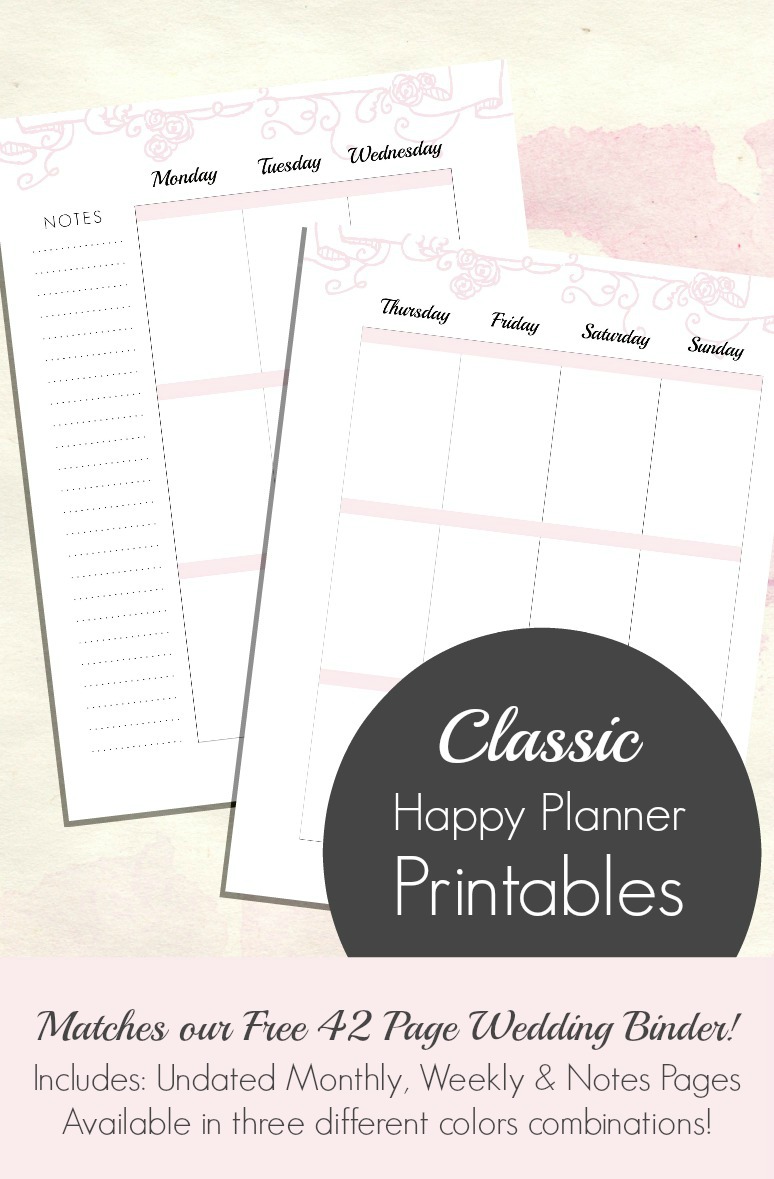
In the meantime I’ve decided to focus on the actual planner! So I’ve whipped out the old design software to put together planner pages to match my FREE 42 Page Wedding Binder! Since the Wedding Binder comes in Blush, Hot Pink and Royal Blue I made planner pages to go with each color… I kind of love them!
If you’re ready to skip straight to the good stuff go ahead…
Get YOURS Here:
Blush Undated Life Planner
Hot Pink Undated Life Planner
Blue Undated Life Planner
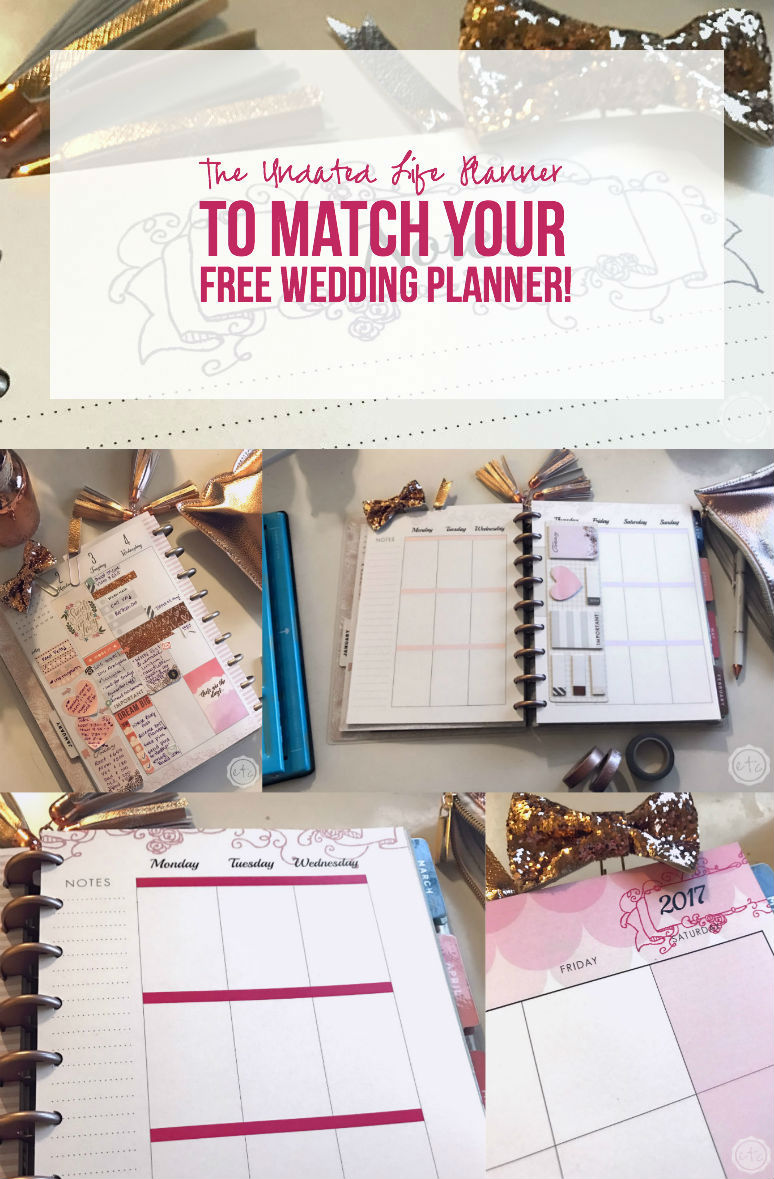
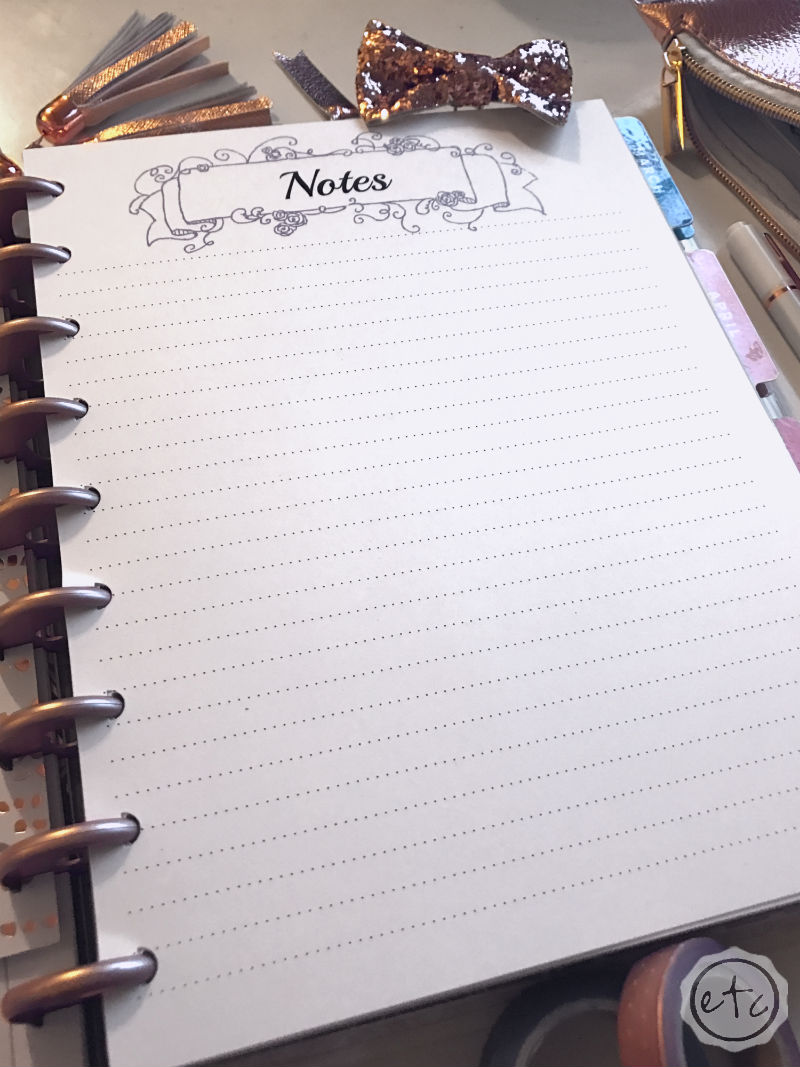
So here it is… the first look at my brand new Undated Life Planner to coordinate with the Free Wedding Binder I offer all my peeps!
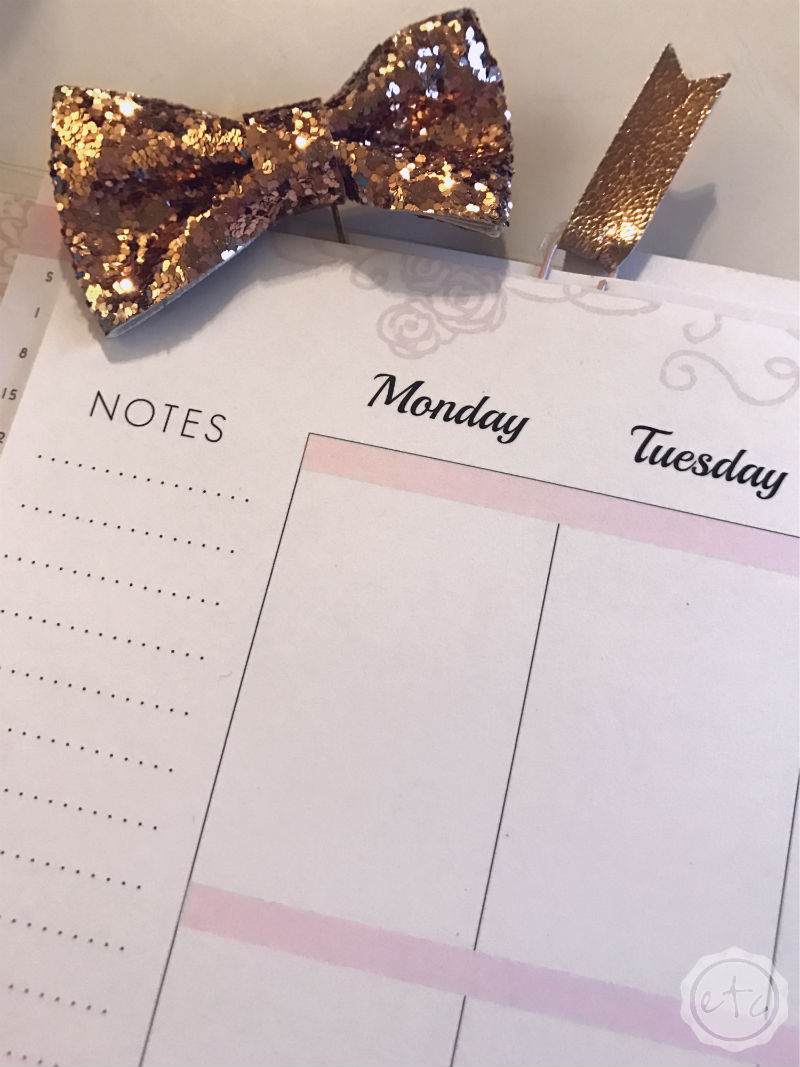
Just look at that blush!
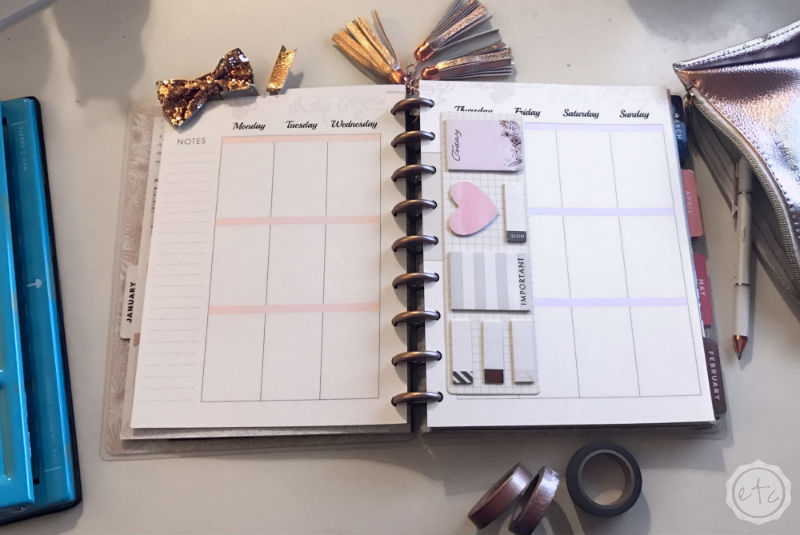
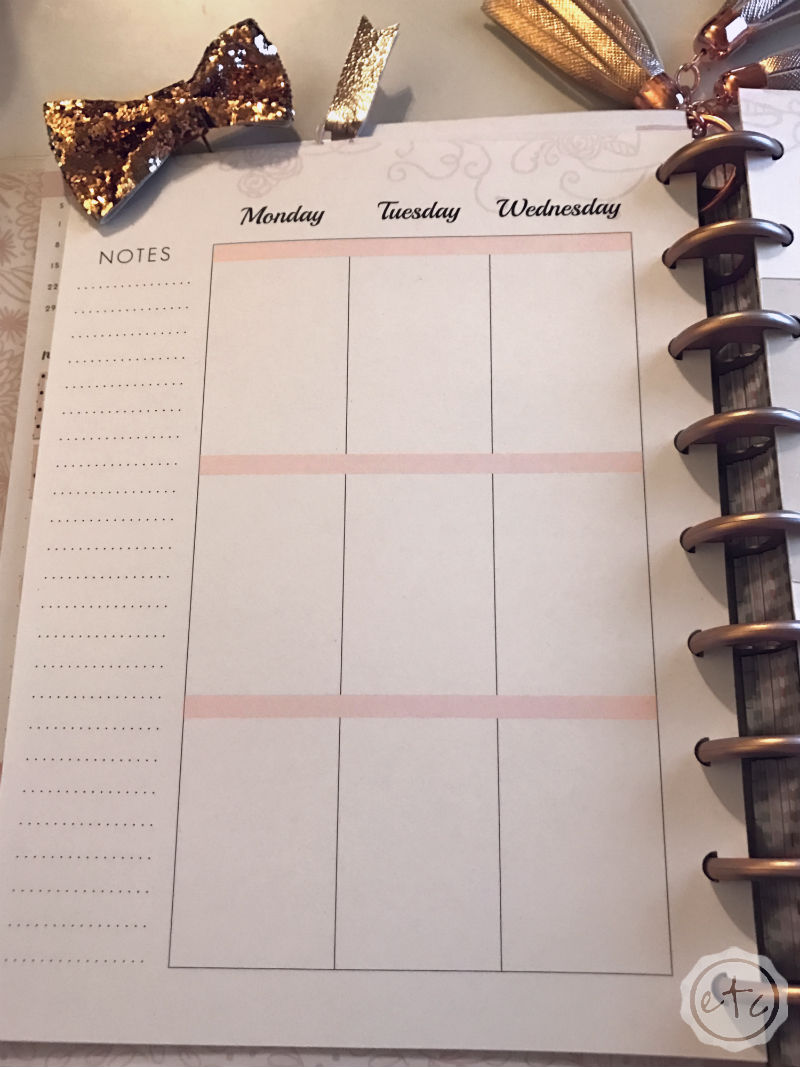

I’ve never used a vertical planner before but it gives me sooo much room to plan my day! I can have a section for home, a section for the blog and a section for product production! It’s kind of perfect.
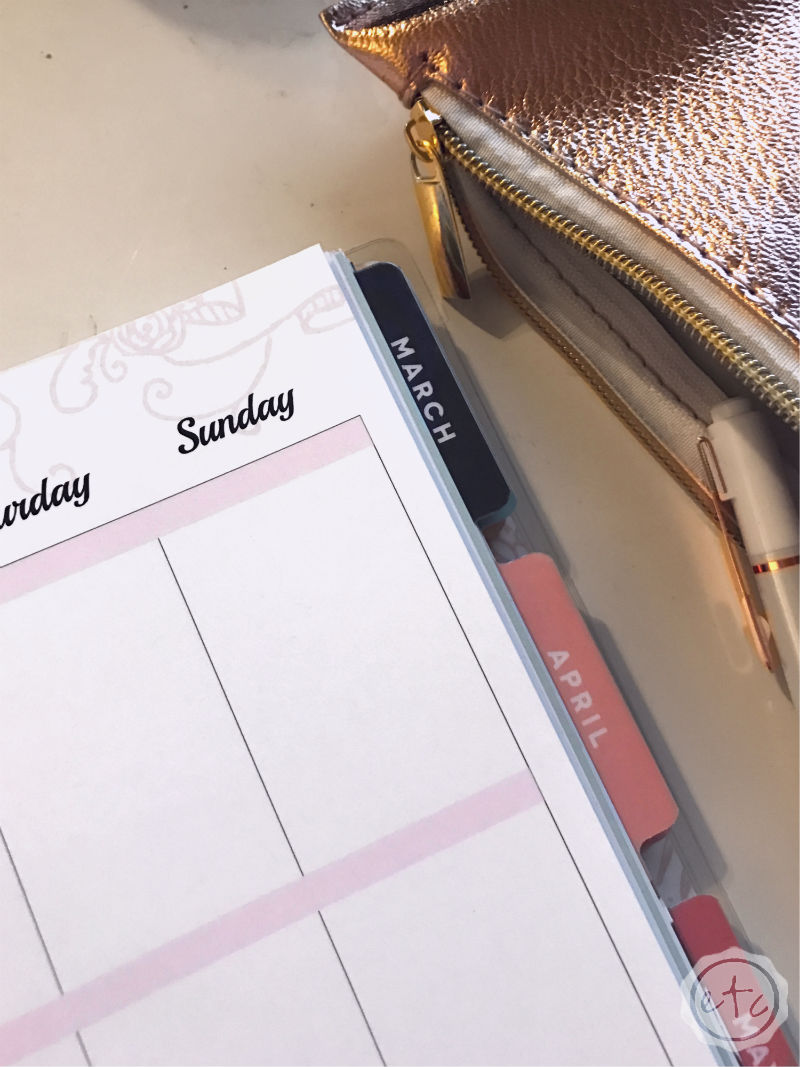
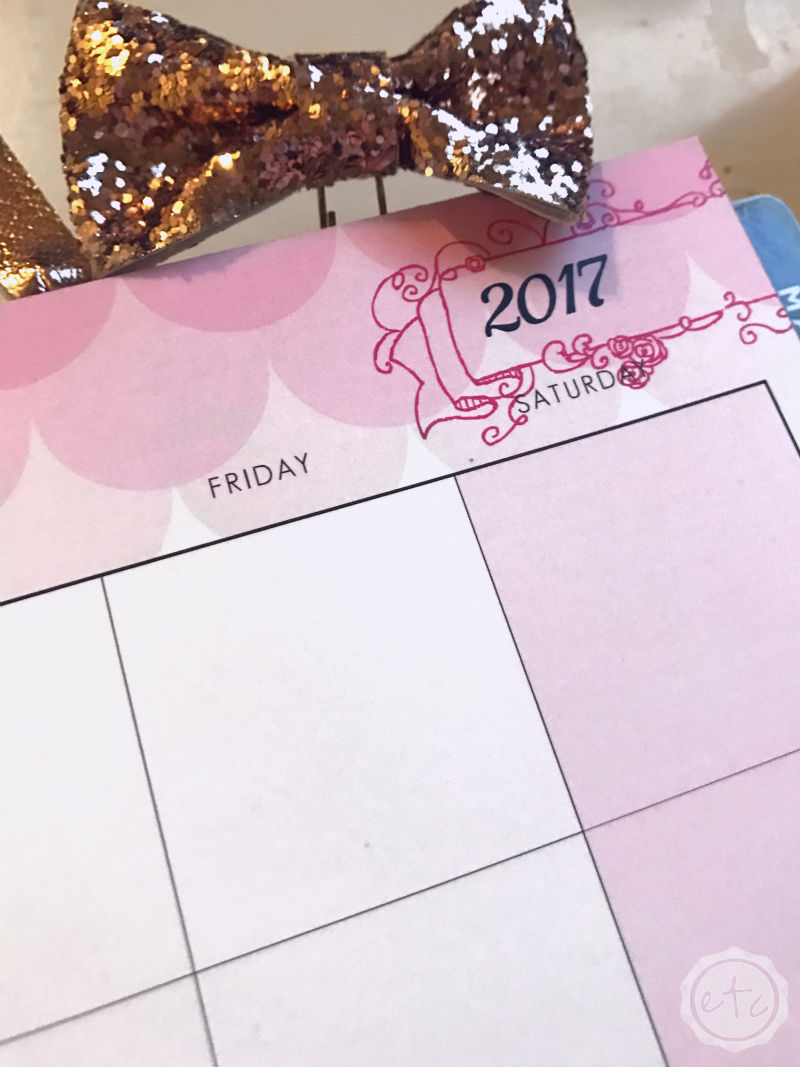
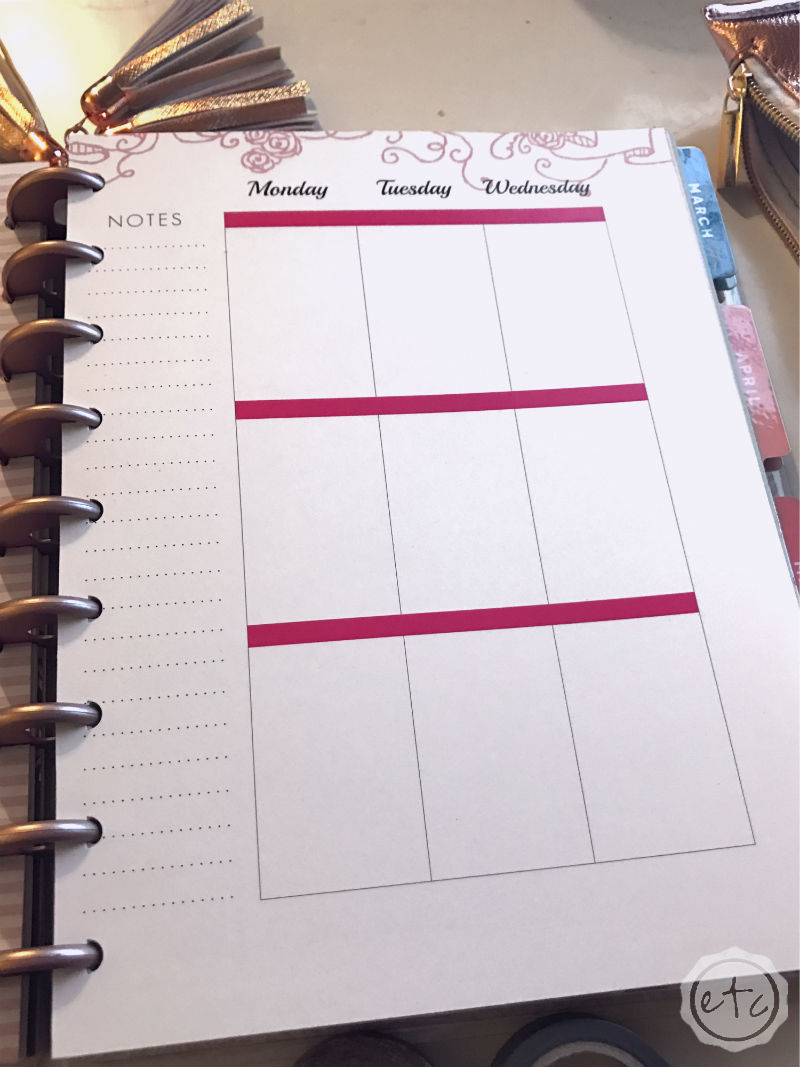
Of course, I’ve seen friends plan chronologically as well with the boxes corresponding to morning, afternoon and night. Since the blush is a little light I decided to roll out the hot pink and blue wedding planners… so we had to have the hot pink AND blue planner! Monthly, Weekly and Notes sections!
I can’t wait to share my spreads with y’all as I learn how to decorate each and every week! Plus if you’re using my wedding binder I would love to see how you use this new Life Planner as we start 2017! Make sure to tag me on @happilyeverafteretc… I can’t wait!
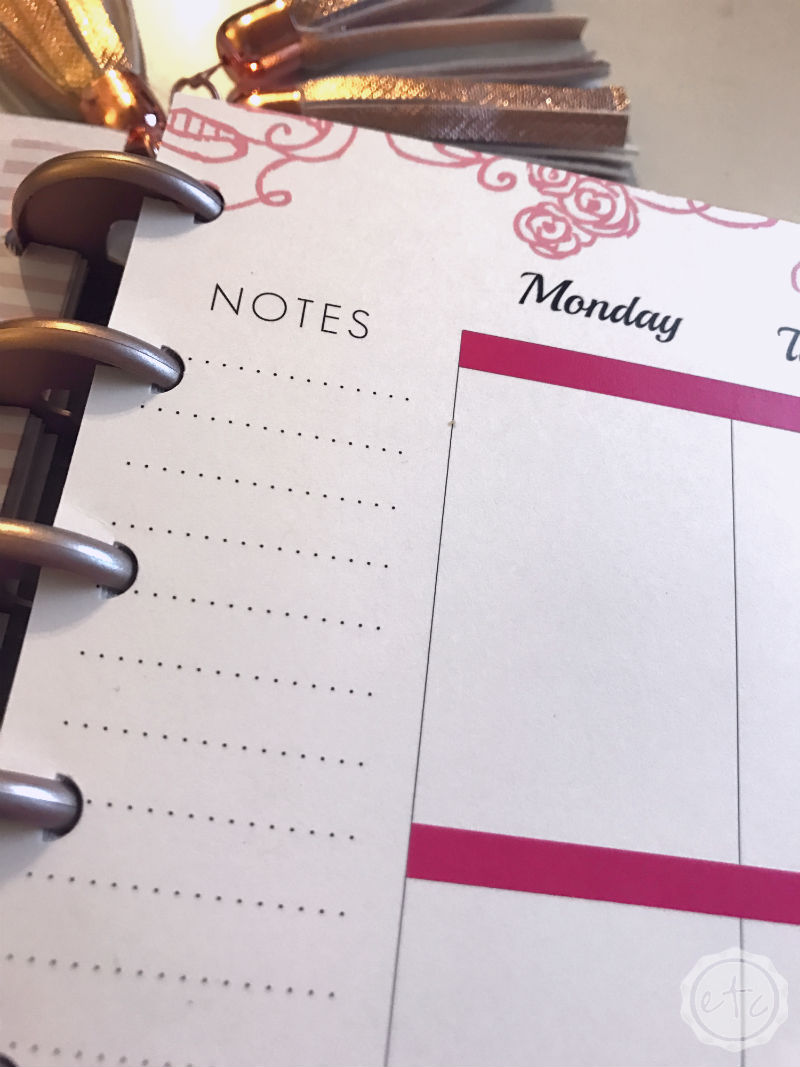
I am using my blush inserts for my Happy Planner but since these are printables you can use them for just about any size planner you like! (I’ll even be doing a post next week with steps on how to set-up your printer for different sizes). If you’re printing pages for a Classic size Happy Planner simply print on 8.5 x 11 size paper and then trim using the cut marks… easy peazy!
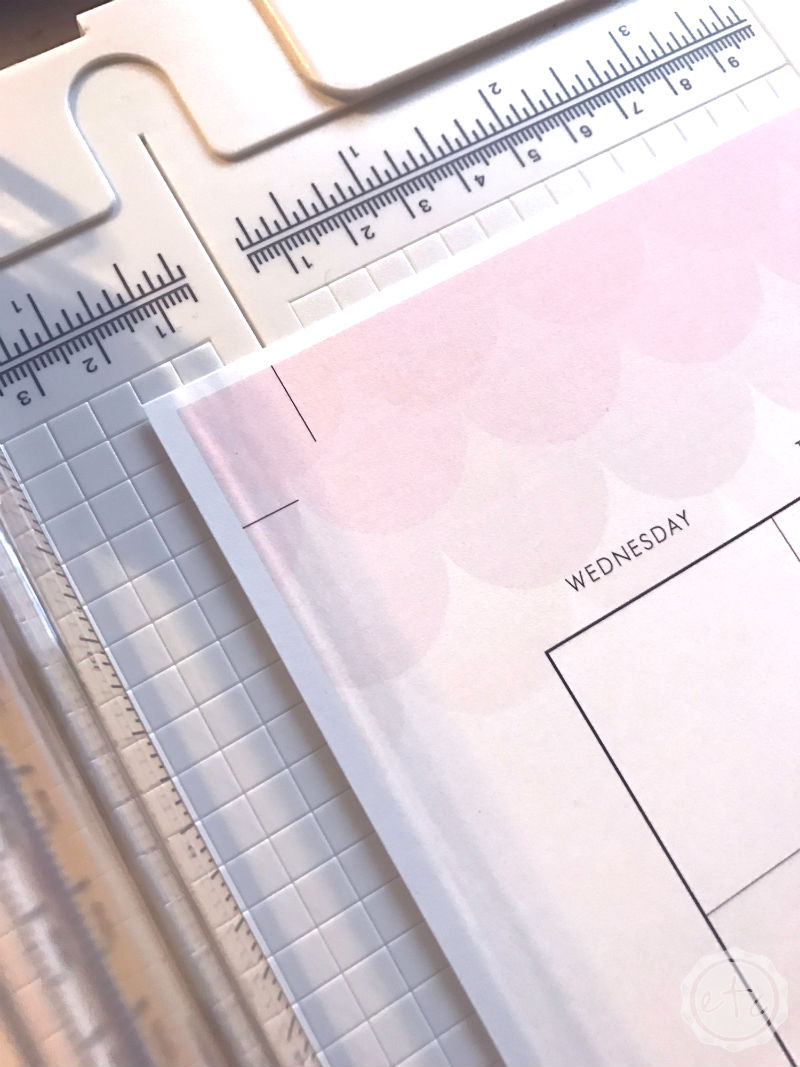
Then simply punch your pages with your favorite paper punch! If you’re using a MAMBI 9 hole punch like I am simply line your pages up using the white lines on the base of the punch… the punch will do the rest!
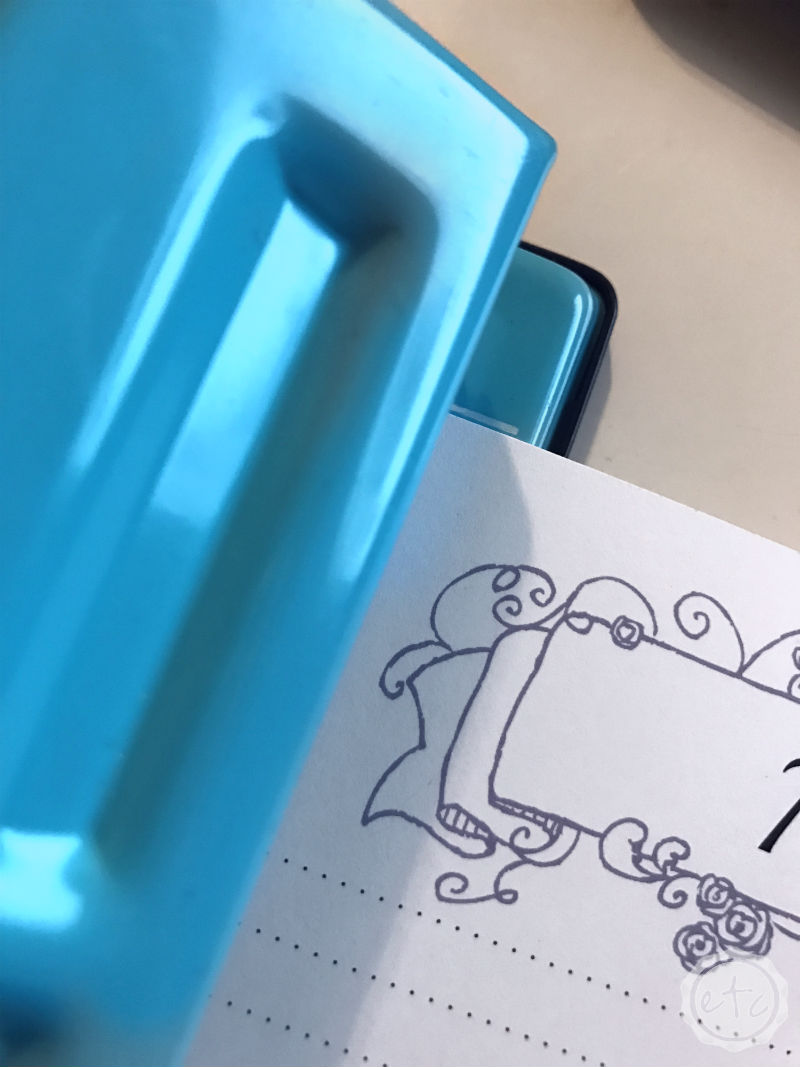
Tip: Make sure you punch your paper on the correct side of the sheet to fit in your planner! I accidentally punched an entire month’s worth of pages on the LEFT side of the paper before I realized that I needed to alternate in order to have a weekly spread that faces each other! Duh!
See what I mean?!
Of course if you can print your sheets double sized you will cut down on bulk and eliminate the need to punch your sheets alternating the left and the right sides… but I had my hubby print these so they’re not double sided! Oh well, beggars can’t be choosers! I’m just grateful he’s supporting my latest habit!
Now that’ you’ve seen all the options you can go ahead and grab one for yourself… Happy Planning Friends!
If you’re ready to skip straight to the good stuff go ahead…
Get YOURS Here:
Blush Undated Life Planner
Hot Pink Undated Life Planner
Blue Undated Life Planner
Ready to Print?! Don’t forget printing supplies!