

Last week I had a little bit of fun creating a brand new dashboard for my planner! The best part was that I actually got to go outside and see real people. That doesn’t happen very often in the blog world.
I actually went to a little planner class at Michaels and I had such a good time that I decided to share our little project with y’all.
The best part is that this little dashboard didn’t cost me a dime, I was able to use supplies I already own! Of course, if you don’t own an entire craft store in your spare room (or a pack of cardstock) then it would be under $10 to make this little guy.
Which is perfect since I’ve teamed up with a few other gals to bring you 21 craft projects you can make with supplies in your own home… or $10. See what I did there? I combined a fun collaboration with my awesome planner class… and now y’all get a fun dashboard out of this whole process.
Score!
Looking for a bunch of posts on organization & planning? I’ve got you covered! Click here to see all of my organization & planning posts in one place!
Supplies:
Rose Gold Cardstock (One Patterned Paper, One Solid Paper, and One Clear Vellum Sheet)
Sticky Notes
Paper Punch
Paper Cutter
Double Stick Tape
Optional: Washi Tape or Other Decorative Embellishments
Step 1:
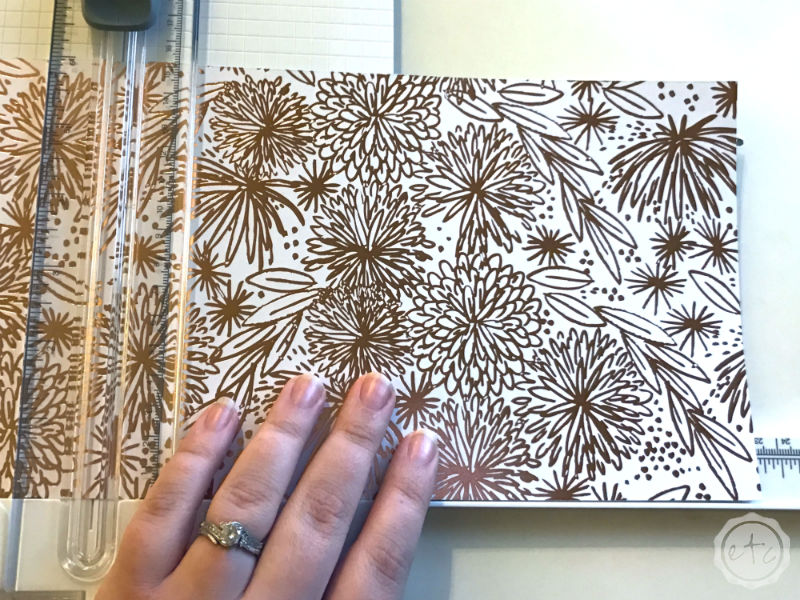
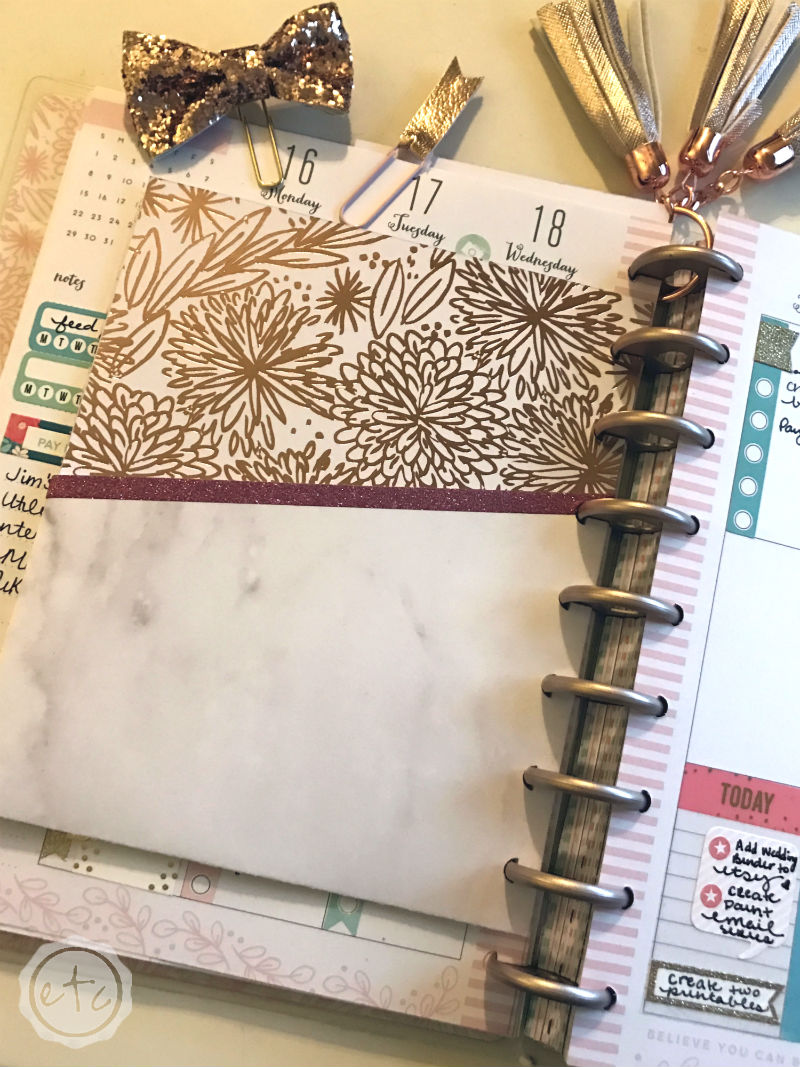
Alright, ladies (and gents) here we go! If you use a classic size Happy Planner you can cut all three pieces of cardstock (patterned, plain and velum) to 6 by 9 1/4 inches.
Of course, you’ll notice that I pick a very subtle pattern for my “plain sheet”… I just don’t like anything plain! This is the sheet your vellum will go over though so make sure the two pages go together.
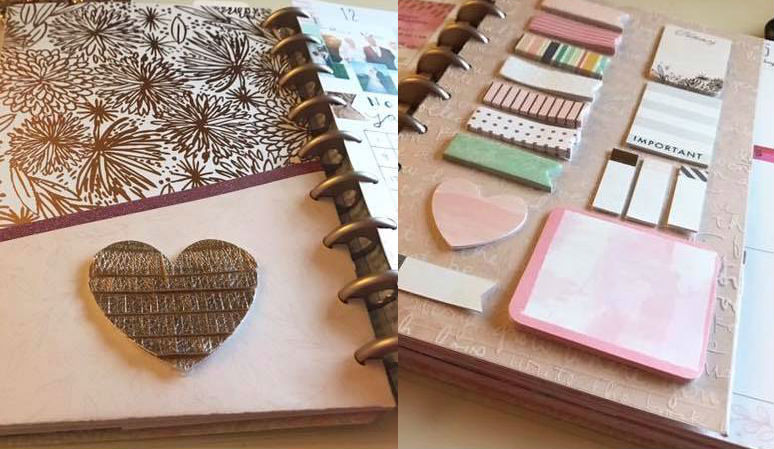
Once all three sheets are cut down to size take your leftover plain paper and cut it down to 5 by 7. This little guy will become your pocket!

Step 2:
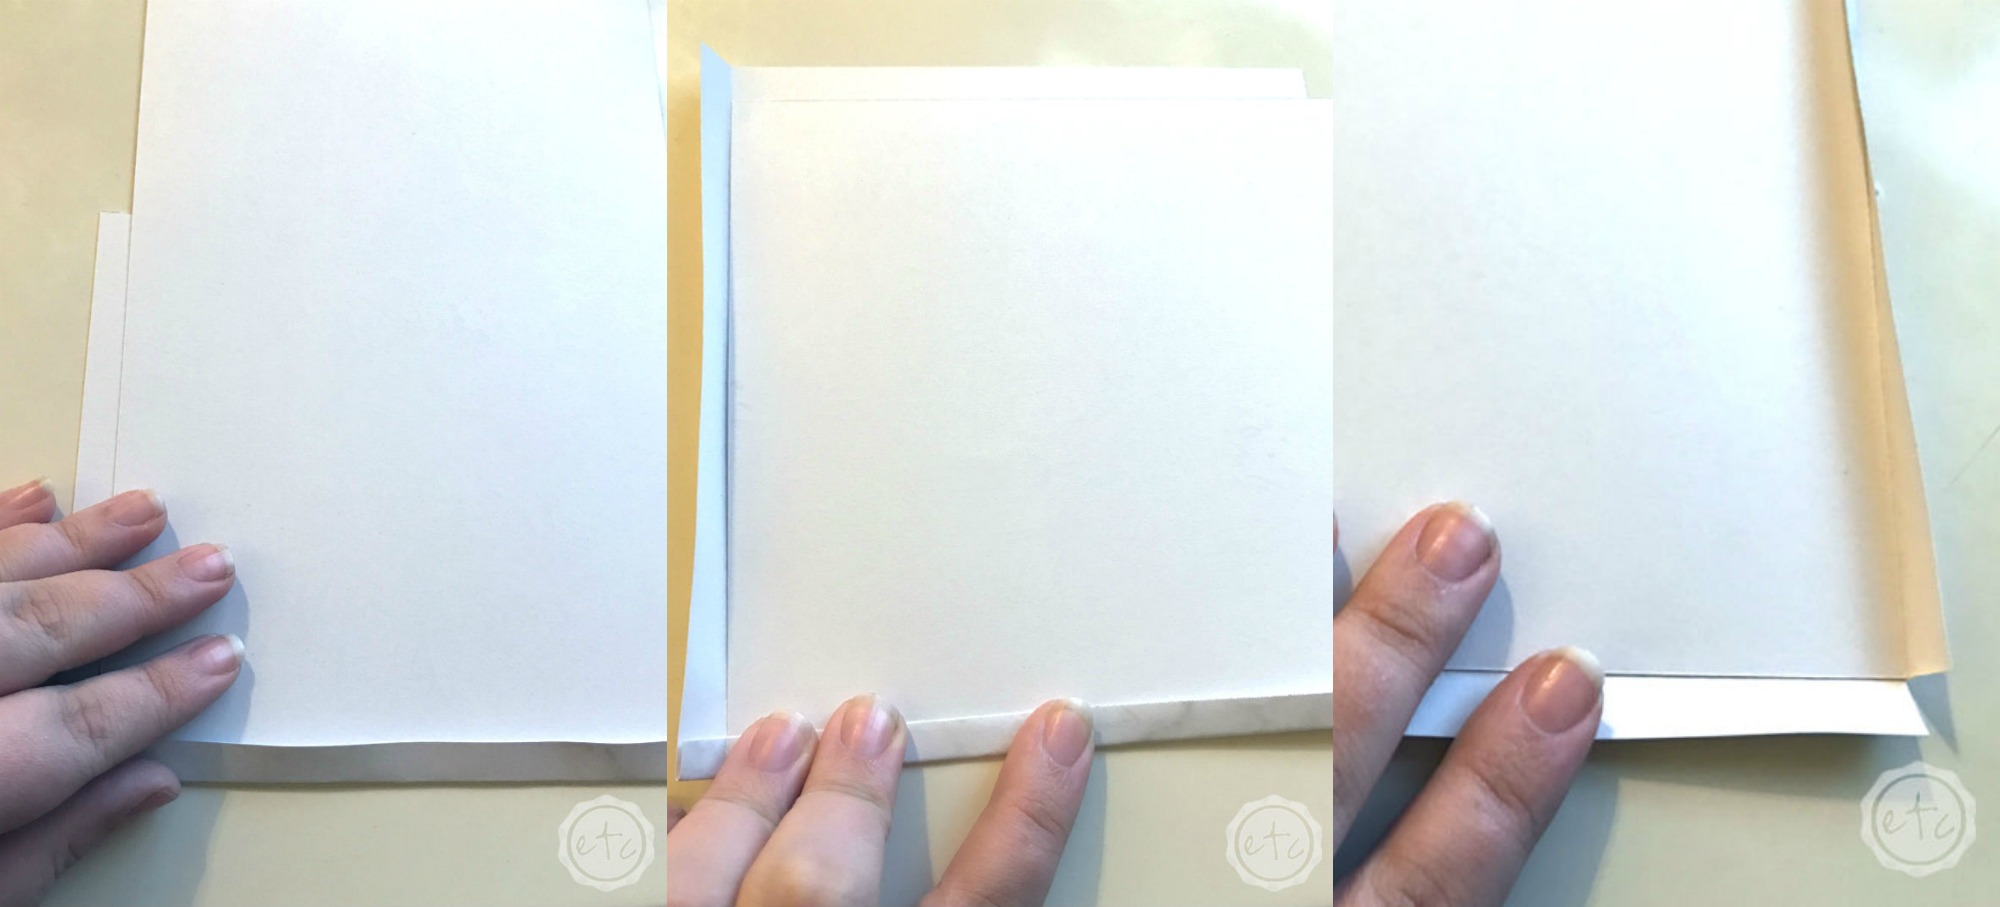
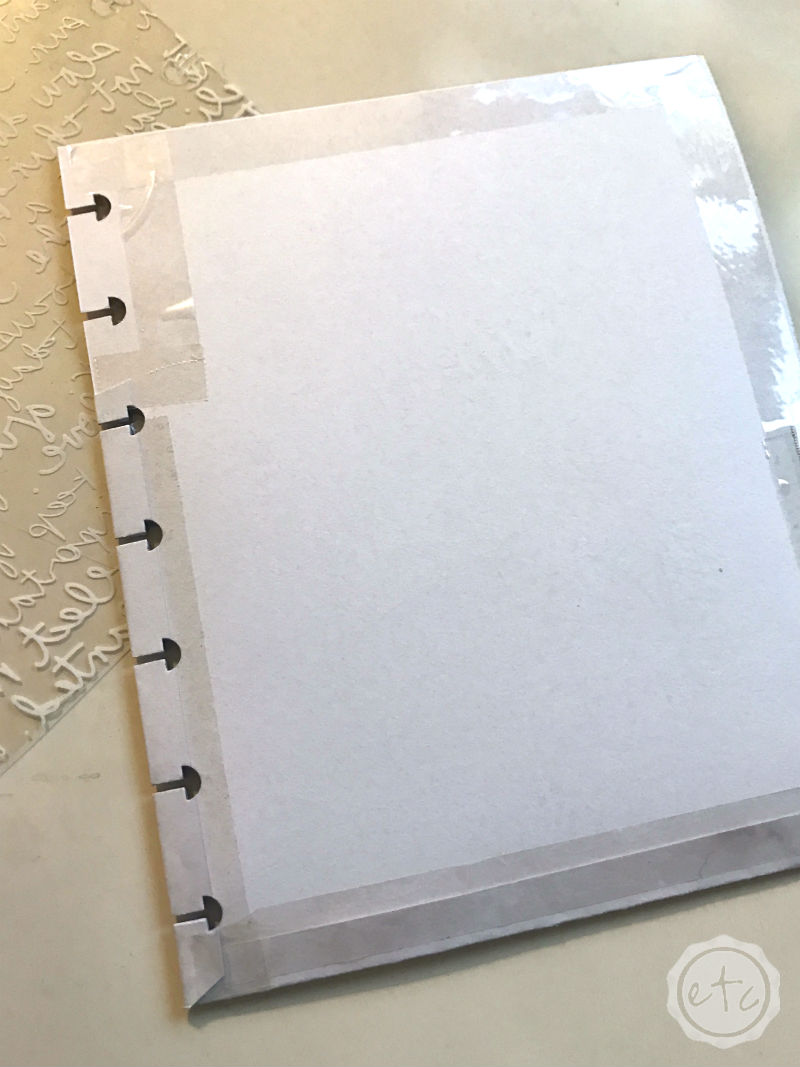
Now take your little 5 x 7 sheet and line it up with your large patterned paper. You’ll want a little bit of a border on three sides… although I’m cutting the plain paper in the photo above you can see the border size in the photo above.
Take the border and fold it around your large patterned sheet on all three sides… and then cut out the square corners at the bottom left and right corners.
Are we all on the same page?
Step 3:
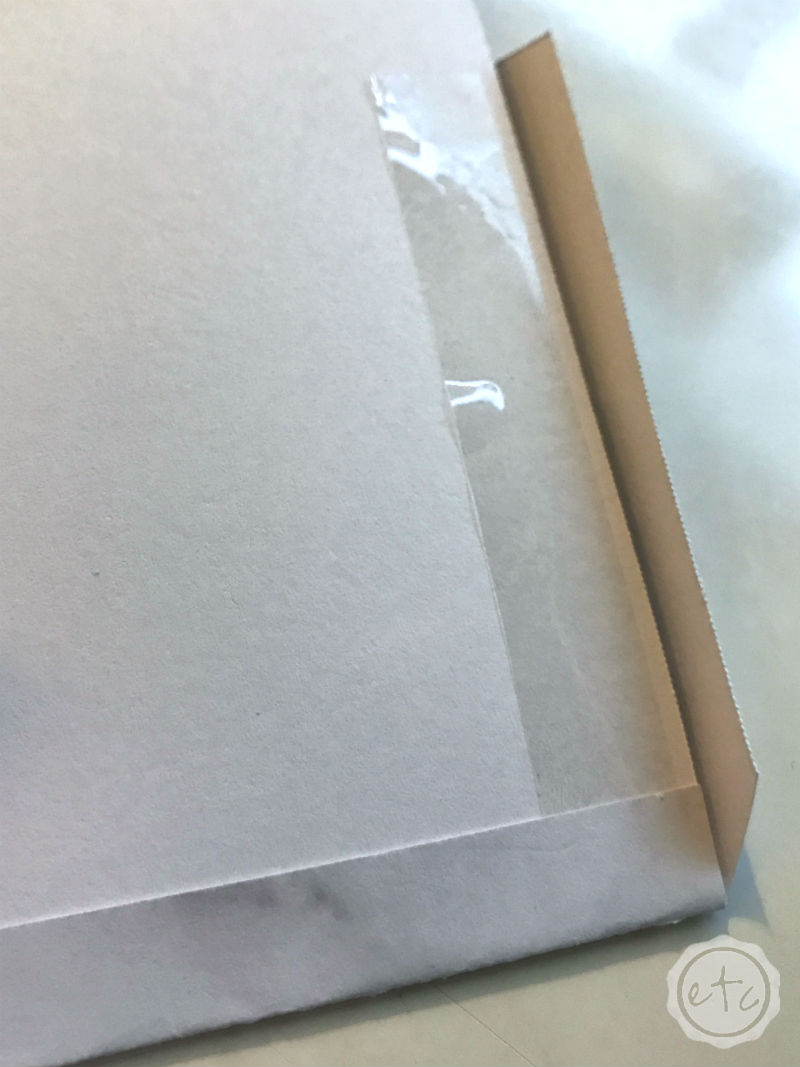
Now it’s time for the double sided tape! Go ahead and put a piece under all three border pieces making sure to press down firmly.
It’s ok if the double sided tape sticks out past the border since this is the middle of the dashboard and we’ll be adding more tape on top of it in a minute.
Step 4:
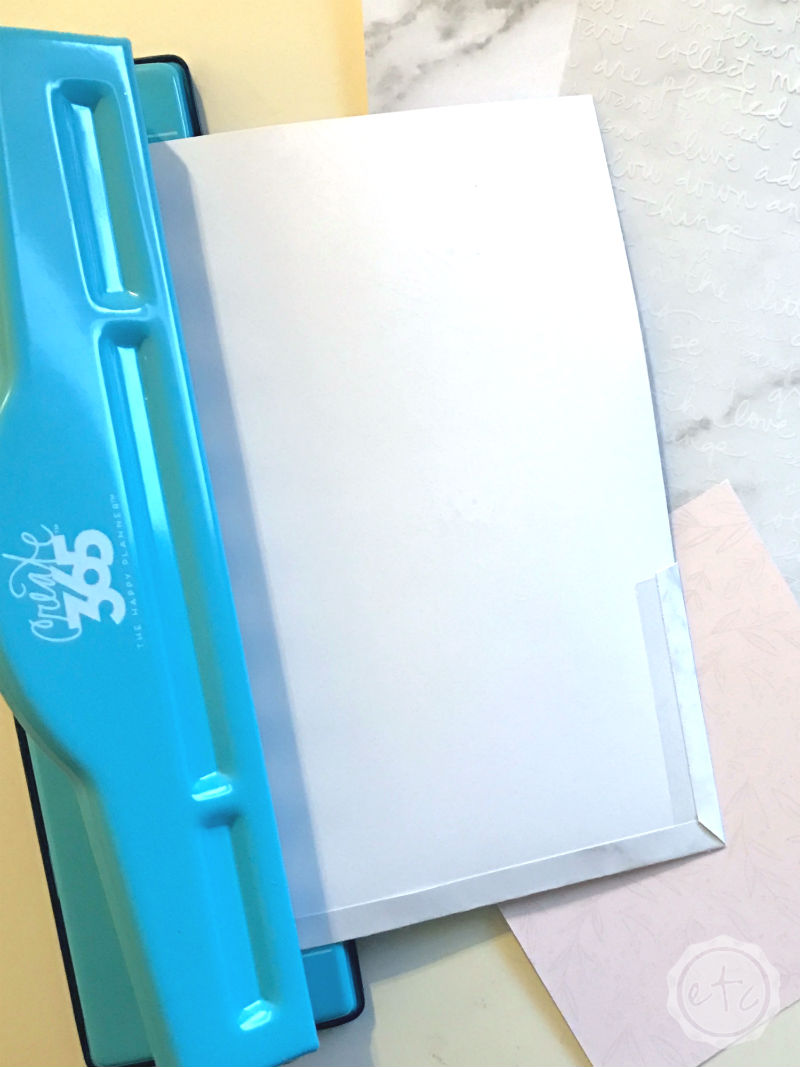
Now it’s time to punch these babies! Go ahead and place the patterned sheet face down in your paper punch… and punch it! Technically we’re punching the right side of the page if you’re keeping track.
Next go ahead and punch your plain paper and vellum… making sure to punch the left side of both.

Word of Caution:
My poor little happy planner punch does not fair well with heavy papers however vellum is typically ok… I punched several sheets with no problem and then this guy did not cooperate.
Boo.
Of course, you can fix almost any situation so I just made this little guy shorter than normal. It’s all good.
Step 5:
Now it’s time to tape your patterned sheet and solid sheets together… back to back y’all. You want the pretty sides to show.
Make sure your punched holes match up!
Step 6:
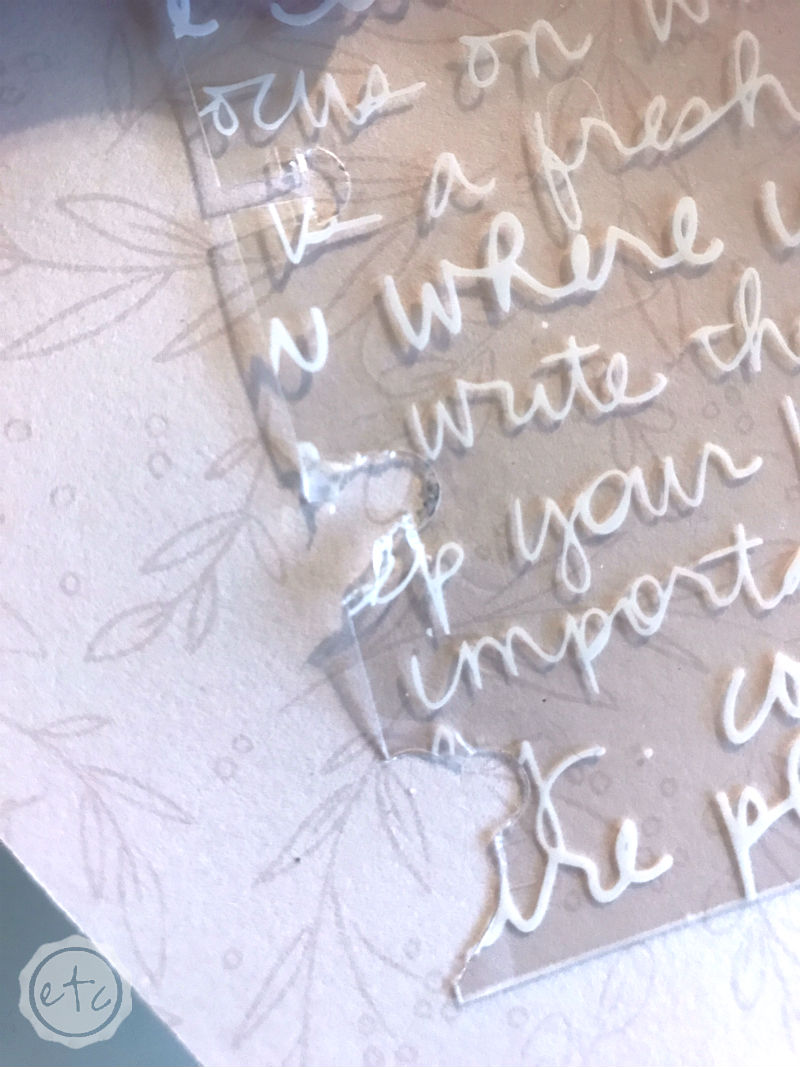
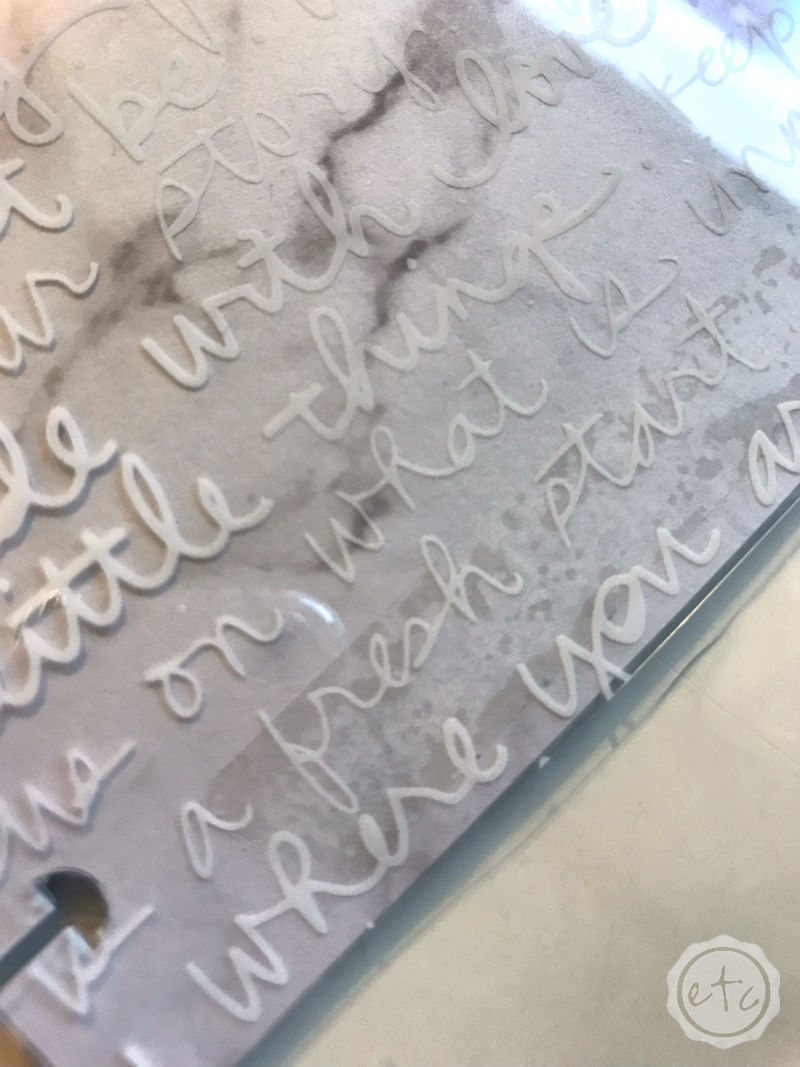
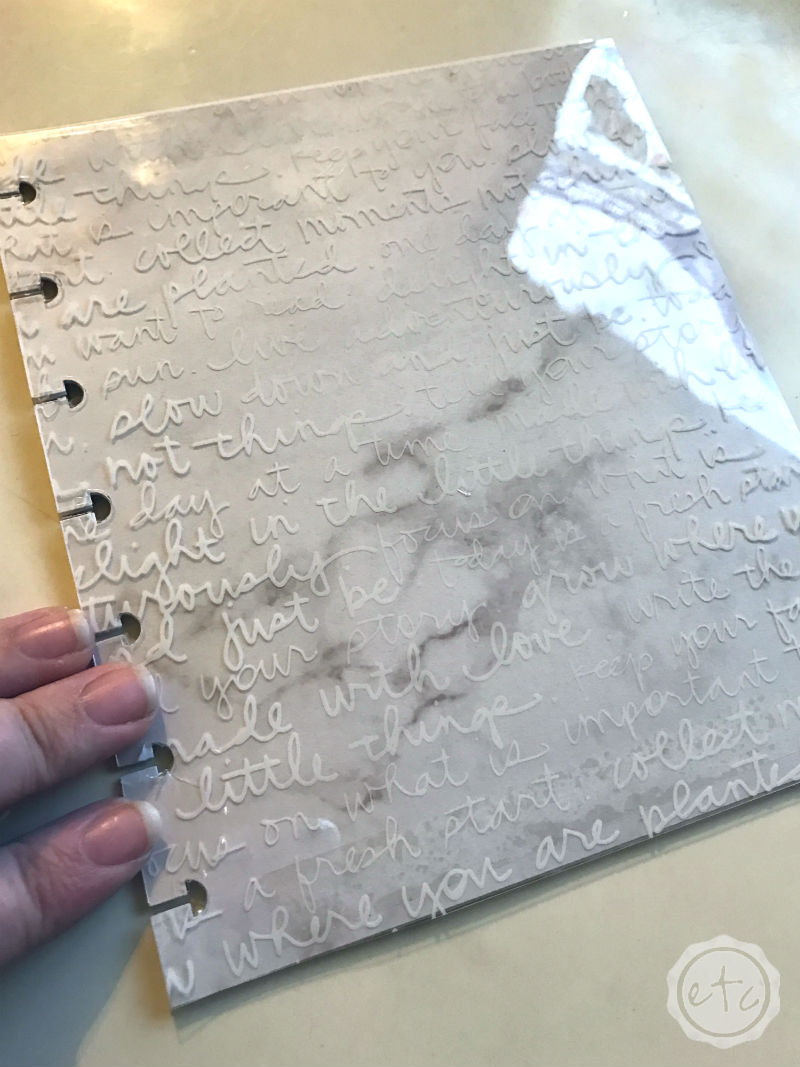
If you would like you can place a piece of tape between your vellum sheet and your plain sheet to hold them together… although you can leave them separate if you would rather.
I was worried the tape would show through the vellum (and it does) but overall it’s noticeability was not a factor to me… and the stability is totally worth it.
Step 7:
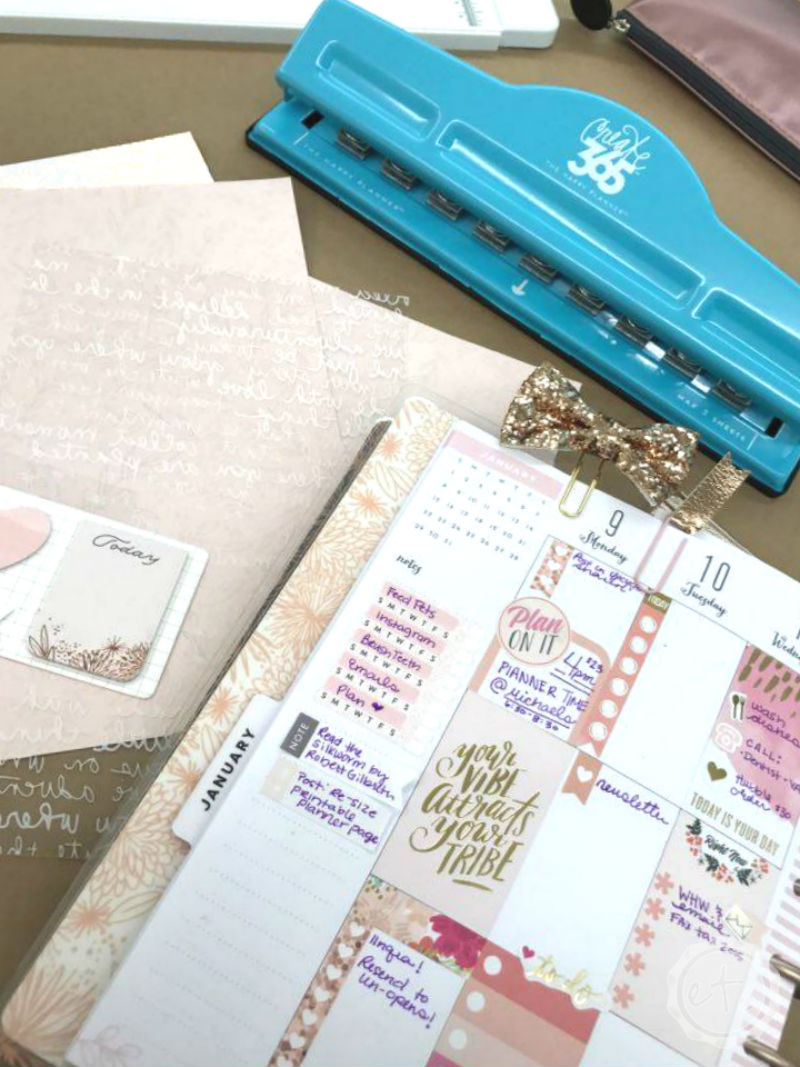
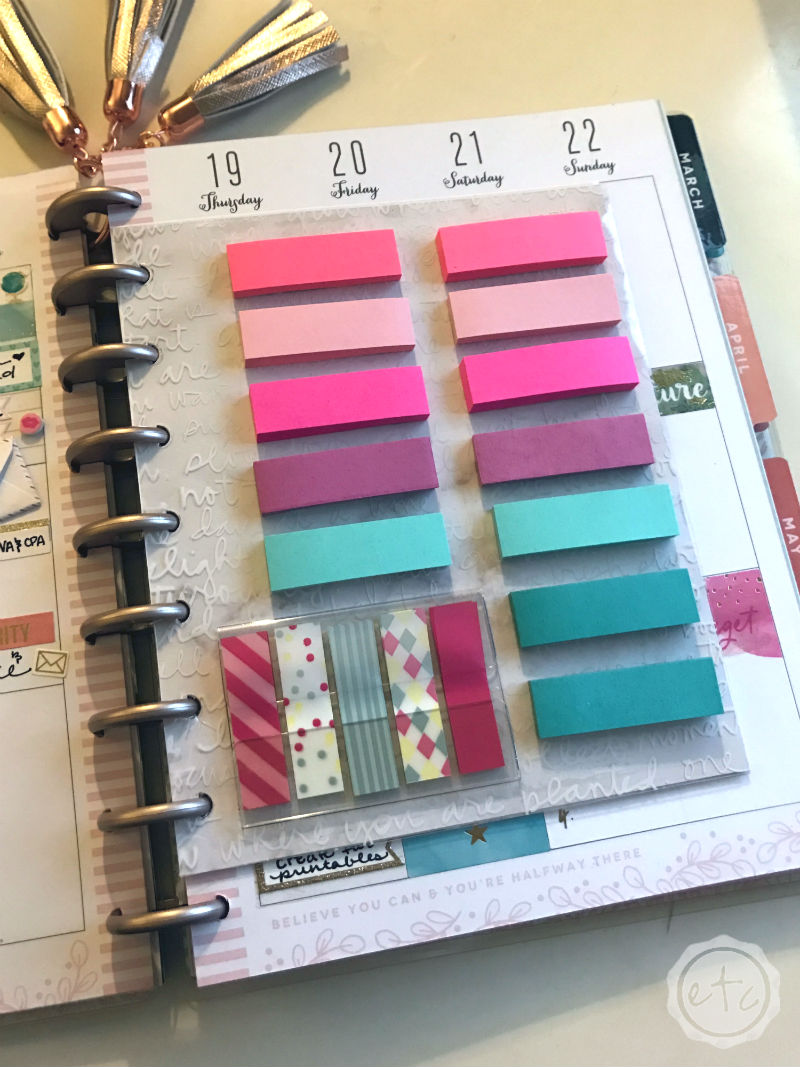
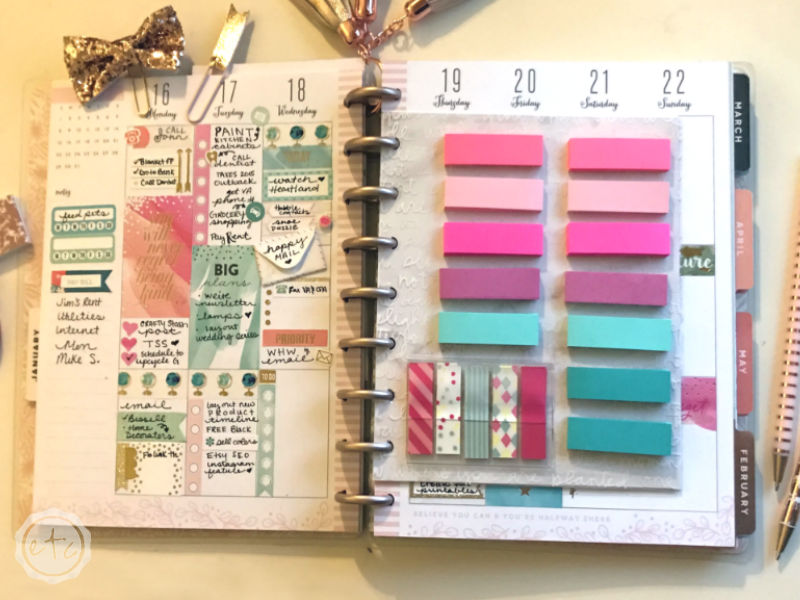
Now’s the last step… tape all your sticky notes onto your clear vellum dashboard! After, that the only thing left is to decorate!
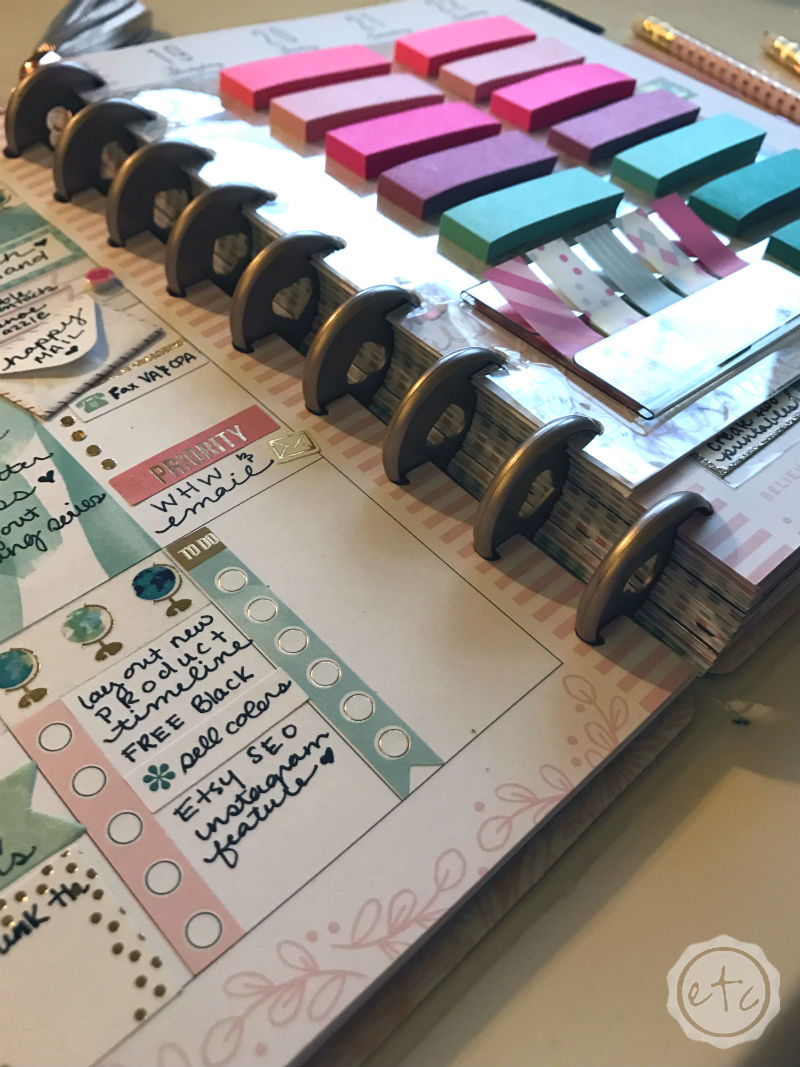
I love it! I’ve made two now (one for each of my planners) and I’m not sure which one is my favorite… which one do y’all love best?
Of course, if you loved this little project don’t forget to pin!