

In the world of diy’s and crafts building a box is a good skill to have… depending on the box’s size it can be used for so many different purposes! Storage and organization inside your home, corralling toys in a playroom, even holding dog food for your four legged friends!
Of course, at the end of the day what you use your box for may change but the way you put it together will stay the same. Four sides, a bottom and a top… now that’s a box!
For this little box I’ll be using a kreg jig to make pocket holes so that the outside of our box stays seamless… no screw holes for this girl!
Luckily using a kreg jig is pretty easy! For this project I’ll be using the K4 model (which is my absolute favorite) but if you have a smaller kreg jig (like this 320) you’ll need to change the way you make the pocket holes. Here’s a quick tutorial for anyone using the 320… let’s get started!
Supplies:
- K4 Kreg Jig
- 1 1/4″ Pocket Hole Screws
- Power Drill
- Worx Portable Work Table
- 3 1×4 Primed Trim Boards (4 pieces cut to 32″, 4 pieces cut to 10″)
- 1 Plywood Piece cut to 12″ by 32″
- Clamps
- Corner Clamps
- Brad Nailer
- Spackle
- Paint & Primer Spray Paint
How to Build a Box using Pocket Holes
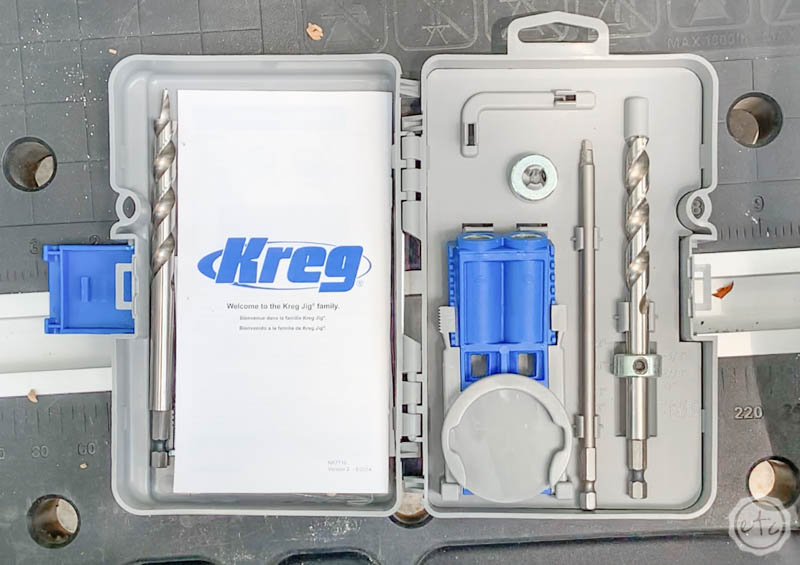
Step 1: Setup your Kreg Jig
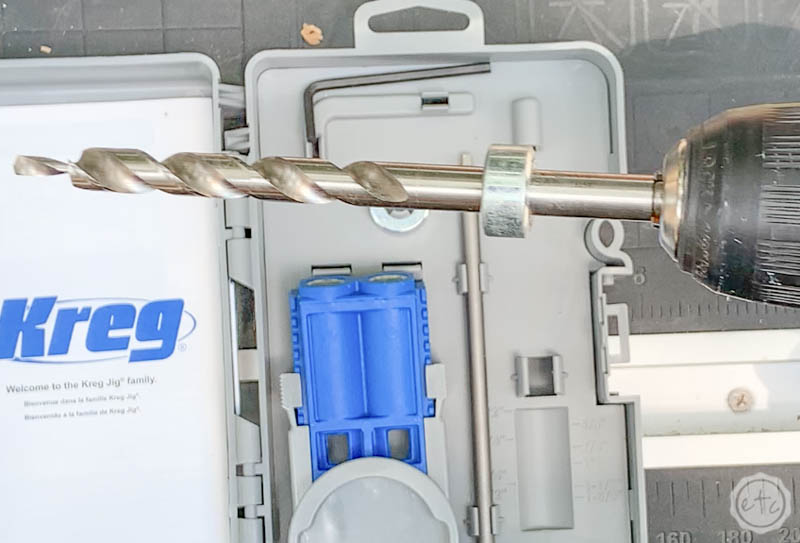
First things first… let’s setup our kreg jig! This little kit is my original kreg jig (before even the 320!) but I love how everything is in ones space so it’s great for demonstrating the set up of your drill bit.
Start by adding the round collar onto your drill bit and adjusting it so that the top of the collar is even with the measurement of your piece of wood. In this case our wood is 5/8 of an inch thick so we’ll need to add the collar just under the 5/8th mark. Then insert the little hex key into the slot and tighten the collar onto the drill bit.
Now you’re ready to place your drill bit into your power drill… the same way you would any drill bit or screw driver bit!


Step 2: Drill Pocket Holes
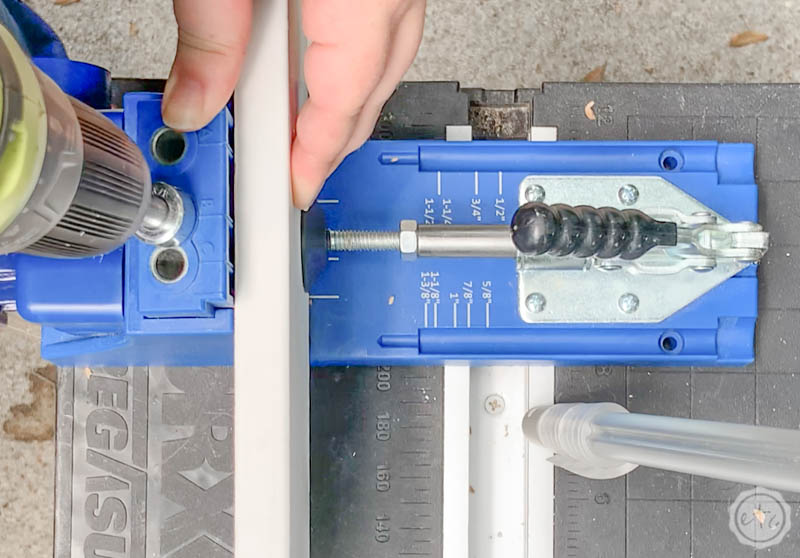
Now that we’re set up let’s drill some pocket holes! Go ahead and put your first 1×4 in the kreg jig and clamp it down (you can adjust the clamp to hold it snug if it’s not the right distance).
At this point we have 4 10″ 1×4’s for our sides of the box and 4 32″ 1×4’s for the front and back of out box. We’re going to drill pocket holes in HALF of these… so set 2 of the 10″ pieces and 2 of the 32″ pieces aside.
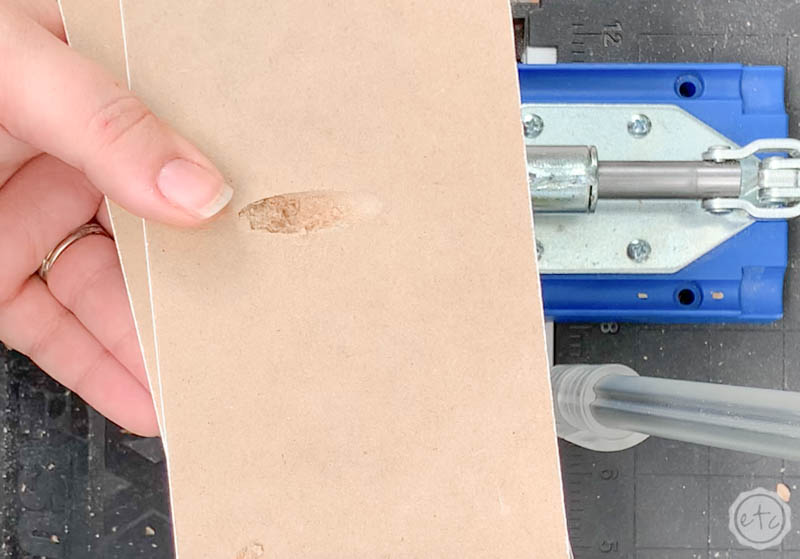
These pocket holes aren’t going to be seen and they’re mainly to hold our 1×4’s together so they need to be sturdy but not suuuuppppper sturdy. I found that 3 evenly spaced pocket holes across the 10″ pieces and 4 evenly spaced pocket holes across the 32″ pieces works great.
Go ahead and drill all of these and then we’ll set the pieces aside. If you’ve never drilled a pocket hole before it’s pretty easy. Clamp your 1×4 in place and then drill through the guide on the left of the kreg jig. When the collar meets the kreg jig stop the drill and back out the bit… there you have it! Un-clamp, move the wood, drill again.
You got it!

Step 3: Attach Boards with Pocket Hole Screws
Now let’s put this baby together! Go ahead and switch your drill bit for the long screw driver that comes with your kreg jig. It may look funny because it has a square head instead of a traditional phillips head… that’s okay. Our pocket hole screws have square openings!
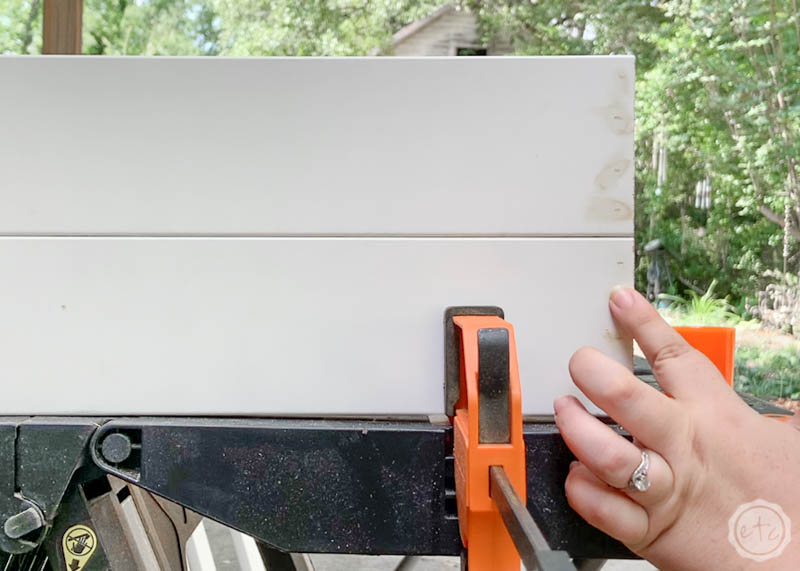
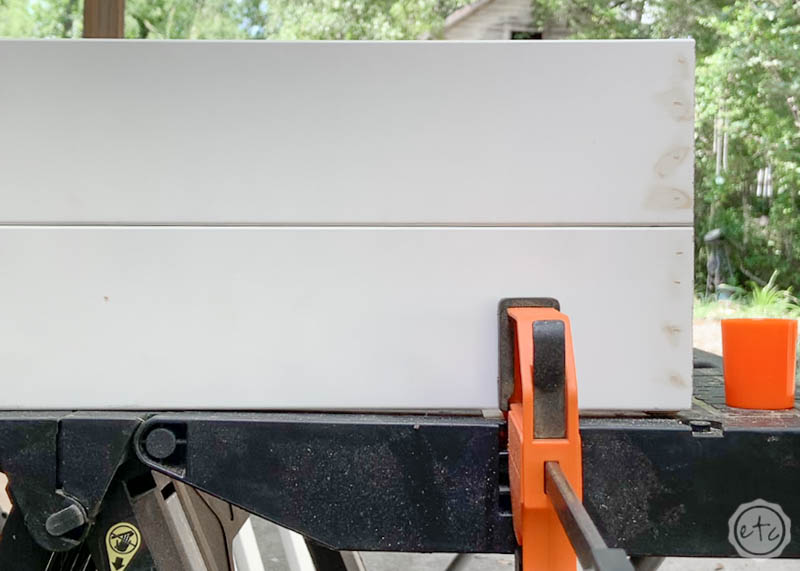
In order to attach our two pieces of wood together it’s best to clamp them. You’ll place the piece with the pocket holes facing the piece with no pocket holes and clamp them together (I swear my little worx table is a life saver when it comes to stuff like this!).
One they’re steady you’ll drive 3 pocket hole screws into place and volia! Perfect darling! These particular screws are 1 1/4″ long so they hold our wood together strong but shouldn’t poke through the front.
Beautiful!
Go ahead and make all 4 sides of your box… screw together both short sides and the long sides! Make sure that they’re clamped tightly so that they don’t move around as you start to drive the screws home.


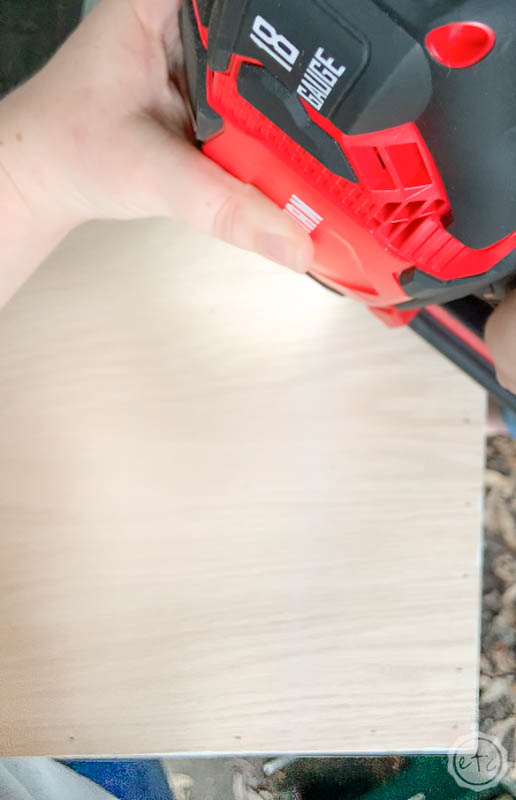
Step 4: Attach Box Sides with Brad Nailer
Ready to build a box! When it comes to pocket screws (or any screws really) it’s never a good idea to screw directly into the grain of the wood) so instead of pocket screws we’re going to use a brad nailer to put all 4 sides together. The brad nailer uses little finishing nails so they’ll drive in far and fast and hold our box together without splitting the wood like a pocket hole going into the grain would… and they drive in far enough that a bit of spackle over the holes will leave us with a smooth surface.
I grabbed my nail gun and put this guy together pretty quickly. If you watch the video you’ll see that I used a combination of clamps and help (thanks mom!) to hold the pieces in place before using the brad nailer to put them together.
Since then I’ve discovered corner clamps! They are AMAZING fro making a box like this!
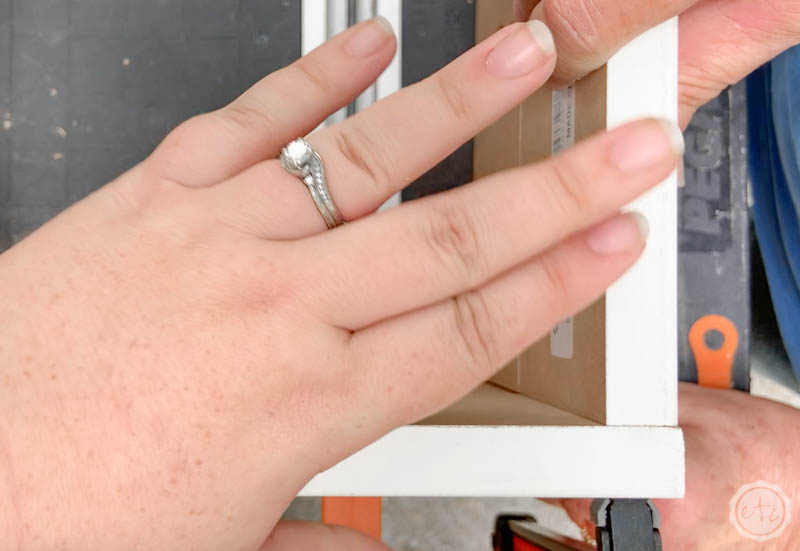
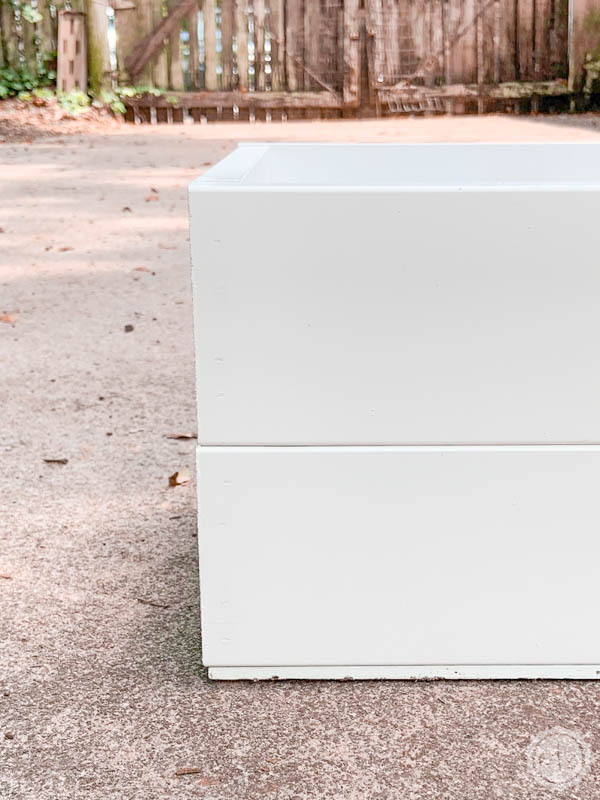
Go ahead and add 4 brad nails per board all the way around until the piece is super sturdy. Make sure you’re driving through the face of the first board and into the grain of the side board… and that all the pieces are flush and level. We don’t want a wobbly box when we go to put the sides on!
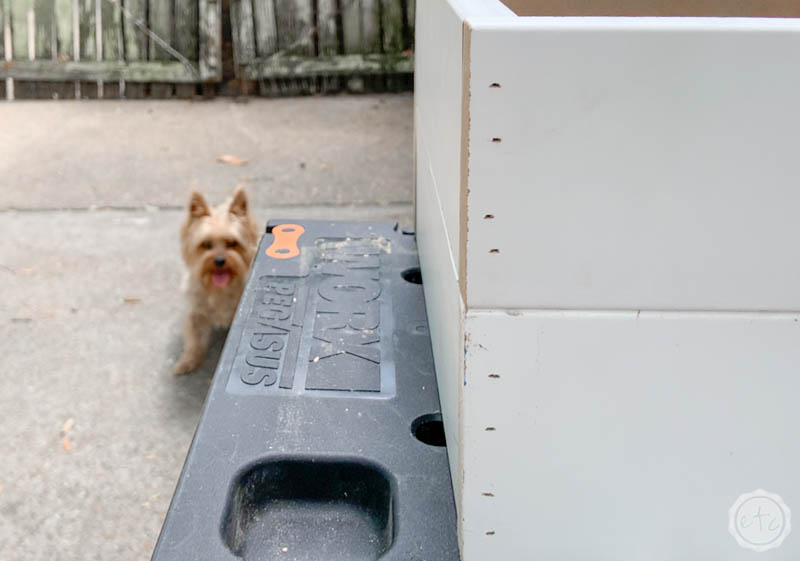
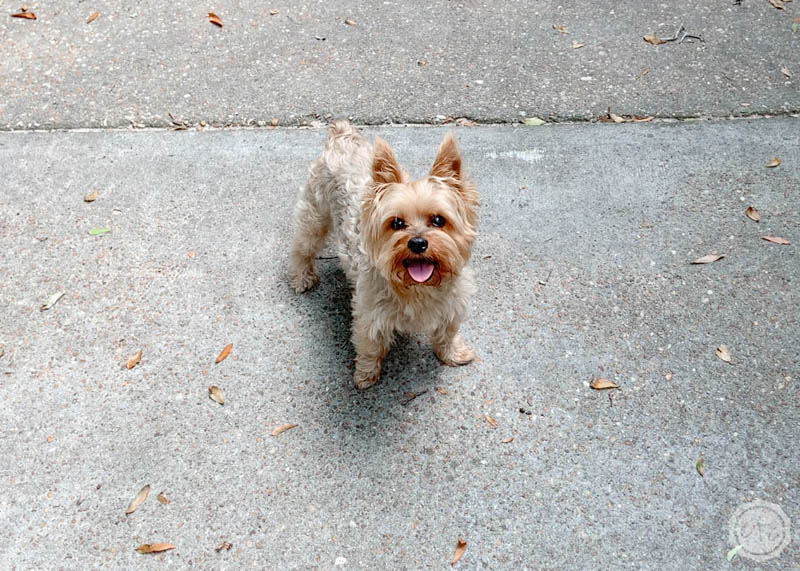
Also how cute is Bitty?! Do you think she knows this little box is going to be a dog food stand?

Step 5: Fill in Holes with Spackle
Spackle time! This part is pretty self explanatory but just in case you’re not sure what spackle is it’s basically wood filler. I like the spackle version since it’s usually made with primer and is easy to paint over.
In this case our holes are super tiny so I just used my finger to add a little spackle to each of the holes and then smooth it over. If you’re doing larger pieces you may need a piece of sand paper to smooth things over but in this case an index finger will do.

Step 6: Spray Paint the Box!
Now it’s time for the magic! Painting our Box!
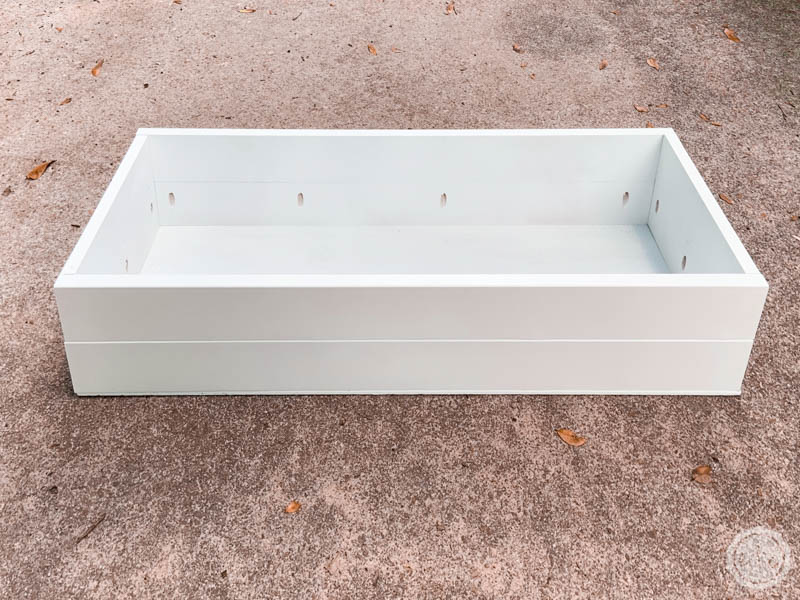
Since we need to cover the spackle and the ends of our box that weren’t painted a coat of spray paint inside and out is just what the doctor ordered. I am going to use the inside of this box for storage too so I gave the inside of the box 2 coats of paint as well as the outside.
Just a tip: the edges of the board are thirsty and will take fifty million coats of spray paint to look solid. I grabbed a paint brush and a little jar of craft paint and painted the little ends that were showing… then spray painted over them so they looked uniform with the rest of the box.
Beautiful darling!
One last thing before we move on to the next step. I know we’ve been focusing on the sides of our box but that’s because the bottom is already cut (thanks dude at Lowe’s!). Make sure to give it (and it’s sides) two coats of spray paint as well so that it matches the rest of the box! If you’re using a top (like the little resin dog bowl holder I’m making for this box) you may want to paint that now too!
Step 7: Attach the Bottom of the Box
Ready for the last step?
Adding the bottom!
Once everything has dried go ahead and flip your box over… now add the bottom of your box. The painted side of you box should be facing the inside of the box sides leaving the unpainted side facing up.
Now simply use your brad nailer to attach the bottom all the way around the box and you’re good to go! Since this is the bottom of the box you don’t even need to spackle!
Doesn’t it look pretty!?


Step 8: Enjoy!
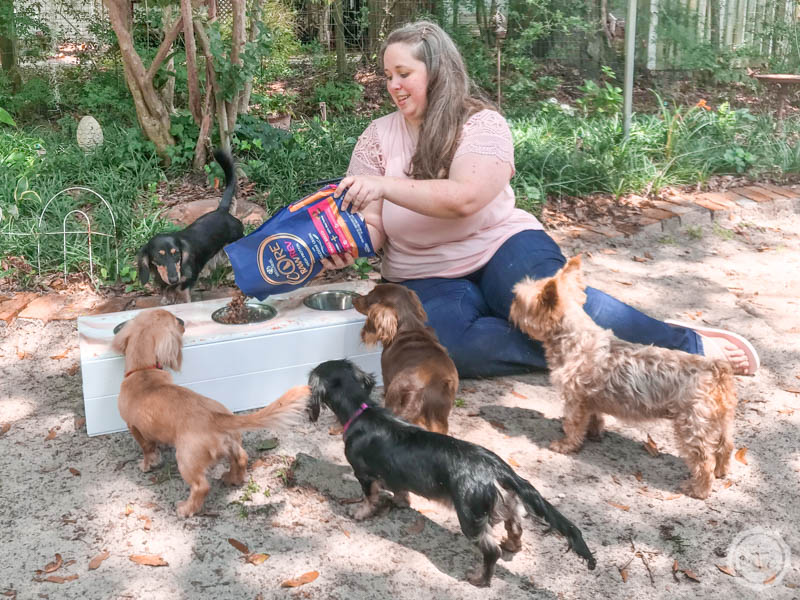
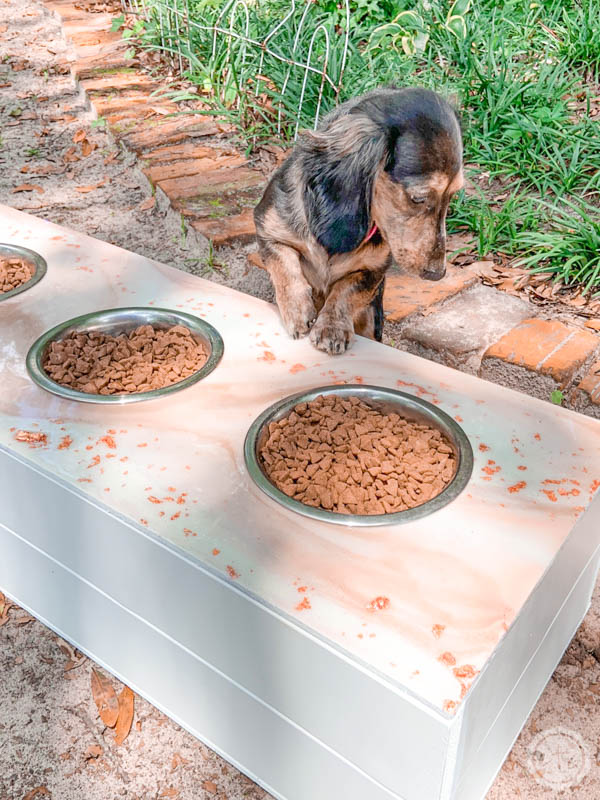
I decided to add a little resin top to my box with spaces for dog bowls… it’s the perfect dog bowl stand! I’ll show you exactly how I made the top (and poured resin onto the plywood) for those of you who are interested.
If you’re using your box for something completely different then away you go… and don’t forget to leave a comment letting me know what down below. I’m curious!