• House Tour
    • Reveals
  • About
    • Smith Life
    • Disclosure and Privacy Policy
      • Terms and Conditions
      • Store Affiliates
  • Contact Me
    • Want a Button?
  • Shop
    • Floral Printable Planners
    • Paint eBooks and Packages
    • Wedding Binders & Extra Printables!
    • Planner Bundles
    • Planner Accessories
    • Home Decor Printables!
  • Cart
    • Bloglovin
    • Facebook
    • Instagram
    • Pinterest
    • Twitter
    • YouTube

Happily Ever After, Etc.

Creating Our Own Fairytale

  • Happily Ever After, Etc.
  • Home
  • Home Decor
    • My Home
    • Paint
    • Before and After
    • Tablescapes
    • Mood Boards
    • Furniture
  • DIY & Crafts
    • New to Cricut – Start Here
    • Cricut Projects
    • Resin
    • Scrapbooking
  • Organization & Planning
    • Cricut
    • Organization
    • Planner
  • Holidays
    • Christmas
    • Halloween
    • Thanksgiving
    • Easter
  • Wedding
    • Cricut Wedding Projects
    • Free Wedding Binder
    • Bride Bag- The Ultimate Wedding Planner

Easy Yarn Wreath (Anyone Can Make)

Hey y'all,

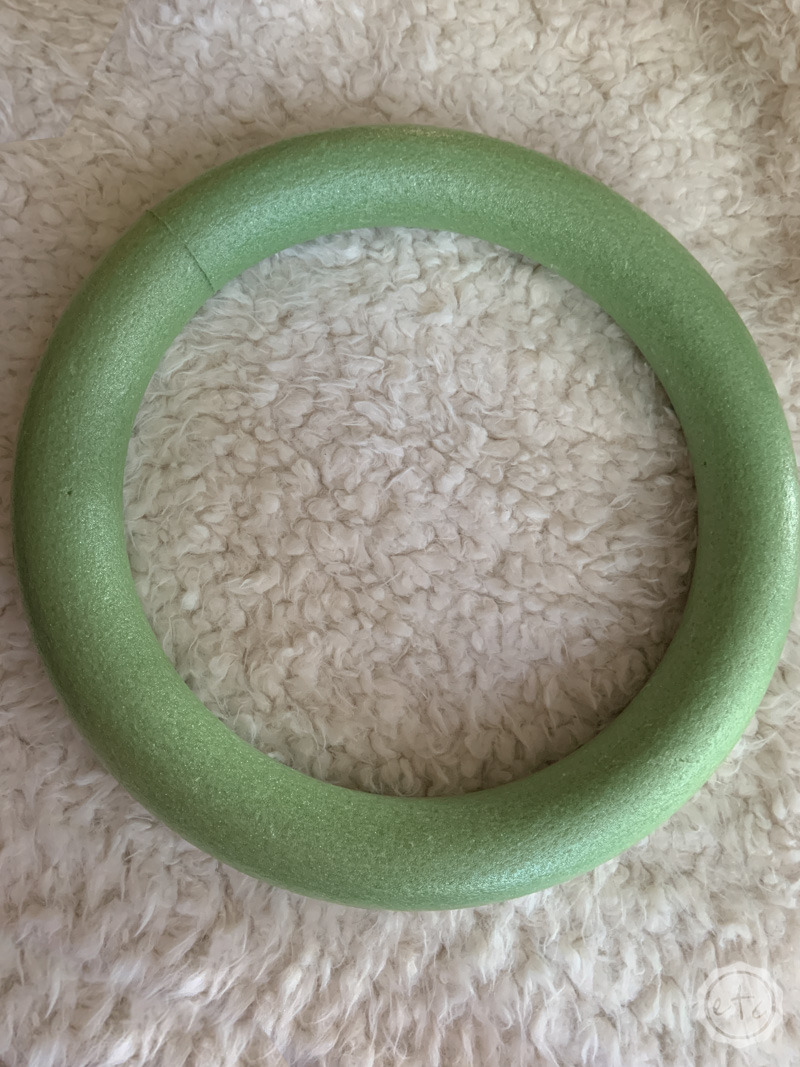
This year I am super busy: between life, work and Christmas there is absolutely no time left over. Which means it’s quick and easy projects for the win!

Starting with this super easy yarn wreath! It takes about half a Hallmark movie to watch (I chose Write Before Christmas with Chad Michael Murry) so it’s super simple and feels just like knitting.

Ready to get started:

Supplies:

  • 2 Skeins of Large White Yarn (or roving!)
  • 16″ Styrofoam Wreath Form
  • Tiny Christmas Trees
  • Scissors

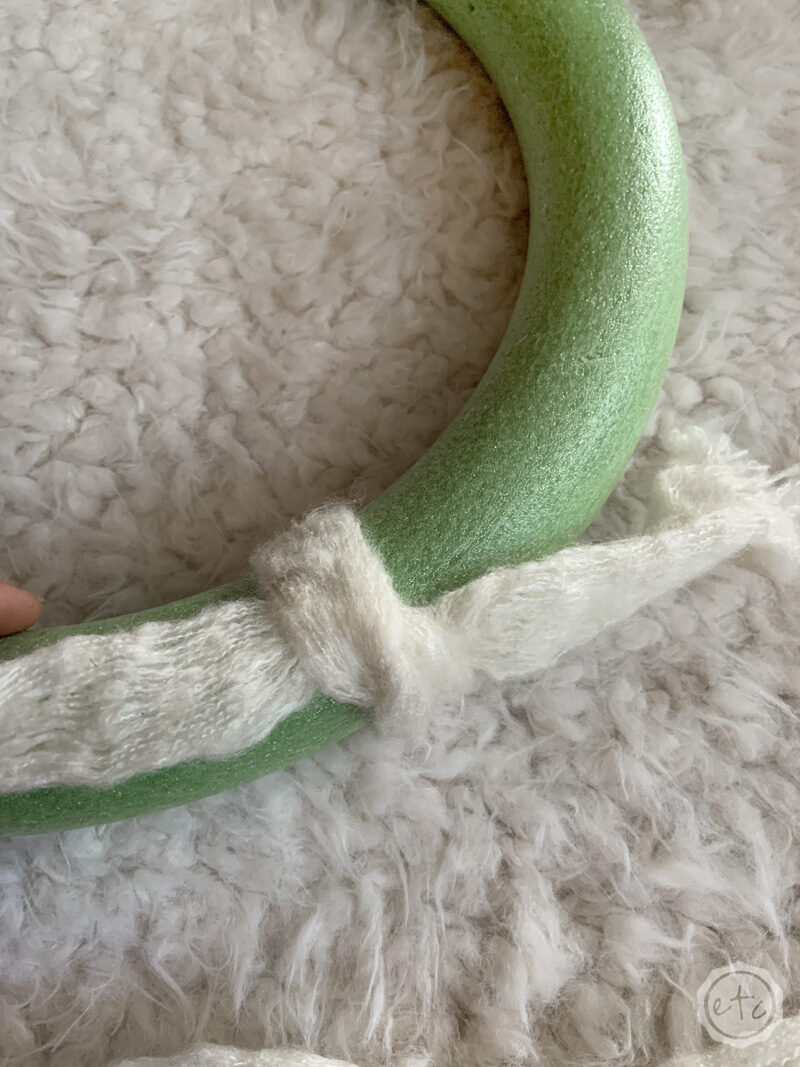
Step 1: Secure Your Yarn

This first step doesn’t really even deserve an entire section. Here it is: tie your yarn to your wreath. I didn’t even make a knot… simply tied it on.

I didn’t want the knot to stand out later on down the road so I made a simple tie and then made sure to tie my yarn tight over the tail as I worked my way around the form.

That will keep this baby nice and secure!

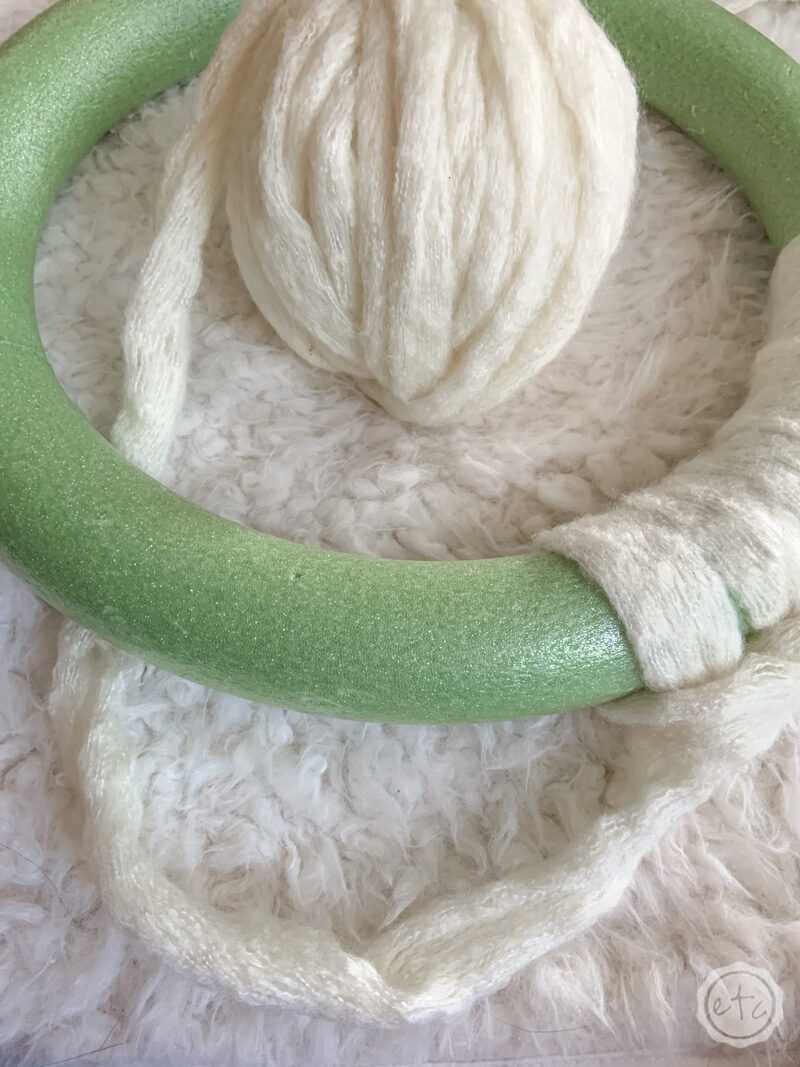
Step 2: Tie Your Yarn Around the Wreath

Alright y’all…. let’s get started on the tying.

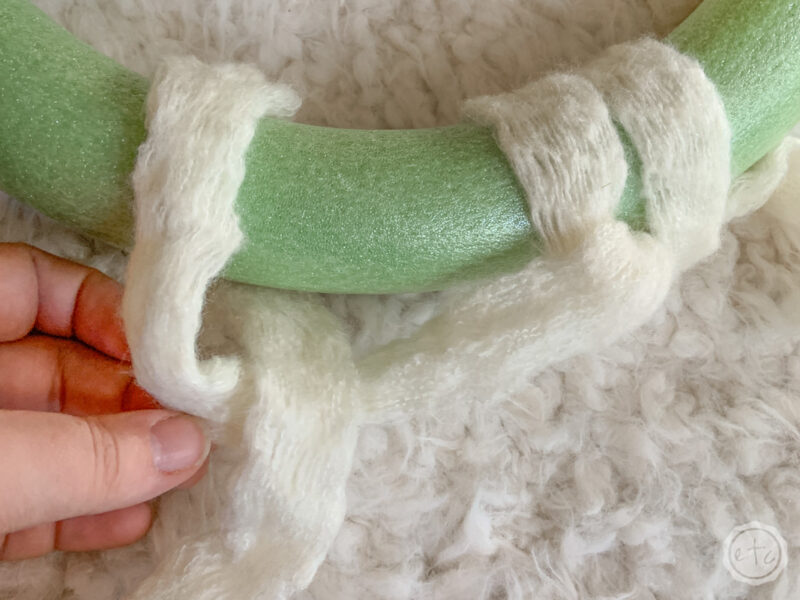
You’ll start by pulling your yarn to the left of the tied spot and then putting it under the wreath (into the middle section (like the photo above).

Make sure to leave a big enough length of yarn that you can pass the entire ball of yarn back through the opening!

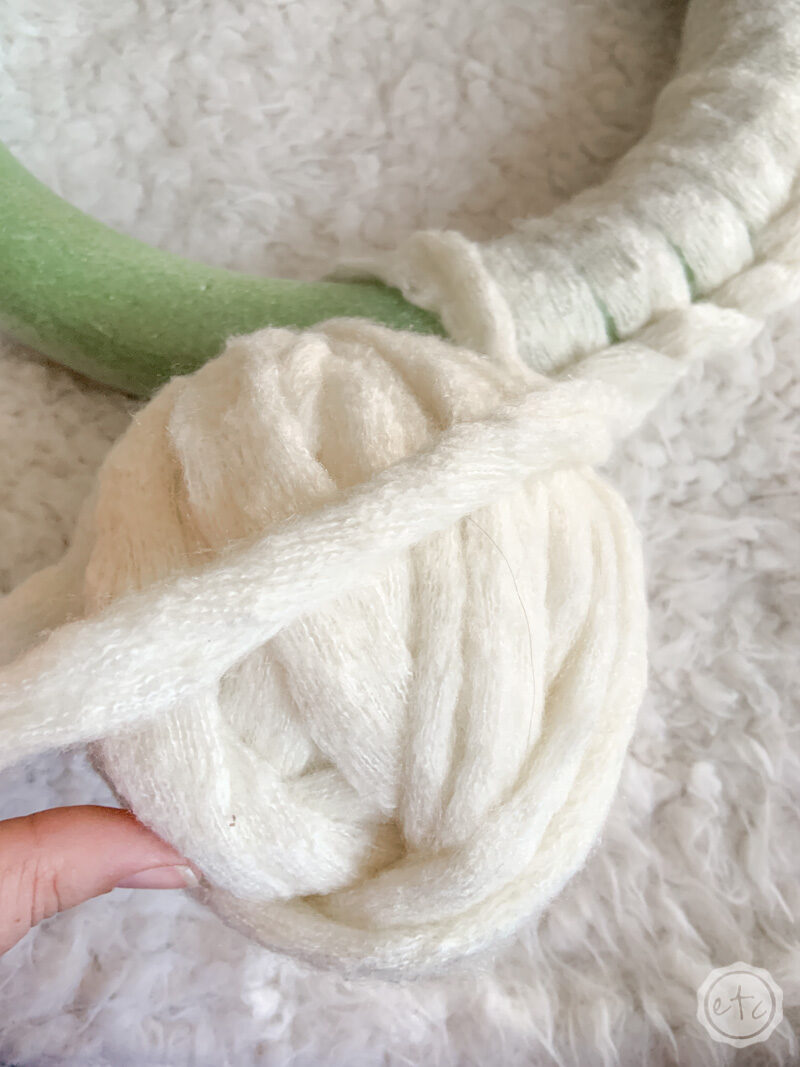
Now… pull the entire ball of yarn over the other side of the wreath form and through the opening!

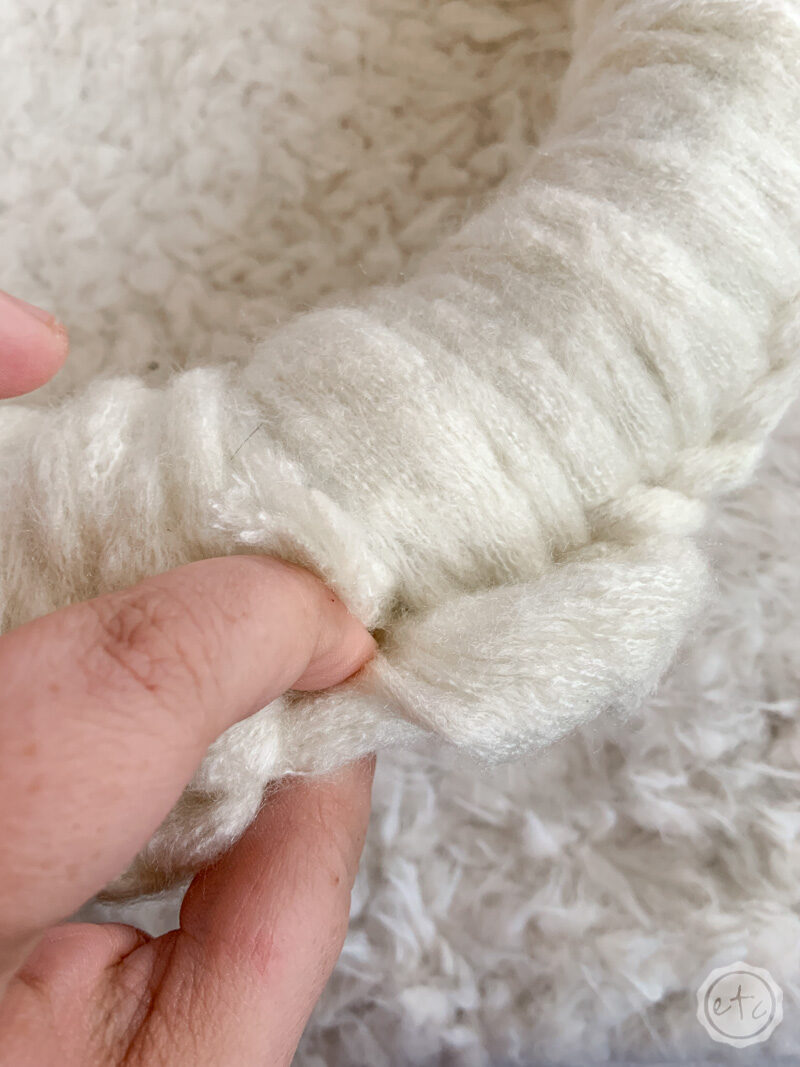
You should have a loop that goes all the way around the wreath at this point. Go ahead and make sure the yarn is smooth all the way around and then snug it up to it’s friend and pull it tight.

Not so tight that it would cut off the circulation (if this was a wrist) but tight enough to keep it firmly in place.

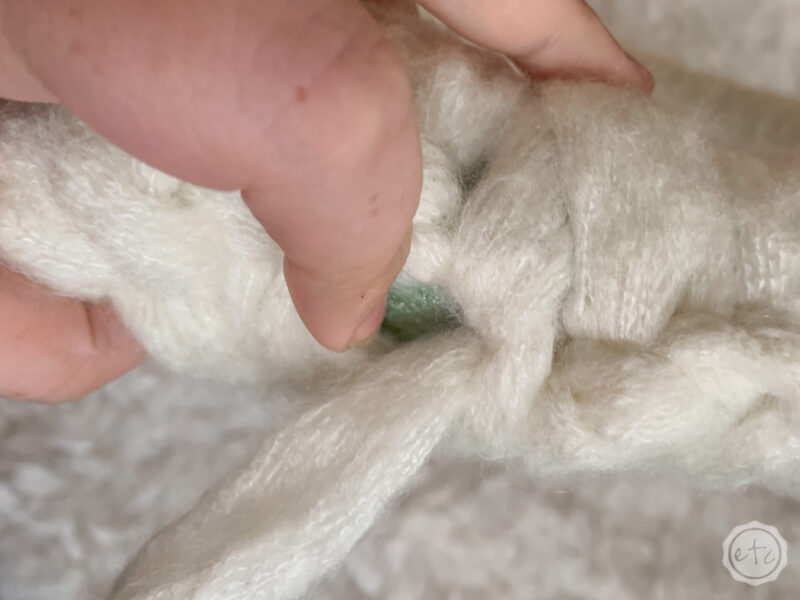
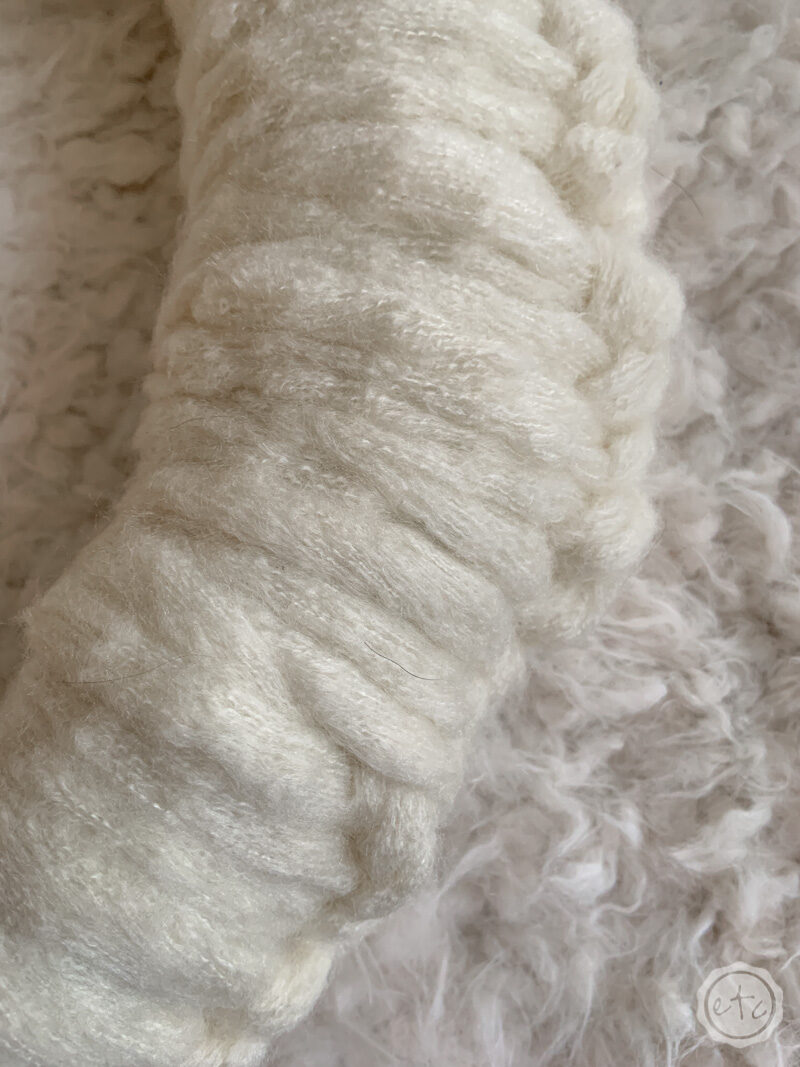
Now… keep going. Just repeat that step over and over and over again as you make your way all the way around the wreath. Make sure that as you go you’re pushing the loops together tightly so that you can’t see any green in between… just yarn.

Step 3: Weave the End into the Wreath

Once you’ve made it all the way around go ahead and cut the tail of your yarn off. You want about 3 inches of yarn left… that you’ll weave into the back of your wreath.

Don’t worry this is much simpler than it sounds.

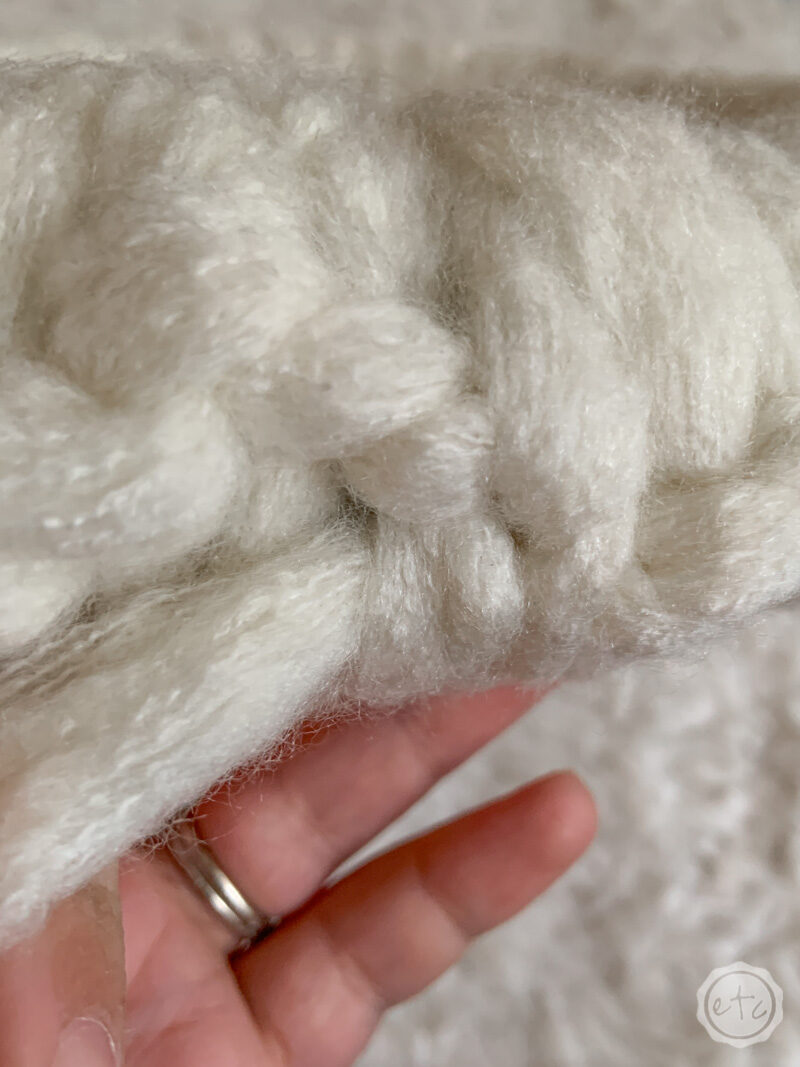
Simply pull the next stitch over aside and thread your yarn end through… keep doing this until your yarn end has worked it’s way all the way down the wreath and is firmly hidden.

You don’t want to know that yarn end exists!

It should disappear into the wreath.

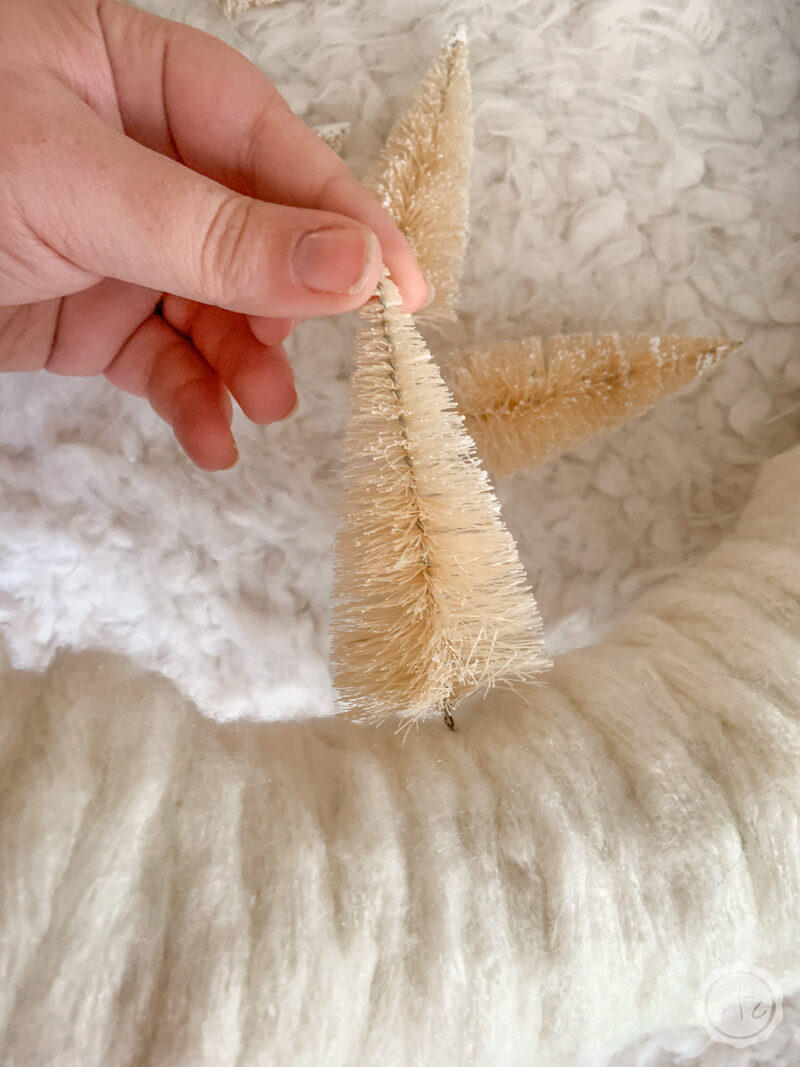
Step 4: Add your Trees

Technically you could stop at this point and just enjoy your yarn wreath… but I wanted a little something extra. So I added a few trees!

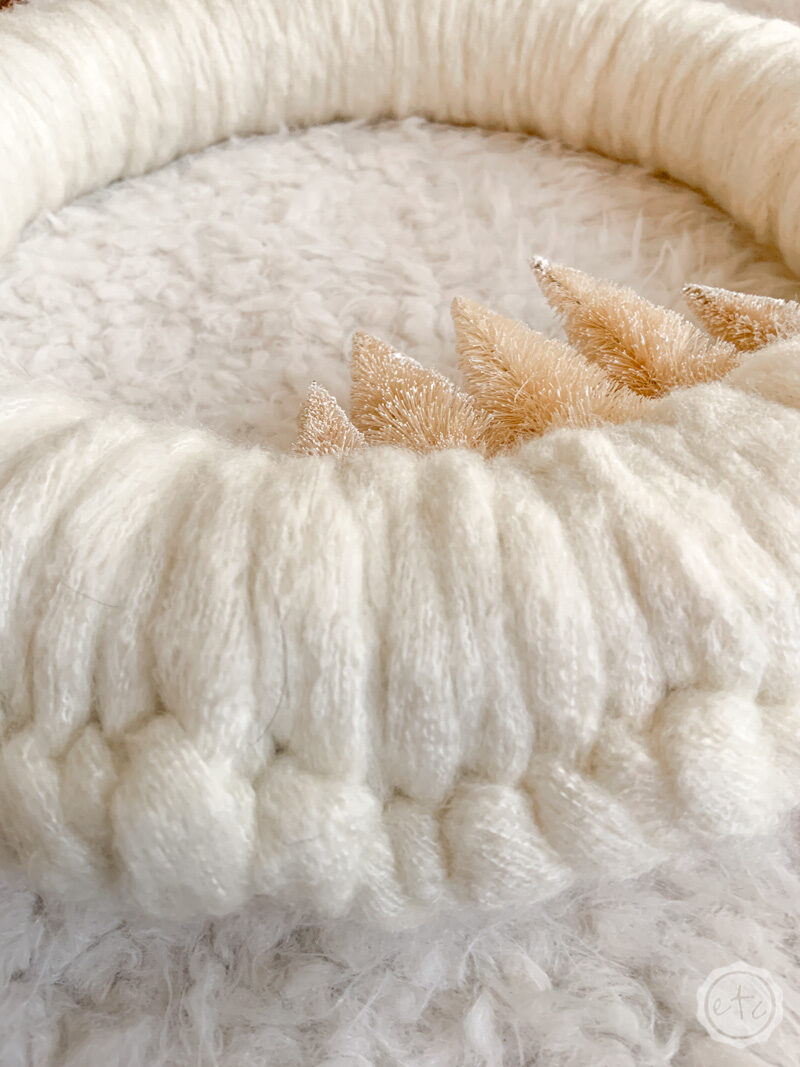
First I pulled the bottom base of the trees off exposing the wire. Then I firmly placed the wire in between two pieces of yarn and pushed the wire into the Styrofoam wreath.

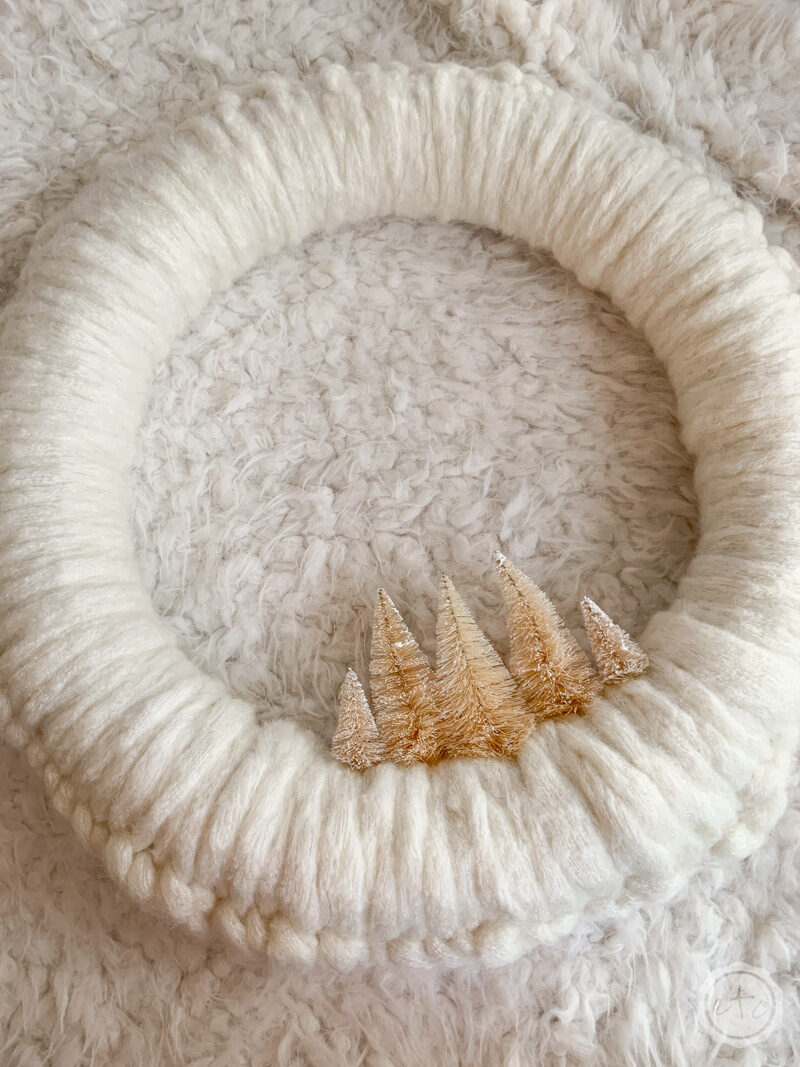
Go ahead and push the tree down far enough that it’s held tight! Do as many trees as you’d like (i did 5) and then you’re done! This little wreath is ready to rock.

Ready for a few more projects? All of my amazing blog friends whipped up fun wreaths this week as well… so that you have more ideas than you know what to do with!

Even better? We’ve got all kinds of fun diy’s, crafts and recipes coming your way over the next few weeks… so don’t forget to check back.

This fun 12 Days of Holiday Ideas event is hosted by Shirley of Intelligent Domestications  and Erlene of My Pinterventures to bring you all kinds of fun holiday inspiration!

Enjoy!

You are invited to the Inlinkz link party!

Click here to enter

Get Your FREE Bucket List Printable!

Our Christmas Bucket List will help you check off each and every piece of holiday cheer!

Success! Now check your email to confirm your subscription.

There was an error submitting your subscription. Please try again.

Powered by ConvertKit
You made it through the entire post? That means you're one of my new favorite people! I'd love to be friends and see what else you would like to read about! Leave me a comment and then sign up for your very own FREE paint planner.... so that you can keep track of every single paint color with ease!
Welcome back! I'd love to be friends and see what else you would like to read about! Leave me a comment and then sign up for your very own FREE paint planner.... so that you can keep track of every single paint color with ease!

Show me some LOVE y'all:

  • Facebook
  • Pinterest
  • Twitter
  • Email

Related

«
»

Christmas, DIY & Crafts, Holidays 10

Comments

  1. Maria says

    November 22, 2019 at 5:35 am

    This is a great upcycle, I have lots of yarn and love to make this

    Reply
  2. Alli Smith says

    November 22, 2019 at 8:05 am

    Your yarn wreath is gorgeous. I need to try making this one.

    Reply
  3. Marie says

    November 23, 2019 at 12:20 am

    I’ve seen other yarn wreaths but what makes yours different is that lovely weaved edge! This is such a pretty wreath and I love how it can take you right through winter. Pinned 🙂

    Reply
  4. Jenny says

    November 23, 2019 at 7:09 am

    Your yarn wreath is so warm and cozy! The bottle trees are so cute.

    Reply
  5. Rachelle says

    November 23, 2019 at 8:23 am

    I love an upcycled craft! I going to raid my stash and see what I have to make a cute wreath like this one 🙂

    Reply
  6. Jessa says

    November 23, 2019 at 9:15 am

    This wreath may be easy, but it is quite beautiful! I love the thickness of the yarn and the white trees!

    Reply
  7. Cherryl Ehlenburg says

    November 23, 2019 at 9:26 pm

    I saw a similar wreath on YouTube, but she crocheted the edging, which I don’t know how to do. I like yours much better and will definitely be trying this!

    Reply
  8. Kristie says

    November 23, 2019 at 11:43 pm

    I love the winter whites used in your wreath! It is very pretty and simple.

    Reply
  9. Rachel says

    November 25, 2019 at 3:18 pm

    What a cozy wreath!

    Reply
  10. Super Mom - No Cape! says

    November 28, 2019 at 10:09 am

    Aren’t those new bulky yarns fun! Your wreath turned out lovely.

    Reply

Leave a Reply Cancel reply

Your email address will not be published. Required fields are marked *

sidebar betsy I'm Betsy, Home Decor Enthusiast, Yorkie Mama, Crafter, Blogger, Picky Eater, Chief Mess Maker, Antique Hoarder and Graphic Designer. You can generally find me working on (attacking with a paintbrush) the 3 bed, 2 bath home we are currently renting! Our home might not be perfect but it is ours & if you hang out long enough you'll see that what we lack in know-how we make up for in passion!
Shop My Craft Room

Shop My Home

Featured Articles

15 Fabulous Ideas to Organize your Laundry Room
25 FREE Printables For Your Home!
What to do with EXTRA Paint with Happily Ever After Etc
10 Ways to Make Your Bed EXTRA Comfy with Happily Ever After Etc.
Ready to Pick your Perfect Paint Color? We'll help you with our 6 Day FREE E-Course

Hey y’all,

Profile

I'm Betsy, Home Decor Enthusiast, Yorkie Mama, Picky Eater, Chief Mess Maker, & Graphic Designer...

A Little Note!

Many of the links on Happily Ever After, Etc. are affiliate links. If you purchase a product after clicking an affiliate link, I receive a small percentage of the sale for referring you, at zero cost to you! How awesome is that? Purchasing through affiliate links is an easy, painless way to help out your favorite bloggers. Thank you so much for your continued love and support! Read the full disclosure here!

Instagram

Follow on Instagram

Copyright © 2022 · Darling theme by Restored 316

Copyright © 2022 · Darling Theme on Genesis Framework · WordPress · Log in · Privacy Policy

loading Cancel
Post was not sent - check your email addresses!
Email check failed, please try again
Sorry, your blog cannot share posts by email.