


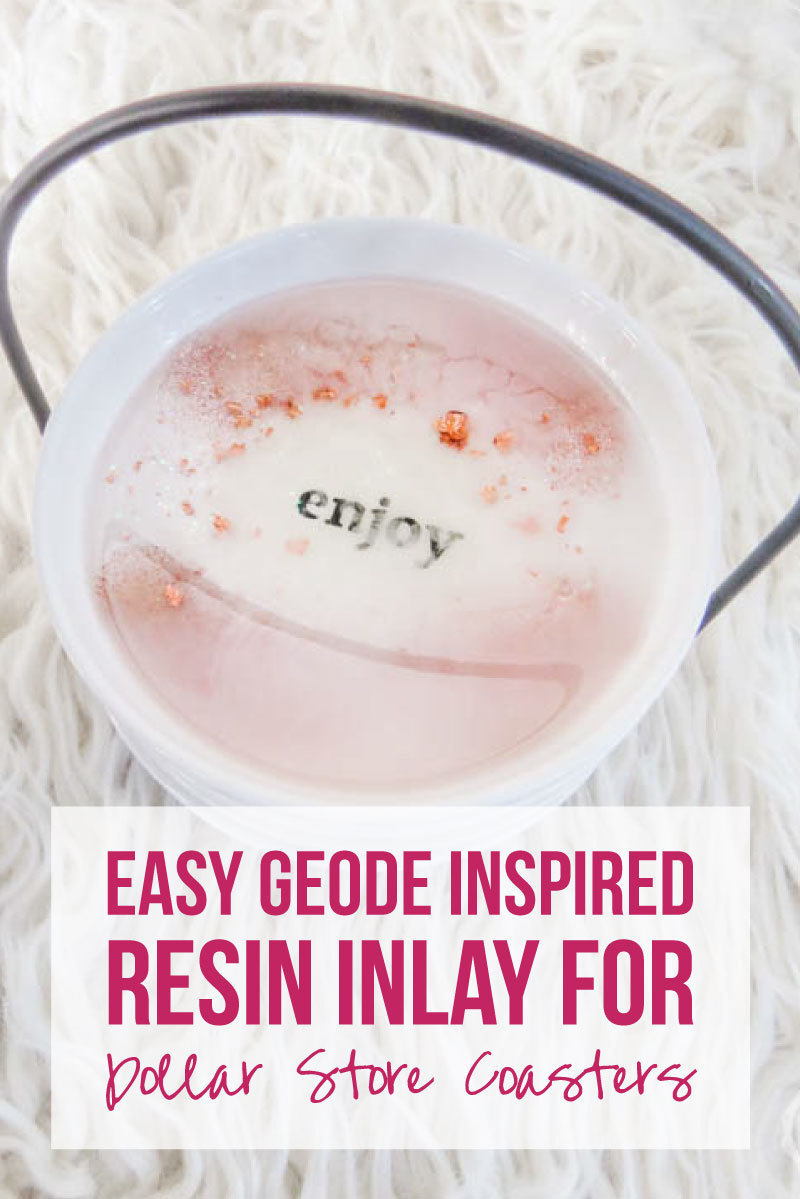
Ready for an entirely new set of resin coasters? Instead of resin coasters from a mold (like these little blush and rose gold beauties) today we’re going to turn these adorable little white dishes from the dollar store into coasters that you can use for any size cup! Yes, even big mugs!
The best part? Whether you’re an old pro at resin or this is your very first project you. can. do. this. In fact this beginner level project is easy enough that anyone can make it!
Now that’s what I call awesome!
Let’s jump in!
Supplies:
- 4 Small Coasters (these came from the Dollar Store but you can find similar ones here)
- Amazing Clear Cast Resin
- Respirator/Mask (resin graded filters)
- Gloves
- Wagner HT400 Heat Gun
- Freezer Paper
- Baking Pan
- Silicone Mat
- Silicone Mixing Stick
- Small Mixing Cups
- Silicone Measuring Cup/Larger Mixing Cups
- Reusable Silicone Stir Sticks
- Pink Pearl Craft Paint
- White Alcohol Ink & Pearl Alcohol Ink
- Rose Gold Glitter
- Copper Oil Based Paint
- Rose Gold Flakes
Dollar Store Coasters with Resin Bottoms!
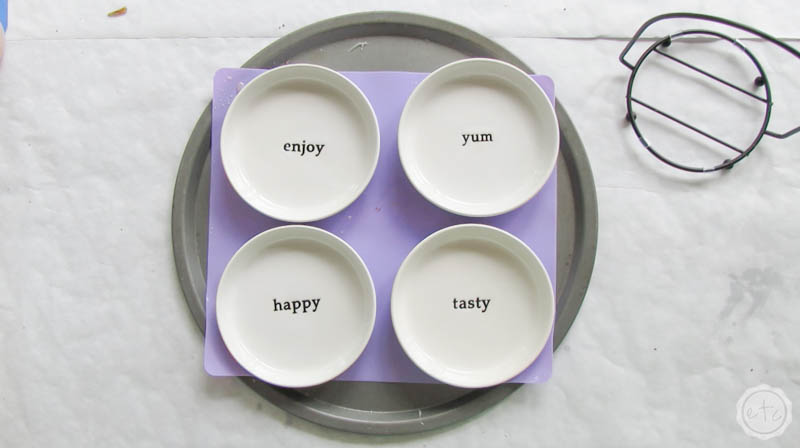
Step 1: Prep your Project
So far most of our dollar store projects have been trays (like this galvanized tray… or this adorable blue serving tray!) but these little coasters need a bit more prep work.
We’ll start by laying down a bit of freezer paper to project our work surface… and then add a silicone baking sheet to a baking tray so that we can easily move our project around without spilling any resin.
Kind of important!
Next we’ll mix about 280ml of clear resin in a large silicone cup. Don’t worry if you’ve never mixed resin before I’ll walk you through it in this tutorial. Once your resin is ready to rock you can separate it out into smaller silicone cups with your pigments and glitters.
In this case you’ll need about 40ml of blush resin, 40ml of clear resin with rose gold flakes and 40ml of white resin. We’ll finish it off with about 30ml of rose gold glitter resin and another 30ml of copper resin leaving about 100ml of resin in our original mixing cup just in case we run out of any one color (and to flood the center of these babies in step 3!).
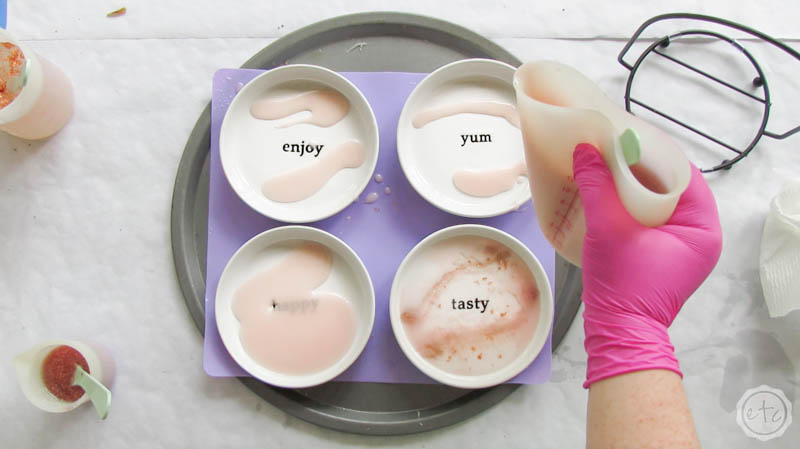
Step 2: Pour Your Resin
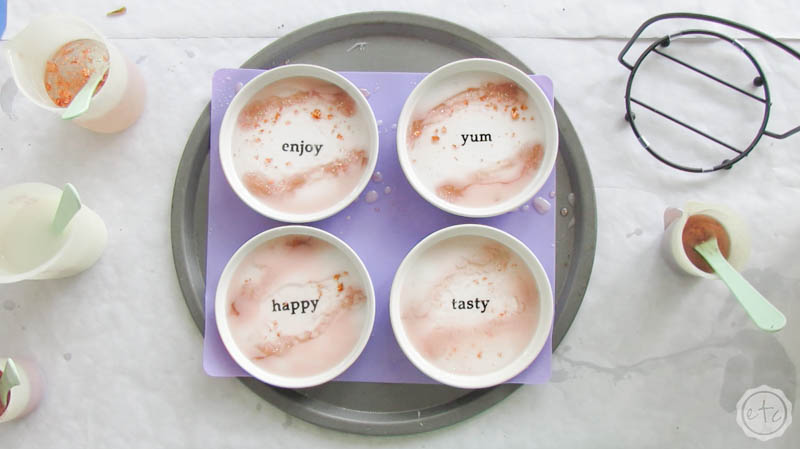
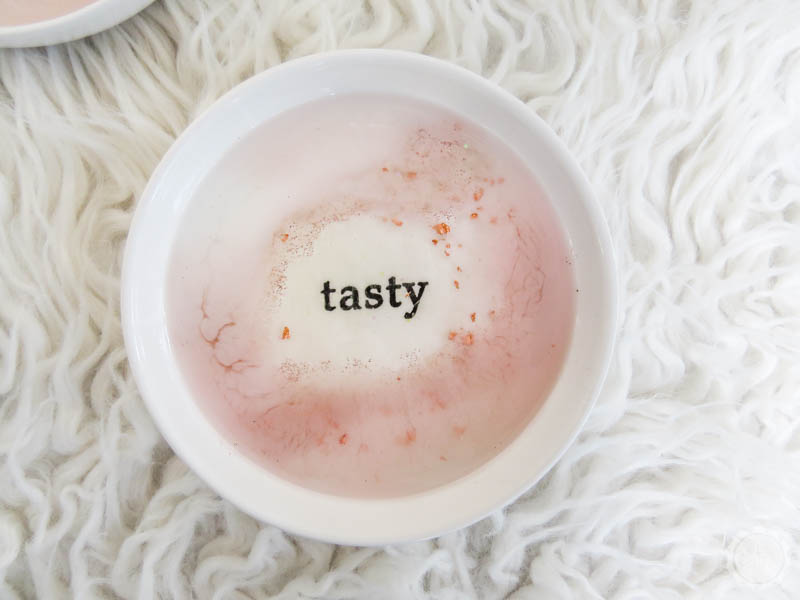
Now that our resin is mixed we want to use it quickly before it cures in our cups! Start by pouring your white, blush and clear/rose gold flakes into each coaster.
You’ll want to pour these colors in a geode like pattern, allowing for larger stripes of one color and smaller stripes of another. Typically I’ll add one color to the bottom and top then add the other two colors in between. Since these little guys had words in the middle I also tried to leave the darker colors (like the blush) for the outside stripes so that you could still read the words.
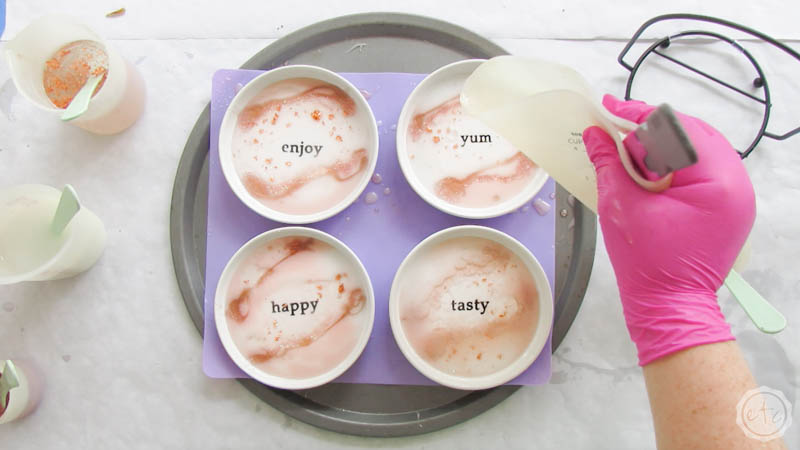
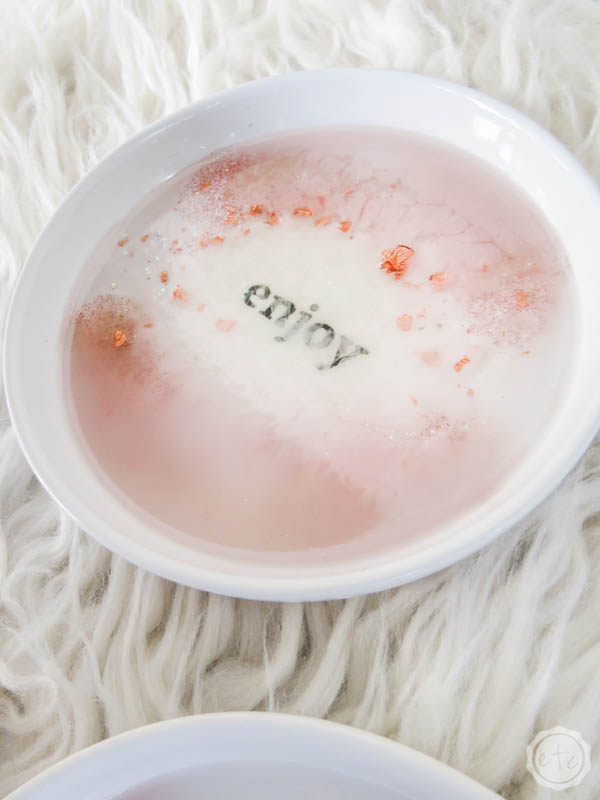
Once you’ve added in all of your basic colors you can come back and add a bit of copper and rose gold glitter to the areas where the colors intersect. Pinch the silicone cup so that you can’t glob the resin in one spot but instead form tiny thin stripes across the entire piece… we’re trying to imitate veins in a geode here so we don’t want these too thick!
You can see below how the process of this works… remember there’s no wrong way to add your resin! At the end of the day it will be beautiful!


Step 3: Flood the Center of Each Coaster
Now it’s time for the magic.
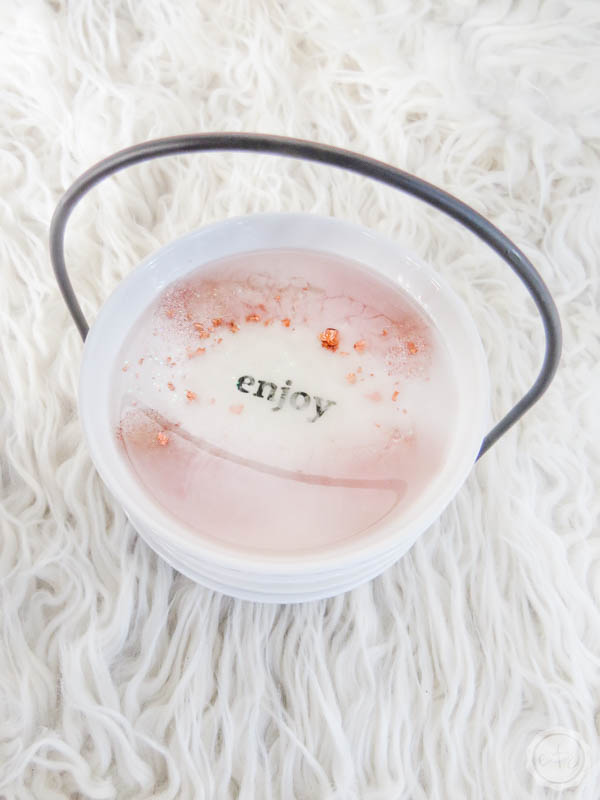
Once all of your actual colors are in place grab your clear resin and carefully flood the center of each coaster. If you’re confused don’t worry… it’s really very simple.
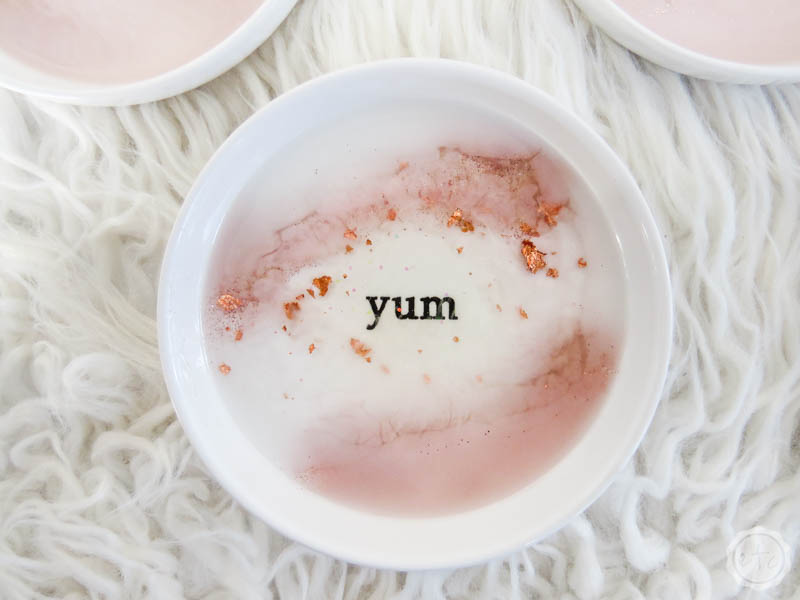
Take your clear resin and add about 20ml to the middle of each coaster, directly over the word. This will push the colored resin away from the word so that you can read it but it will also create a little depth to the layers… you can get some really cool effects with the mixing resin using this technique!

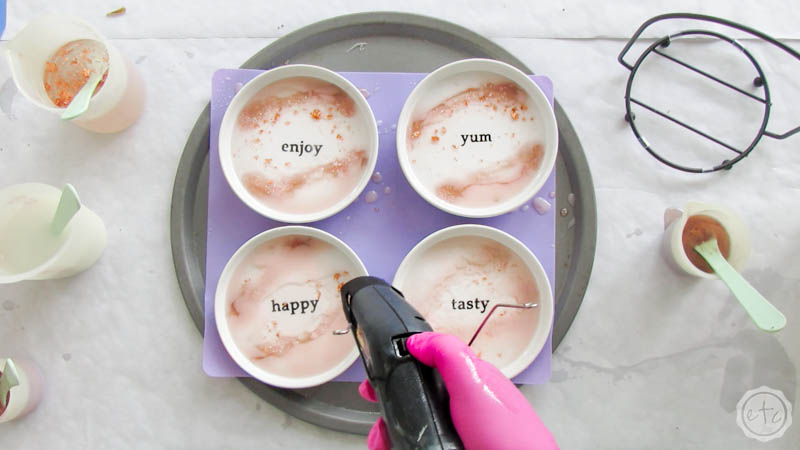
Step 4: Pop any Bubbles!
Now all that’s left is to grab your heat gun and pop any bubbles! Turn that baby to hot and pass it over the surface of each coaster… you’ll notice the bubbles popping with each pass.
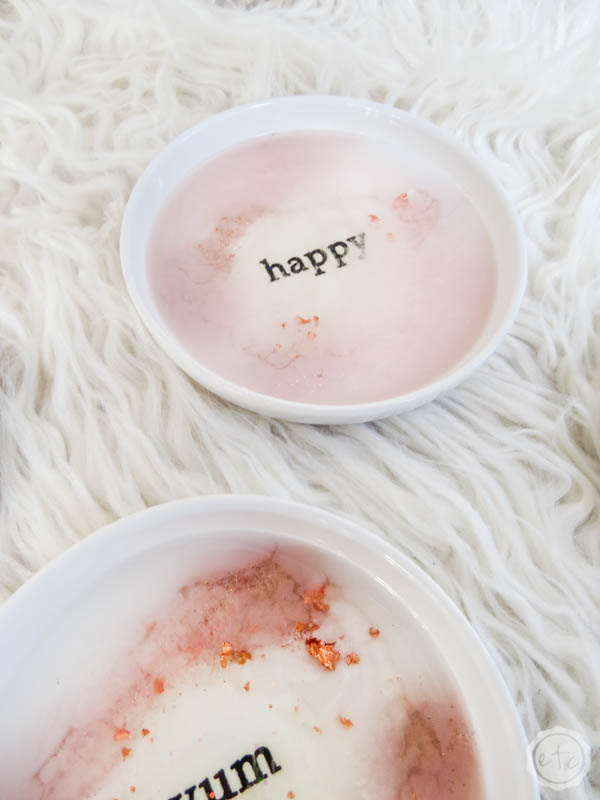
Of course, this has the added effect of blending the colors together and kind of blurring the lines which looks a-m-a-zing.
Once you’re finished with the heat gun you’re done! You can use a q-tip (or your glove) to clean up any drips of resin on the exposed portion of the coaster and then cover these babies up to dry.
You don’t want any hair or dust to fall in them when they’re curing after all!
Set them aside in a cool, room temperature place and let them sit for about 24 hours. Then you can take a peek!

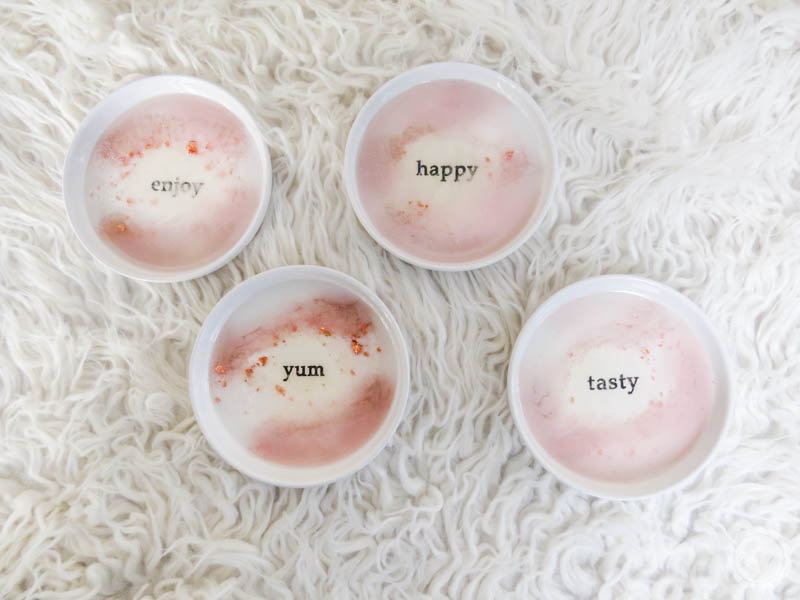
Ready to see how absolutley adorable these turned out!? I am OBSESSED!
They make the cutest coasters and while I know they were originally suppose to be small dishes I love that they are big enough to hold a large mug with actual sides to keep in condensation on my diet coke can.
Although after 7 days the resin is food safe so I suppose if you want to use them for small dishes you can (just don’t put them in the microwave or dishwasher!).
Ready for the pretty finished shots? Check this out!


Looking for more resin projects? I’ve got you covered!


Leave a Reply