
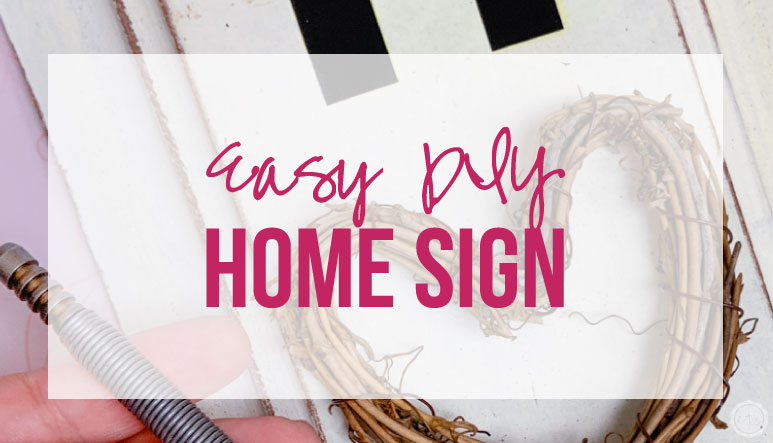


Okay guys I need a easy-o-meter for this post… because it literally took me five minutes to complete. Which is absolutely crazy! This little sign is perfect to add in to your gallery wall or even decorate a dresser.
Ready to get started?
Supplies:
- Cricut SVG Files (FREE at the bottom of this post)
- Cricut Maker
- Fine-Point Cutting Blade
- Standard Cutting Mat (that’s the green one! Even though I used the fabric mat for this project)
- Cricut Easy Press Mini
- Black Iron On Vinyl
- Wooden Sign
- Small Heart Wreath (this is the one I used)
- Small Nail
- Hammer
- Spring Nail Setter
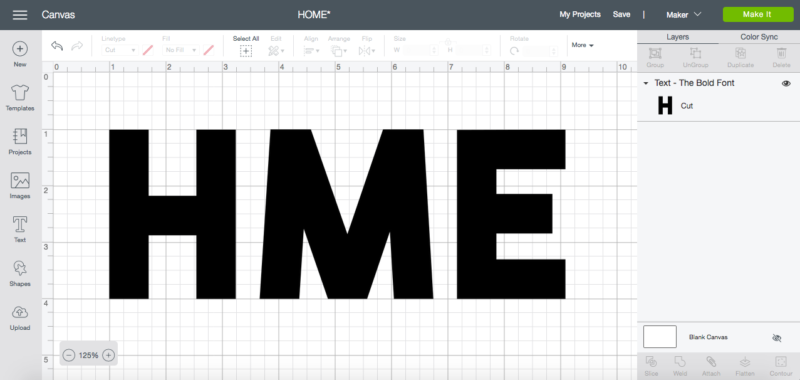
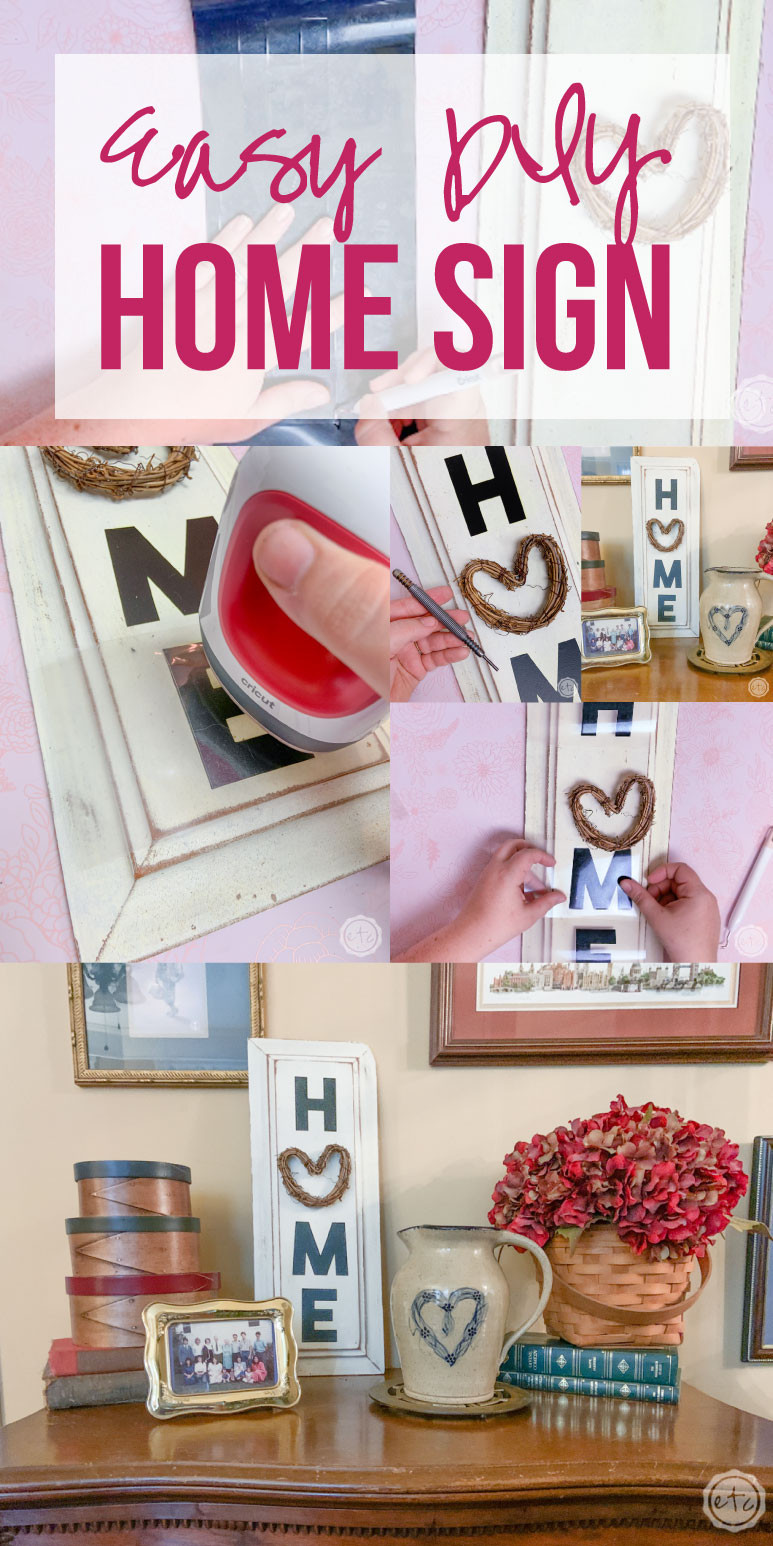
Step 1: Cut Your Letters
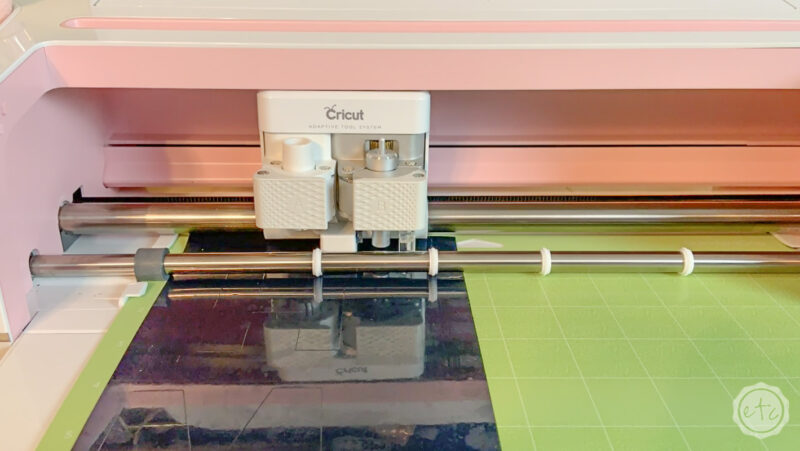
Ready to get started? Go ahead and load your cricut mat with a bit of black iron-on… make sure it’s shiny side down so that your letters will cut properly!
Since we’re only cutting out 3 letters I simply wrote them out on my canvas in Cricut Design Space. I used “the bold font” if you’d like to download the same one I used. Once you have H M E on your canvas go ahead and make each letter 3 inches tall to match your little heart wreath.
Make sure to hit “mirror” and then hit go! Easy peezy!
Step 2: Weed and Place Your Design
Once you have your letters cut out go ahead and weed the design. The letters for this little project are so big you really only need the weeding tool to get started… then you can use your fingers to pull the rest of the negative iron-on right off!
Once you have your letters ready to rock go ahead and cut them apart so that you can place them on your sign. Line them up so that they’re centered and make sure to leave space for the heart.
Now we’re ready to heat these babies up!

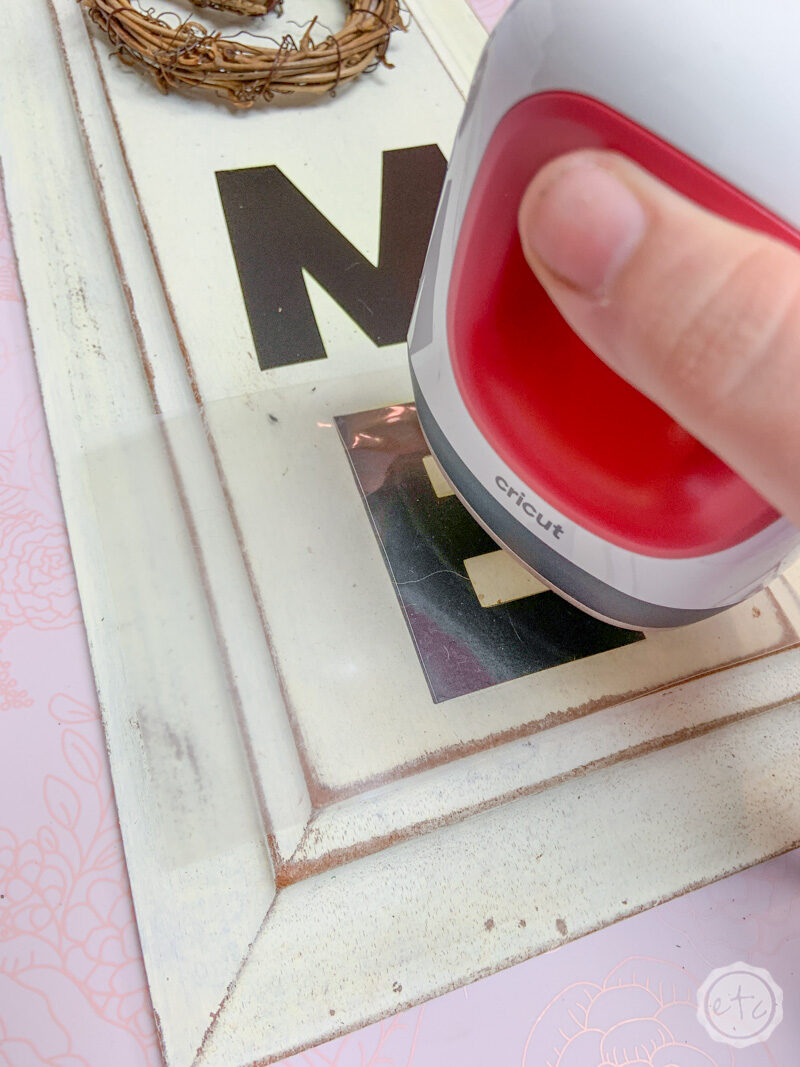
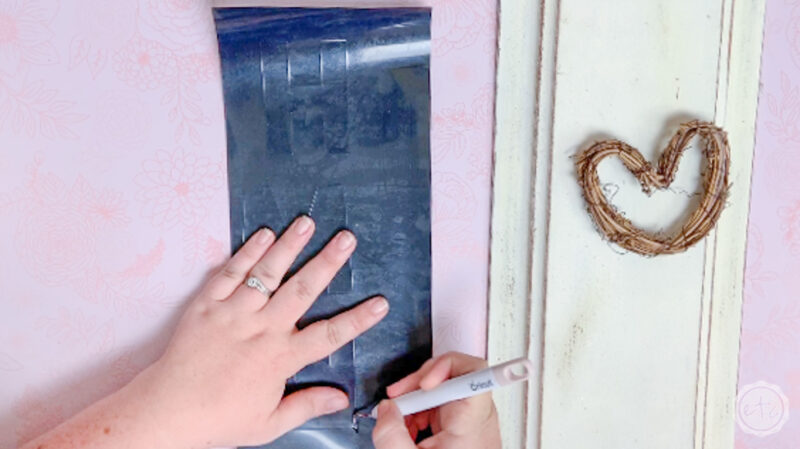
Step 3: Iron On Your Letters
This little sign is pretty little so I went ahead and pulled out my mini easy press. It was the perfect solution to adding each of the letters to my wooden sign.
I turned my little easy press up to the third heat setting and let it warm up. Then I went over each letter for about 6 seconds.
I have had wooden signs that require a full 30 seconds of heating before the iron on is bonded and this little set of wooden tags for the front door took a few minutes before I could move on (that was with my household iron instead of the easy press!).
My point is that depending on your wood you may need to heat each letter longer… simply peel up a corner of the protective covering and check. If your letters are bonded you’re good to go… if they’re still stuck to the protective covering they need more heat and pressure.
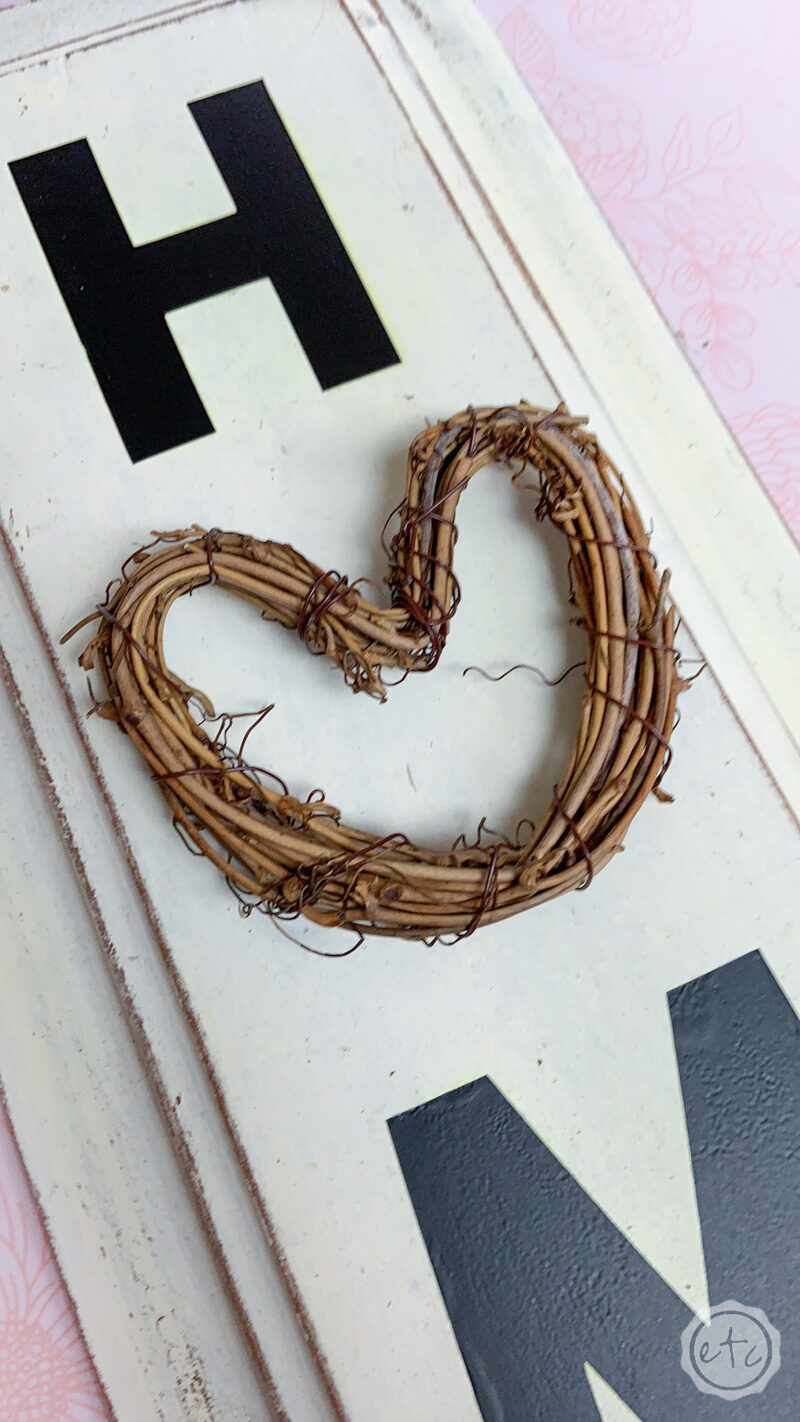
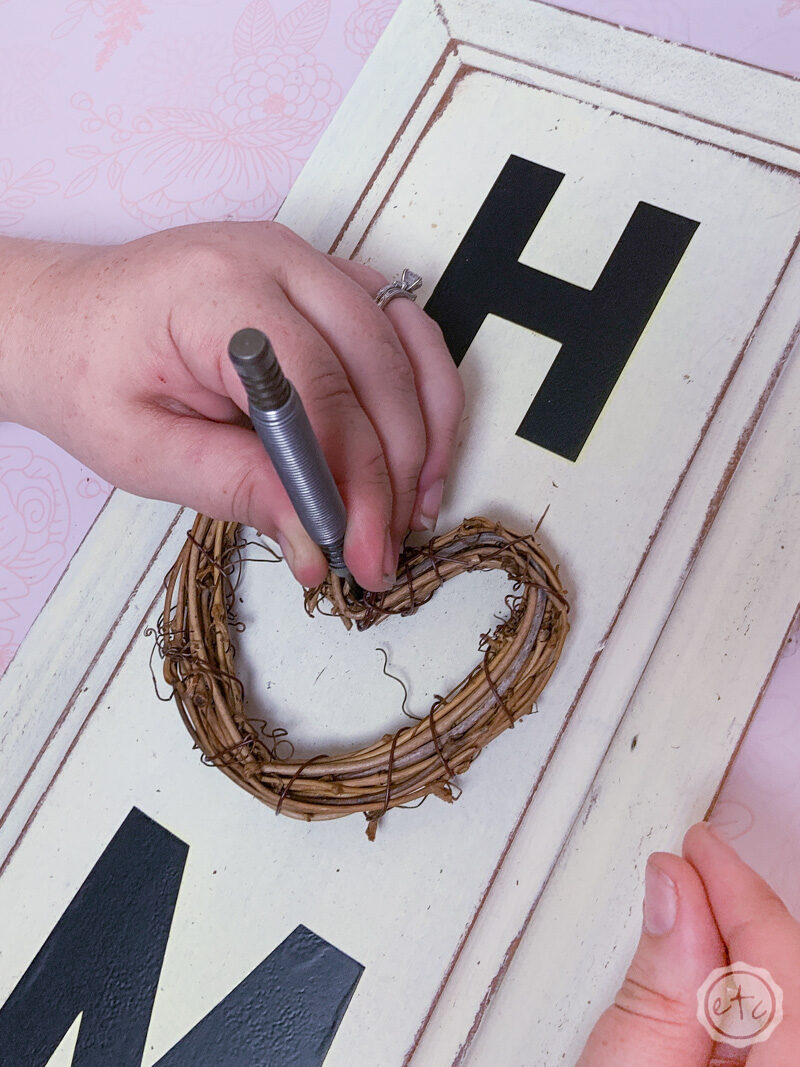
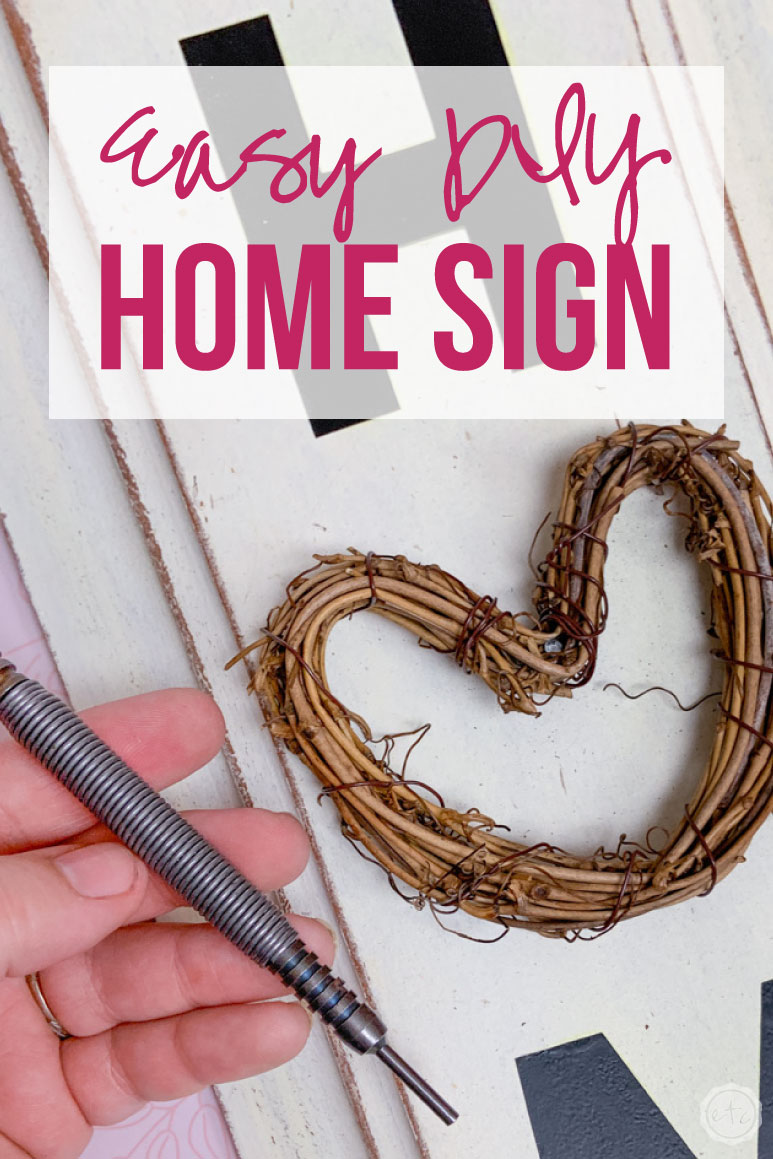
Step 4: Attach Your Wreath
Now that our letters are in place it’s time to secure our wreath! I decided to use a small nail so that this little baby would be nice and safe.
Before you nail this baby in place make sure to place your wreath on the board so that you know exactly where you want it. Then use a regular hammer to nail the small nail in all the way through the wooden wreath.
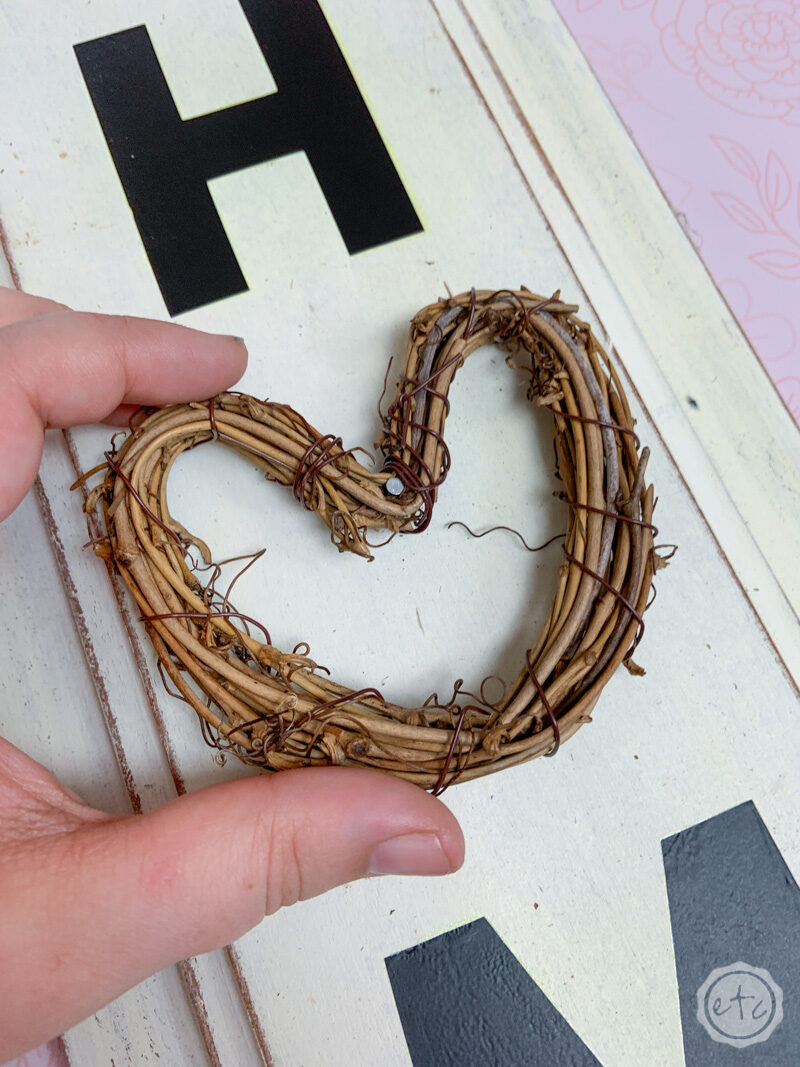
Technically you could be done at this point but I really wanted that little nail to be hidden in the wreath so that it wouldn’t be visable.
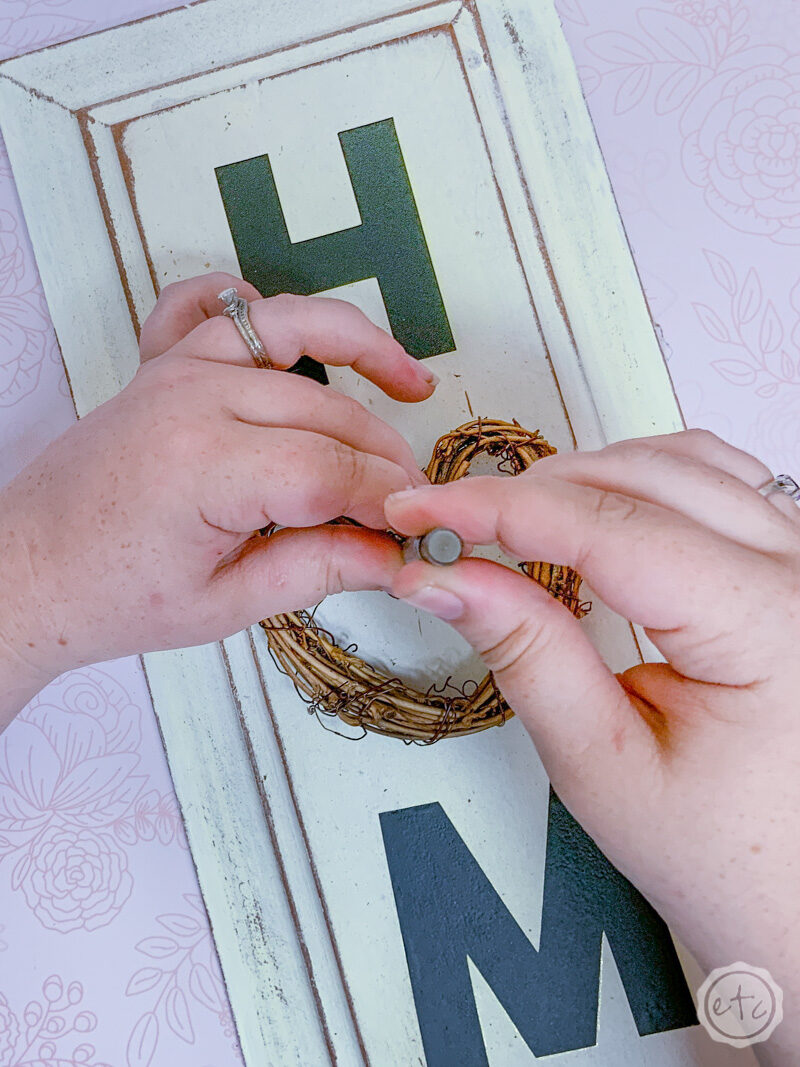
I grabbed my little nail setting tool and hit the nail a few times so that it was actually inside the wreath… much better!
If you haven’t used a nail setter before it’s super easy. You simply place it on the nail, hold the bottom in place and pull back the spring portion on the top… when you release the spring it hits the bottom portion into the nail just like a hammer would.
So that you can really target little nails in tight spaces!

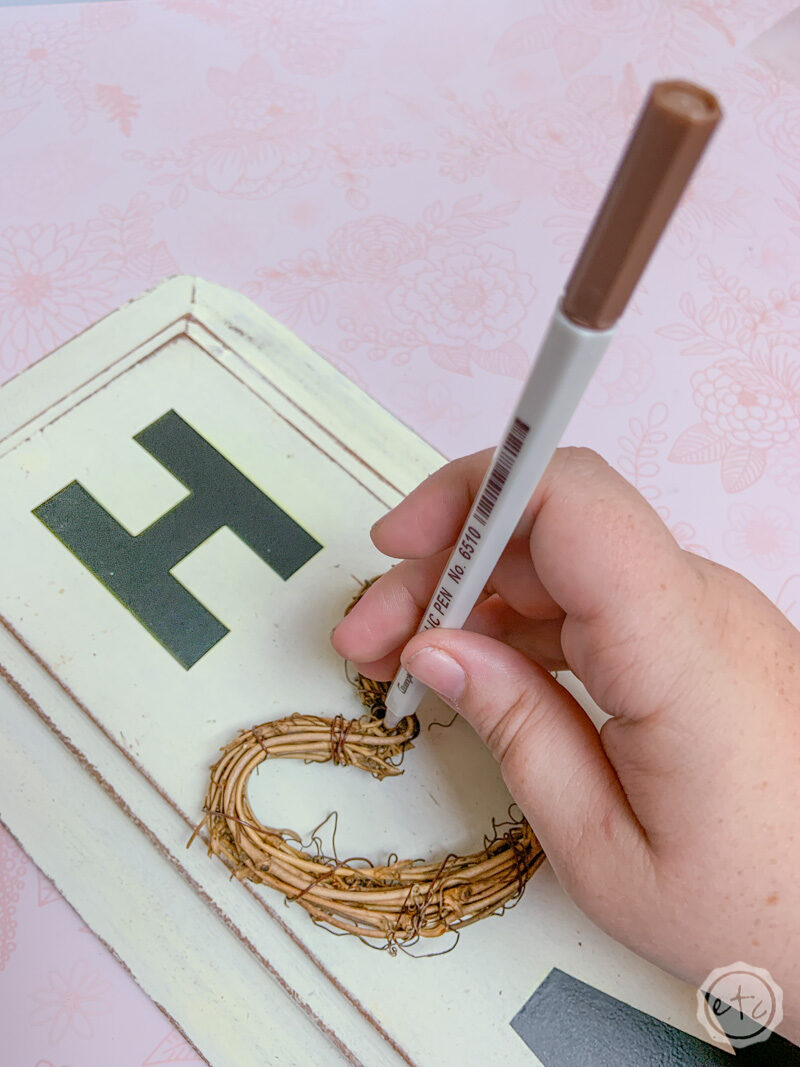
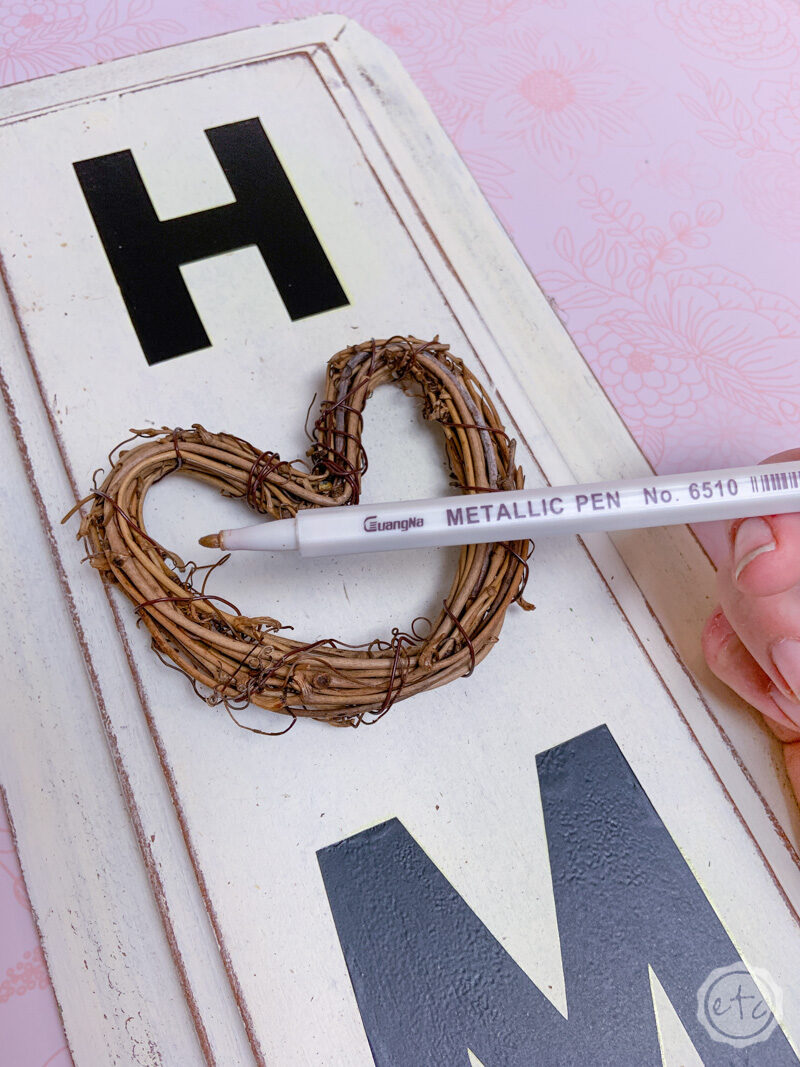
Now all that’s left is coloring your little nail head to match the wreath! I didn’t have a brown marker so I grabbed this dark gold from my calligraphy tools and it was a perfect match.
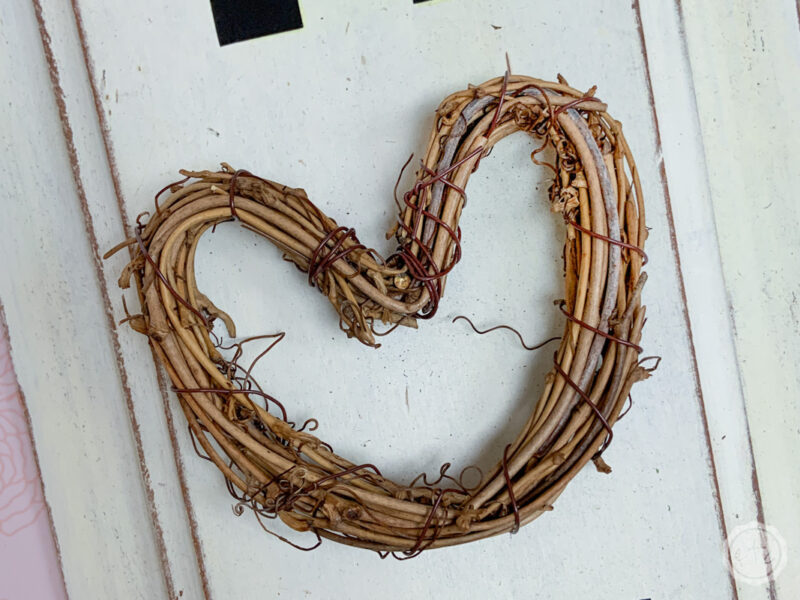
Much better!
Step 5: ENJOY!
That’s it! This little sign was so quick and easy to make… and you could easily switch out that little wreath for a shamrock for st. patrick’s day or a Christmas tree in December!
I love it!
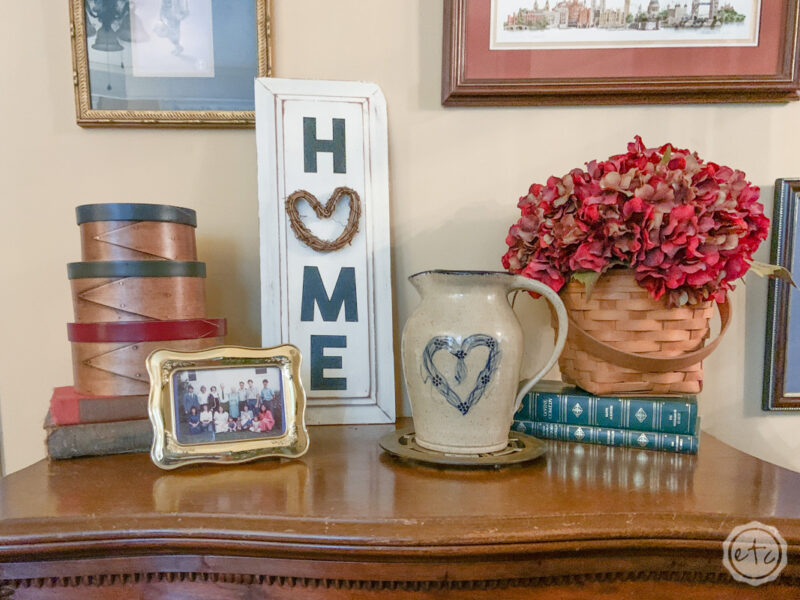
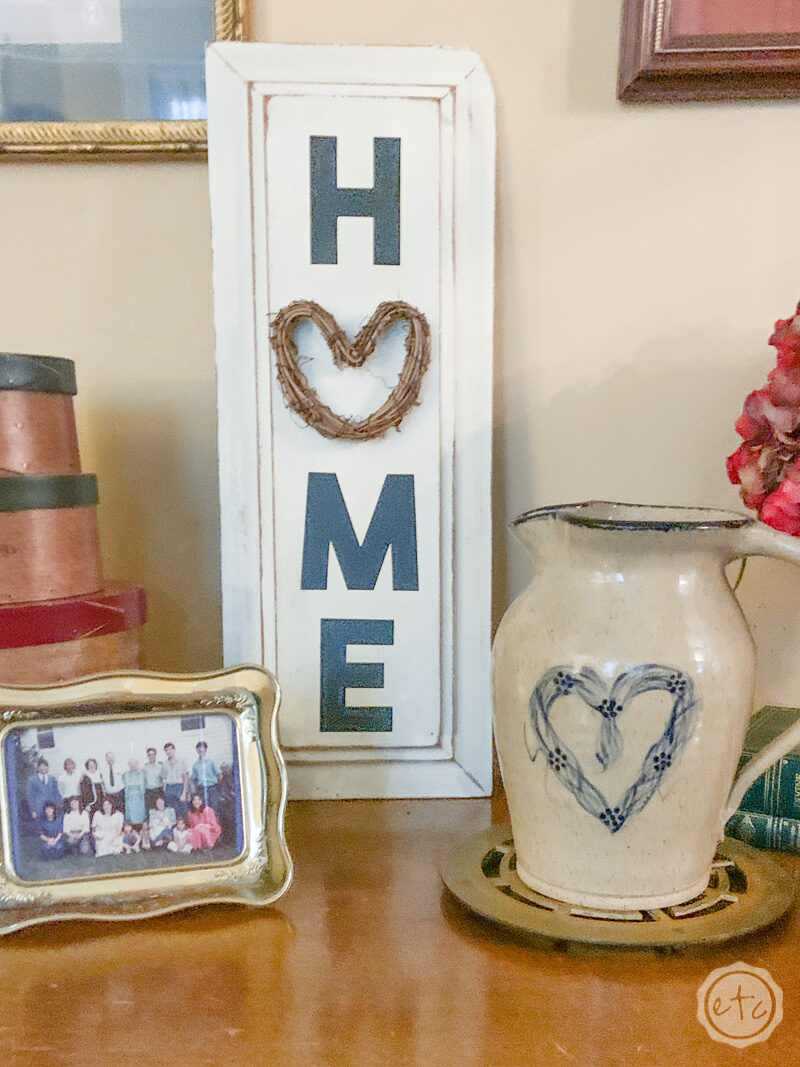
My mom has already stolen it so I had to grab a few pictures in her living room… it fits in perfect with her decor.
The perfect addition to her gallery wall!

Ready for even more wall decor ideas?
Check out a few of my blog friends projects here in this months At Home DIY Blog Hop!


Leave a Reply