
This may be the easiest (and cutest!) holiday project I’ve ever shared! I think it took a grand total of 10 minutes from start to finish… and that included cleaning my window and making the bow!
Either way if you’re looking for a cute bit of decor for your porch this is such a cute outdoor decor project. Which is perfect since it’s my project for week three of the Deck the Home Blog Hop! Week one was door decor and last week we worked on wooden projects while this week you’ll find fun outdoor decor pieces!
If you love this little antique window project don’t forget to scroll to the bottom and check out the entire list of holiday decor projects from all 26 bloggers.
That’s a lot of projects!
Let’s get started!
Supplies:
Antique Window
All Purpose Cleaner
Paper Towels
Large Bow (or Ribbon and Wire!)
Nail
Hammer
Floral Spray

Step 1: Clean Your Window!
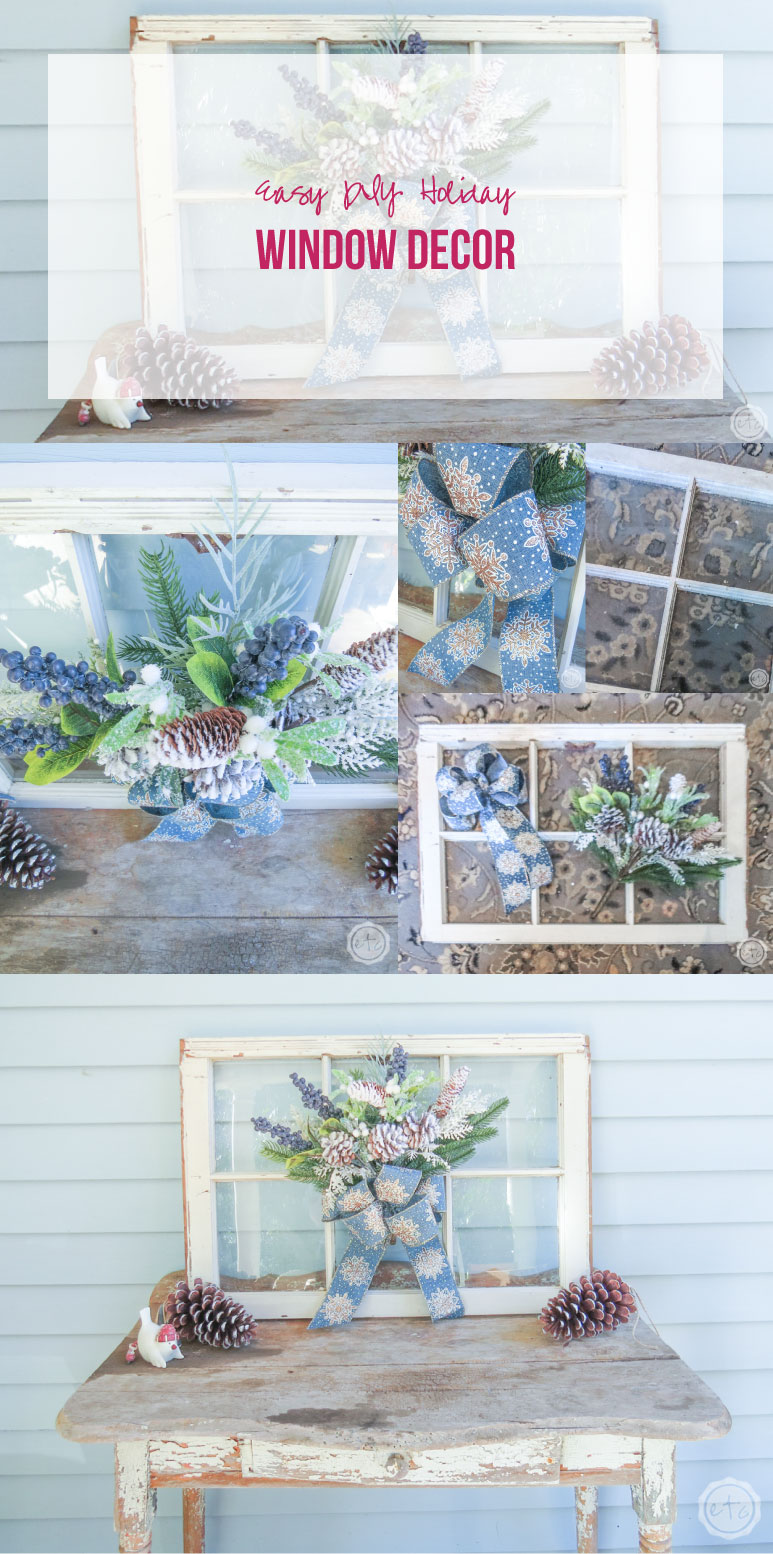
If you’re working with an antique window the very first step is to sit down and clean that baby up! This window is so cute but it was covered with years of dust and grime.
A bit of all purpose cleaner and a few paper towels is the perfect solution. Roll up your sleeves and pull out the elbow grease to make sure those window panes shine. Make sure to hit both sides so that your window is clear all the way through!
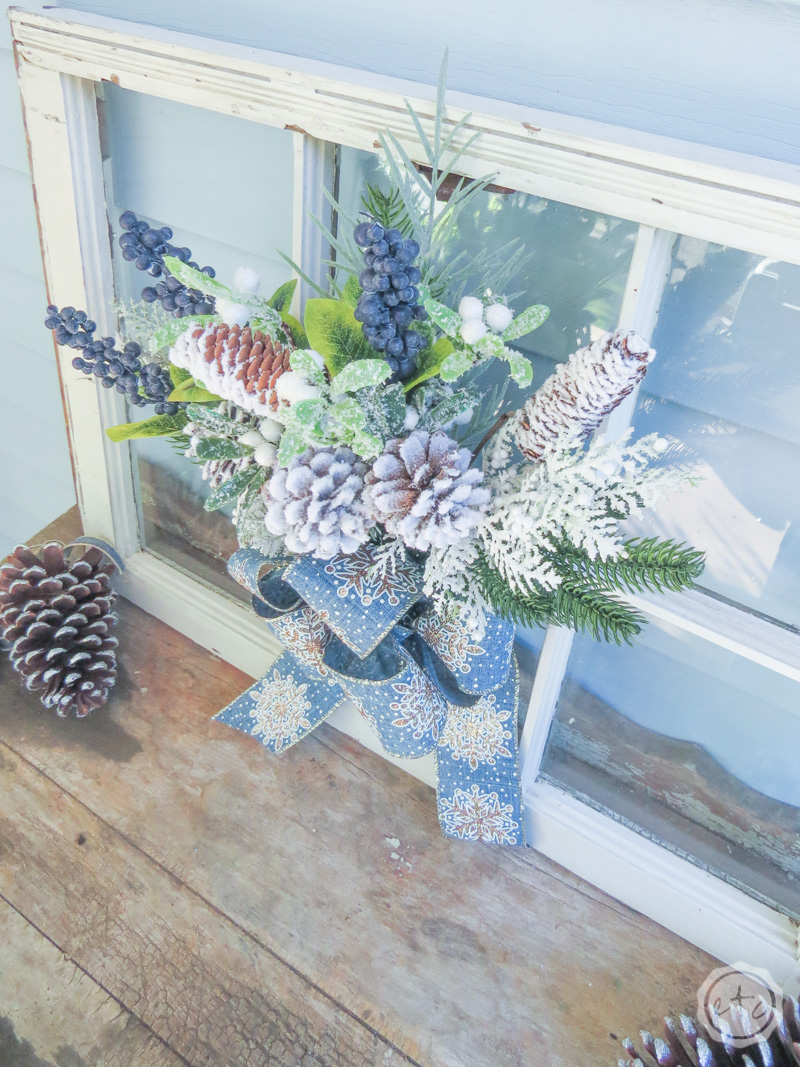
Step 2: Make Your Bow
If you bought a pre-made bow you can skip this step but with a blue floral spray I really wanted a blue ribbon to match! So I scoured the racks for a blue ribbon I loved and struck out at several stores before finding this blue and rose gold ribbon at Home Depot… imagine that!
I never would have thought to look for ribbon at a hardware store.
This little bow is super easy to make just loop your ribbon around and around and around securing it in the middle with a bit of wire. If you’d like a tutorial make sure to comment at the bottom and I’ll whip one up for you!
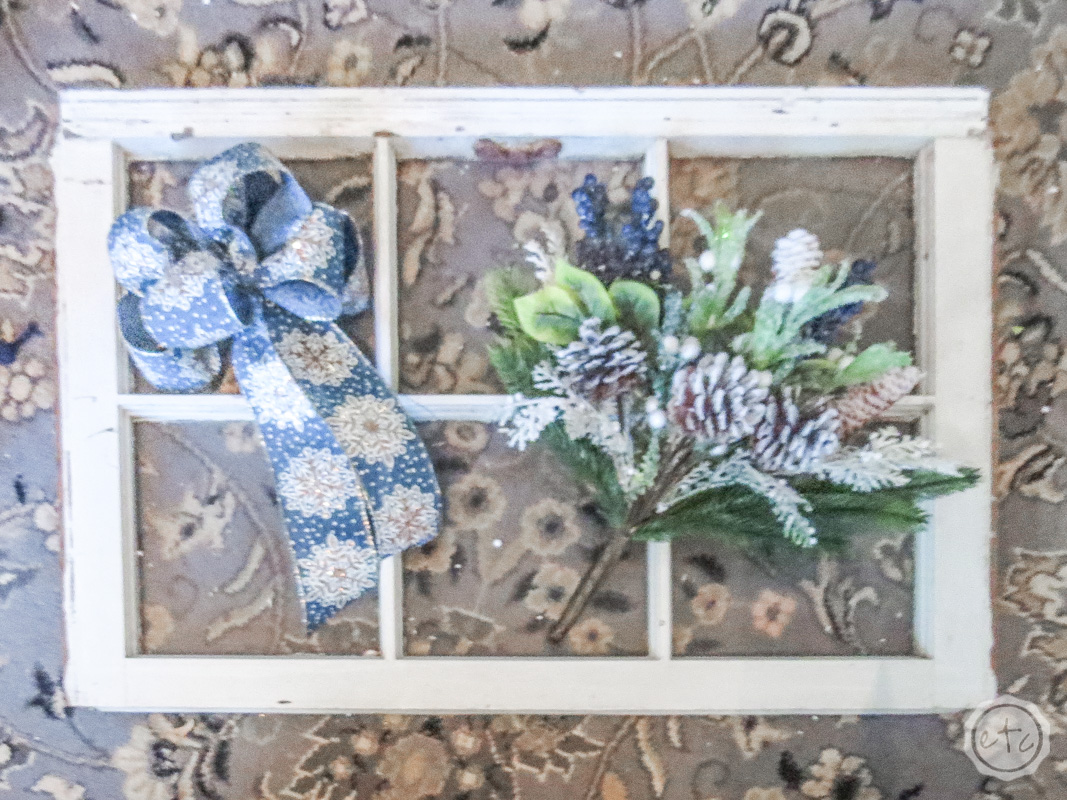
Step 3: Attach your Bow to Your Floral Spray
Once you have a beautiful bow take your wire and wrap it around your floral spray! Make sure to tie it tight so that the two pieces are married together.
Once these two little pieces are attached it’s time to place them on our window… and we need a bit of a hanger in order to do that. I figured the bit of wire from our bow was the perfect solution! Once the bow was secured I simply looped the wire around itself until I had a small circle that I can use to hang this whole thing on our window!
Just make sure your loop is small enough that the floral spray won’t hang too far down… but that your loop is large enough to clear the middle fretwork on your window.

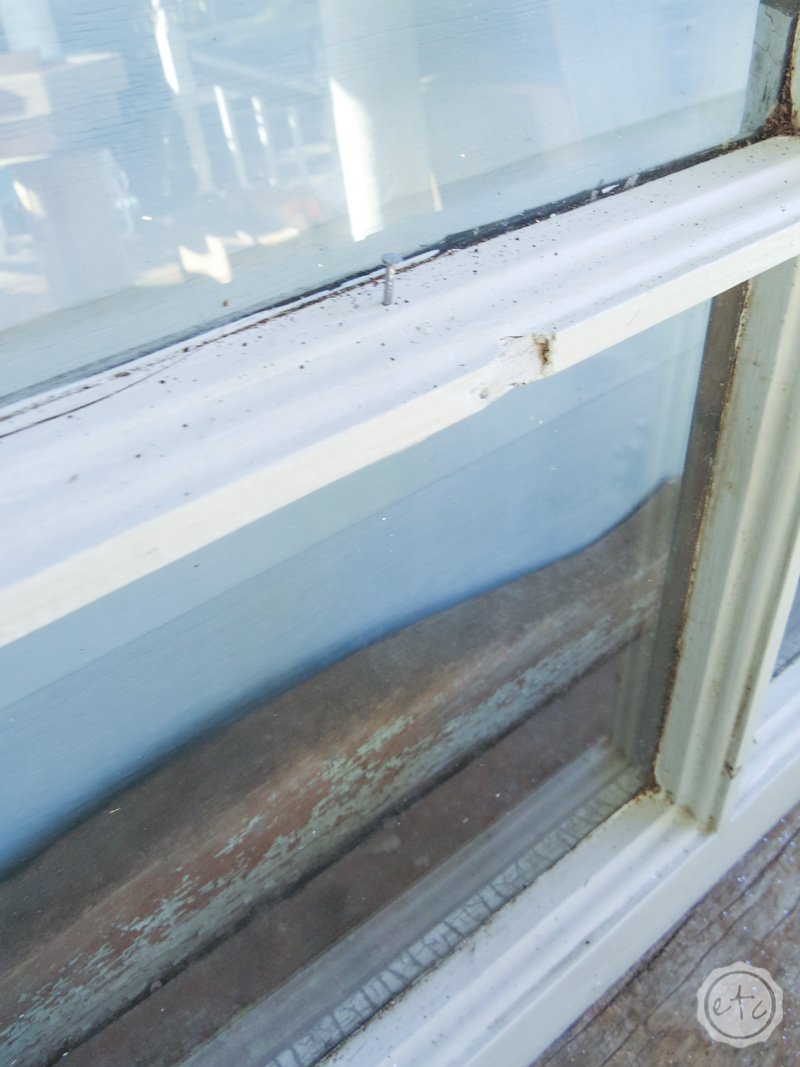
Step 4: Add a Small Nail
We are one small step away from done! Now that our floral spray is ready to go we need something to hang it on.
If your fretwork in the middle is wide enough and sturdy enough (which mine is) adding a small nail is the perfect solution! Make sure to add it slowly since we’re working with an antique window and large swings with the hammer may result in cracks!
With only one nail your swag may rotate a bit so if you’d like it to be a bit more secure you can add additional nails and even additional wire!
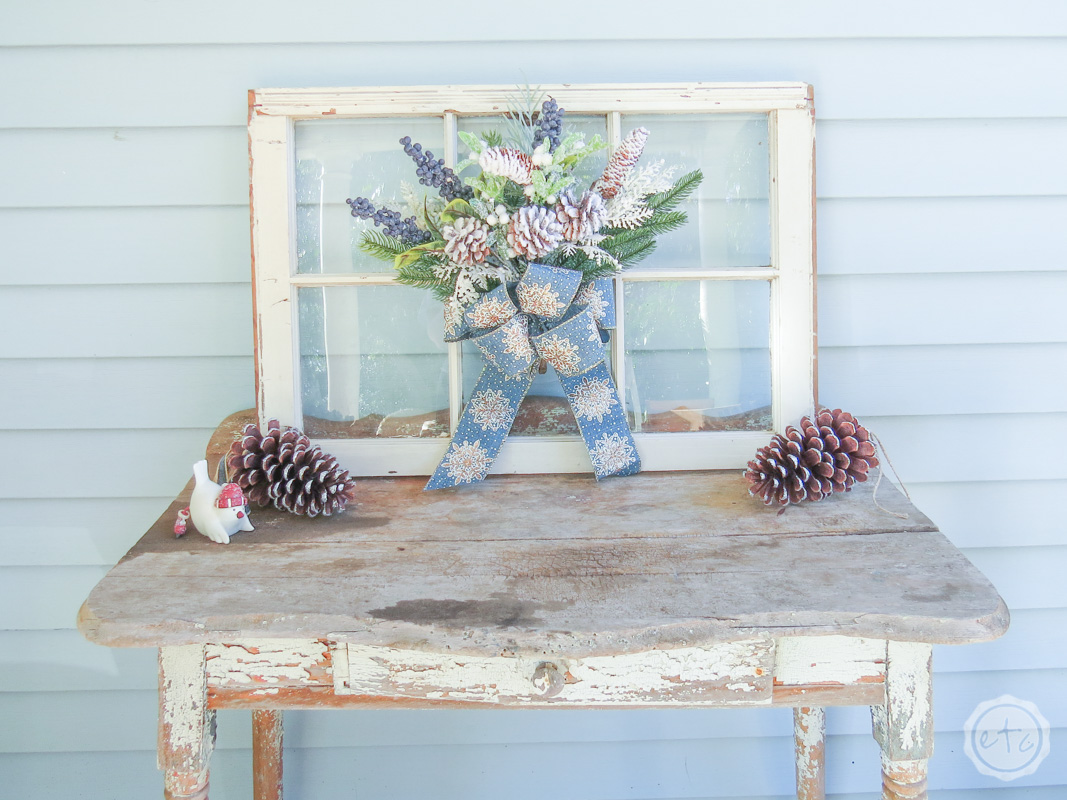
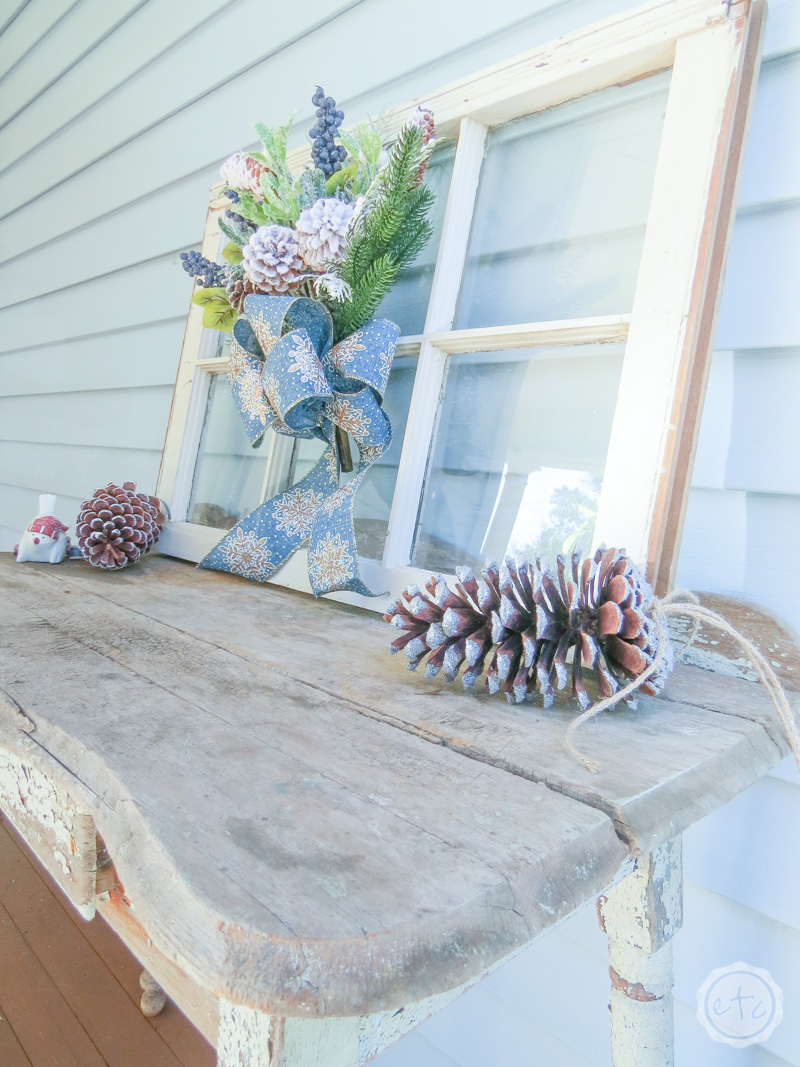
Step 5: Enjoy!
That’s it! Wasn’t this the quickest project e.v.e.r?
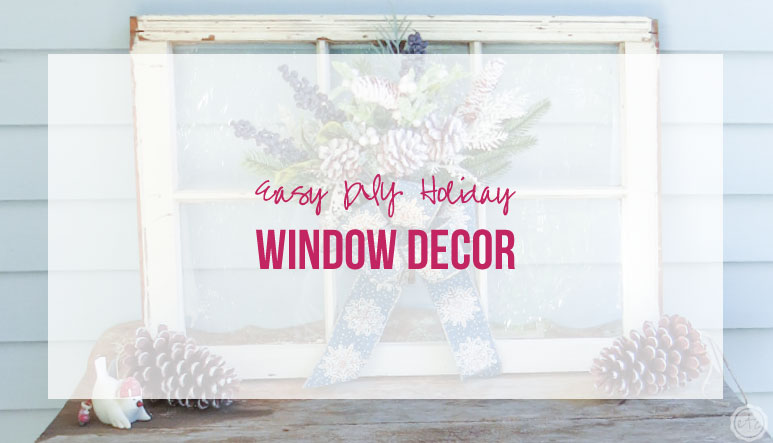
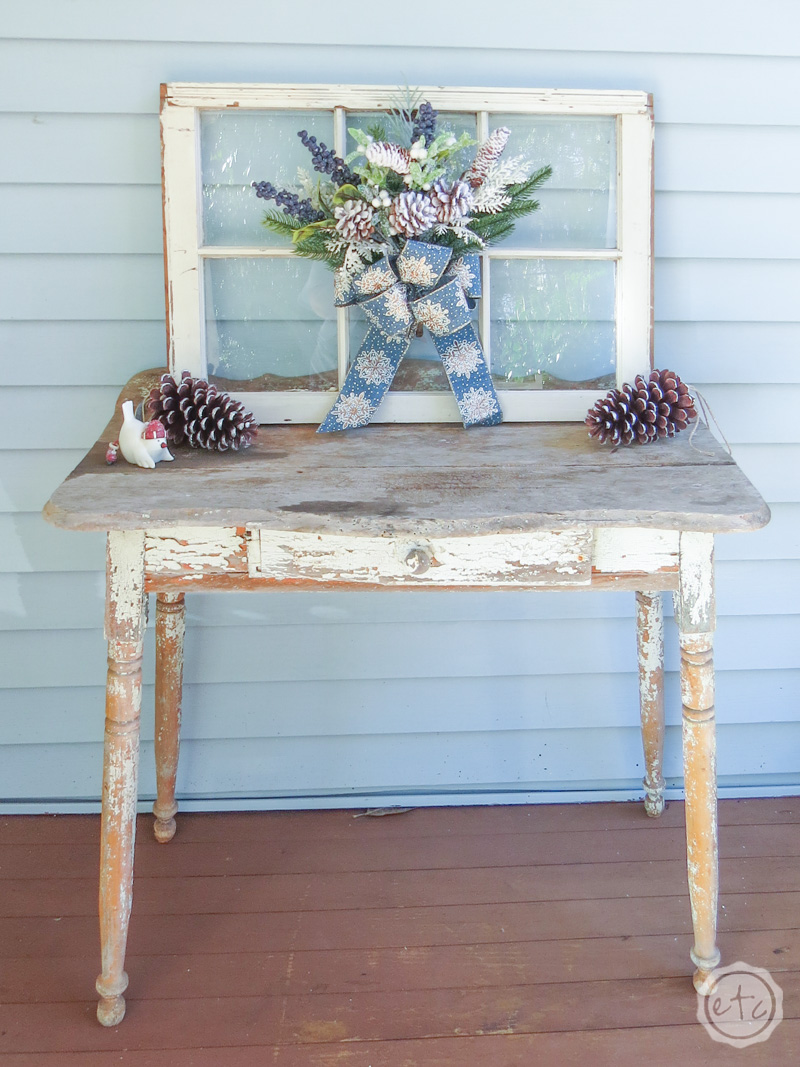
I placed mine outside on a small desk… it looks so cute! Of course, styling this particular desk is always fun for me since it belonged to my Great Grandfather. It was actually his desk in college and then he put it outside in his dog pen to hold dog food… silly man!
My mama rescued it and now it lives on the front porch where I can put cute decorations on it!


Of course, I’m not alone whipping up cute outdoor holiday projects! Don’t forget the 25 other bloggers I’ve teamed up with to bring you all kinds of fun outdoor holiday decor projects! We’ll have different holiday goodness for you every Sunday for the next TWO weeks. That’s a total of five weeks of fun projects!
So here’s a few more outdoor projects to tackle if you’re looking for inspiration!
Have fun looking through all of the projects… and don’t forget to pin this fun holiday window for later!