


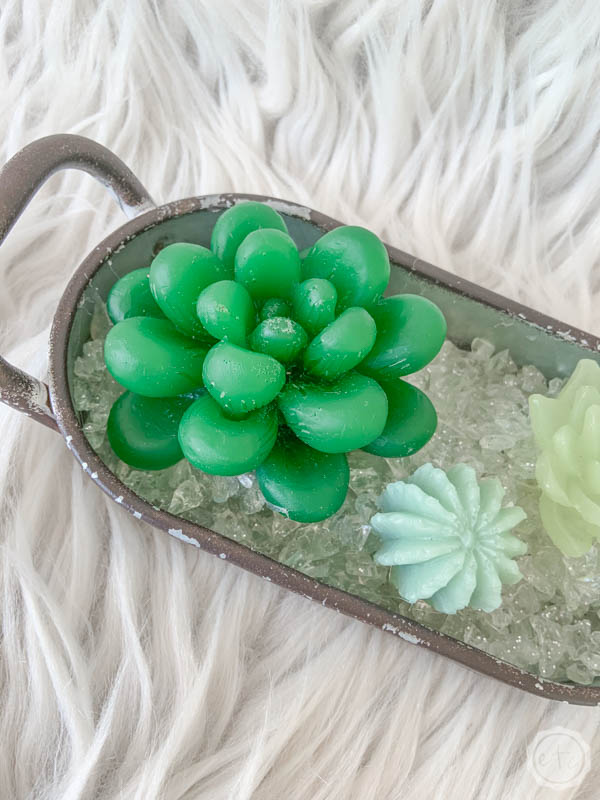
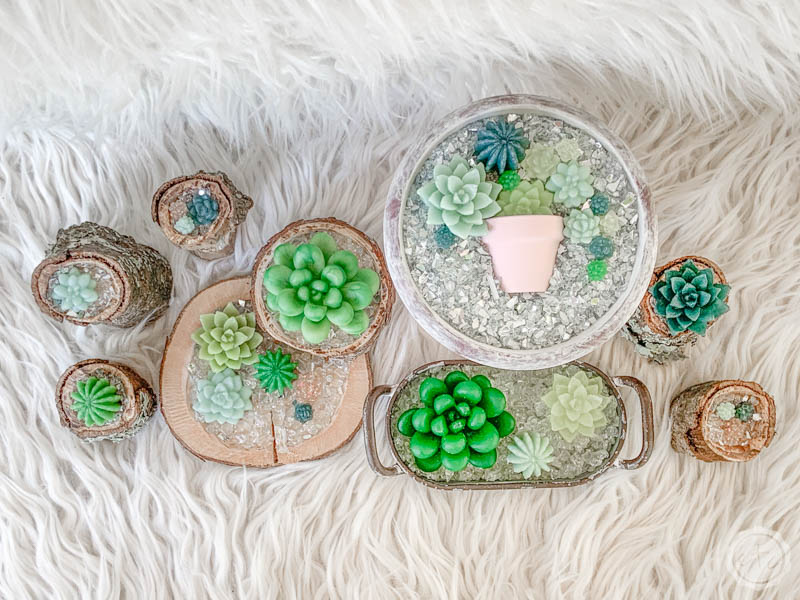
I’m back with ANOTHER adorable resin succulent project! The problem with resin succulents is you can’t make just one… and soon you’ll have a million little resin succulents (or at least an entire little plastic container full!). Since we’ve already made an entire forest of little succulent trees and an adorable little potted succulent garden it’s time to go in the opposite direction and put together a simple succulent container garden.
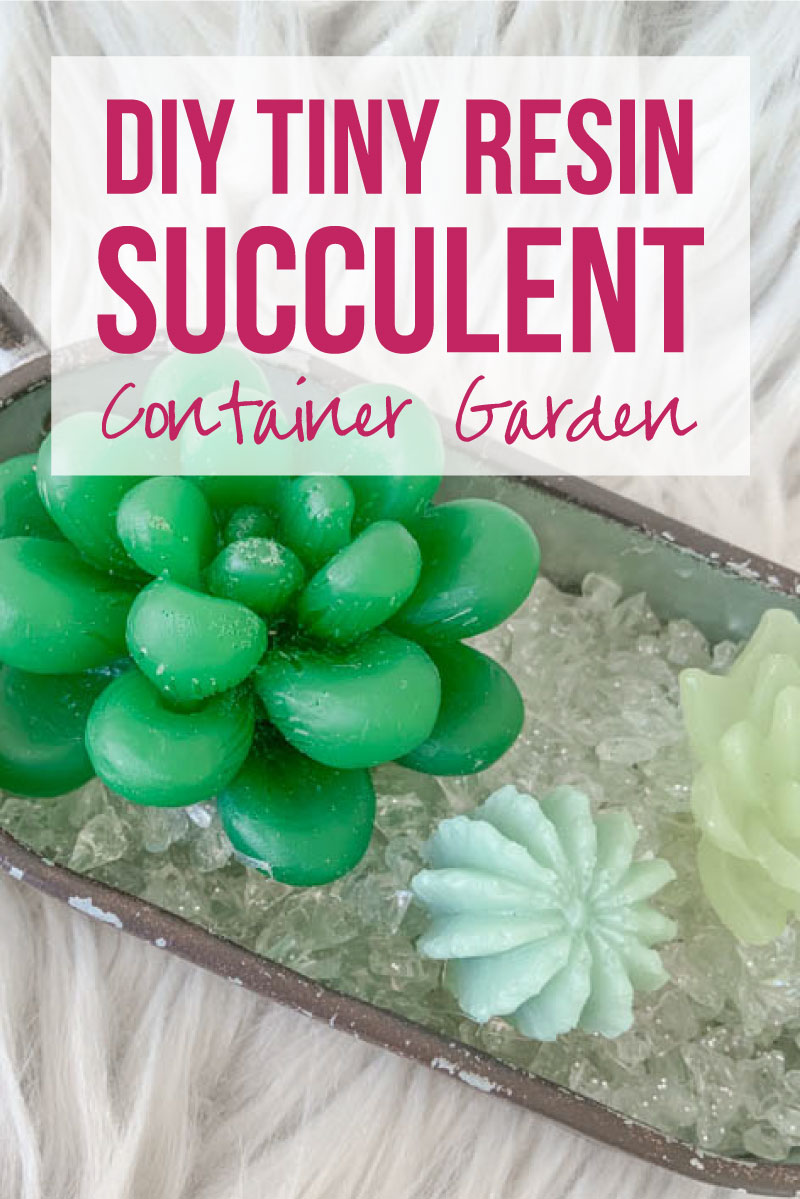
This little guy has a little galvanized container and a few adorable little succulents… just enough to put on a desk or shelf!
Ready to get started?
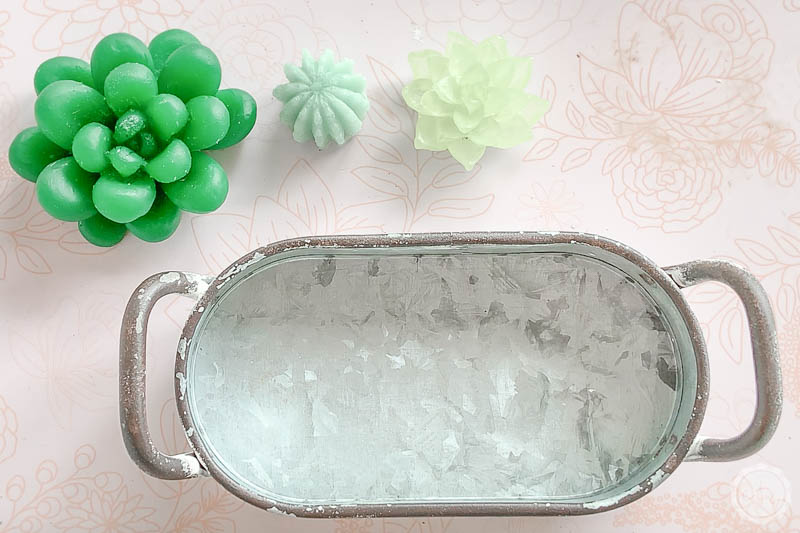
Supplies:
- Resin Succulents (Follow this Tutorial)
- Small Galvanized Container
- Hot Glue Gun
- Hot Glue
- Small Clear Stones
Easy Resin Succulent Container Garden
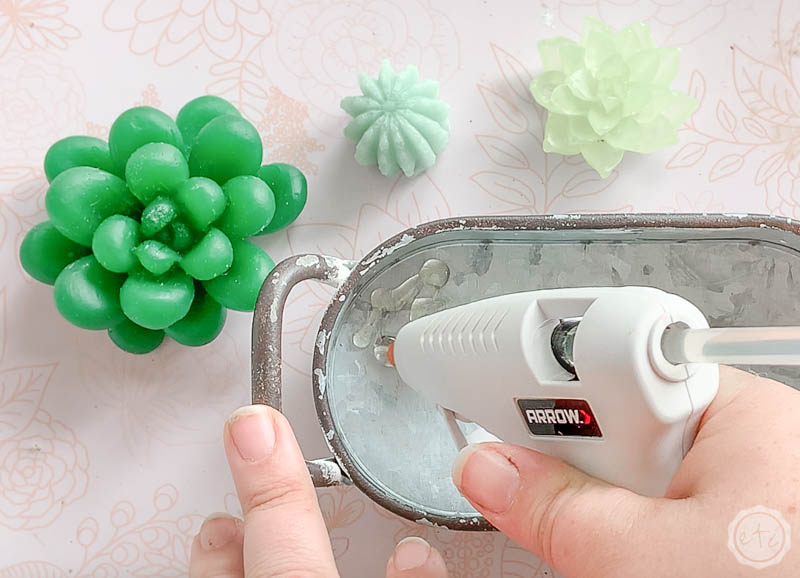
Step 1: Hot Glue Small Rocks
Fire up those glue guns ladies… we have an entire layer of small rocks to hot glue into place. Start by adding hot glue to one area and then firmly press the small rocks into the glue before it dries.
I find that it’s easiest to simply shake a bunch of rocks into the glue, press them down, and then shake out any that didn’t get glued in.
Then repeat!
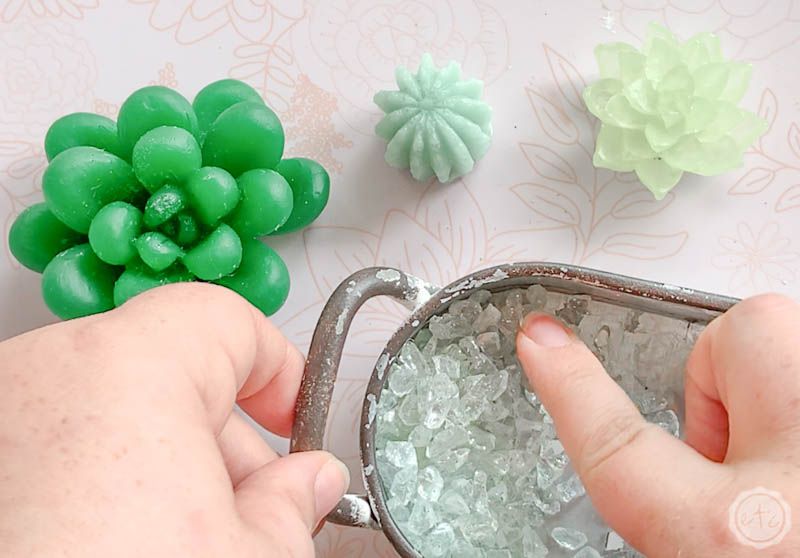
You want to add a layer of rocks across the entire base, making sure that they are glued securely in place. As long as you’re pressing the rocks into place (and not the hot glue!) your fingers should be safe from burning. BUT let’s be honest… pressing small sharp rocks over and over isn’t exactly a tiny finger massage.
So if your fingers start to hurt (or you just don’t want to risk it) you can use a tiny silicone stir stick (or something similar) to press the rocks into place. It’s easier to feel all the rocks if you use your fingers but the stir stick works too!
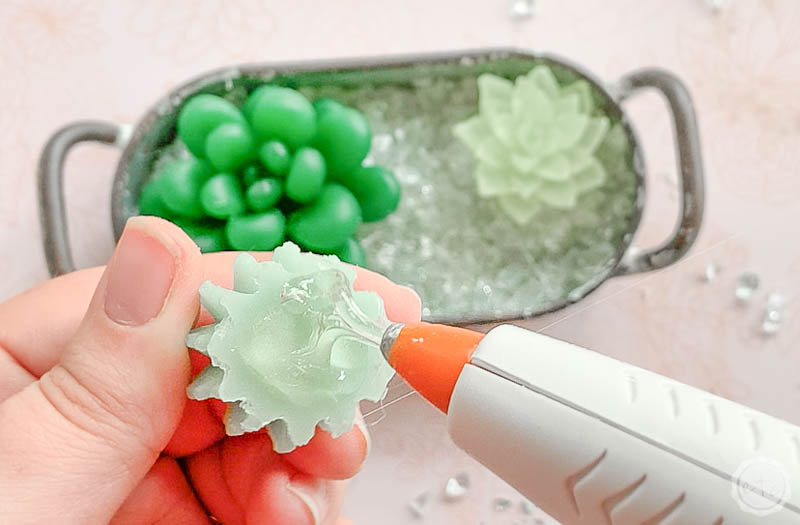
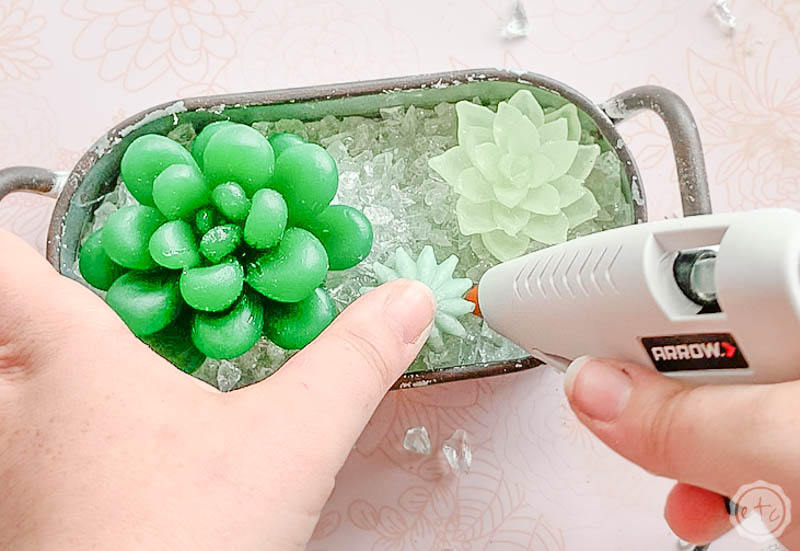
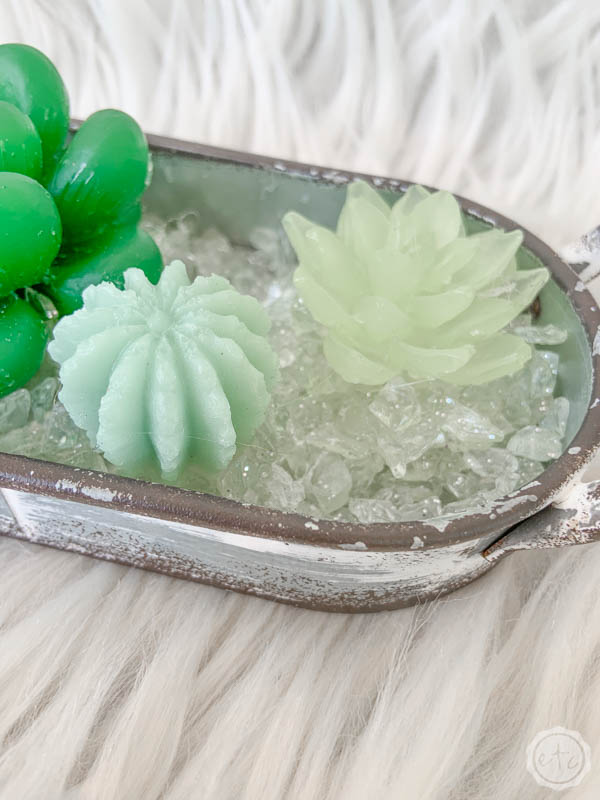
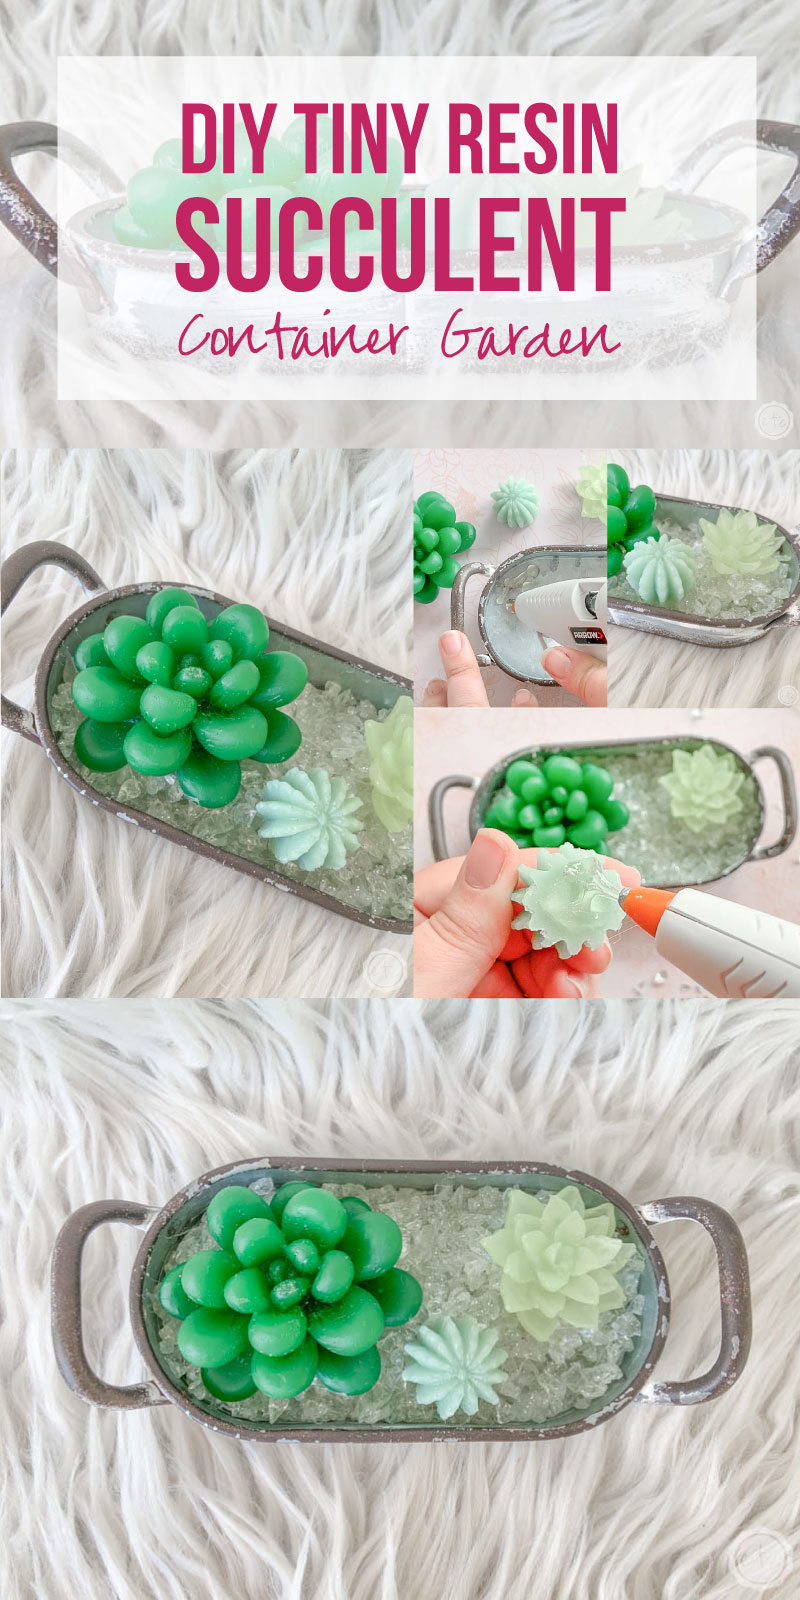
Step 2: Glue your Succulents into Place
Now that you have a layer of rocks in place it’s time to add your succulents! Make sure to place each one in without glue to make sure that they fit properly and that you like the arrangement!
Once you’re happy with the placement you can pick each one up, add hot glue to the back and glue it into place.
Press it down firmly until the glue dries… and you can add a little hot glue around the edges if you need a little something extra to hold each piece in place!
Just make sure to cover any exposed hot glue with extra rocks!
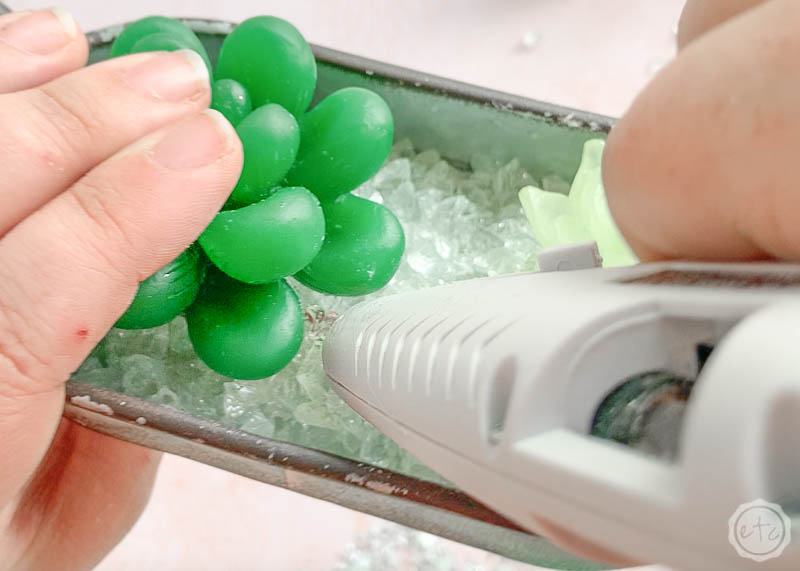
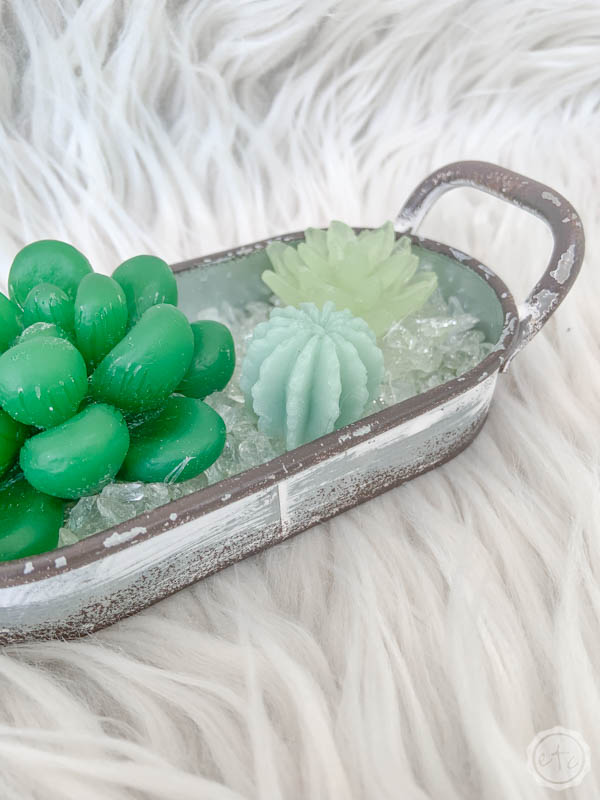
Step 3: Add Extra Rocks
Alright y’all ready for the last step? We’re going to keep adding hot glue and rocks around each of the succulents until the rock bed portion of our garden is built up.
Once your rocks look even all the way across the top (and you can’t see any messy glue from gluing in the succulents!) you’re good to go!
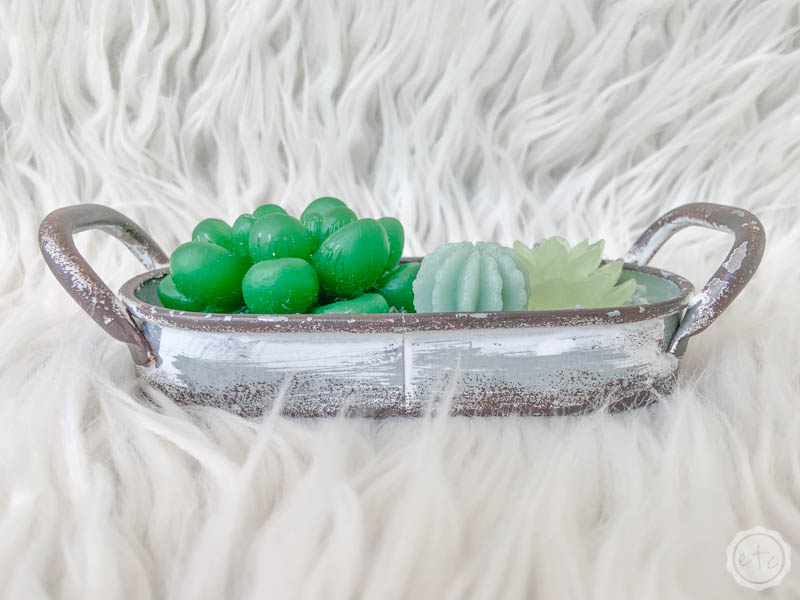
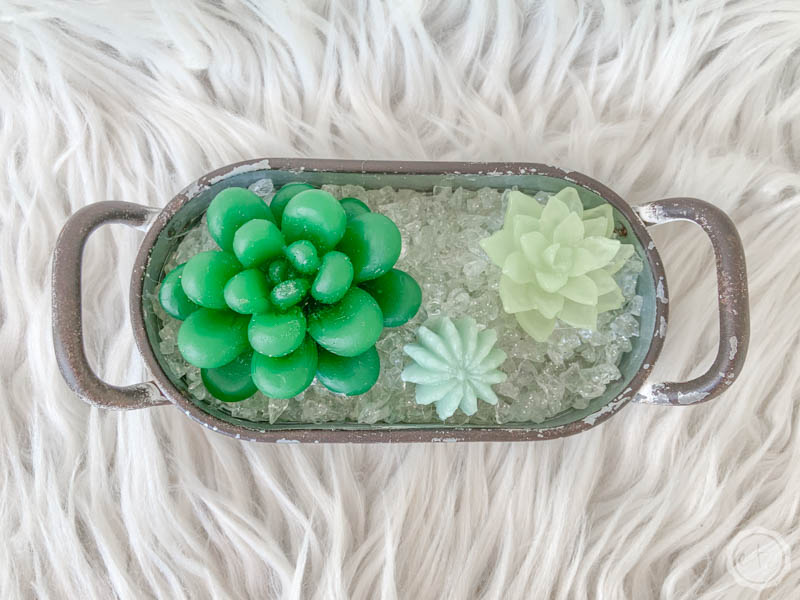
You can put your little container garden on your desk and enjoy!
I just love how it turned out!
This little succulent garden is just one of several! You can make a little forest with my Succulent Tree tutorial or follow this tutorial to make a small Potted Succulent Garden.
Enjoy!

Looking for more resin projects? I’ve got you covered!


Leave a Reply