


So you want to work with resin? Maybe you’re just getting into the hobby and you’re not sure where to start… or maybe you’ve been playing around with resin for a while but you’re ready to take it to the next level!
I’ve been working with resin for a while now so I decided to take all of my best tips, tricks and pieces of advice and put them together in one master list… my 50 tips for working with resin!
So whether you’re brand new or just staring on your next masterpiece I hope there’s something on this list for you!
Tips for Working with Resin
1. Just Start!
It's not as intimidating as you think! Working with resin may seem scary but once you get started you'll wonder why you didn't jump in sooner! Of course, between "being scary" and being expensive resin can be a hard hobby to jump into. You're worried you'll make mistakes!
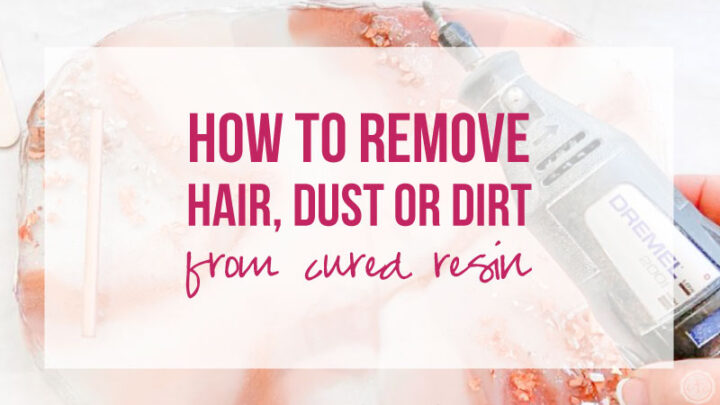
YOU WILL! Luckily resin can usually be fixed with another layer or by sanding out the imperfections... just check out this tutorial on how to remove hair/dust/dirt from resin and you'll be ready to fix your first piece!
2. Read the Instructions
Depending on the type of resin you're using (the brand, the cure speed...) the instructions will be different. Luckily the resin peeps have you covered... with instructions on the box of every resin brand. So whether you're use to resin or not make sure to read the instructions on a new brand carefully.
Starting with the basics! Here are an additional 10 Safety Tips for Working with Resin.
4. Resin Takes a Long Time to Cure
Pick a spot to work that will be undisturbed... or work on a cookie sheet/baking pan so that you can move your work to cure behind closed doors.
5. Work in a Well Ventilated Area
Resin can give you a horrible headache (for starters) so wear a ventilator and work in a space with plenty of air flow. Your lungs will thank you!
6. Temperature Matters:
If it's too hot your resin will cure too fast, if it's too cold your resin will stay sticky (and not cure!). It's the Goldilocks of the crafting world. Make sure to take a look at the weather report, avoid rain and pour when it's 70 to 72 degrees... just right.
7. Avoid Pouring Resin When It's Raining
Goldilocks... remember? Goldilocks!
8. Always Protect your Work Surface
Even if you're working on a surface you don't care about a build up of resin will make your surface un-level. Which isn't great for future projects. Start by putting down freezer paper and then use a cookie sheet with a silicone mat for your projects... easy clean up (that's level!).
9. Don't Keep Food/Water on your Work Surface
Trust me... food/water and toxic chemicals really don't mix! I do like to keep water close at hand (resin pouring sessions can last a few minutes) but make sure to keep it well away from the chemicals... and make sure it has a lid!
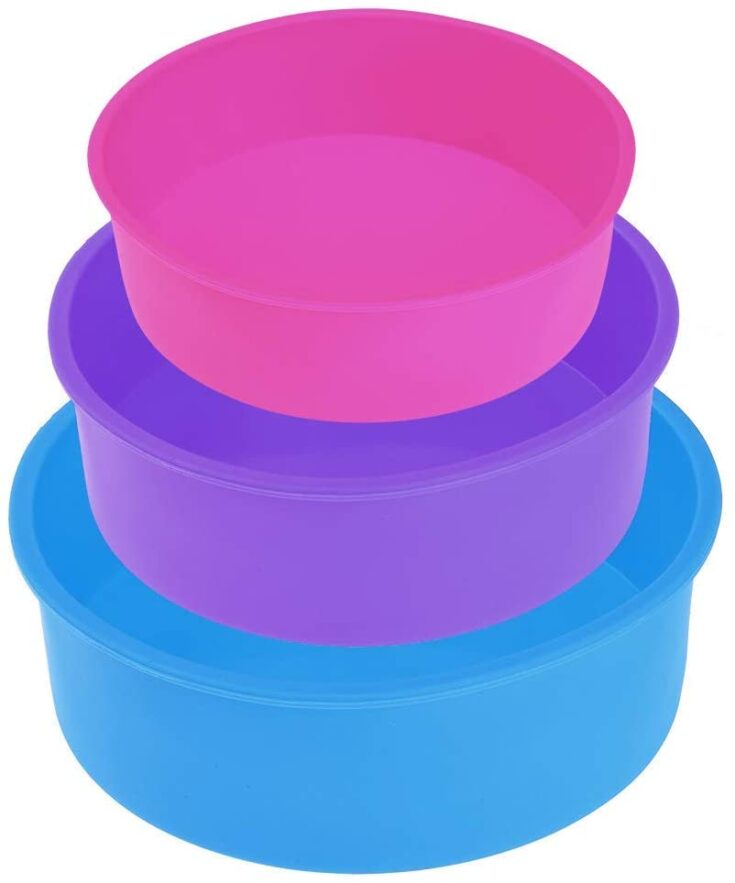
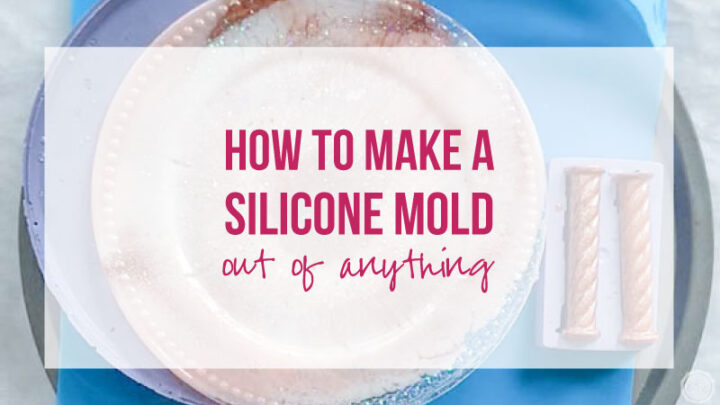
Even if it's not meant for resin! You can use baking pans or even candy molds... as long as it's made of silicone you're good to go.
11. Dollar Store Silicone Ice Trays...
They come in a million different shapes and are great for beginner projects! Plus they don't break the bank so you can pick up a few for variety.
12. Use Mold Release!
If you have a plastic mold a little mold release will let you remove your resin quickly and easily. Think of oil in a baking pan... similar concept and similar results!
13. Use the Right Resin for the Project
Not all resins are created equal... some are made for deep pours whereas others are perfect for shallow jewelry bezels. Using the right resin for the project you're working on is the first step.
14. Working with Cool Resin?
Warm it up in a tub of warm water for 2-5 minutes to heat it up and avoid bubbles.
15. Working with Hot Resin?
On the other end of the spectrum if your resin is to hot, wait for it to cool. Warm resin will cure quickly giving you less time to finish your project.
16. Measure Exact Amounts!
Too much hardener and your piece will cure too quickly, not enough hardener and it may never cure at all! Make sure to follow the instructions on your resin and measure out exact portions of part a and part b.
17. Mix SLOWLY!!!
Vigorous, fast paced mixing makes bubbles... bubbles are not your friend. Avoid those dreaded bubbles by mixing slowly from the bottom!
18. Mix Thoroughly
On top of the slow and steady mixing you also need to make sure that part a and part b are throughly mixed. The easiest way to do this is to scrape the sides and bottom of your cup often. That way you know each and every bit of resin will be mised in.
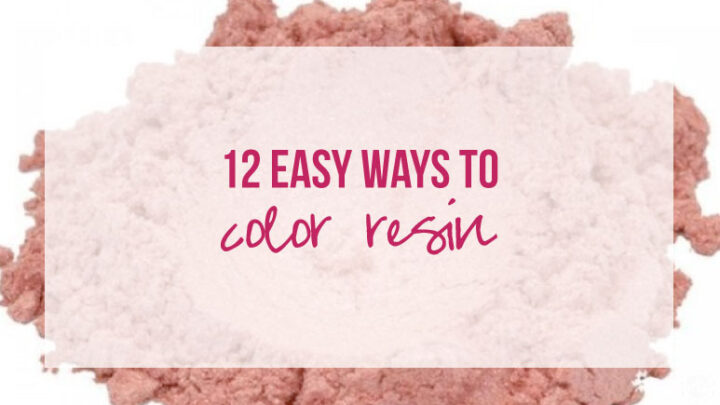
Not all colorants are created equal (but I have a master list if you're looking for ways to color your resin!). The best tip I can give you when it comes to colorants is to watch your ratio... you want to keep the paint to no more than 1 part acrylic paint to 10 parts resin. Perfect!
20. Work Quickly
Once you start mixing resin you're on the clock, so make sure everything you need is close by. There's nothing worse than having to run around looking for paints or glitters while your resin slowly cures in it's mixing cup.
21. Use White Alcohol Ink
Unlike colored alcohol inks that tend to float on the back of the resin white alcohol ink is heavier... so it helps to pull the rest of your inks down towards the surface of your piece. That's how you get the pretty starburst effects you see in coasters and other resin projects!
22. Tiny Inclusions can Mean LOTS of Bubbles
Paint resin onto inclusions that have teeny tiny details... that way teeny tiny bubbles won't get trapped in between all the details.
23. Silicone Collects Dust
Use duck tape to make sure your silicone mold is free of dust before you pour resin into it.
24. Resin HATES Moisture
Like seriously hates it. So don't pour on super humid days, or days when it's raining, or if there's water in your mold... basics darling. Back to basics.
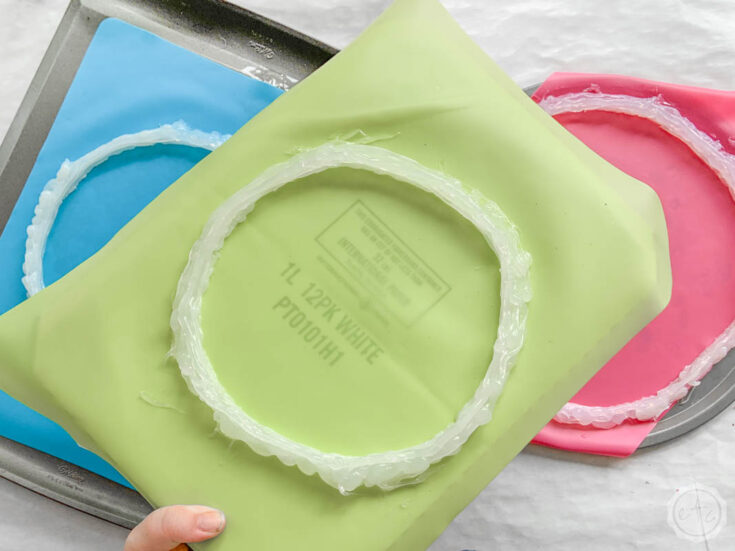
With a tube of 100% Silicone you can make a free form mold in any shape that you can draw (or trace!). Follow the full tutorial below to make one of your own!
26. Pop Bubbles Before they Cure
Mixing resin will cause bubbles... it's just how it works. You can use a heat gun or a torch to pop those bubbles and leave you a smooth bubble free surface.
27. Heat and Silicone Molds Don't Mix
While heat guns are safe around silicone molds, using a torch over a silicone mold can melt the mold causing problems. Of course, heat guns don't work as quickly as a torch... so use the right tool for the job.
28. A Blow Dryer can Work in a Pinch
A blow dryer can work to pop those pesky bubbles but it won't pop nearly as many bubbles as a heat gun... and it will move the resin more. Of course, if you're looking to move resin then a blow dryer is the perfect solution.
29. Wait 4-5 Hours in Between Pouring Layers
Resin needs to cure partially between layers so make sure you give it ample time to do so. Especially if you're looking to add different inclusions or paints to the layers!
30. ALL Resin Yellows...
BUT some brands yellow faster. Clear resin is the most likely to yellow followed by white so make sure to use a crystal clear resin when pouring clear resins.

Un-level projects will let your finished piece tilt... which can be a problem when you're making a piece like this 3-tier tray. Not to mention all the resin will roll to one side of the piece ruining your design.
32. Don't Touch your Project Until it's Cured
You could accidentally ruin the finish, leave fingerprints or pull the uncured resin up in weird curly patterns. Not good!
33. Actually Just Don't Touch the Resin
It's toxic y'all... it can leave your skin red, itchy and irritated. Make sure to wear gloves at all times when working with resin... it's for the best.
34. Cover your Project to Cure
Once your project is finished make sure to cover it with a piece of cardboard or a sheet of plastic. I've had stray dog hairs, dust and even flies land in my resin (and cure) leaving my finished piece with yuck right in the middle.
35. Double Check your Resin before you Cover it
Even if you think the surface of your piece is gorgous, double check it for any stray dust or yuck. Sometimes little hairs can be hard to spot so use a flashlight and look over every square inch.
36. Find a Hair?
If you find a piece of hair or a bit of dust in your resin but it's started to cure simply hit the spot with your heat gun. Heat up the area until the resin starts to soften and then remove the yuck.
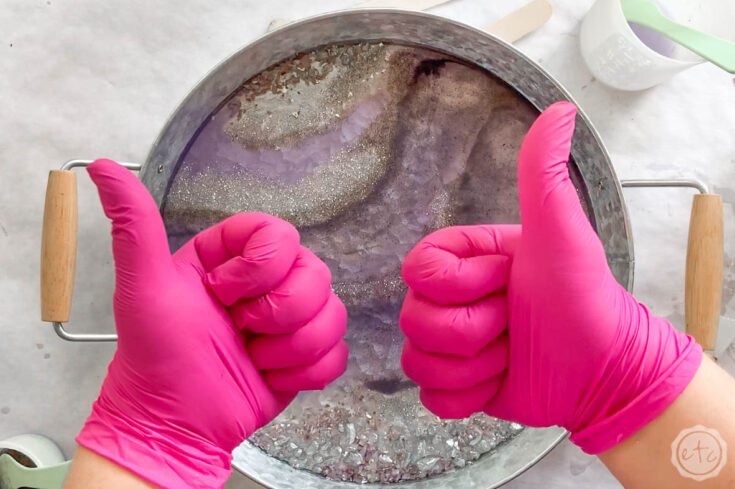
37. RELAX!
Most mistakes are fixable. Whether you remove the yuck or you add a new layer of resin you can almost always fix the problem. Even yucky bugs trapped in your piece can be sanded out and resined over. Easy peezy.
38. Don't Let your Cats Around Resin
In addition to toxic resin being bad for cats (little kitty lungs are not made to deal with resin) there's the whole cat hair + resin equation. Trust me... it's not good.
39. Clean your Resin Cups!
If you can use silicone cups to mix your resin... it's much easier to clean! If you don't have silicone mixing cups make sure to wipe the resin out of your plastic cups while it's still wet. Then you can use them again and again.
40. Spilled Resin?
As long as the resin is still wet you can use acetone or denatured alcohol to clean resin spills. Just make sure to wear gloves
41. Store your Resin Properly.
That means away from light! Make sure your resin is kept in a dry, dark, room tempature location (with the lid screwed on tight!) in between projects.
42. Open Resin Bottles have an Expiration Date.
Just like milk! Once you open your resin you have 30-60 days to finish the entire bottle before it goes bad.

I like to use Amazing Clear Cast Resin which is food safe after curing for 7 days.
44. NO Resin is Dishwasher or Microwave Safe
That means you'll be stuck handwashing any resin pieces you may want to add to your collection. That's fine for a few additional pieces (like salad plates!) but probably won't cut it for everyday dishes.
45. Wet Silicone will Resist Resin...
So make sure that your silicone is 100% cured before you pour resin into your DIY Silicone mold. Just trust me on this one.
46. Topcoat Matte Resin to Make it Glossy
Some molds (especially baking molds) will leave your project with a matte finish. Simply add a glossy resin topcoat to shine up a matte project.
47. Pre-Drill Resin to Avoid it Cracking
A smaller hole will stop the resin from cracking when you go back to make a larger hole! Basics for drilling really...

If you have a piece that requires lots of sanding (like these custom salad plates!) use a Dremel to get the same clean, polished finish with less work.
49. Adding a Topcoat?
Make sure to sand the entire surface of your piece and not just the problem area. You wouldn't want that pesky problem area to stand out long after you've added a flood coat.
50. HAVE FUN!
The best teacher is experience, even if you make mistakes! Have fun and enjoy the ride!
Looking for more resin tutorials? I’ve got you covered!


Leave a Reply