

As a newlywed I often finding myself making projects both for budget reasons (I haven’t found a money tree yet… but if you have one will you send me a branch 😉 ) and because I LOVE to make things! I think my love of crafting goes all the way back to being a Girl Scout… from Brownies all the way up to Seniors we were always making something. Simple easy crafts that could be made in an hour long meeting!
Since I’m not a mama (yet!) the only time I get to go back to my roots and have a little fun with kiddo crafts is back at those Girl Scout meetings! Of course the girls in my troop absolutely love any craft they can put their name on (are your kiddos the same way?) which is why this easy paint stick chalkboard was such a big hit!
Of course the parents love it too… since the supplies don’t require a whole money tree to finance!
Looking for a bunch of posts on DIY & Crafts? I’ve got you covered!
Click here to see all of my how to DIY & Craft posts in one place!
Supplies:
Paint Sticks! Try hitting up your local Sherwin-Williams for 10 small paint sticks and 4 large ones. (Per board)
Chalkboard Paint: A little goes a long way so unless you have dozens of kiddos one quart should make a ton of chalkboards! Try using a few disposable cups to cut down on the mess and ration out kiddo size portions!
Craft Paint in your kiddos favorite color (for the frame!)
Ribbon in a coordinating color for the hanger
Glue: I used hot glue to glue all of the sticks together however if you want a glue that doesn’t require adult supervision a wood glue would also work.
Exacto Knife: Paint sticks are fairly easy to cut down to size, you could use a saw but a simple exacto knife cut through the larger paint sticks just fine.
CHALK!
Paper Towels or Rag
Step 1
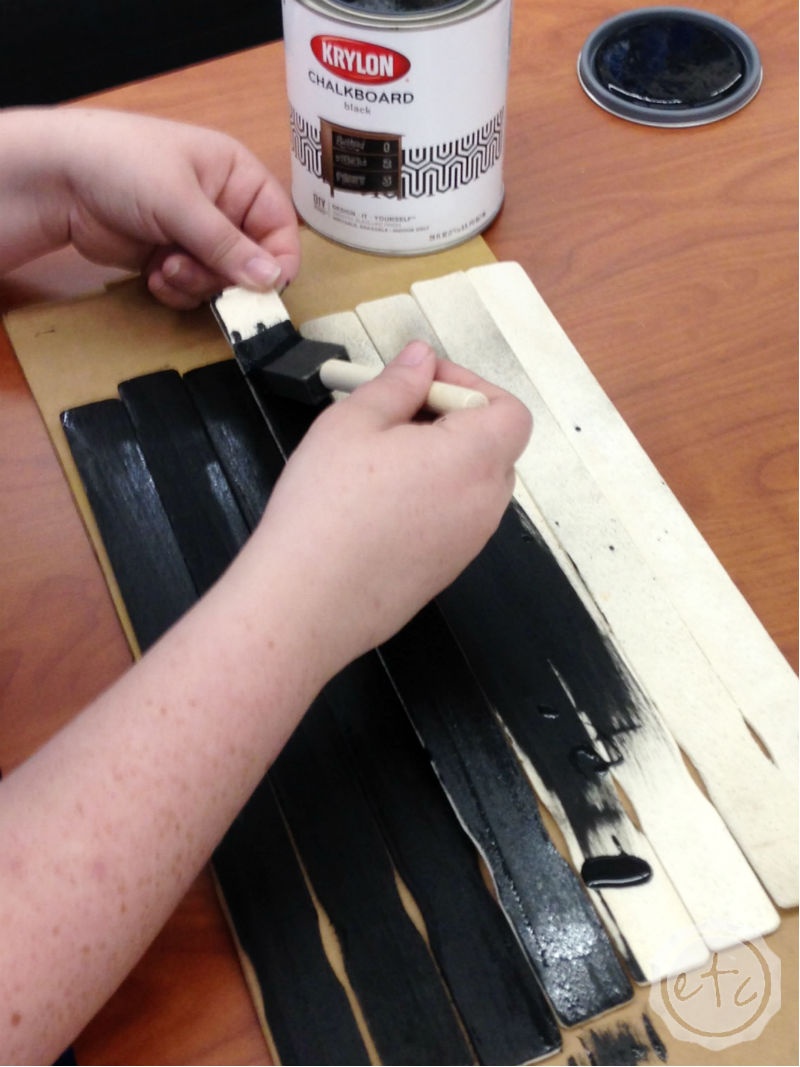
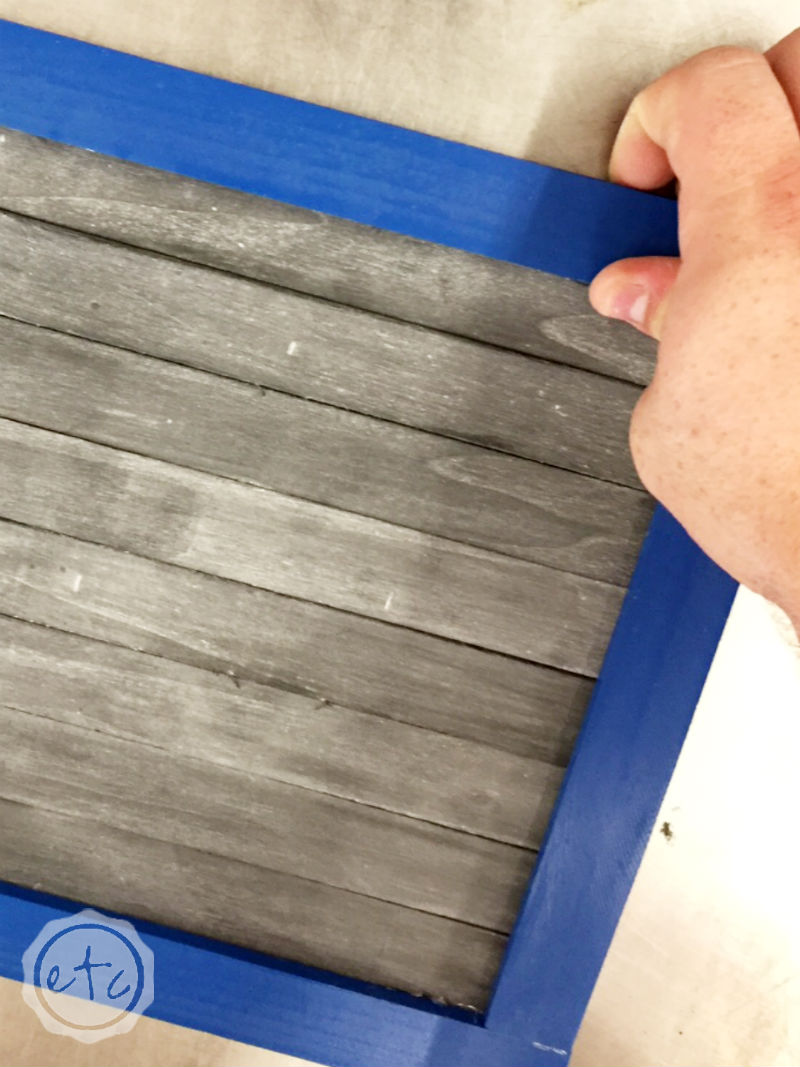
Here’s the fun part… painting! Go ahead and use your chalkboard paint to coat all 10 of your small paint sticks. This stuff dries fast so you won’t have to wait long between coats. Yes, I said coats. Chalkboard paint really needs 2 coats to be… well a chalkboard! Luckily by the time you’ve painted all 10 sticks the first ones should be dry… so go ahead and start on the second coat right after the first!
Step 2
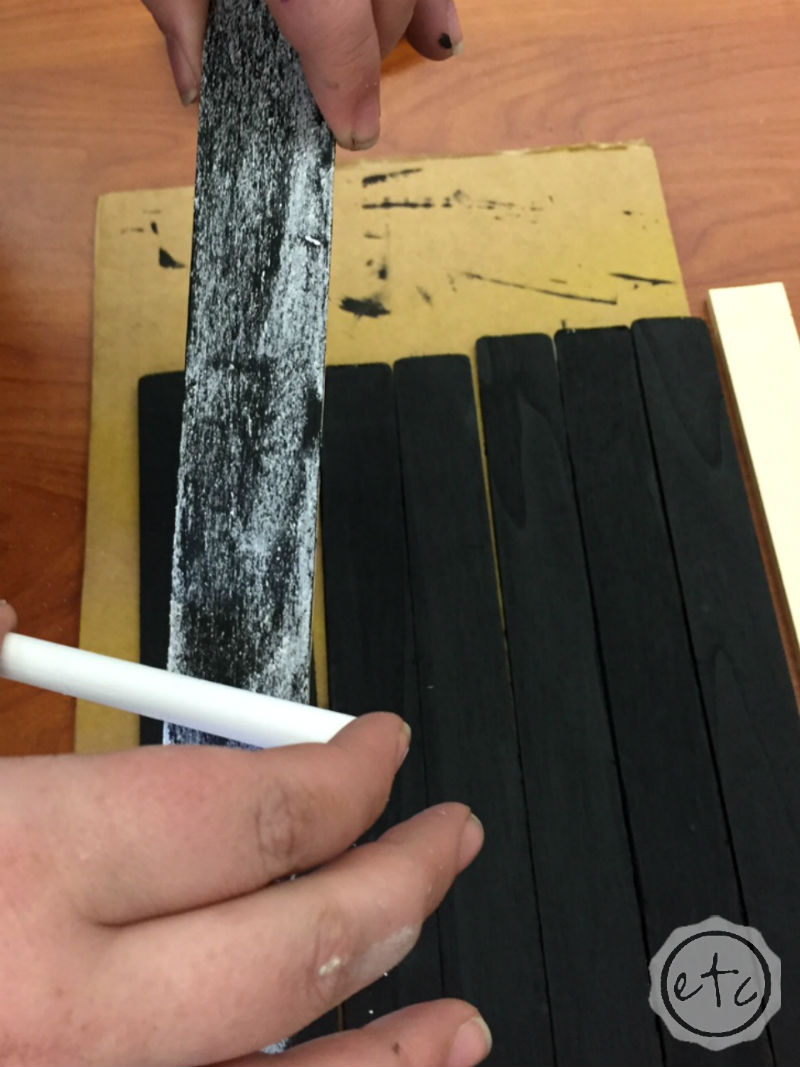
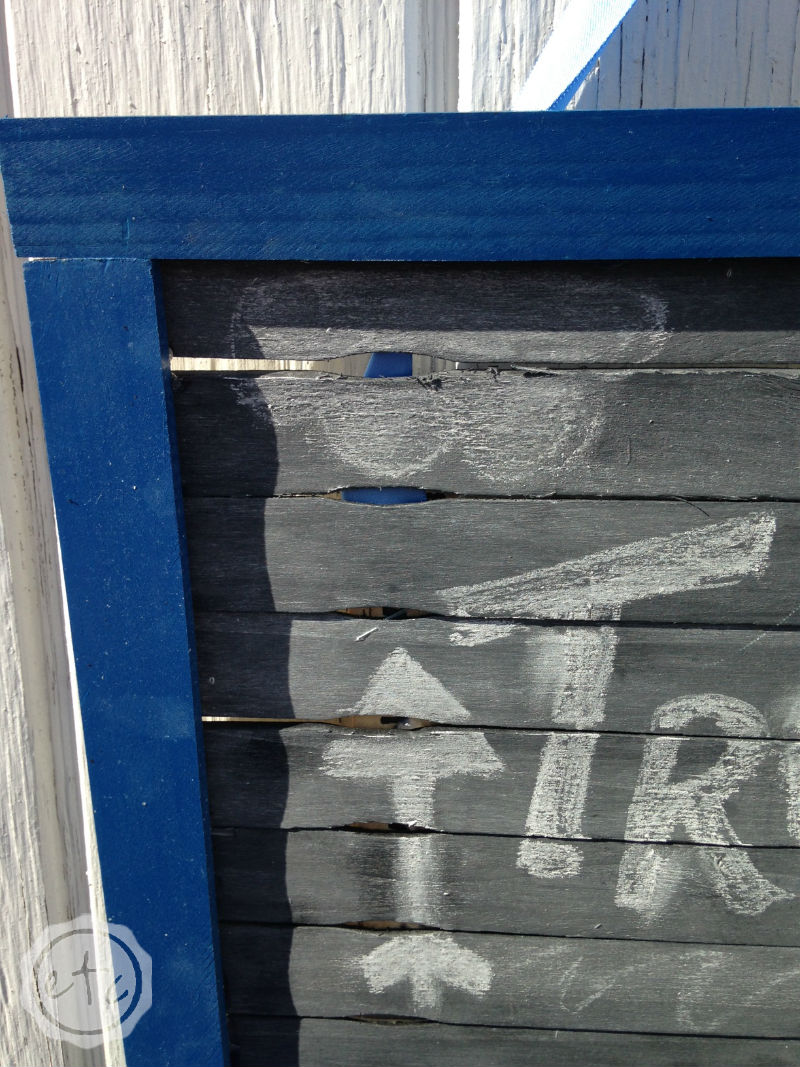
Now that your paint sticks are painted it’s time to season each piece. It’s super easy to do but if you skip this step your chalkboard just won’t work! Seasoning your chalkboard is the part that allows you to write on your board… and then wipe it off again! Without this step whatever you write will be permanently burned onto the surface… not so cool.
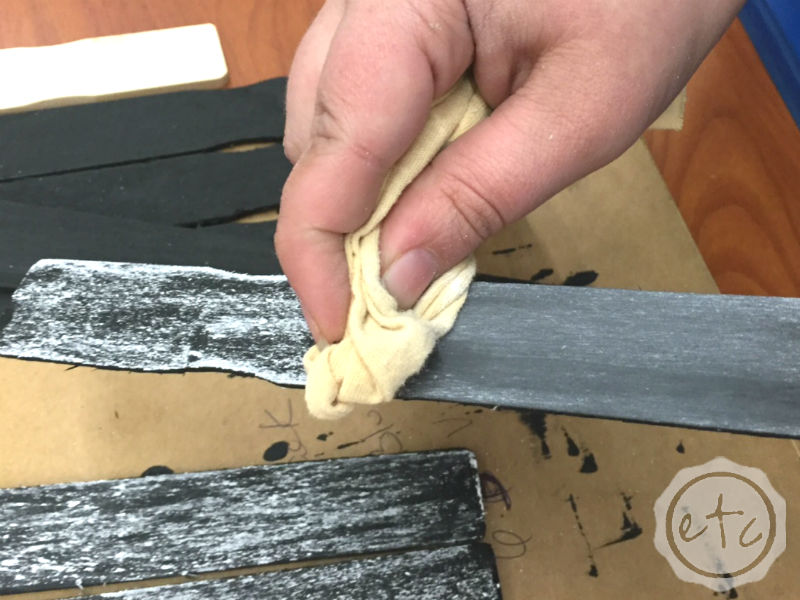
Luckily seasoning your board is super easy… simply take a piece of chalk and coat each stick! I find it easiest to use the flat part of your piece of chalk but to each his own! Once each piece is covered in chalk use your paper towel to wipe the excess off… it’s really that easy.
Step 3
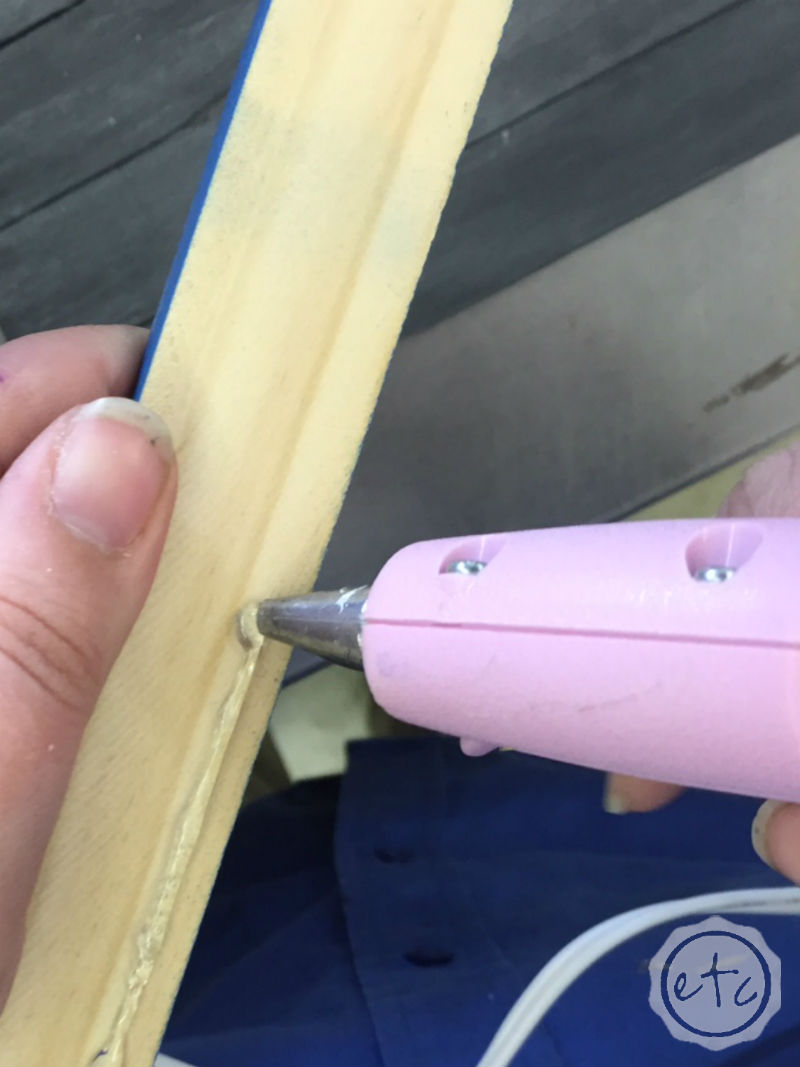
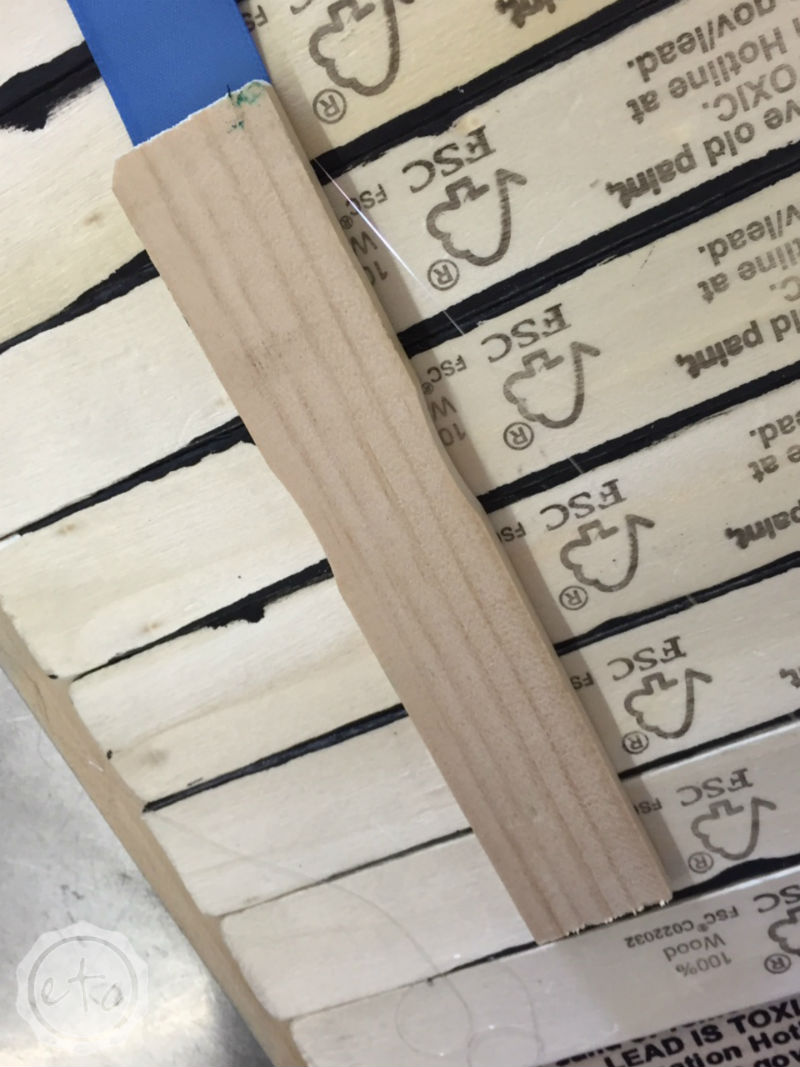
Now it’s time to cut your long pieces down to size… honestly I just placed my large paint sticks on top of my “chalkboard” and then used the exacto knife to cut the length I needed. Make sure to place your frame on top of your chalkboard so that you have a surface to glue your frame too. Easy Peazy lemon squeezy! Once your frame pieces are cut go ahead and paint them with your craft paint… I picked blue for this board but you can use whatever color your kiddo loves!
Step 4
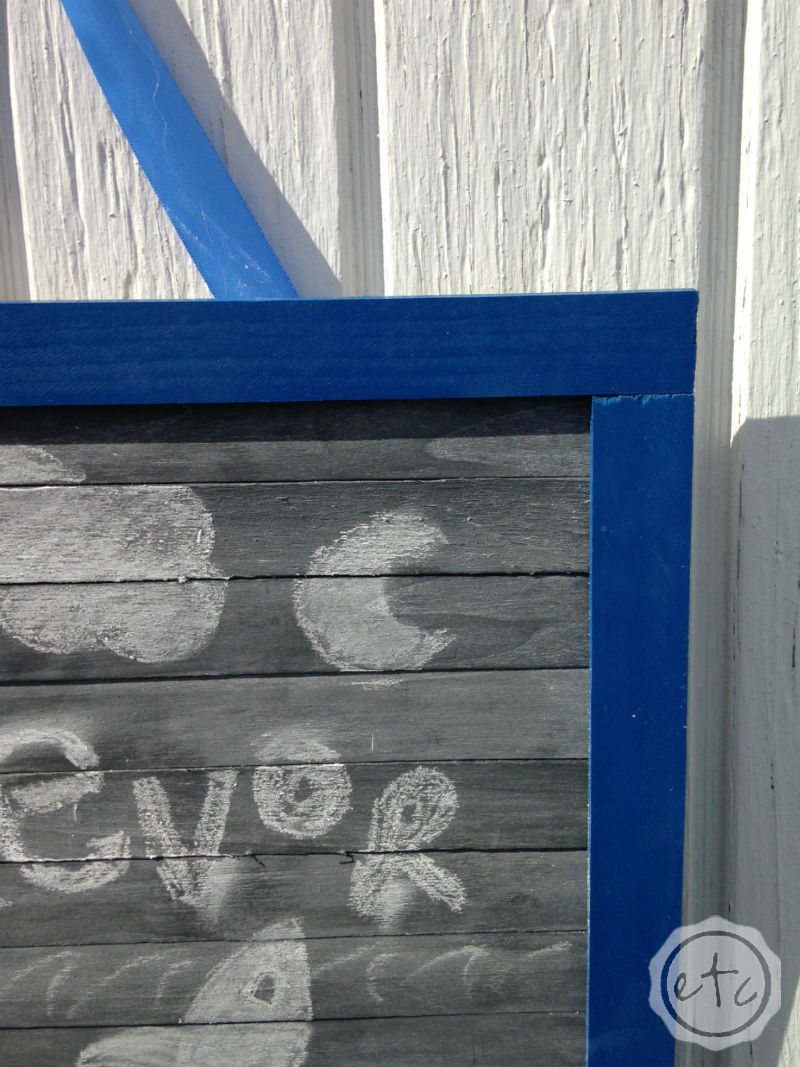
Now it’s time to put the whole thing together…. I used hot glue but depending on how your grown up to kiddo ratio it might be easier to use wood glue/tacky glue! Simply place your glue on a frame piece… and then place it on your chalkboard! Once all four pieces are attached your frame is complete and you’ve glued all 10 pieces of your chalkboard together… score!
Step 5
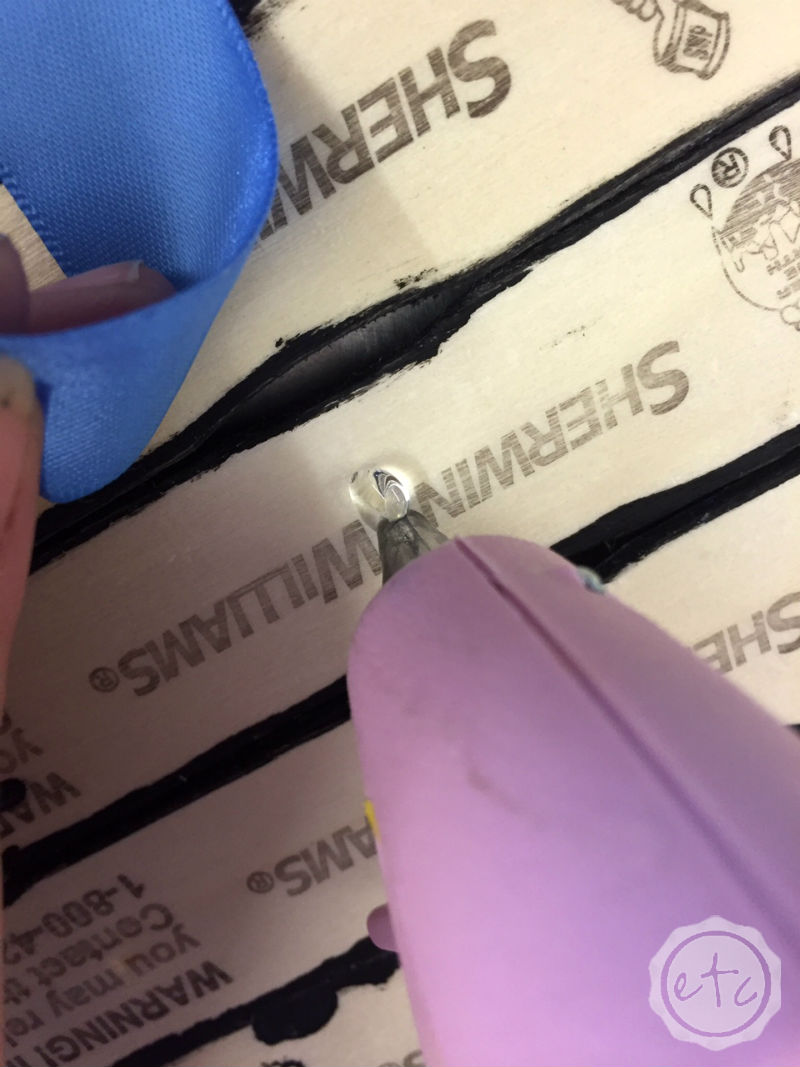
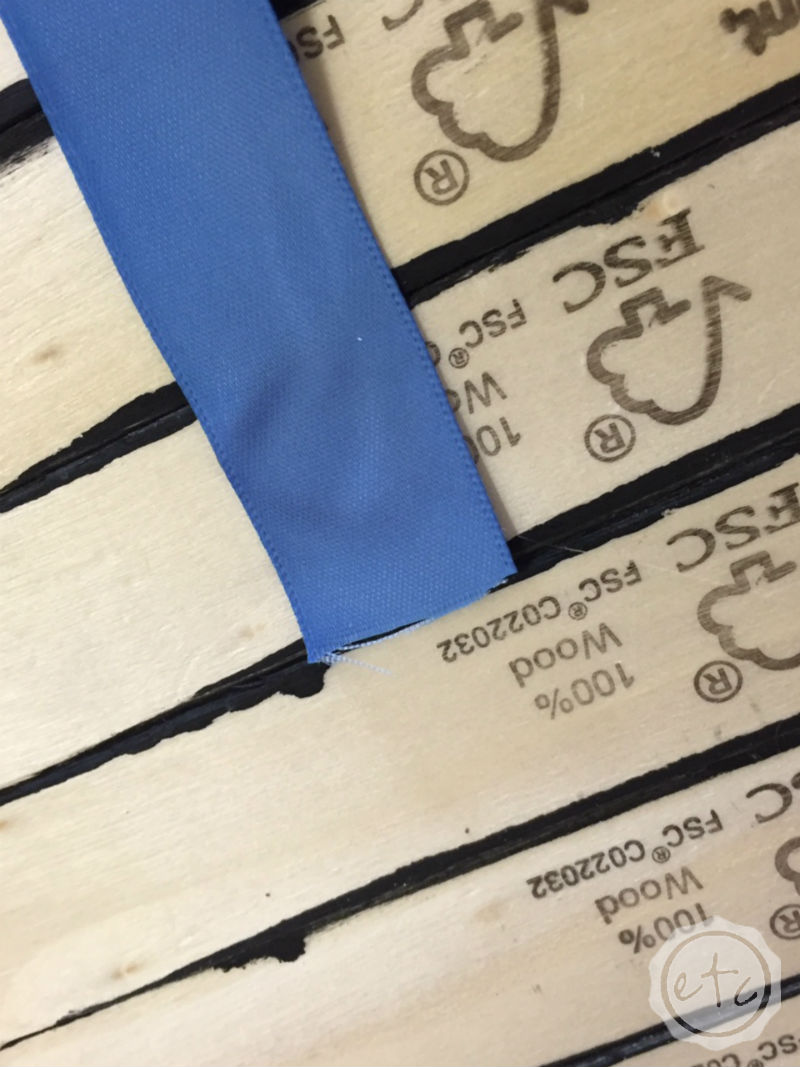
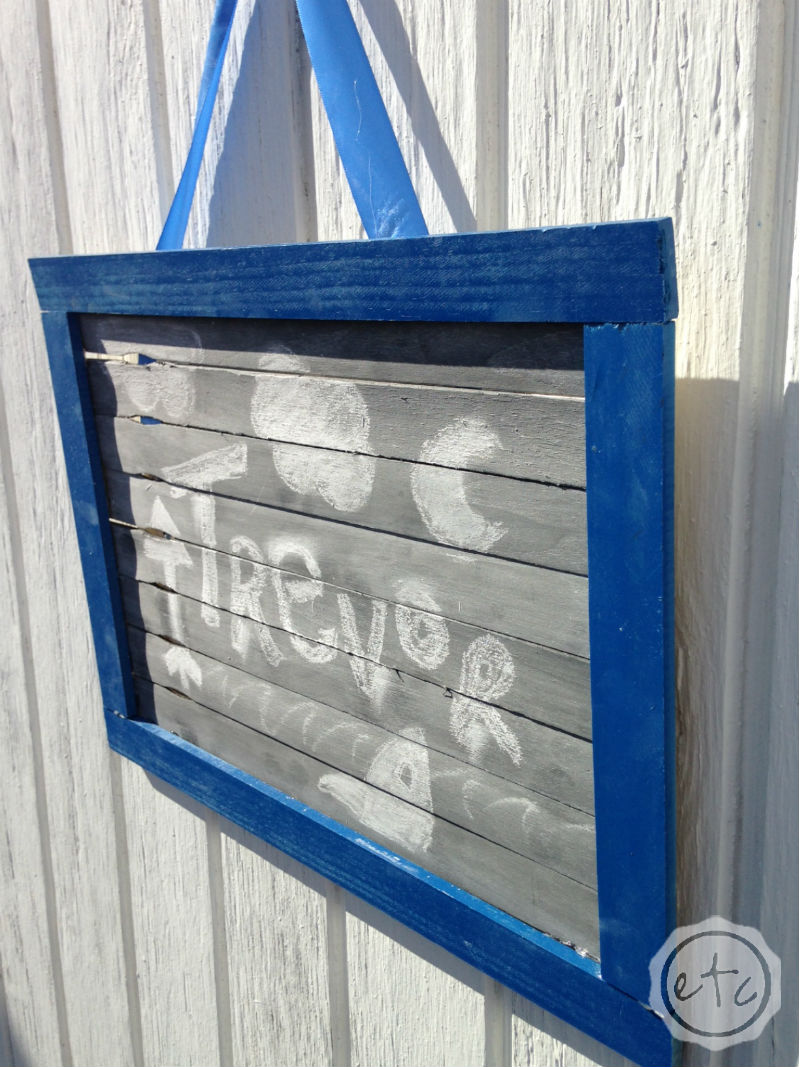
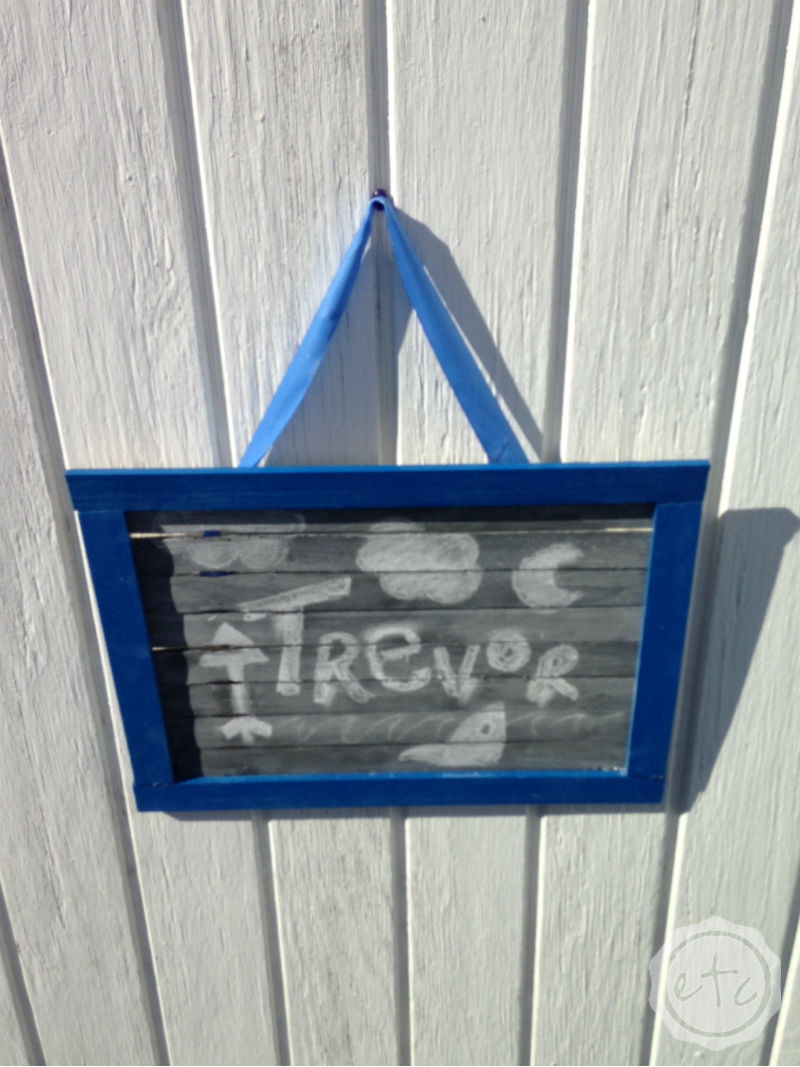
Now it’s time to attach the back! Using my handy dandy hot glue gun I attached the ribbon… which will serve as our chalkboard holder as well! Once your ribbon is attached go ahead and glue 2 supports to the back… I simply used two of the short pieces that were leftover when we cut our frame. Sure we could cut new pieces that completely span the width of the chalkboard but since the frame is really holding the chalkboard together these supports are extra! Score!

Bonus Tip: If you run out of hot glue sticks and need to glue just a little more use a standard size 2 pencil to squeeze every last drop of glue out of your glue gun! Simply insert your pencil just like you would your next glue stick… the pencil will give the glue gun something to grip so that you can use your entire glue stick. Since pencils don’t melt quite as well as glue sticks make sure not to leave your pencil in for extended amounts of time… usually upwards of 10 minutes is ok. Once you’ve used every single bit of glue simply take your pencil out of the glue gun and you’re all set!
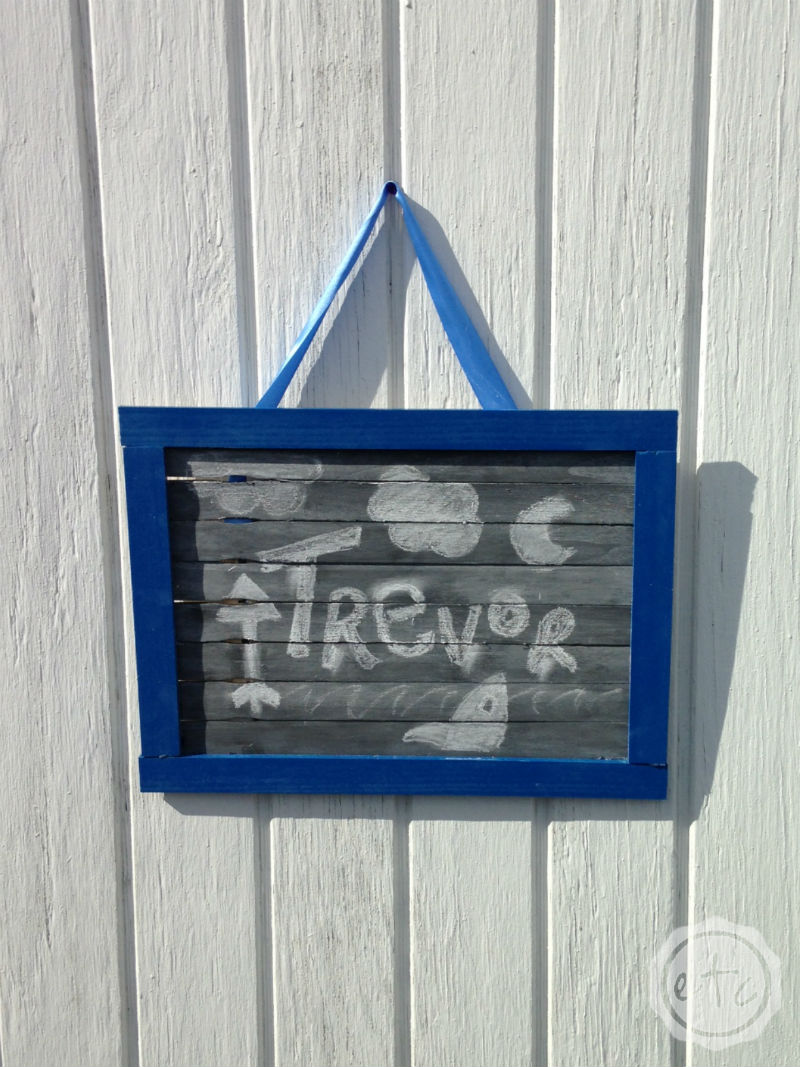
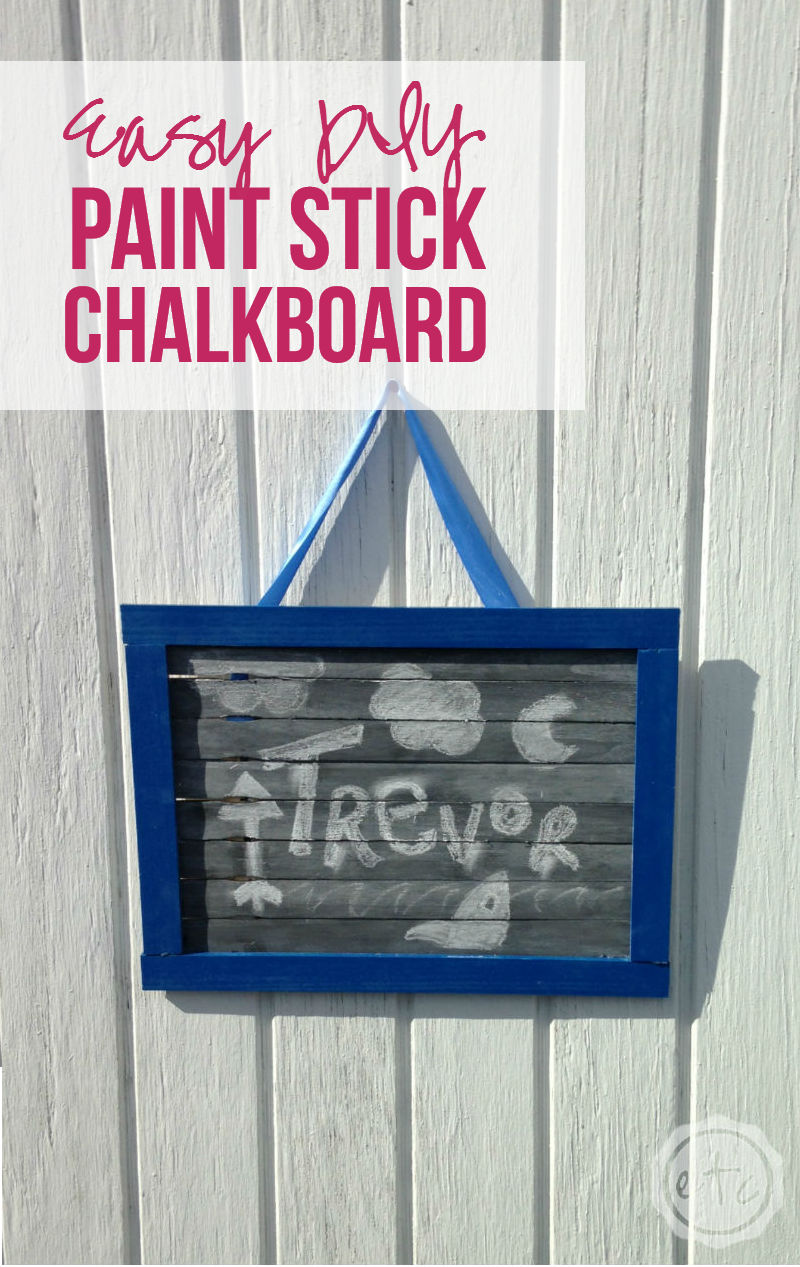
Once you’ve finished attaching the back you’re finished! Your new chalkboard is now ready for plenty of drawing…. again and again and again!
Ready to see the finished product?
FREE 6 Day E-Course

Looking for the perfect paint color? In several minutes a day I'll guide you from swatches to done in 6 days.


Leave a Reply