

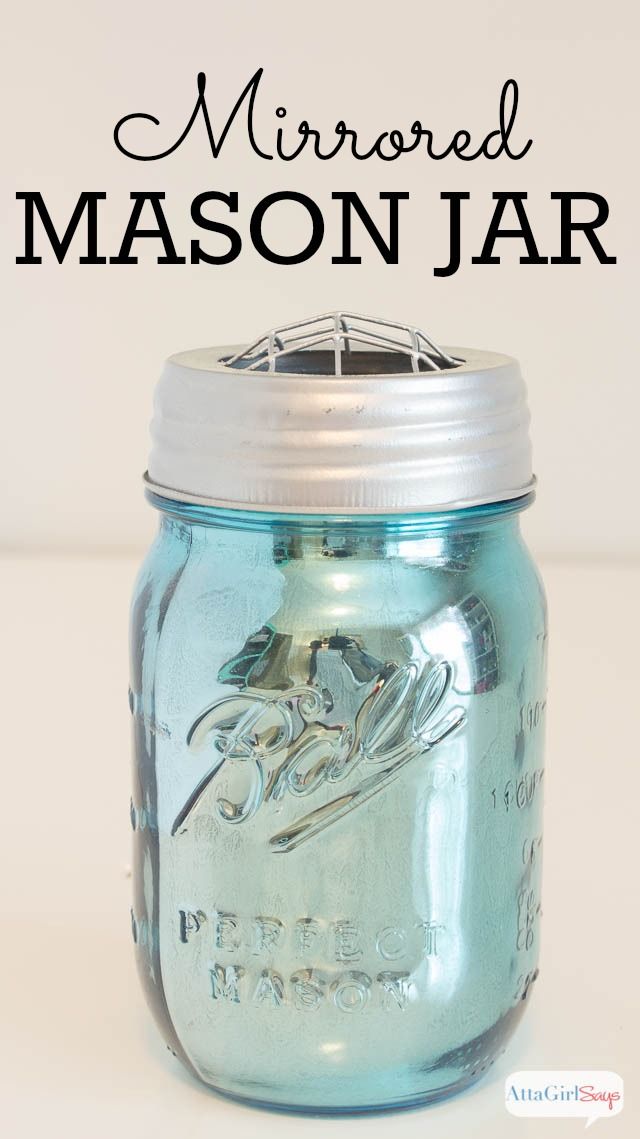
Today I have a project for you that first appeared on Megan’s blog See it, Pin it, Do ii, Blog it! She was so sweet to let me guest post on her fabulous blog… now it’s time for the full reveal here… for all of my fantastic readers! I first came up with the idea when I saw this pin from Atta Gril Says:
Looking for a bunch of posts on DIY & Crafts? I’ve got you covered!
Click here to see all of my how to DIY & Craft posts in one place!
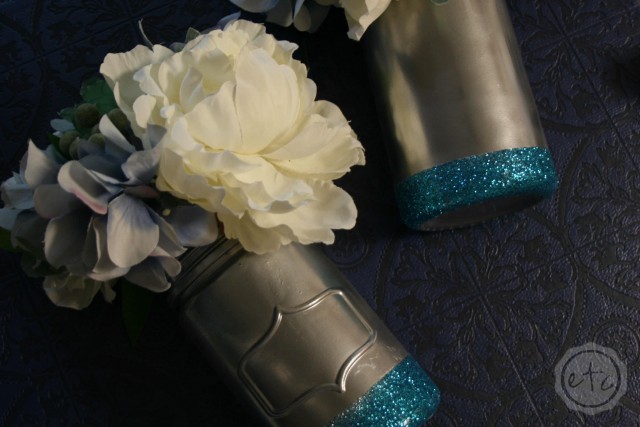
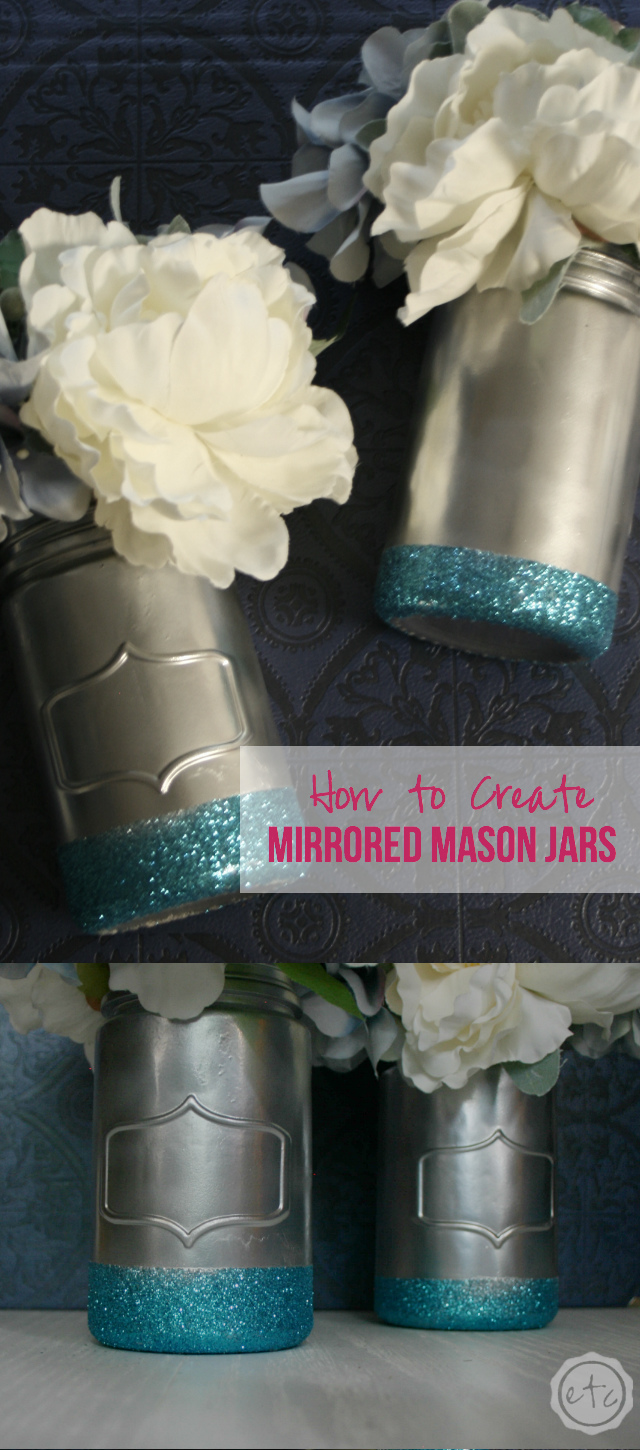
That’s right MIRRORED mason jars! With the mason jar trend going on I’m surprised we didn’t think of this sooner! I mean they’re clearly adorable! Here’s everything you need to make your very own mirrored mason jar:
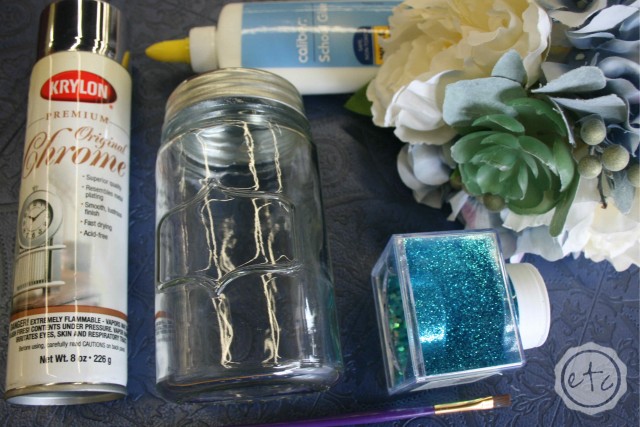
Supplies:
Several adorable Mason Jars! I picked up a couple from the Target dollar spot for (gasp!) $1!
Spray paint in a looking glass finish… I found mine at Michaels for 6.99. With a 40% coupon it wasn’t a bad price!
Frog tape or scotch blue tape… to tape off those crisp glitter lines!
One small paint brush you don’t mind throwing away… it will get gluey. (Yes gluey is a word).
Clear glue… nothing fancy here! Clear school glue will do… just make sure it dries clear and not white!
Your choice color of GLITTER! Because every project is better with glitter!
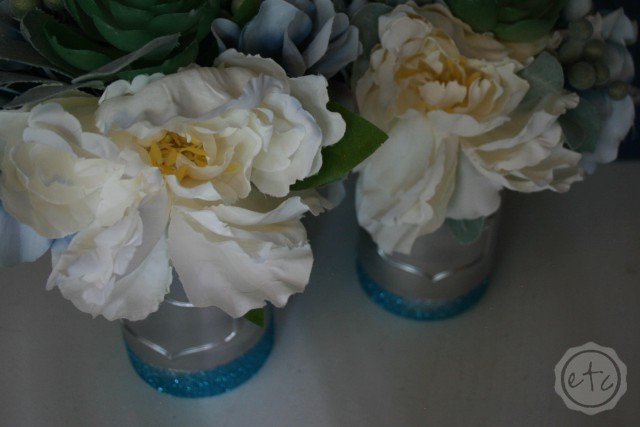
Adorable flowers or mason jar topper… Michales has a few options if you want to leave your mason jars open for any reason.

Alright now let’s start from the beginning! Step 1 is to spray paint your mason jars. Make sure to do light coats so that they dry smooth… and don’t forget the inside! By hitting the inside with your spray paint you ensure that if your jar chips it won’t be as noticeable! Yay!
Hint: Spray paint in a dry cool area… I did one jar inside the warehouse at work and it turned out great! Smooth as a baby’s bottom! The other jar I spray painted in my front yard on a hot (Alabama) day… I thought the heat would help the paint dry but it actually melted it a little. Yikes! When my hubby picked the jar up to bring it inside the paint melted off onto his fingertips… not a good look! Luckily I was able to fix it by sanding down the rough edges and re-spraying the melted spots. Then I let them dry in the shade!
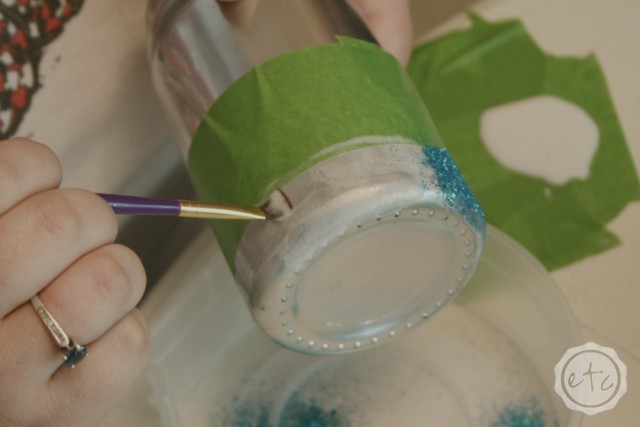
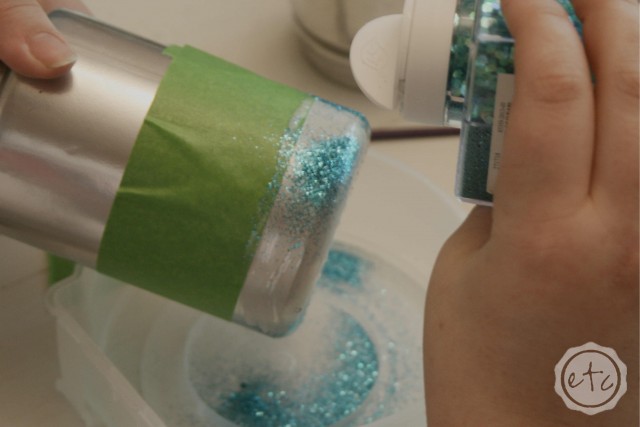
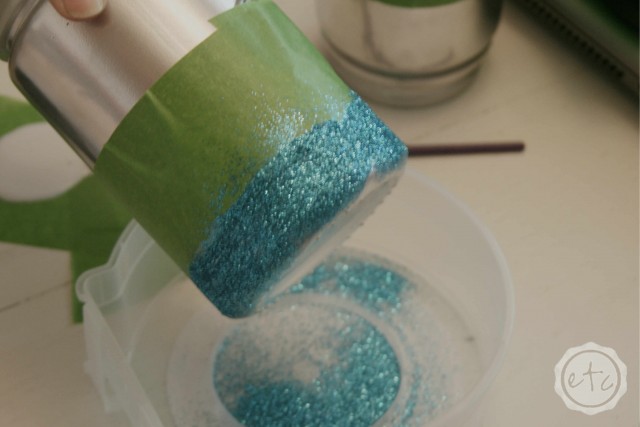
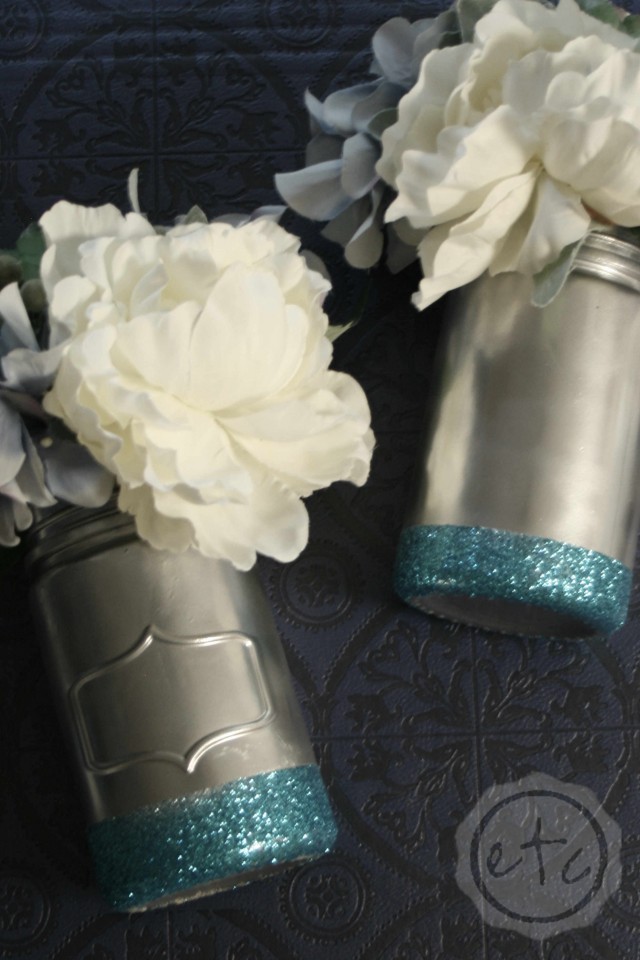
Step 2 is to tape off your jar with frog tape… I decided to glitter the bottom of my jars for a bit of extra bling but feel free to glitter whatever you like (really there can’t be too much glitter in the world!). Once your tape is straight go ahead and paint on your glue… that’s Step 3! Working in small sections make sure each spot is covered with glue and then sprinkle liberally with glitter! (Yup Step 4). Tap off any extra glitter and move on to the next section… I did three sections for my jar, just to make sure the glue didn’t dry and I had full glitter coverage!
Once your jar is covered with glitter set it aside to dry for a bit… we waited about 30 minutes to make sure the glitter was fully set. Then we used our special handy dandy trick… hit the glitter with hairspray! After it dries it will keep the glitter in place so it doesn’t “rain glitter” every time you move your jar… yuck! We like glitter on our mason jars… not our counters!
Hint: The above picture shows way too much hairspray! You only need light layers… but that’s what you get when you say “here honey hit this with the hairspray so I can take a picture!”
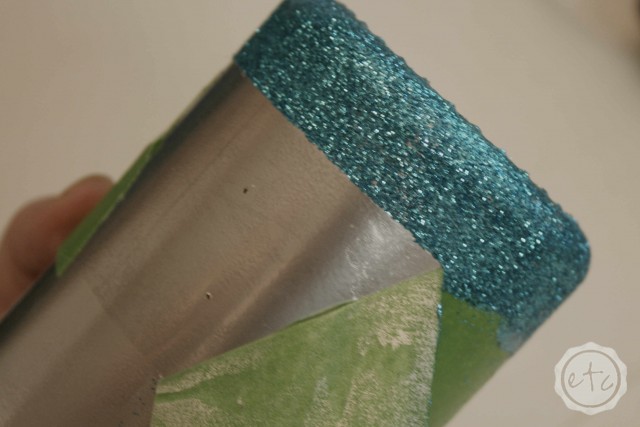
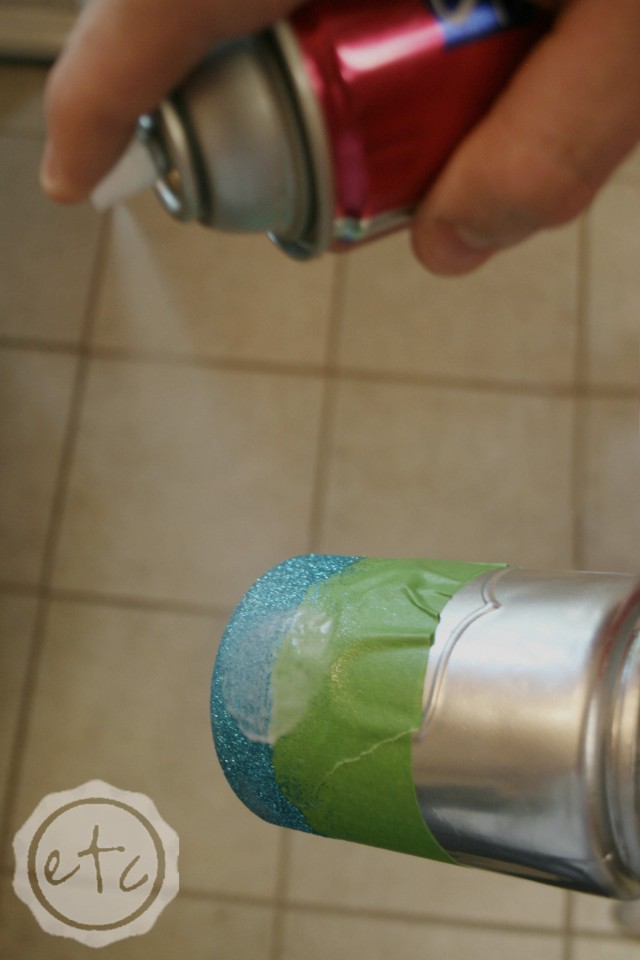
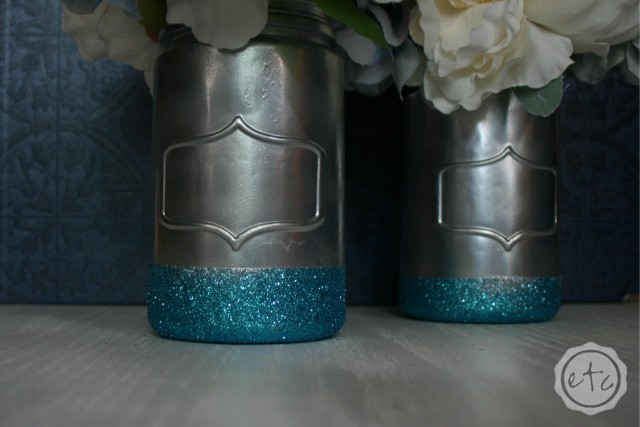
Step 5 is always my favorite… taking off the frog tape! I just love seeing those crisp clean lines! The tape seemed to leave a bit of a sticky residue though… even after a quick cleaning with some soap and water I could see shadows. I took my jars back outside (on the shady porch) and hit them with a bit more spray paint… being careful not to spray the glitter. Good as new!
Ta-da!

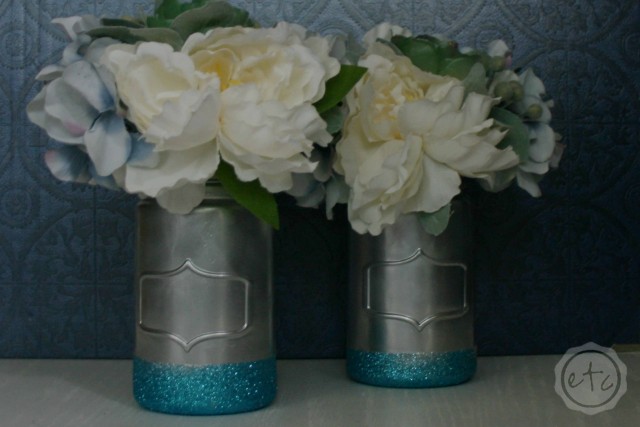


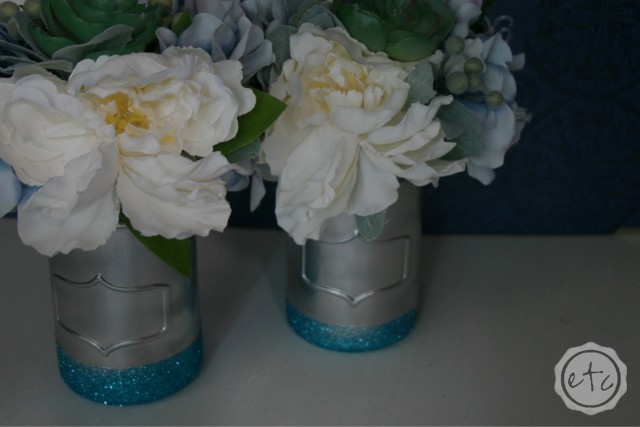
I absolutely LOVE how they turned out… don’t you? I can’t wait to put them out around the house… a little touch of spring!


